Work in progress on the new No 983 stainless steel block plane
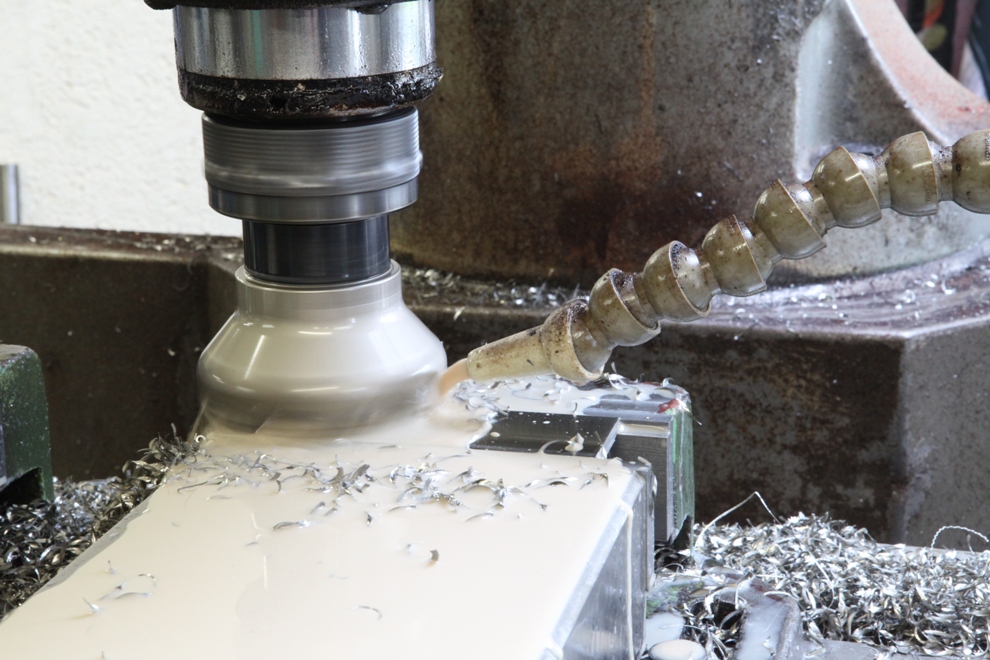
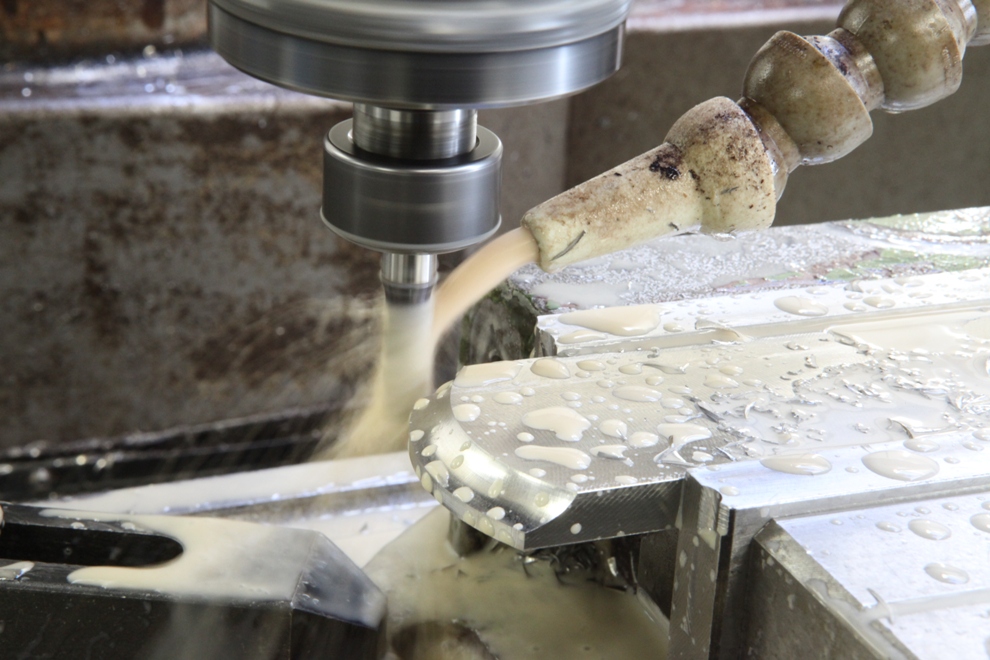

Integral pins are back! These pins are cut 0.22″ long, cut full depth in one go with a 6mm roughing cutter. Then go round the houses again with a 6mm finishing cutter. Some people don’t believe that I can cut these pins full depth in one go in s/s (or any other material). It is just a matter of getting things right.
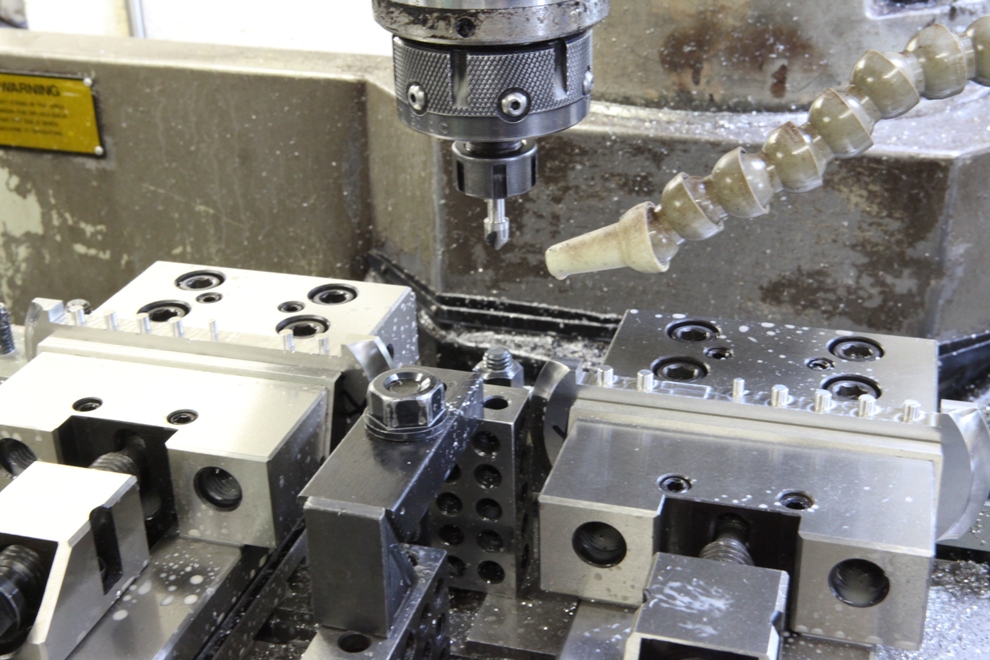
The last job is to put a tiny lead chamfer which not only makes an easier entry but it helps to prevent the edges from splitting during the peining process.
June 14, 2013
Window to my workshop 67 – No 983
February 6, 2013
Window to my Workshop 66
I thought it about time I wrote some more in my blog. Looking back on my past entries I notice that there are some gaps which I intend filling here.

At the beginning of any project the metal is a good place to start (after design and drawings are done of course). In all my classic designs I use mild steel – I have tried it in several different forms; hot rolled (which is very good and has little stress in but comes with a lot of scale to deal with), BMS (which is nice and clean but has a lot of stress in it), sheet metal (which still has a difficult scale to deal with and some stress). Stainless steel would be my favourite choice, but not on the classic type of planes. I therefore choose mild steel as this is a nice ductile material once the stress problems have been dealt with. To relief the stress I have to cut it to manageable sizes and send it off for heat treatment. This picture shows the material in two stages – after heat treatment and some after surface grinding.

As you can see from the picture my grinding machine is a Jones and Shipman 1430. It was made in the ‘60s and it has been reconditioned by Andmar who are more ‘Jones and Shipman’ than the company themselves. It has been the main stay of my workshop since I purchased it 10 years ago as all my work including tool making passes through here. That is every jig and every piece of work holding (as well as plane components). It sets the standard for all my work.

This surface grinder uses a 24” x 12” Eclipse magnetic chuck which needs re-surfacing every 12 months. This can take up the best part of a day. The nice true surface is so good I just had to photograph it (sad isn’t it!).

My current project is A1 14 ½” Panel planes. I have documented this before (use this link http://www.toolworkshop.co.uk/blogarchive/) so I am just putting a few pictures to look at.


November 8, 2012
Window to my workshop 65

These Thumb planes are now finished but I didn’t have time to blog it. However the techniques are the same as on all my other planes.
They are available in Cocobolo, African Black Wood and Boxwood at £3,750 (+ vat if applicable).
May 11, 2012
Window to my Workshop 64
Continuation of the last batch of No 982 planes

There are two reasons that I use the surface grinder a lot; the main one is for the precision and also for the nice textured finish. This usually means that I visit the surface grinder several times during the working of the plane as no matter how careful I handle the work pieces they seem to break out in a ‘workshop’ rash very quickly.
This picture here is the sides being ground true after the drilling and tapping. This also leaves the bottoms a true uniformed width and square.

Of course the time comes when the toe of the plane needs to be separated from the rear end. I can lose a lot of sleep here as mistakes are so easy. Any mistakes here will cost me dearly.

With the front and back ends of the bottom now separated each part is then milled to size and angle.


All my marks are stamped with my fly press which I couldn’t exist without. The No 982 plane is stamped with an edition and its number, the plane type is stamped on the front end of the bottom (just behind the bun). The HOLTEY logo is stamped on the inside of the right hand side of the plane.

The 55 deg milled bed is surface ground maintaining the angle to precision. This picture may be a little blurred but I wanted to catch the sparks.

Now the front end. I use two angles here. The one being ground here is the critical one because this is going to be the mouth of the plane. This is in a similar tradition to some of the wooden planes and is much easier to regulate a small aperture as desired by some.

This angle here helps to provide a better means of escape for the shavings and access for cleaning. The grinding here is mainly cosmetic.
April 25, 2012
Window to my Workshop 62
Continuation from Blog 61

Now I have two flat sides the edges can be milled bringing them to width, leaving a couple of thou for surface grinding. This means that the edges will be perfectly square and will form an invisible joint. It is important that when the plane body is assembled everything is flat and square – unlike dovetailing which incurs a lot of stress from peining.

The rounding on the ends, a task easily carried out on the CNC mill.

This is the drilling for the 3 x 6mm purpose made bolts to fix the rear handle chair. I need to make some more of the bolts so will document them later on.

These three holes for the rear handle are then reamed (which I think is the correct word and not countersunk). This is done with a 40 deg tapered mill which will match the heads on the bolts. With this angle you get a good retention and pressure for some deformation, resulting in that invisible joint.


These are the fixing holes for the front bun using the same drilling and reaming operation as previously described. This time these holes are drilled at a 15 deg angle and indexed with 120 deg spacing. The CNC mill is particularly useful for indexing and convenient as I am drilling on a gradient.

The fixing holes for the sides. There are a total of 11 x 5mm holes per edge. As the holes are not drilled on the centre line they need to be mirrored. The picture shows my set up using a second vice for the mirror holes. To achieve this many holes without a CNC mill would be very stressful and time

My Semco vertical milling machine which is an exact Chinese copy of a Bridgeport. It is fitted with an Anilam Wizard 211 DRO. I have had it a for quite some years now and it serves me well.

It is a pity that my CNC mill does not do tapping. So the plane bottoms had to be set up on the manual mill. However, with the aid of the DRO and an automatic tapping head the tapping of the holes is carried out to standard and in a timely manner. There are a few cheap tapping heads on the market but I would go for a Tapmatic every time, worth its money.
March 6, 2012
Window to my Workshop 60
Was it really Christmas Eve since I last blogged!!!!!!
The first batch of planes are now finished, they were not easy but it hasn’t taken me 10 solid weeks to get this far.

I seem to have landed here without any pictures of separating the bottoms into front and rear. This picture now shows the beds being milled. There is a surprising amount of material to move and has cost me a considerable amount in tooling. Stainless steel does have its disadvantages.

The front end of the bottom. There are two operations here. The first one is to machine the angle for the front end of the mouth then a small rebate is machined to catch the sides of the mouth from the rear section. This will lend a desirable amount of support, especially when it comes to peining the dovetails otherwise this part of the dovetail will cave into the mouth. It also provides additional rigidity to the plane body because any stresses could force the two halves of the plane to jiggle. It doesn’t sound very technical but it is descriptive. It could show a step where the front and the rear of the bottom join. Of course we are only talking very small amounts here (+/- 2 thou).
Something that always amuses me on the traditional mitres is the tongue and groove joint. This does absolutely nothing.
(more…)
October 24, 2011
Window to my workshop 57
Showing the continuing work to this non-adjuster blade.

Work on the blades recommences now that they are back from hardening.
This picture shows one of the many grinding operations.

Even the snecks have to be ground on one surface before they are assembled.
(more…)
October 19, 2011
Window to my workshop 56

Some of the woods that I intend to use in the No 10. Although it doesn’t look at its best at this stage I am putting the picture up to satisfy an enquiry. There is ebony, box and rosewood.

This wood is very, very special. It is Pterocarpus santalinus. As it comes at a premium it will only be appreciated by those who are familiar with this wood.

I think I have been here before, though in a different application.
(more…)
October 17, 2011
Window to my workshop 55
No 10 smoother/mitre
A very patient customer asked me to make a small mitre plane. He wanted a 11/4” wide blade to be bedded at 25 deg and bevel up with a short body. No adjuster was required.
I would classify this plane as a smoother/mitre. The small mitre plane has always seemed to be surprisingly scarce for its usefulness. Having got my simple sketch approved the first batch is now well on the way (the sketch can be seen on the website here http://www.holteyplanes.com/).
It is a combined stainless steel bottom with naval brass dovetailed sides and brass lever cap and thumb screw. The blade is in my A2 original specification and has a top sneck. The length of the plane is 43/4“.
Despite its apparent austerity there will be no lacking in specification and quality. The designation will be No.10. Delivery will be end of November 2011.


What better place to start than the blades. Here are the A2 blanks being drilled and shaped. These are now away being heat treated (the only work to be done out of house).


Brass sides have been cut from sheet and trued up into rectangular blanks.
(more…)
September 7, 2011
Window to my workshop 54
The final part of the A6 construction.

Drilling and countersinking frogs for the rivets.

The bottom has been slotted out for mouth and drilling for the corresponding frog rivets.
(more…)