During the course of the completion of these two A31 planes – full size and 1/3rd size – I will be posting up comparison photos over the next two months.
It is always amazing to see how small the 1/3rd size plane is.
During the course of the completion of these two A31 planes – full size and 1/3rd size – I will be posting up comparison photos over the next two months.
It is always amazing to see how small the 1/3rd size plane is.
I had hoped to use the adjuster components from the No 983, as I showed in the last blog. However, I wasn’t quite happy using them in this application. We all know what that means – I started again. This has cost me another two weeks.
I had to make a dedicated holding fixture for both lathe and mill. Part of the work on the spindle is individually paired with it’s traveler part keeping the end play down to less than a thou.
Of course there will be some end play in the threads of the main spindle. I work on every component to keep this end play down to a minimum.
This now concludes all the metal parts. I have wooden totes to finish off, will blog these later. There should be completed planes by the end of next week.
It might seem that things have been quiet here but in actual fact it is the opposite. I have been too busy to post and I have had a number of issues, including a small injury, which seem to compound. Old age seems to be catching up on me and I don’t know if I am getting slower or fussier over the work (obviously I favour the latter ![]() ).
).
It had been my intention not to do any more posts until I had a finished plane, but I just wanted to assure you all that I am alive and well. The project is nearing its end.
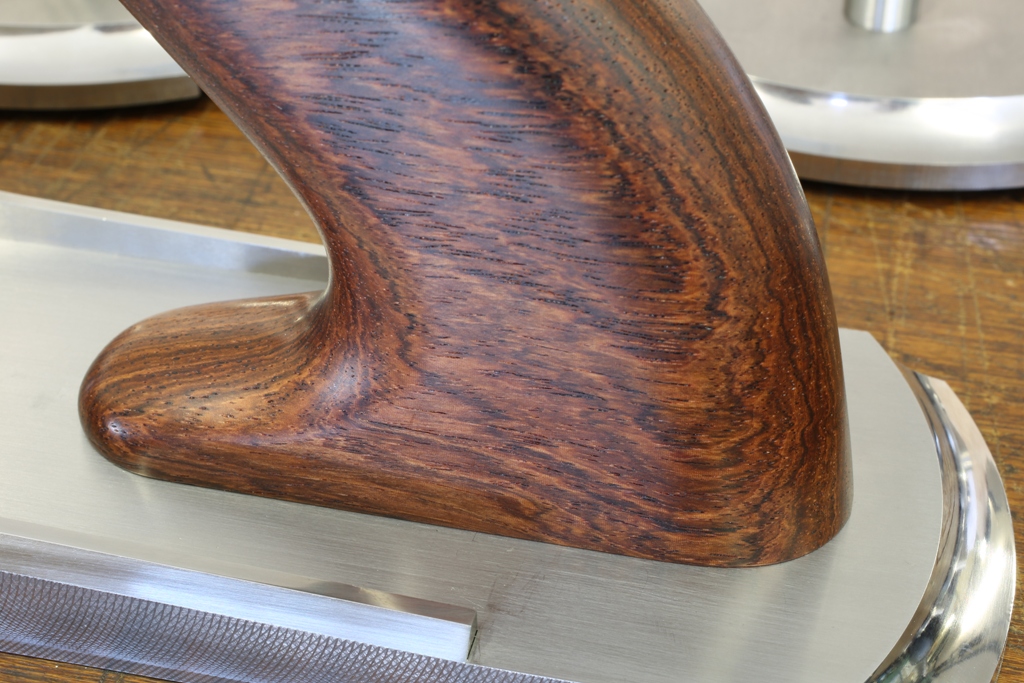
There used to be a time that I believed simple was easy – wrong. I certainly favour the simple lines. After much deliberation this union between the handle and sole works well. I am not going to show the whole plane until everything is finished.
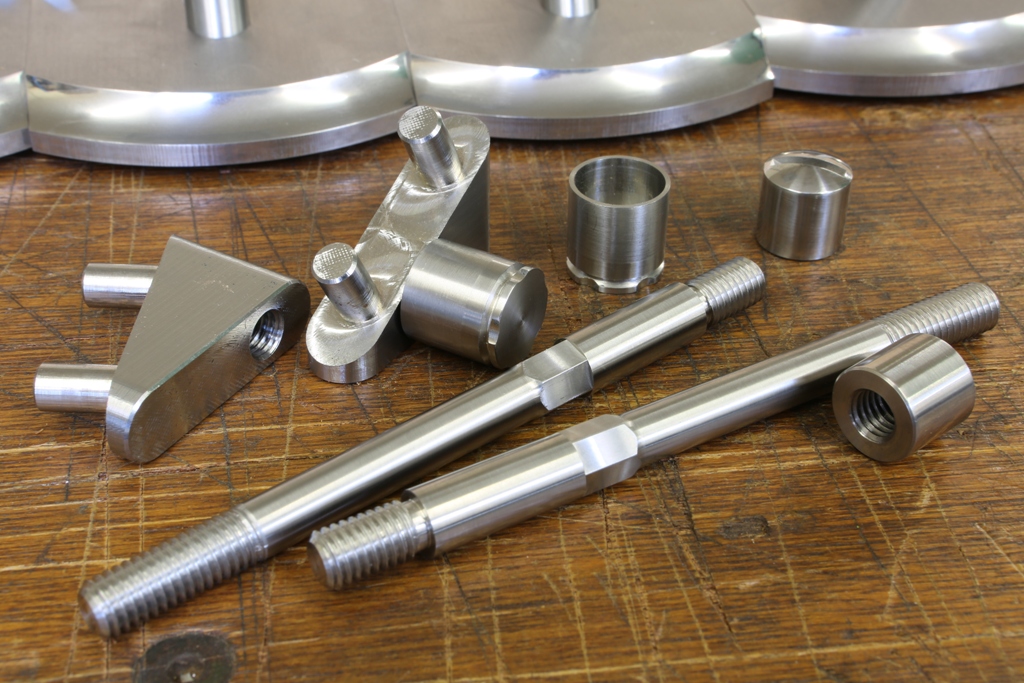
Here is the simple part….. Components are shown in pairs for viewing purposes.
These parts include handle boss, which has two 8 mm integral rivets which are peined into the sole. The boss body is to be recessed into the handle, drilled and tapped for the handle stem.
This stem is 10 mm in diameter at its base going down to 8 mm separated by the 8 mm hexagon. This is then secured with a wrench so it will always be tight at the base. This stem alone has a lot of rigidity to it which then compounds when compressing the handle.
The handle has a cup for its fixing nut. This fixing nut has a radiused slot milled into it so that it can be driven with a coin. The cup is faceted at the bottom so that it cannot rotate to avoid mismatching contour or come loose from the handle. This gives a very rigid handle which is compounded when the handle is tighten up.
All the components that you can see, including the screw cup, are made from solid stainless steel bar.
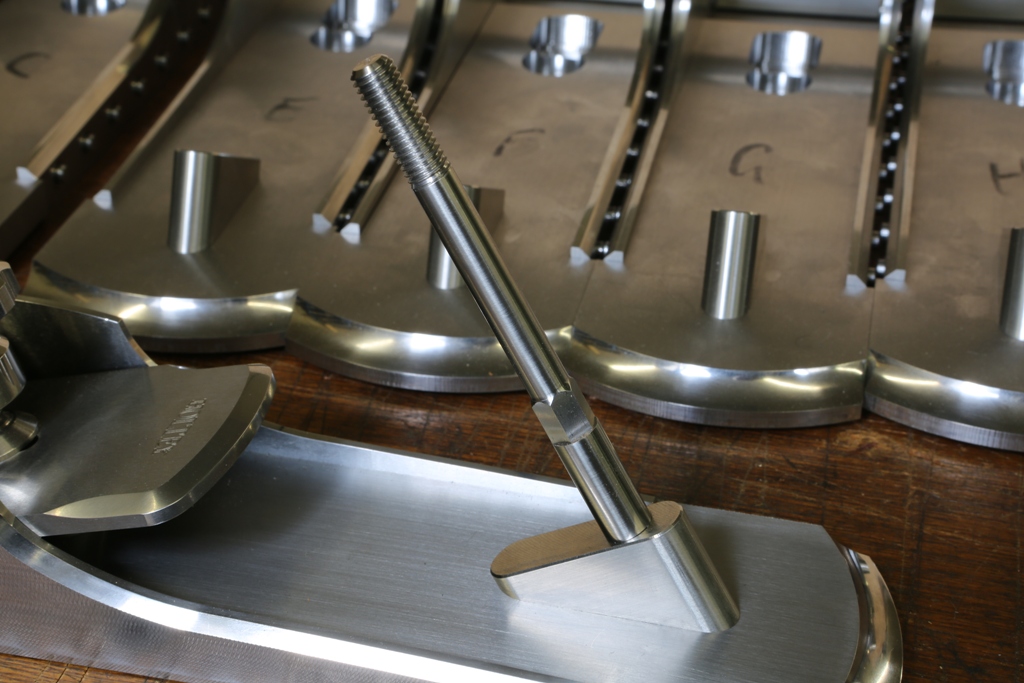
The boss and stem fixed in position.
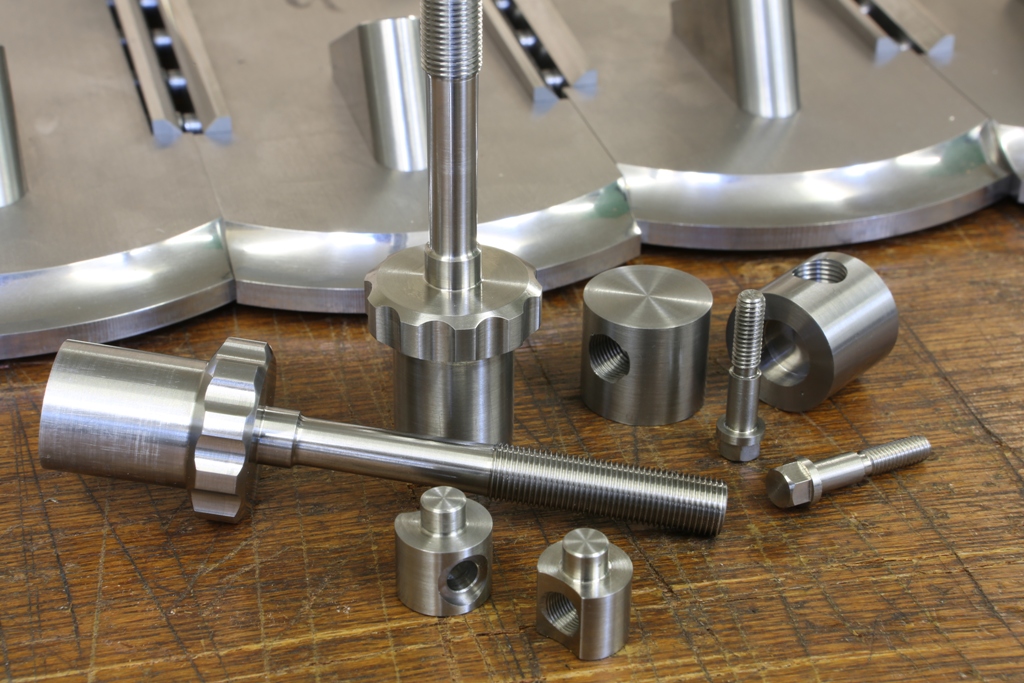
The adjuster – where does one start?
The most visual item is the spindle (still attached to its carrier) and like everything, it comes from a solid bar. It takes a lot of planning in the making. I will let the picture tell the story.
At the very last minute, when I am happy with everything else, the spindle can be parted from the carrier.
All the components are a project on their own.
A whole book compressed into a few lines ![]()
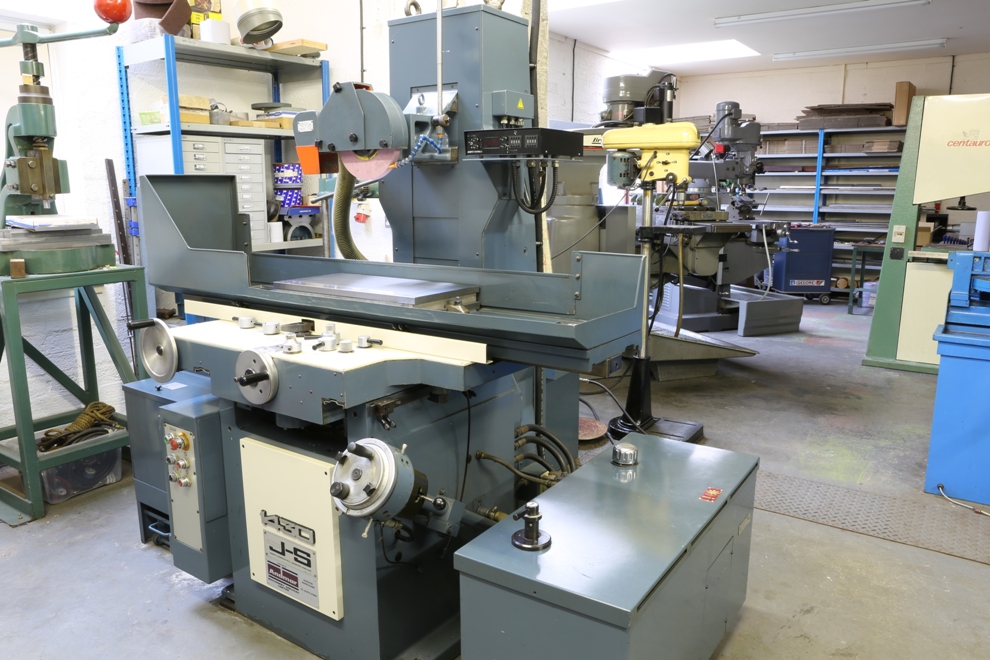
The surface grinder has been the busiest machine in my workshop for the past few years. All my sections, after size adjustments in the milling machine, are precisely ground all round. The same with all the tooling and work holding I make. This is necessary to get a good reference throughout all my work.
These are the bottoms being ground on their edges insuring that they are square and parallel. It is not often I use a flash but it is nice how everything has been frozen in time.
I have also been busy during this time with the blades. The blades are being profiled in ‘Siamese pairs’ for easier work holding. These have already been stamped with the HOLTEY logo in the fly press, I do this first as the edges close to the stamping area can become distorted.
After the blades are separated they need to have a bevel milled on and the chamfers polished before sending them away for heat treatment. The polishing to the chamfers is important as it would be very hard to do after the blades had been hardened. When the blades come back from the heat treatment I will be surface grinding them all round.
Despite having some part made infills which had been drying for 20 years, I decided that I preferred this piece of rosewood (which has also been in my workshop for a long time, and I have very little left) – Dalbergia Cubiquitzensis – it has more ‘bling’ ![]()
I am in the process of making a small batch of these planes, which will include this rosewood, Boxwood and a mystery wood – photos soon.
Progress on my A28 Chariot Plane
This picture shows some idea of all the work that goes into this plane. Unless you have done it yourself you can never imagine the effort and thought that goes into making this Chariot. This plane is made to a standard light years beyond its original counterpart made by Norris.
During the working of this A28 plane I have been neglecting this blog but now I am ready to update which I will do over the next few weeks.
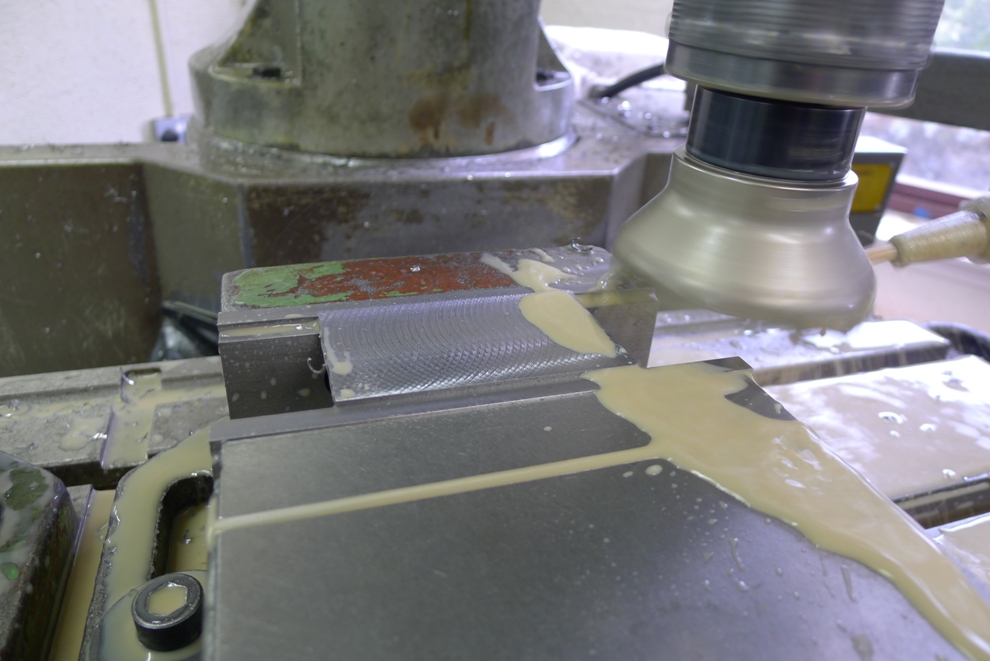
All the sections I use are cut out of stock material and brought down to size, by sawing and milling.
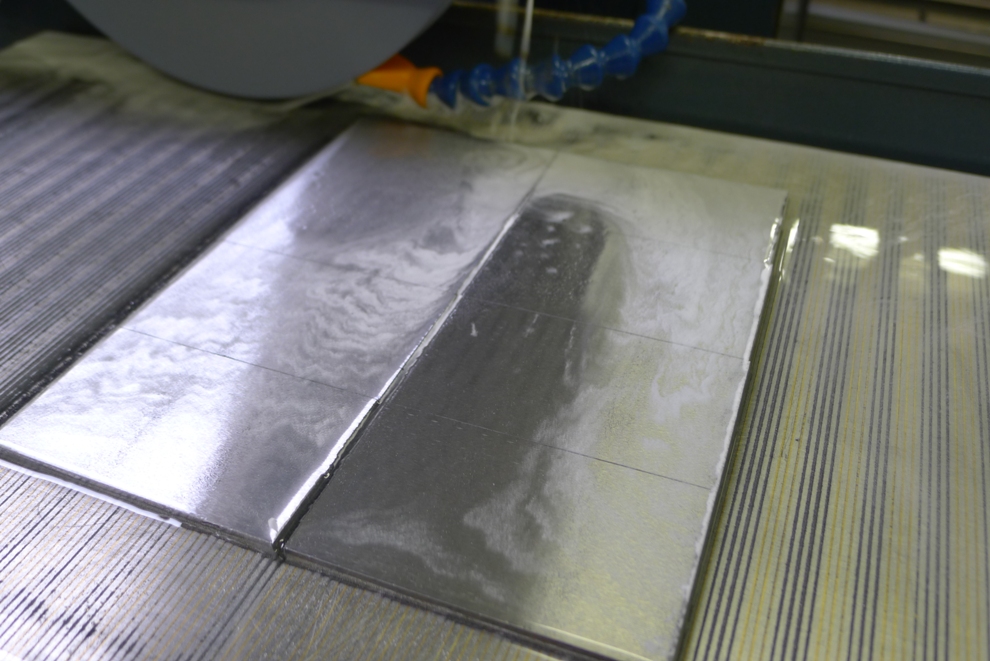
As most of my working and setting out depends on a high degree of precision (which has never existed before) surface grinding in the early stages allows me to achieve my goals.
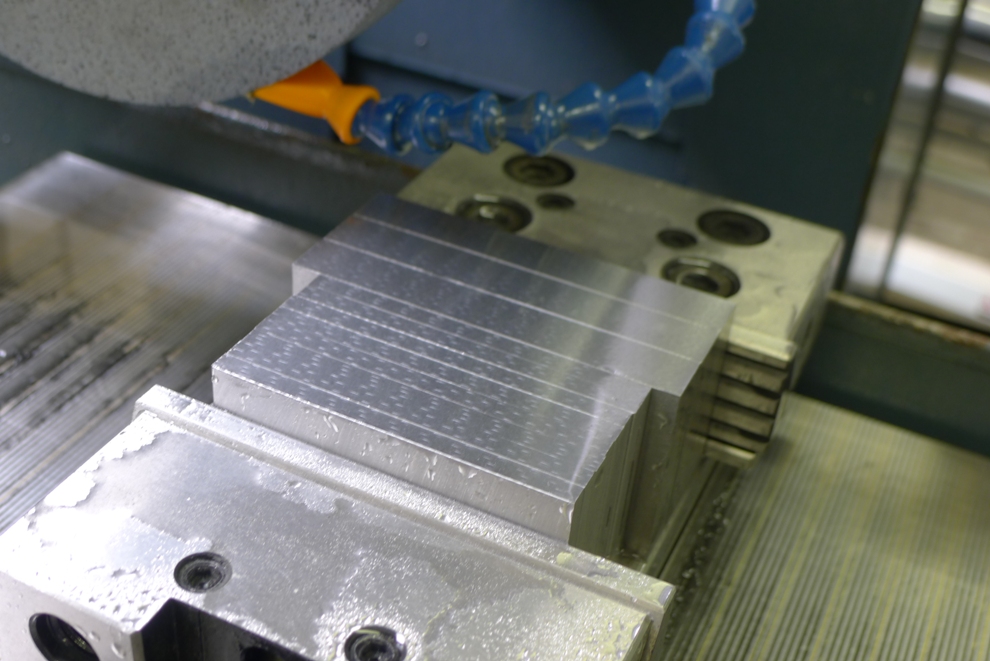
This picture shows the edges being ground. This is also important to have a true pinch dimension. I need this for the dovetailing.
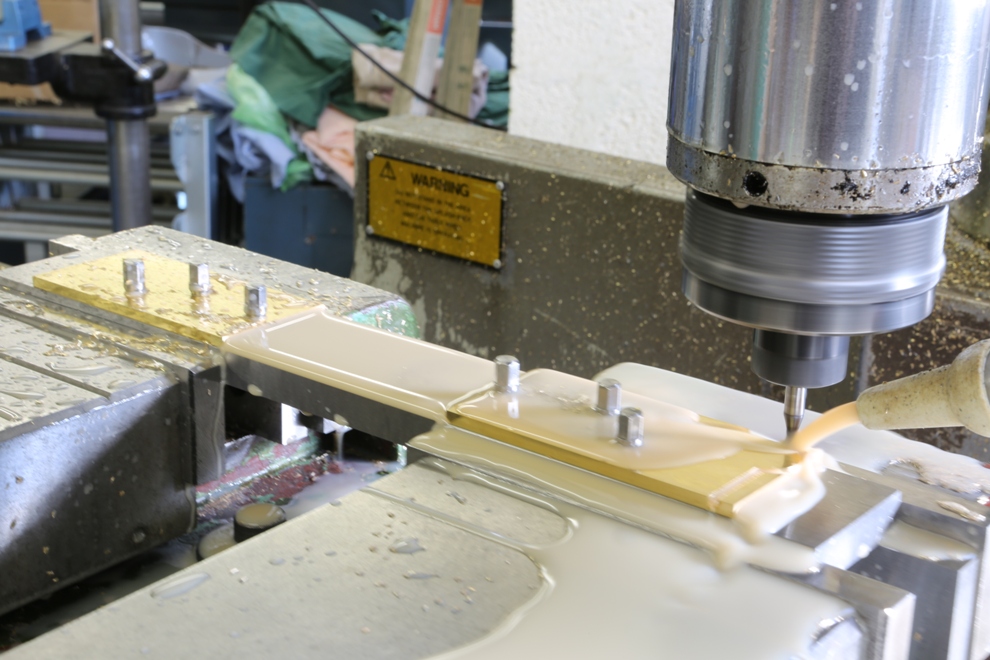
Jigs and work holding fixtures are also all made to precision. After much preparation work to the brass, similar to the steel work as described. Then rivet positions are drilled and I am able to screw these sides with purpose made bolts to the fixture for profiling and chamfering.
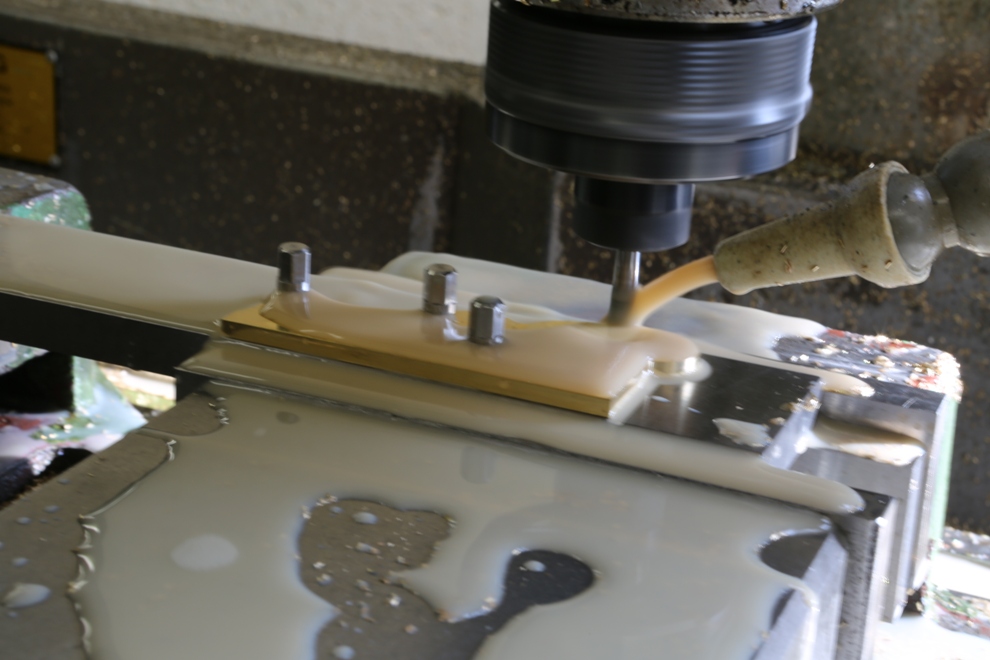
After routing out the profile then the chamfering is completed whilst the sides are still jigged.
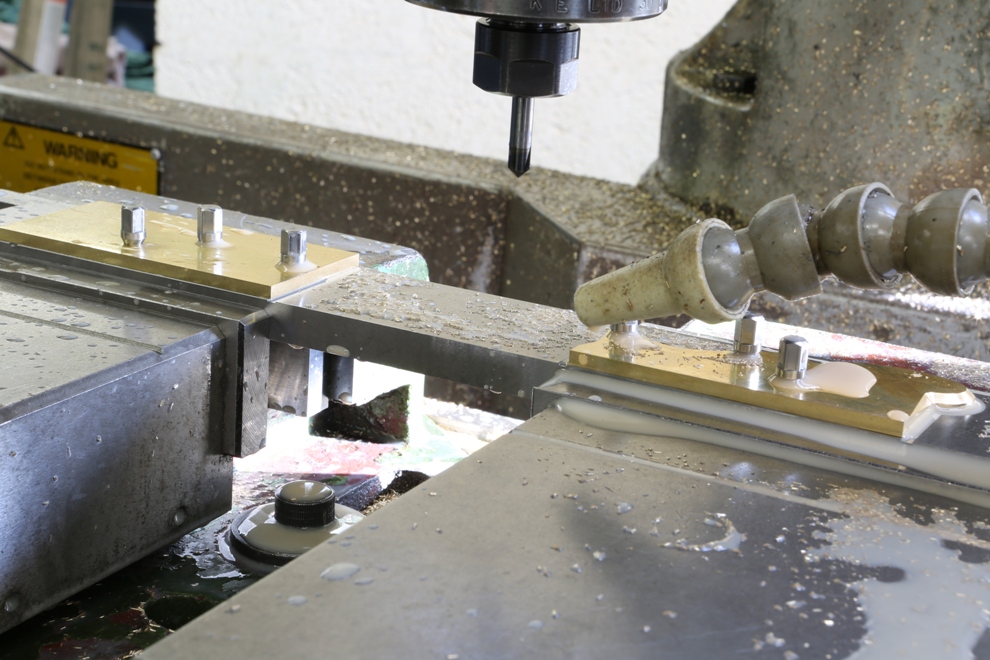
Just overall set up pictures.
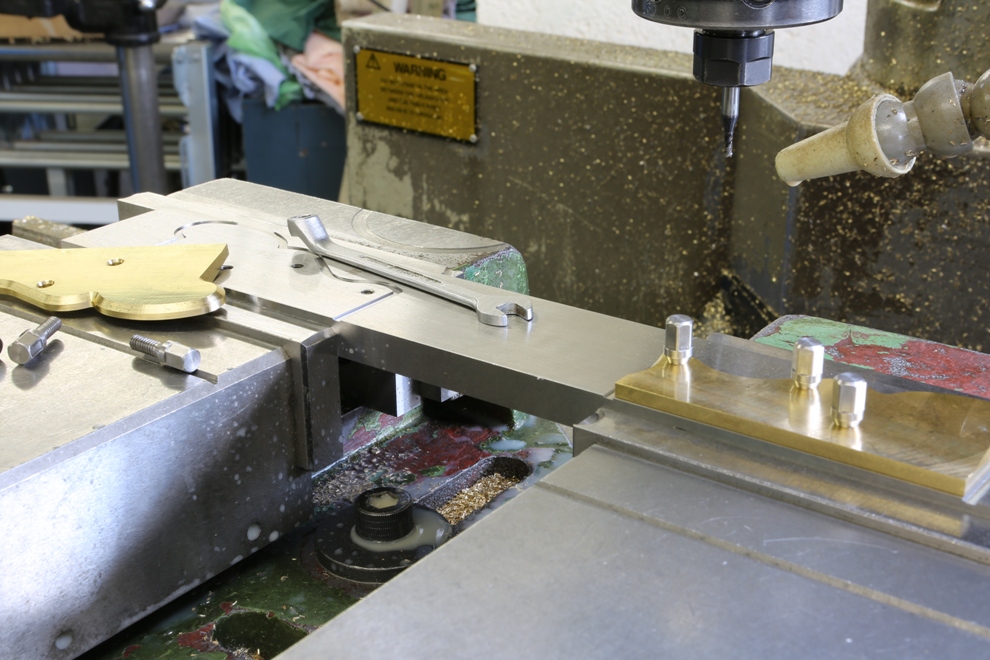
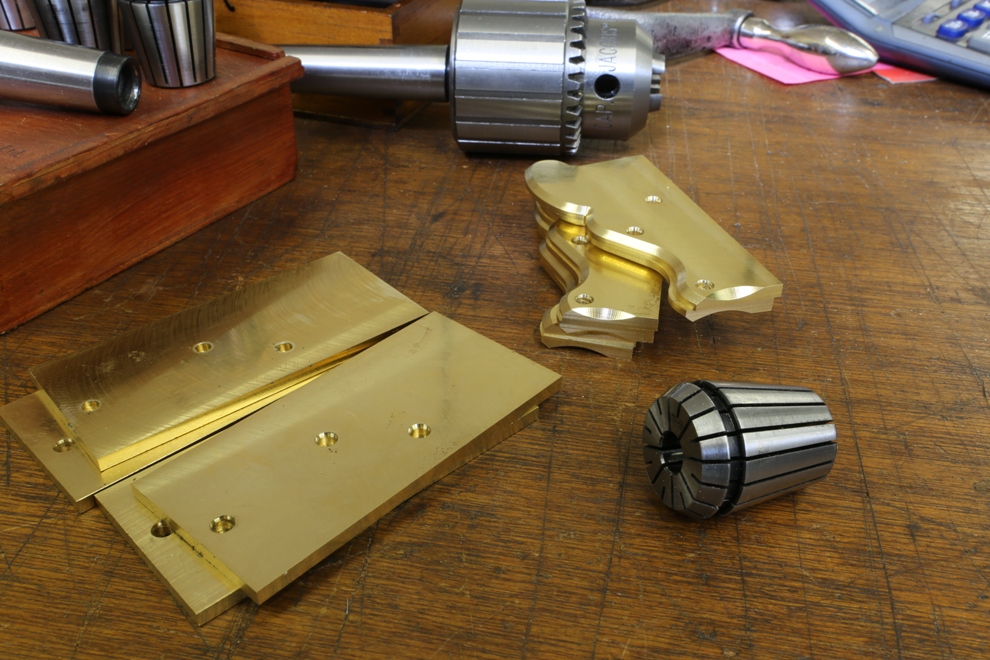
Here are the some sides already milled and some pre-prepared waiting for profiling.
One of the problems of making precision planes is needing your own tool room. This means that on occasions maintenance is necessary.
A simple task like cleaning my coolant tank got so complicated that two weeks went passed before I could get the grinding machine back in service again.
My schedule is now running late and I am looking forward to getting back to working on planes again.
Powered by WordPress