From the Workshop

April 2, 2020

Workshop Blog No 33 – No 984

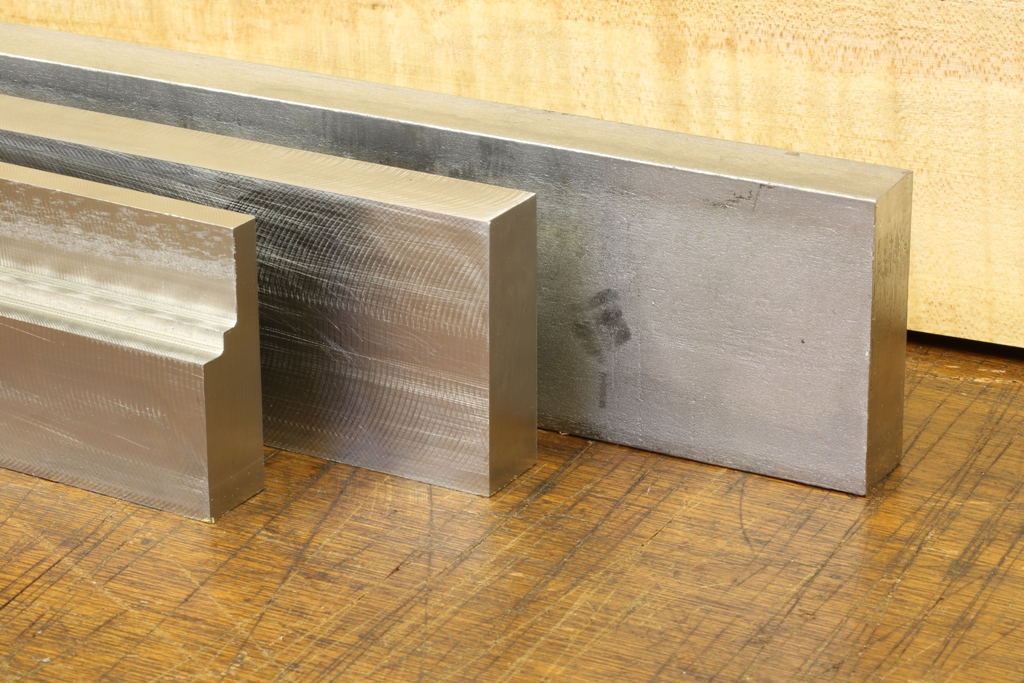
Some photos of the No 984 panel plane

CI3A6503

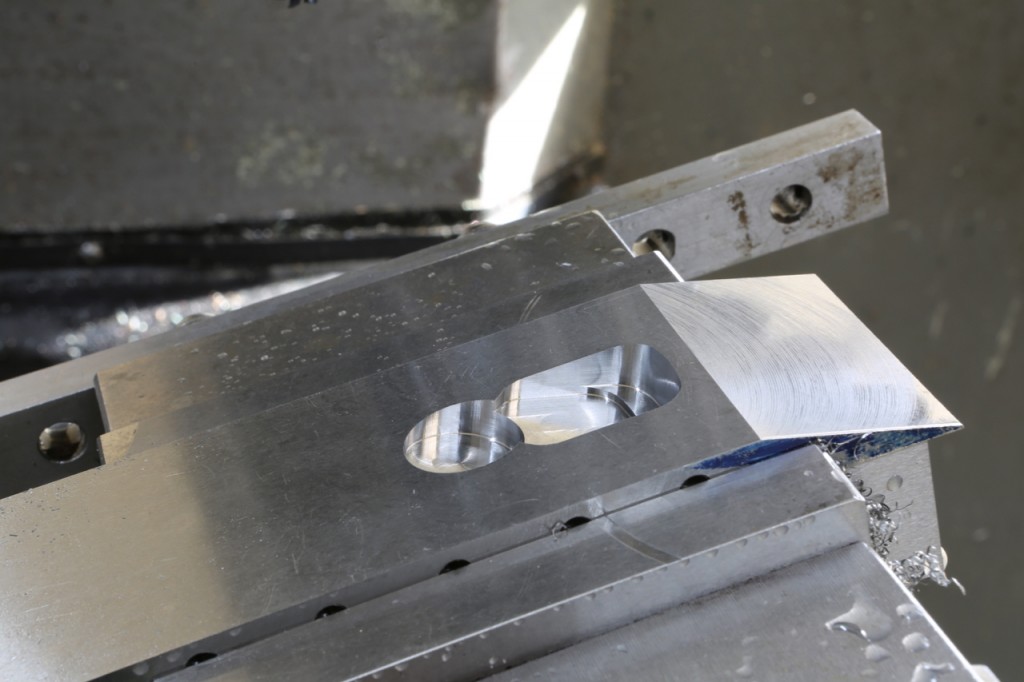
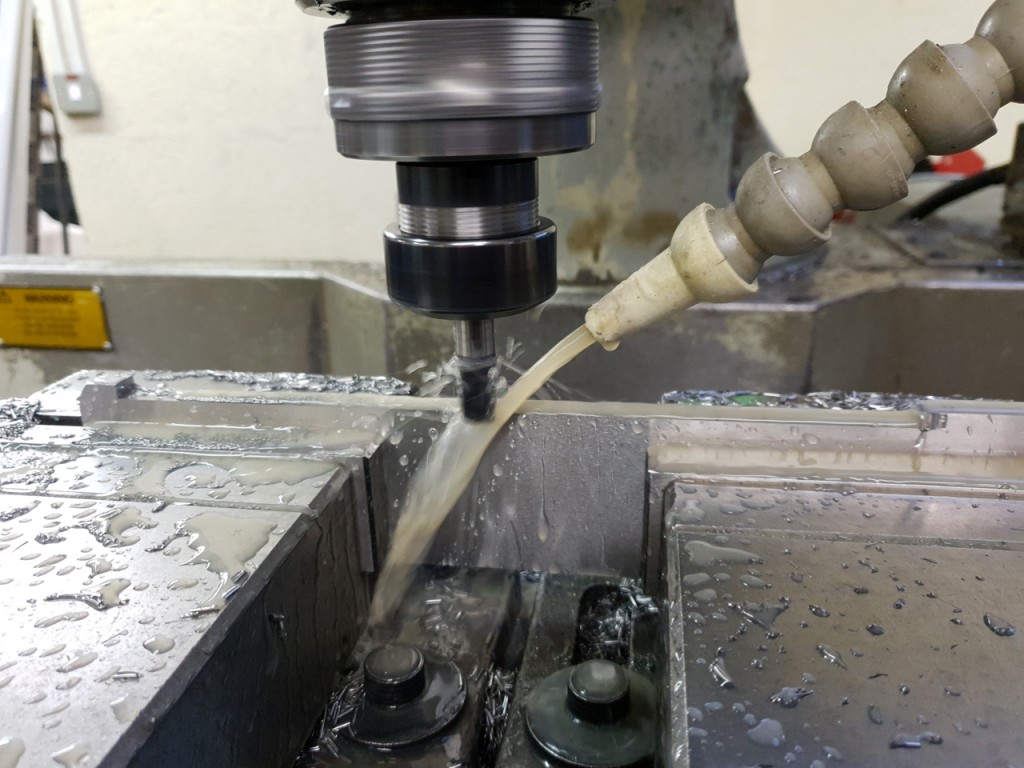
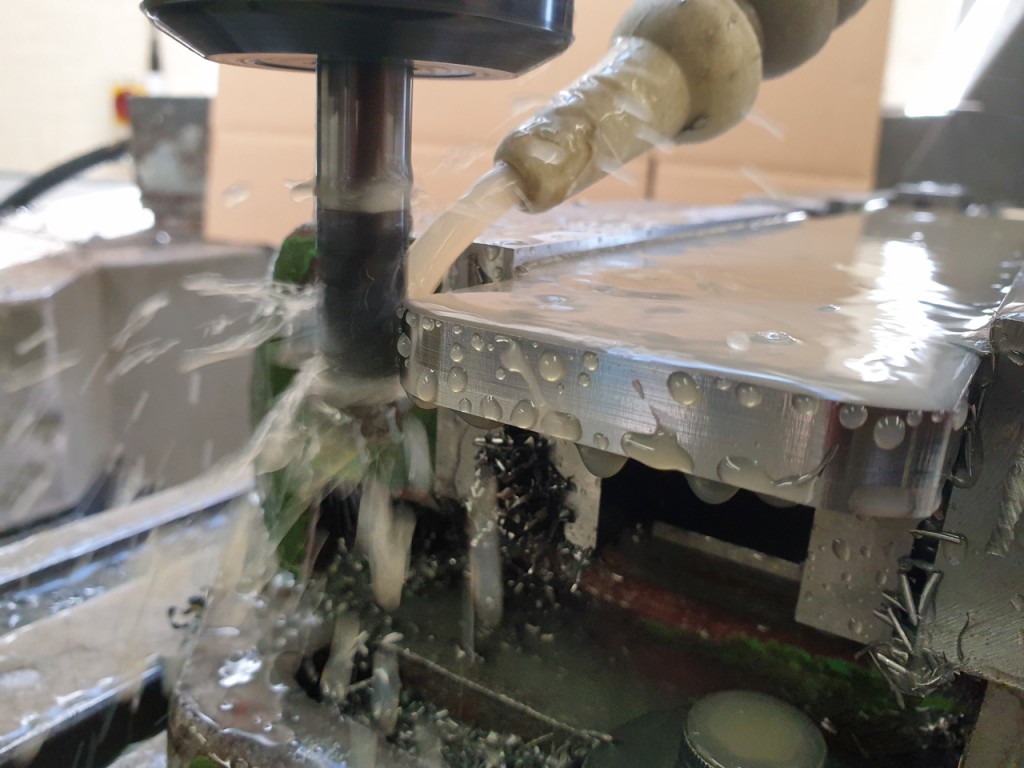
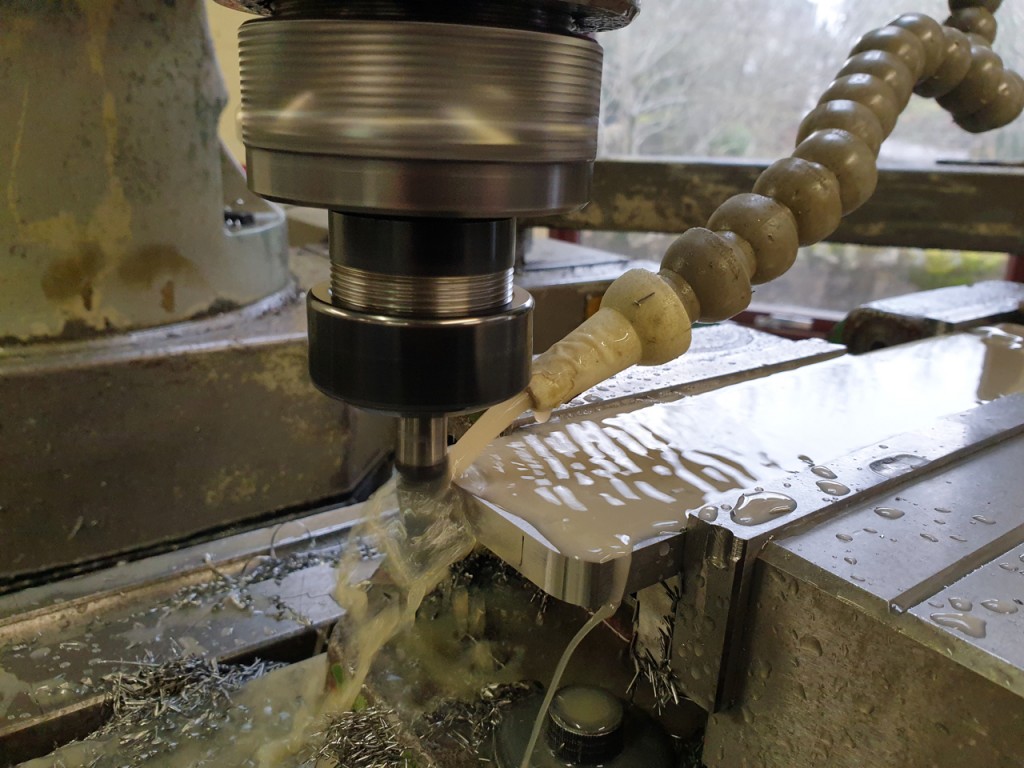
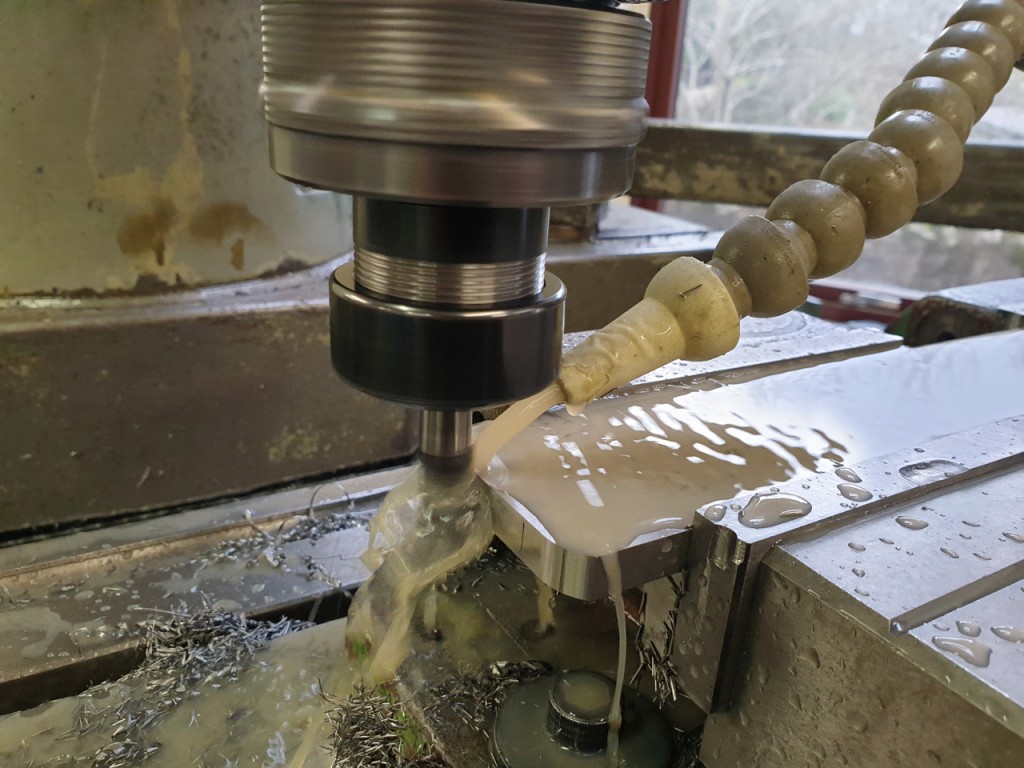
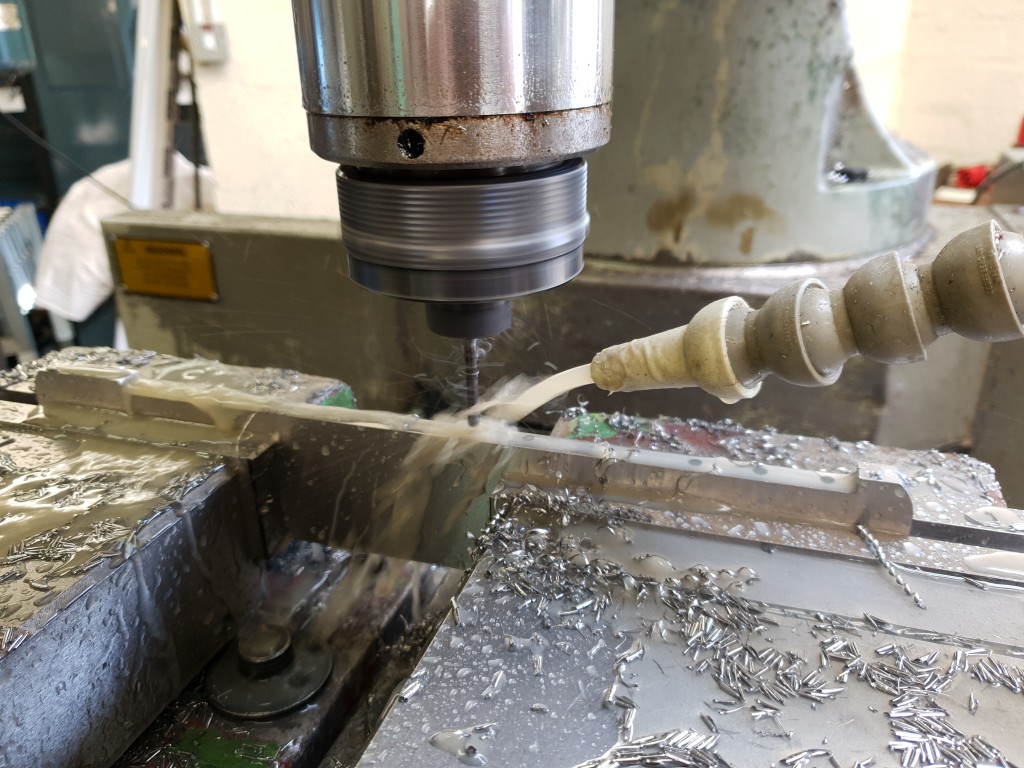
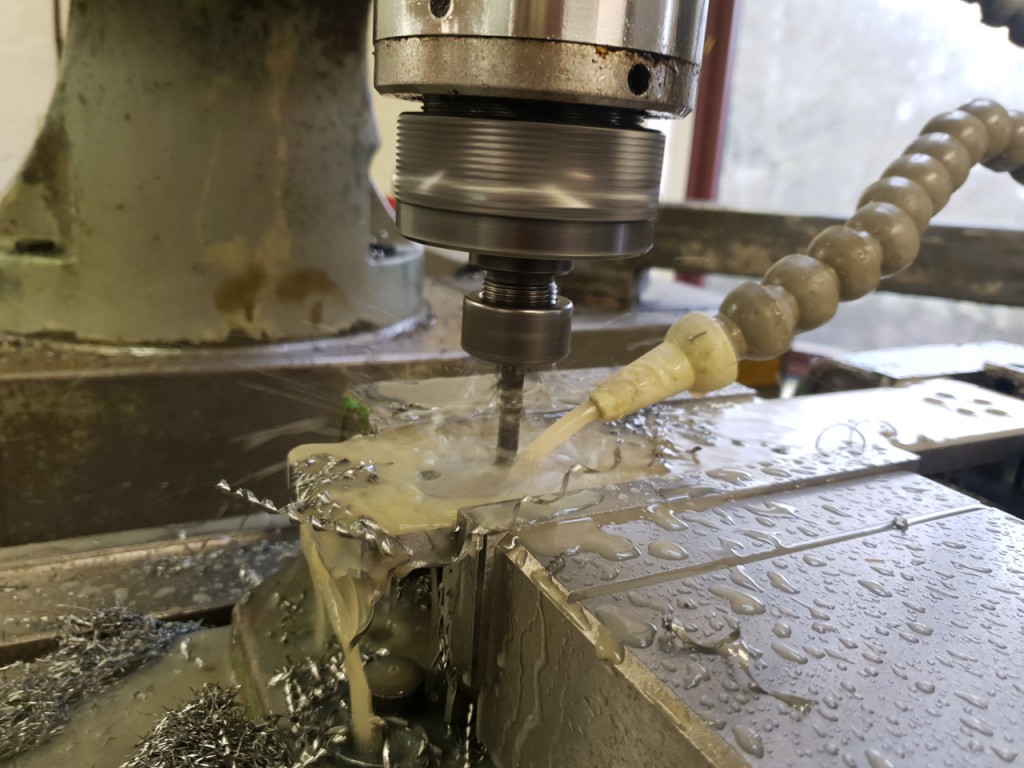
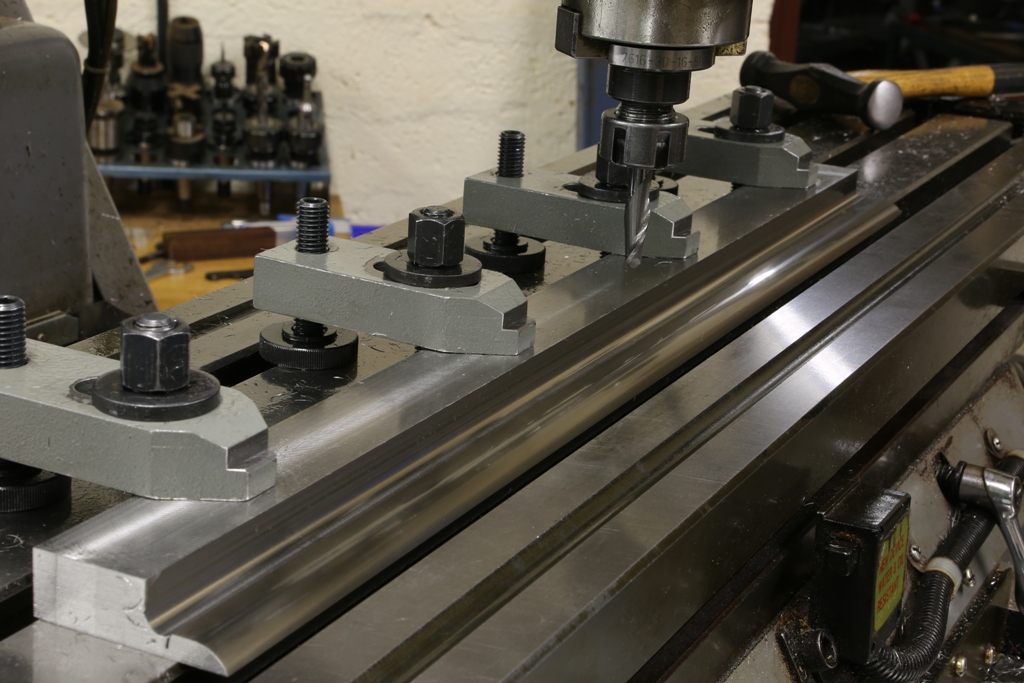
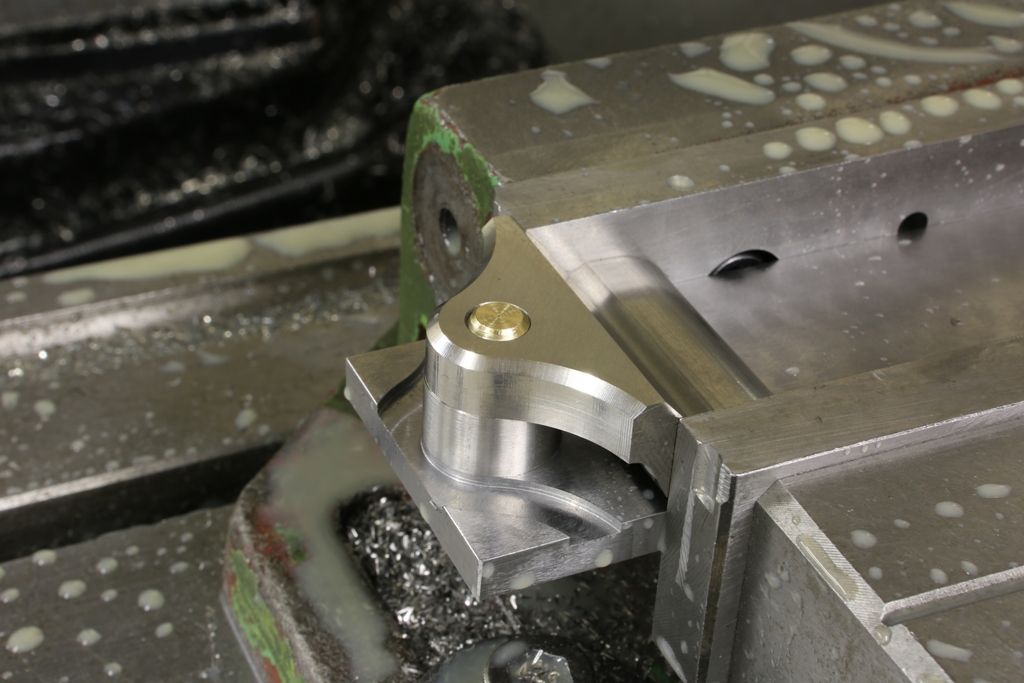
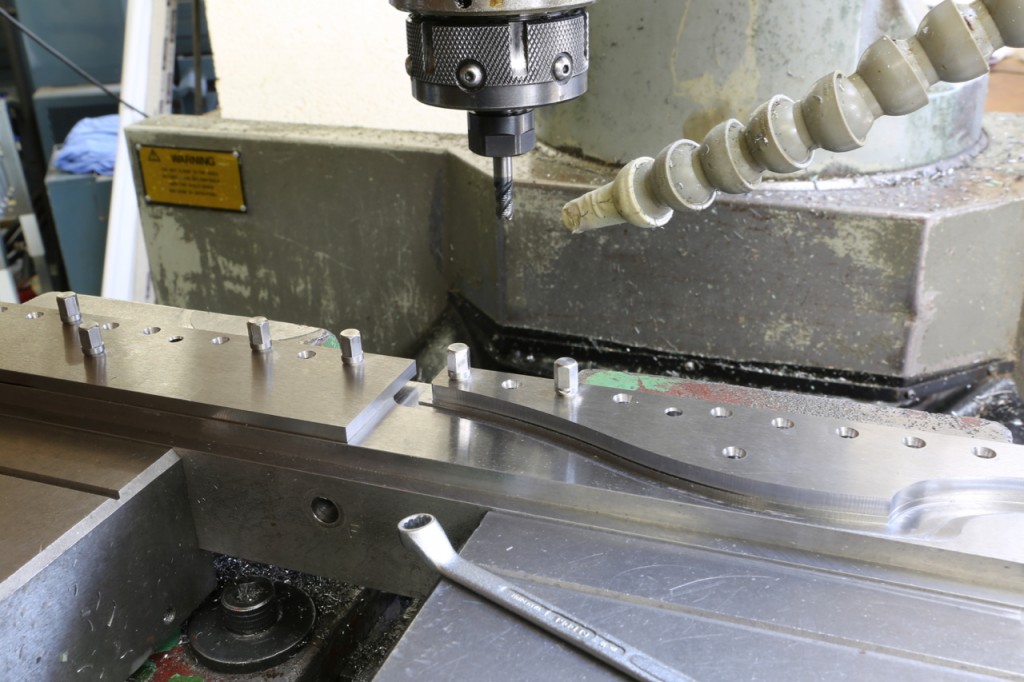
No 984 panel plane sides being routed on milling machine – no water jet or laser here. All work in house.

CI3A6537

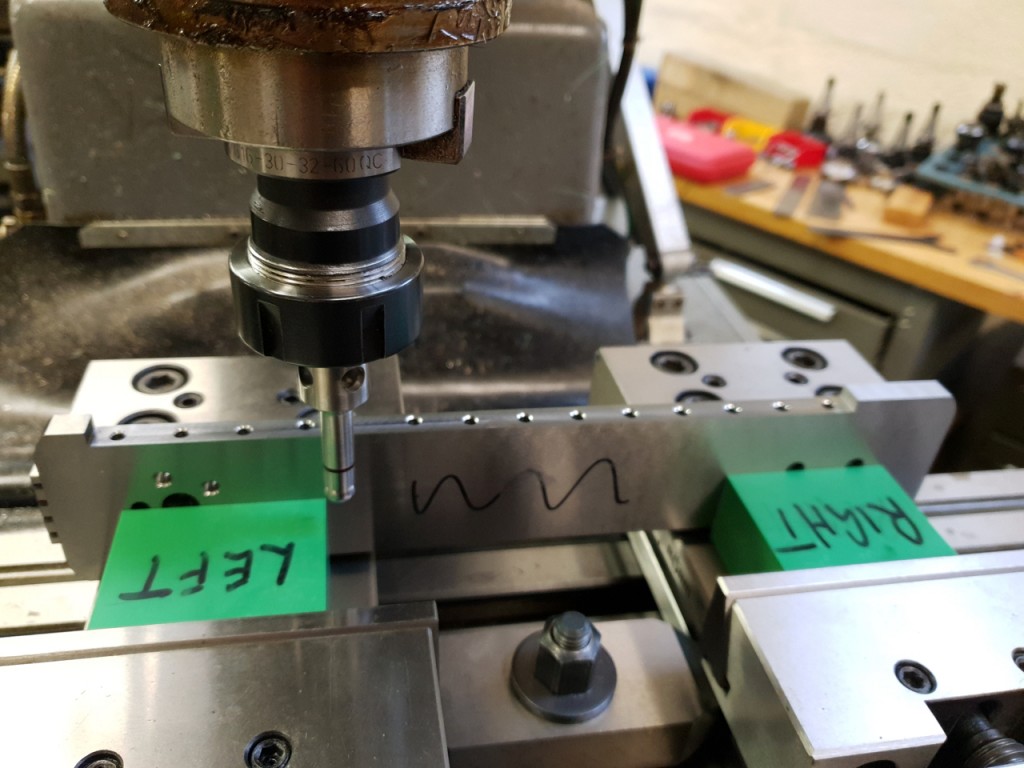
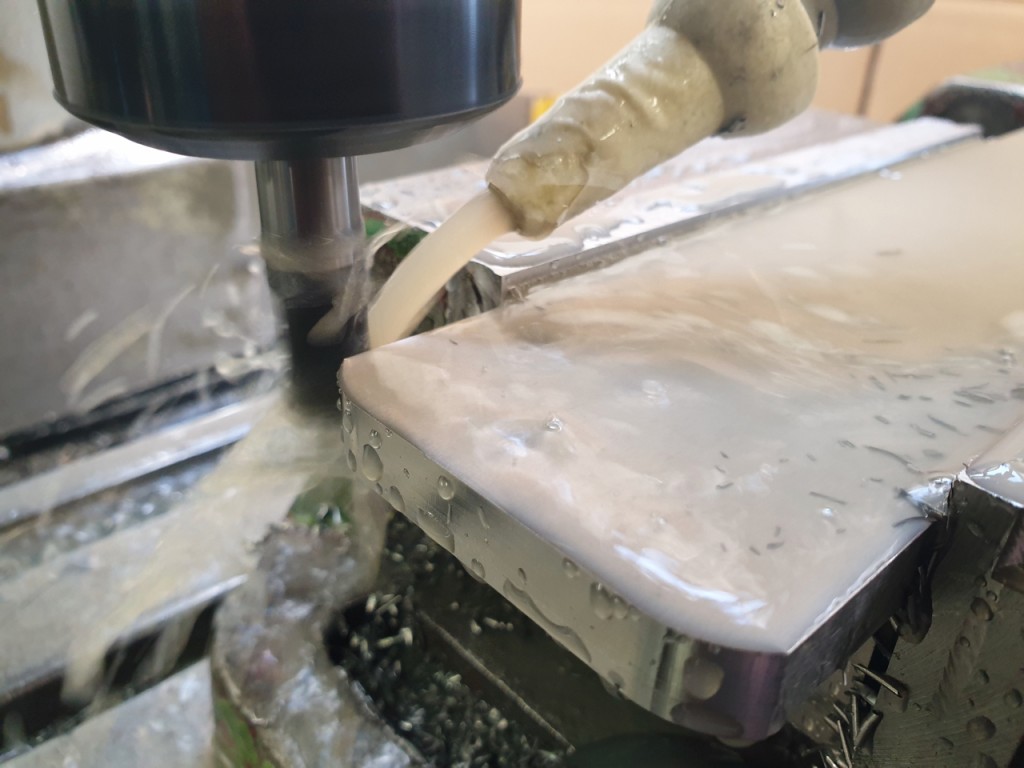
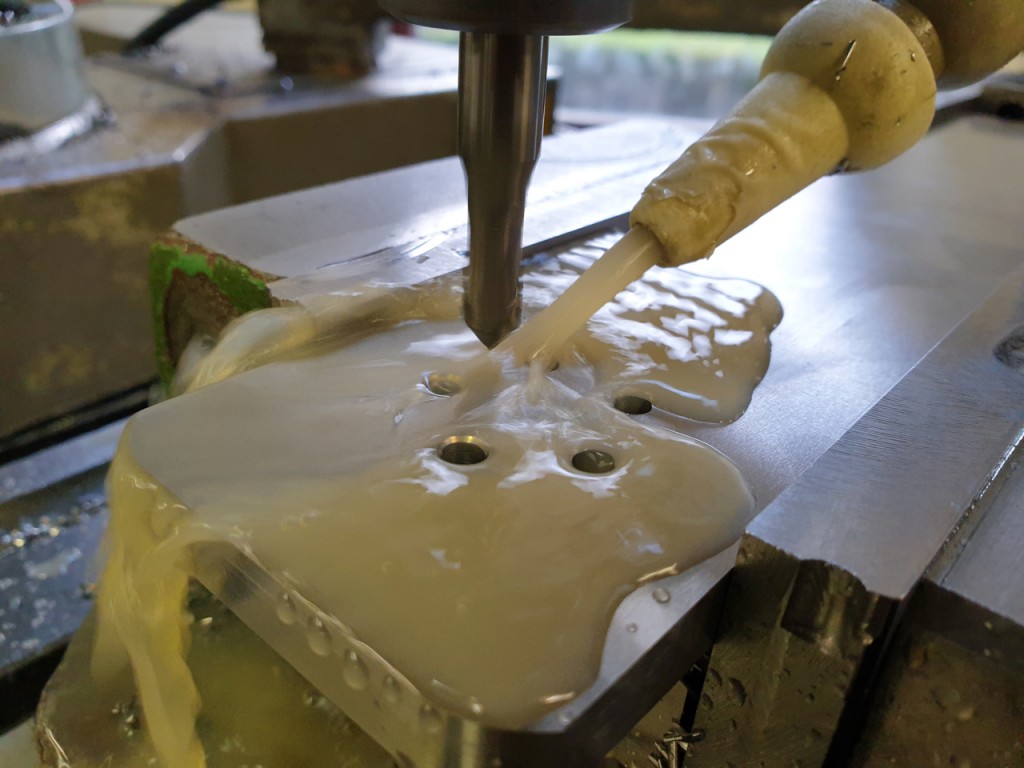
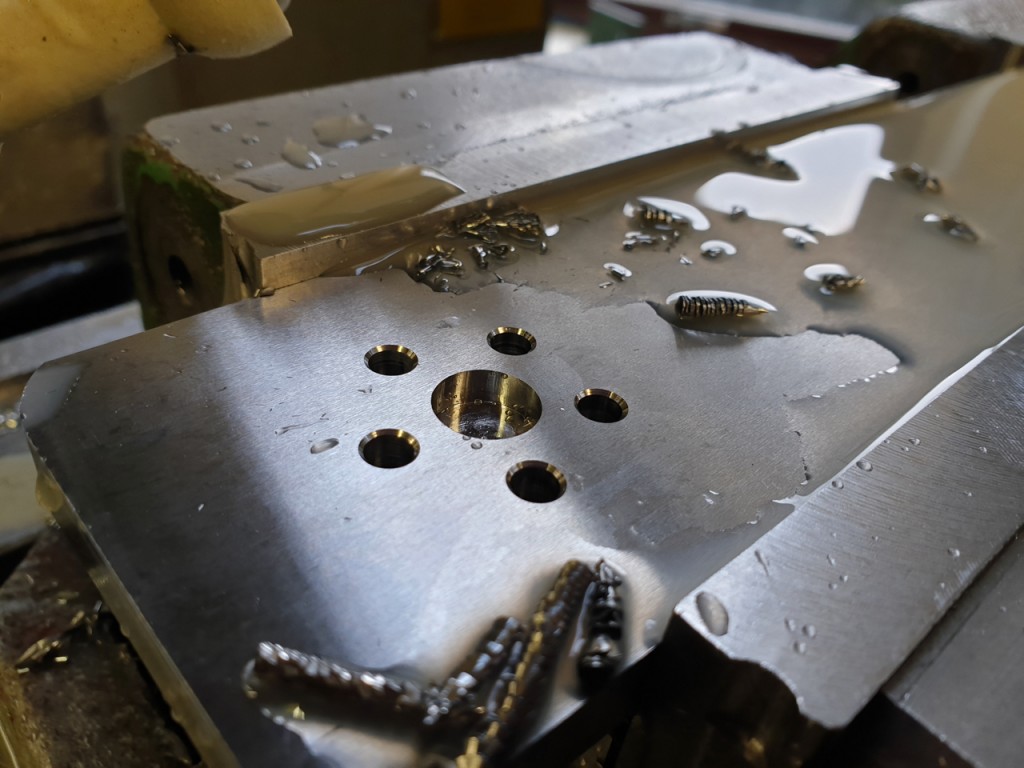
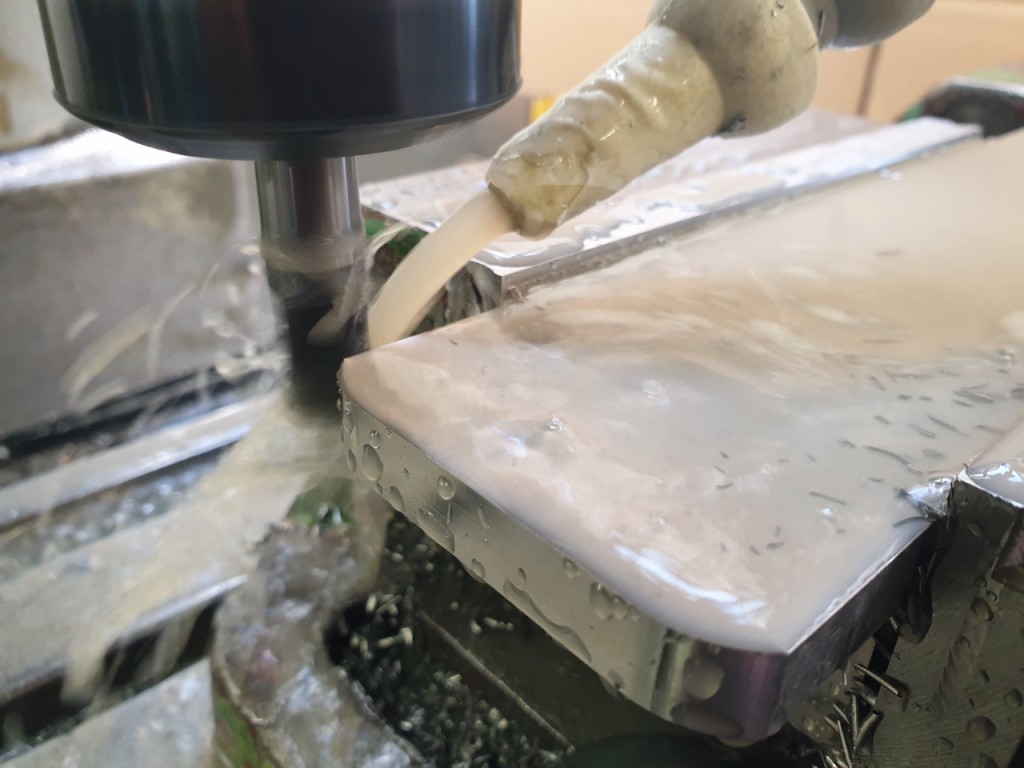
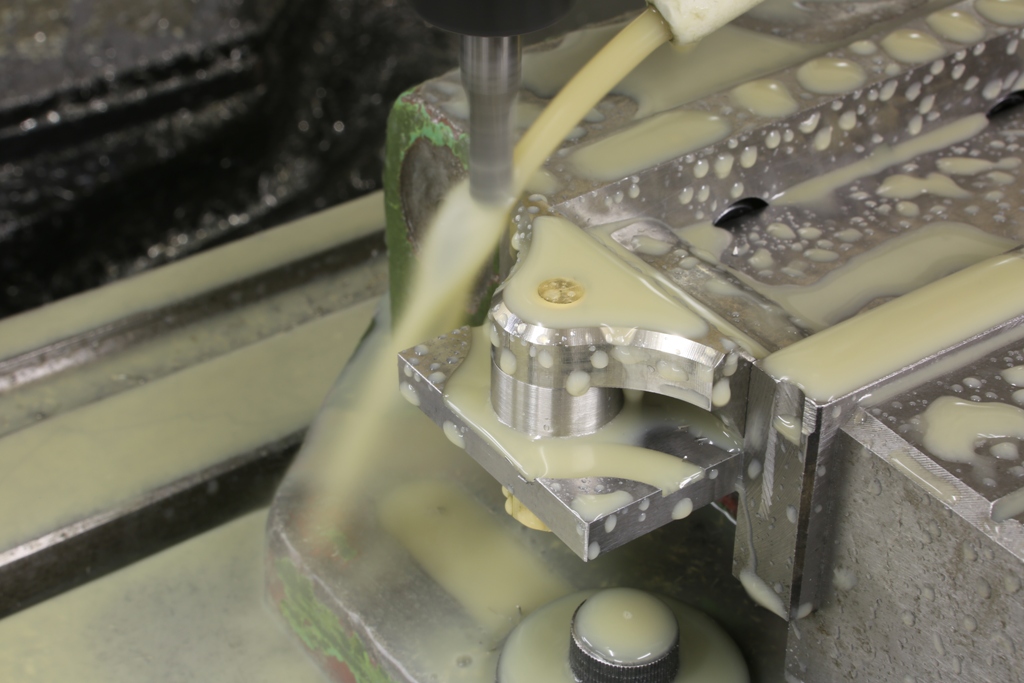
No 984 panel plane milling of blade bed and adjuster recess.

CI3A3023

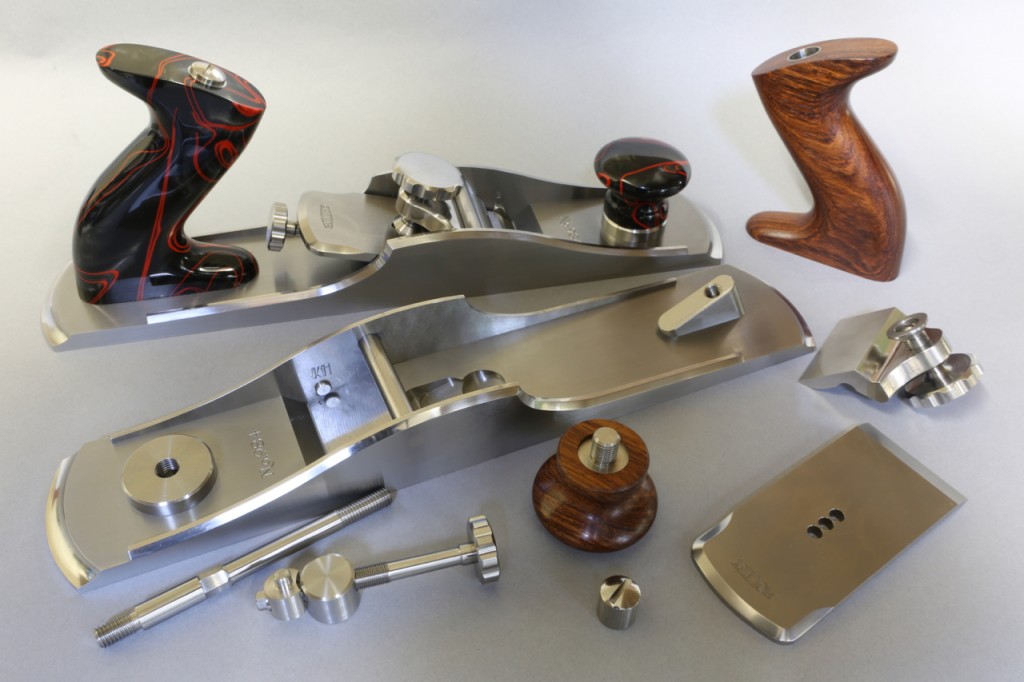
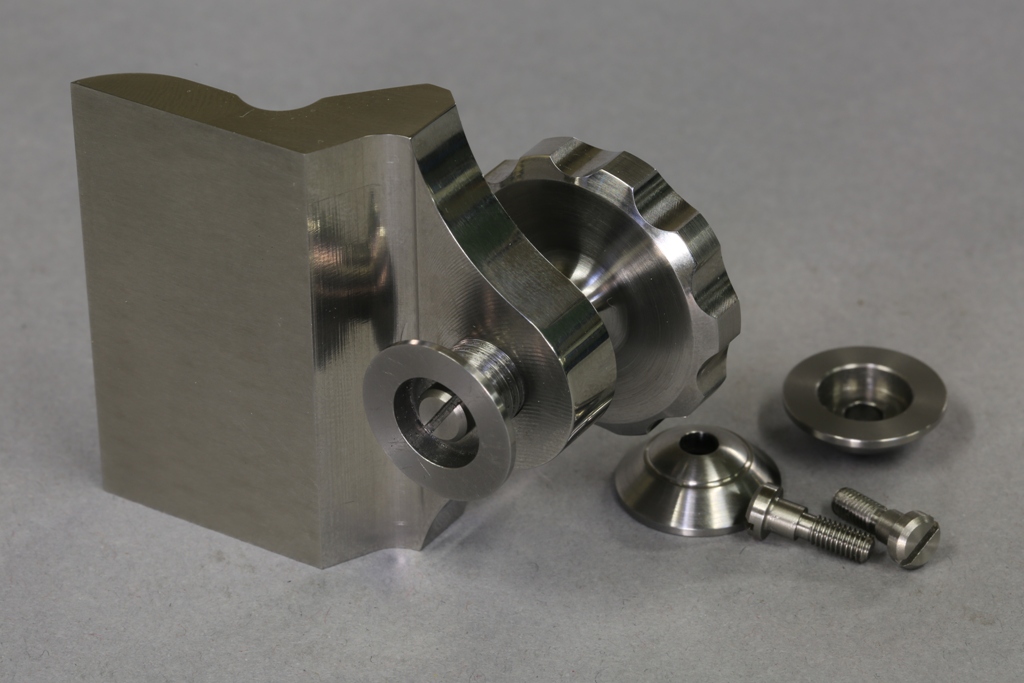
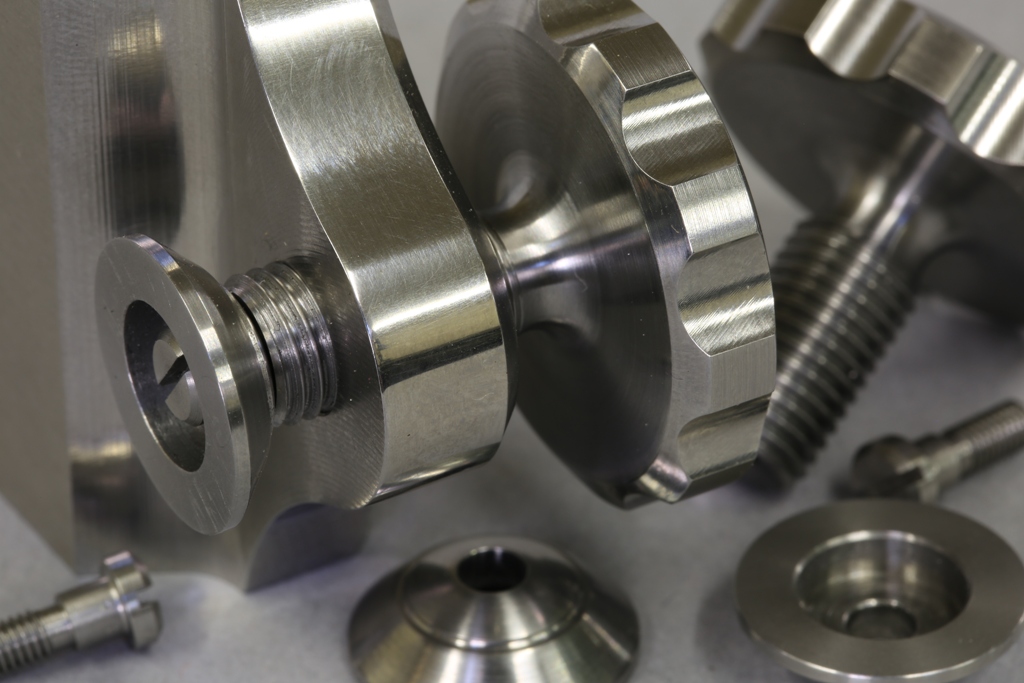
No 984 panel plane. Lever cap, adjuster and bun are easily removed without any tools

CI3A3030

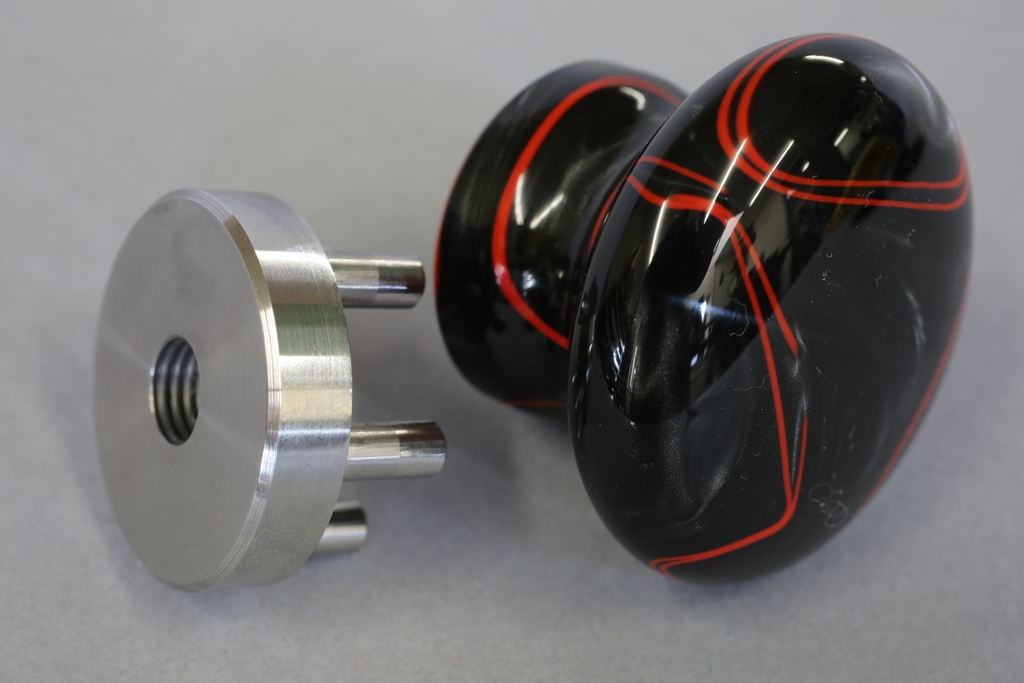
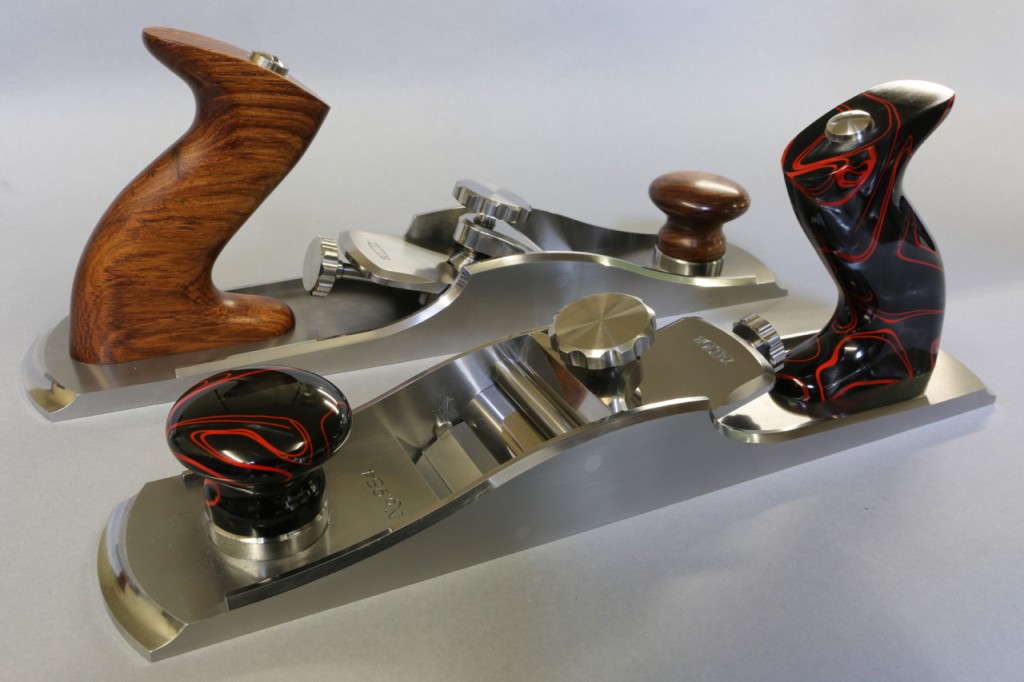
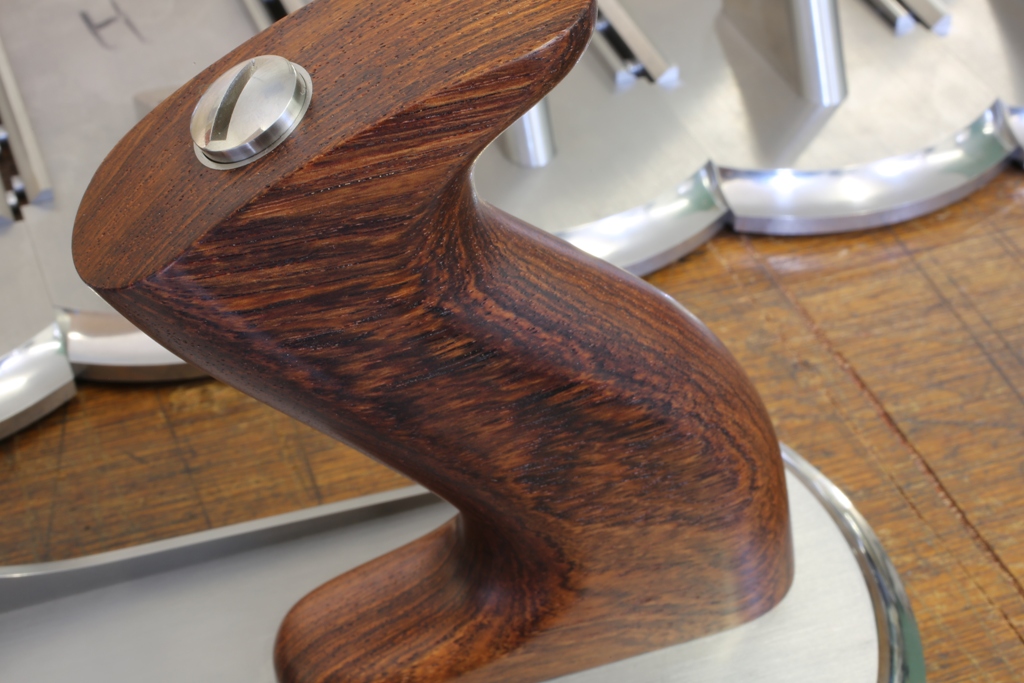
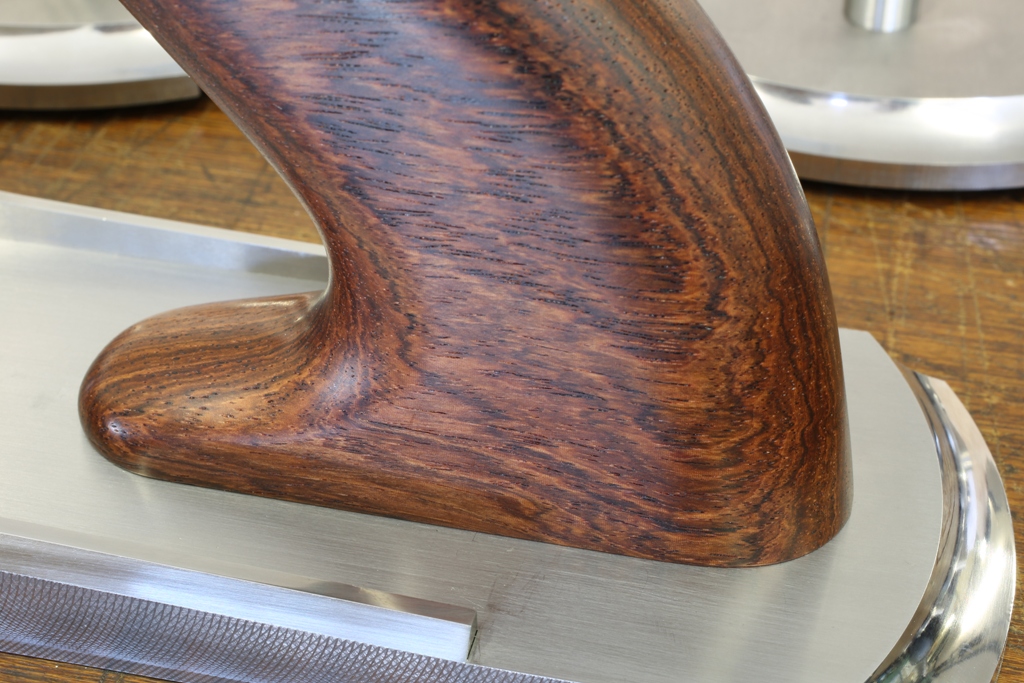
No 984 panel plane with acrylic and rosewood ( honduran rosewood) handles

February 22, 2020

workshop blog no 29 – No 984s

Filed under: No 984 — Tags: , , — admin @ 7:50 pm

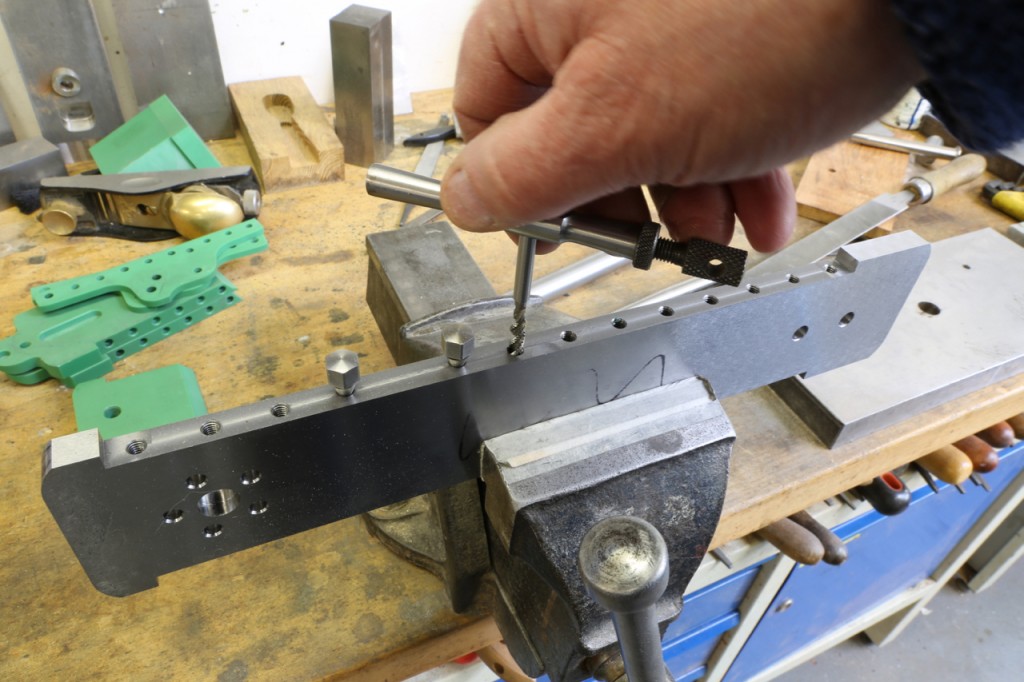
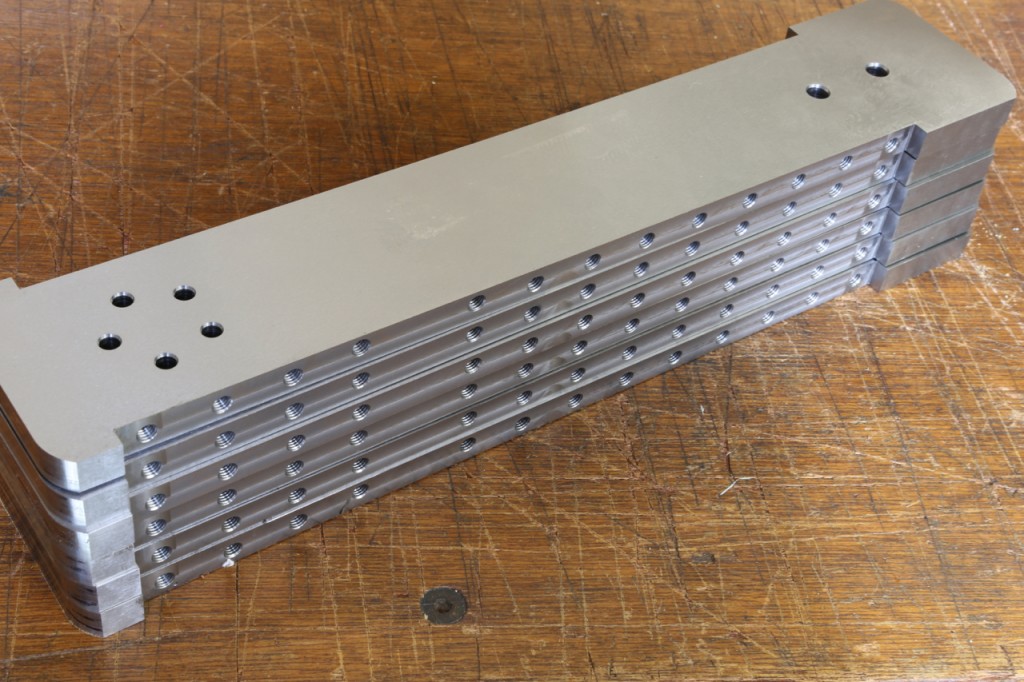
Unlike the No 984, with its in situ dowels, I have chosen to screw the No 984s planes. Both systems have their good points.

CI3A6454

CI3A6449

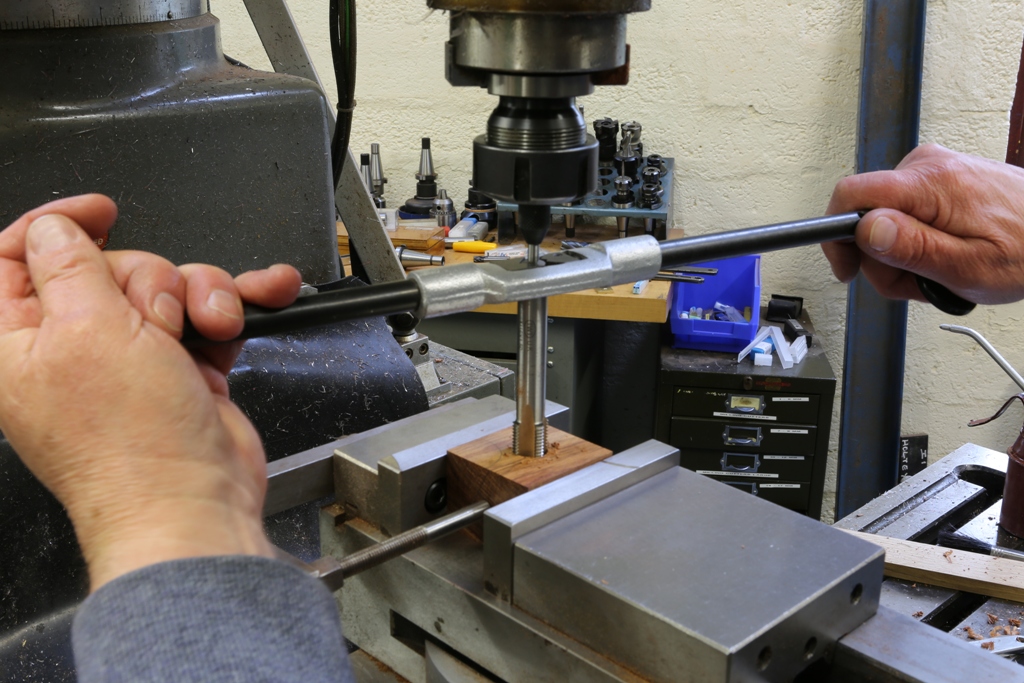
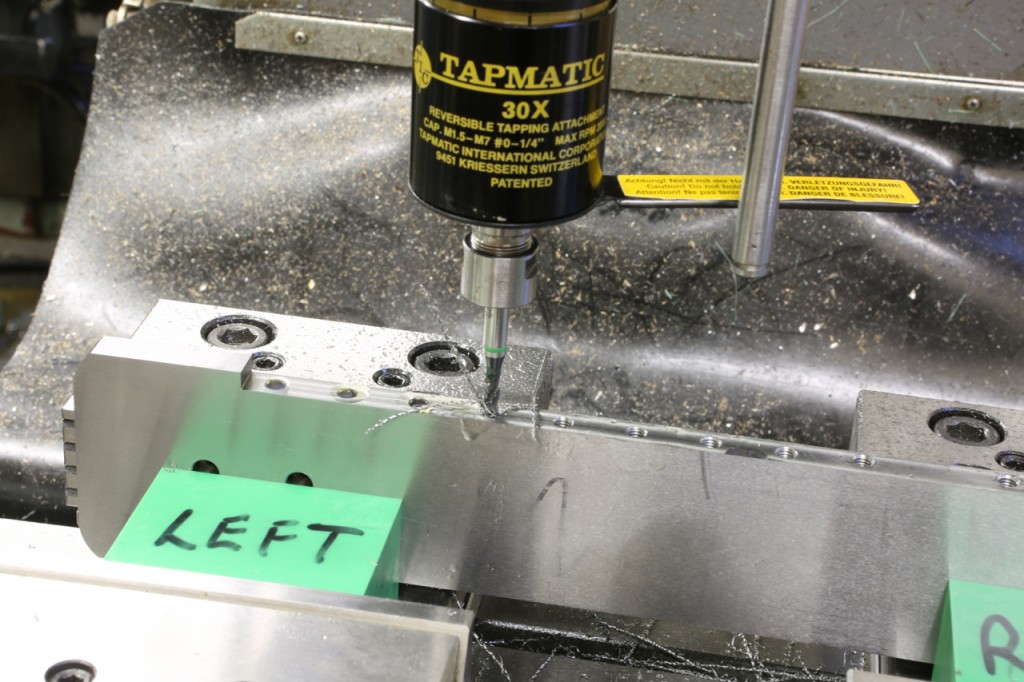
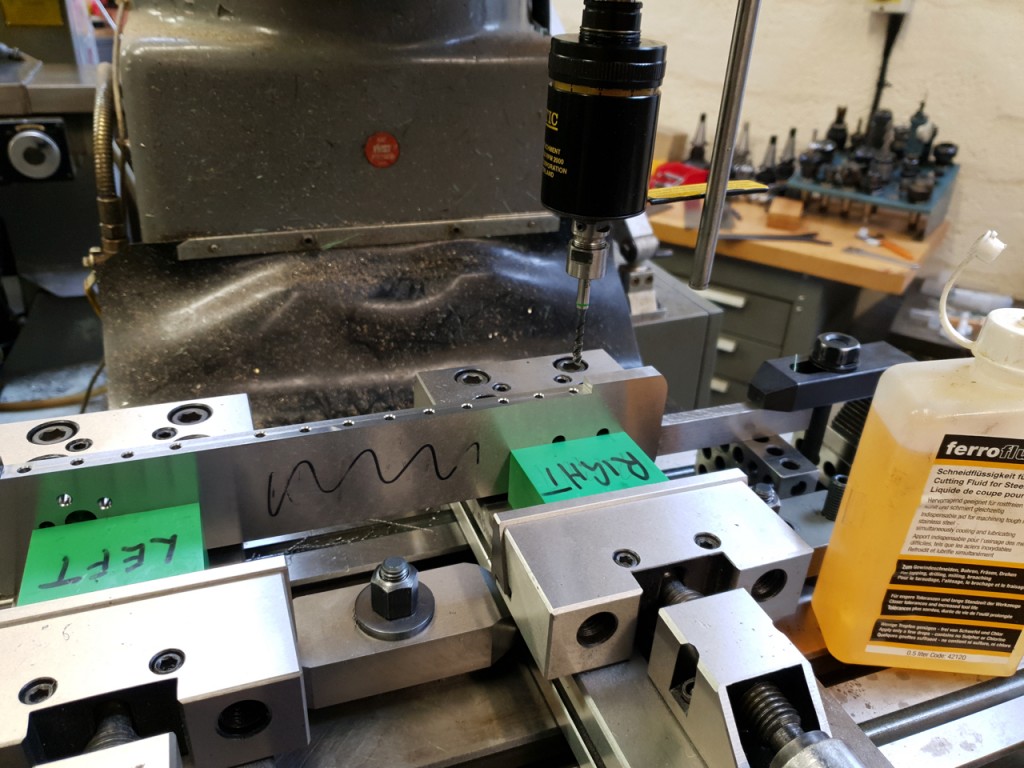
tapping on the mill with a tapping head never seems to be enough so I have to go over these again by hand. It is important for the fixing bolts to run free. I have to assemble and dis-assemble dry quite a few times. When it comes to the final assembly it is essential that there are no problems as the bolts will be going in with torque control and permanent locking compound.

CI3A6452

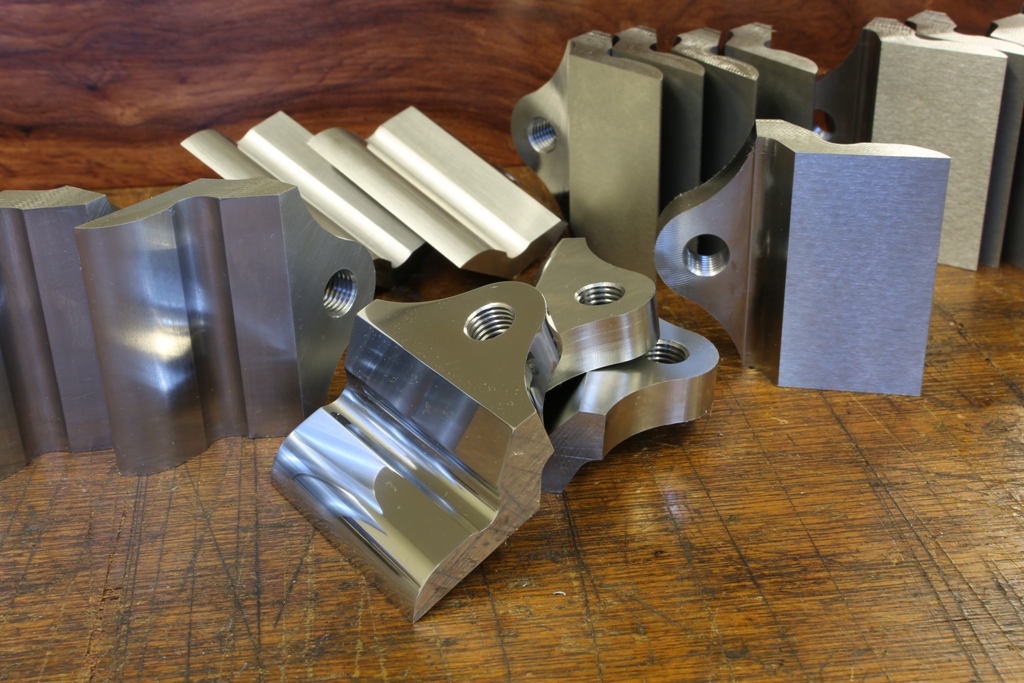
With all the milling, grinding, forming, drilling and tapping done I am half way with the bottoms. These will now be set aside until I have completed the sides – next job.

February 21, 2020

workshop blog no 28 – No 984s

Filed under: No 984,Window to my workshop — Tags: , — admin @ 7:54 pm

This is the start of a new version of the No 984 panel plane. It will be 12 ½” long with a 2″ blade. There will be a slight variation in styling.

20200220_151134

20200221_102516

20200210_141613

20200210_141652

20200221_151611

20200210_142544(0)

20200211_132355

20200210_142942

20200211_132354

20200220_122757

20200211_132539

20200210_141652

June 8, 2016

Window to my Workshop 105

Filed under: No 984,Window to my workshop — Tags: , — admin @ 10:14 am

With all my component parts finished I was just left with some wooden handles which should have been finished off earlier as they need to be oiled and cured.

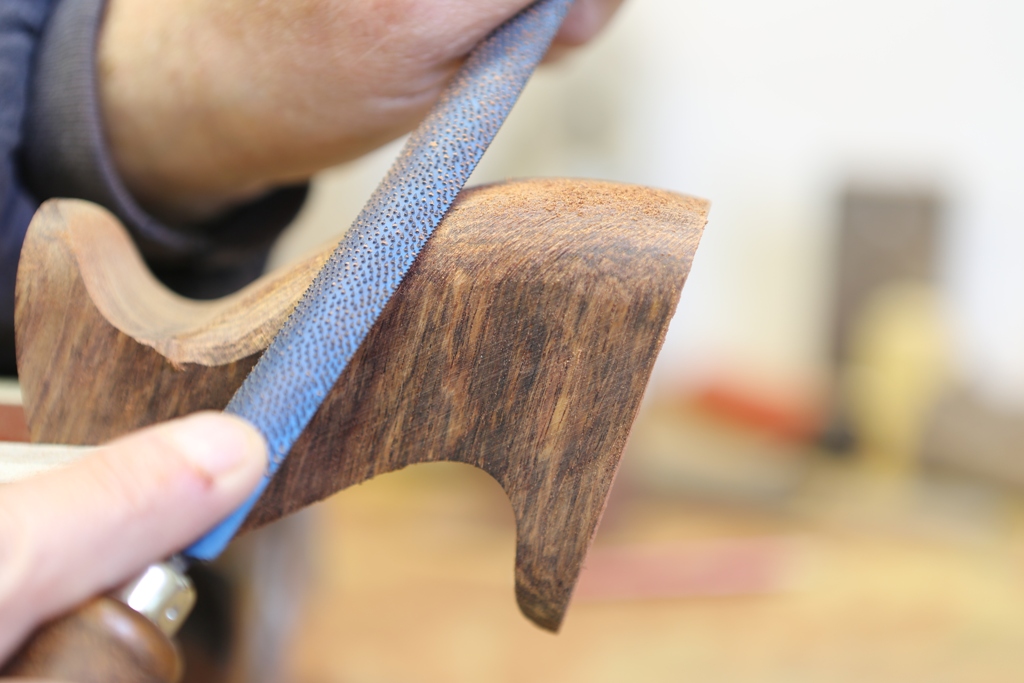
It seems an opportunity to show that there is a lot of hand work in my planes.

Now there is the fitting, milling, grinding and final tweaking. So Claire had better get those baize bags done.
 
Holtey No 984 handle a
 
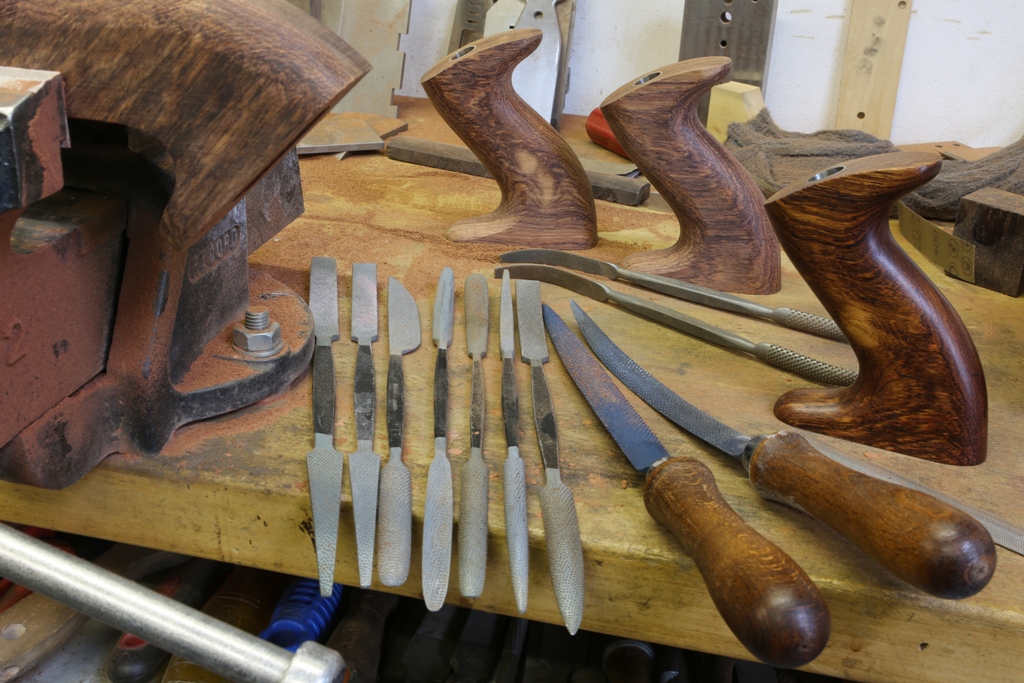
Thought I would mention that the riffler I am using here is one of Noel Liogier’s. It is probably about the only one I have come across that can handle these exotic hard woods without getting tired. In fact it is so efficient that I am having to learn not to be so heavy handed. I would really recommend these rifflers because I have always had a problem with shaping some of these hard exotic woods. The double ended rifflers were given to me when I was exhibiting in Munich in 1998 by Zoltanne Nagy – they have served me very well but unfortunately I can’t find anymore to replace them. Noel’s are supplied with fitted handles.

 
Holtey No 984 handle b
 
Next posting will be of the finished plane.

June 3, 2016

Window to my Workshop 104

Filed under: No 984 — Tags: , , — admin @ 2:30 pm

I had hoped to use the adjuster components from the No 983, as I showed in the last blog. However, I wasn’t quite happy using them in this application. We all know what that means – I started again. This has cost me another two weeks.

I had to make a dedicated holding fixture for both lathe and mill. Part of the work on the spindle is individually paired with it’s traveler part keeping the end play down to less than a thou.

Of course there will be some end play in the threads of the main spindle. I work on every component to keep this end play down to a minimum.
 

No 984 adjuster components a


No 984 adjuster components b


This now concludes all the metal parts. I have wooden totes to finish off, will blog these later. There should be completed planes by the end of next week.

May 10, 2016

Window to my workshop 103

Filed under: No 984,Window to my workshop — Tags: , — admin @ 3:20 pm

It might seem that things have been quiet here but in actual fact it is the opposite. I have been too busy to post and I have had a number of issues, including a small injury, which seem to compound. Old age seems to be catching up on me and I don’t know if I am getting slower or fussier over the work (obviously I favour the latter :-) ).

It had been my intention not to do any more posts until I had a finished plane, but I just wanted to assure you all that I am alive and well. The project is nearing its end.

 
Holtey No 984 e
 

Holtey No 984 a
 
There used to be a time that I believed simple was easy – wrong. I certainly favour the simple lines. After much deliberation this union between the handle and sole works well. I am not going to show the whole plane until everything is finished.

 
Holtey No 984 b
 
Here is the simple part….. Components are shown in pairs for viewing purposes.

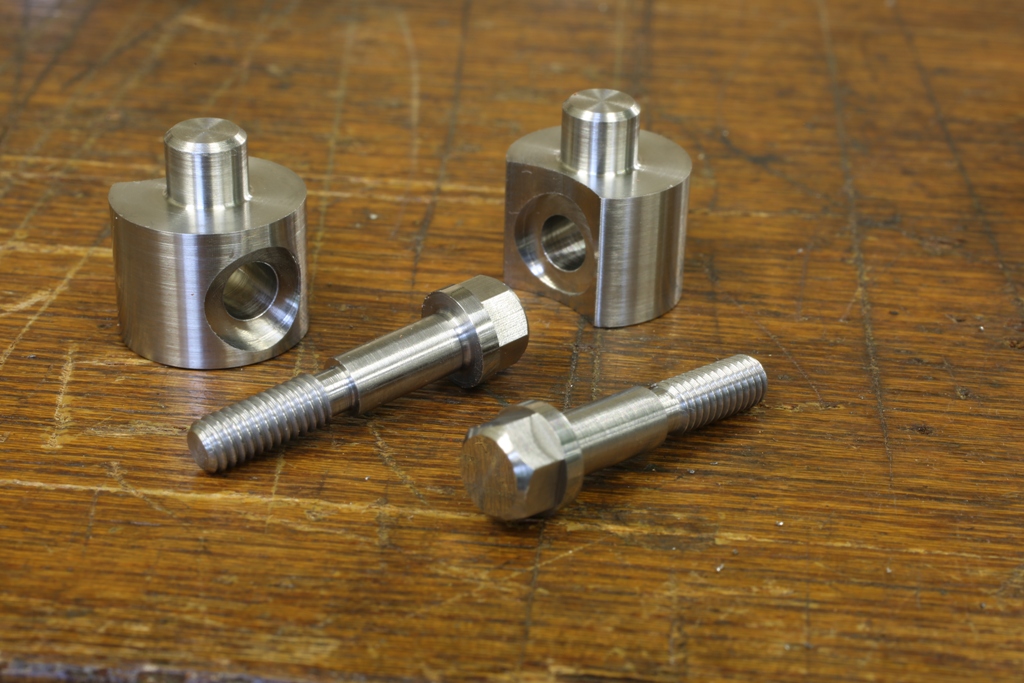
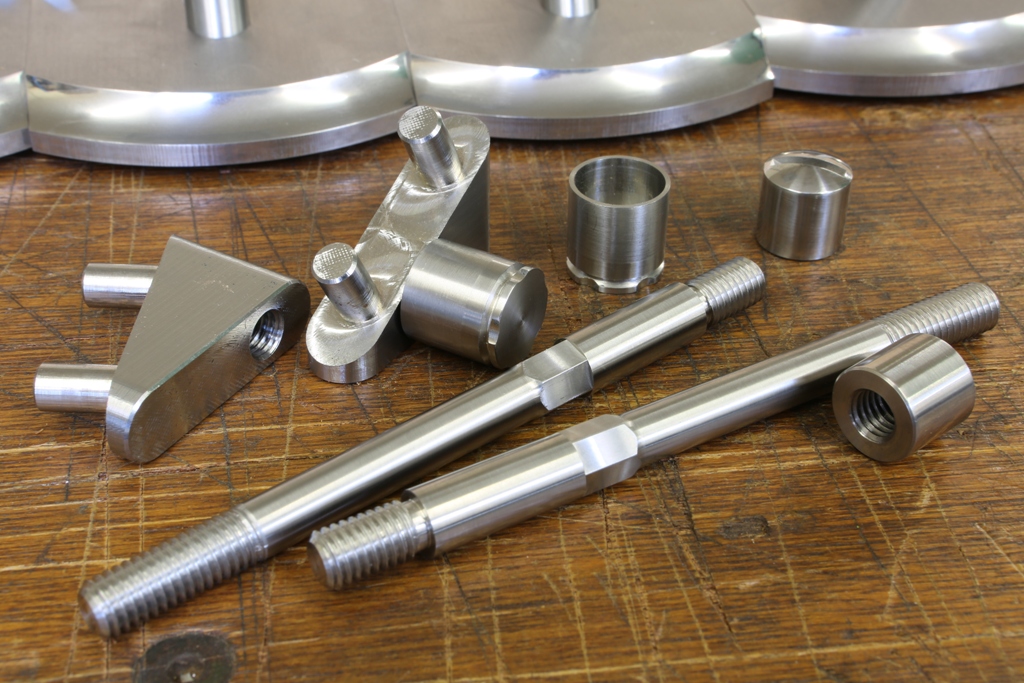
These parts include handle boss, which has two 8 mm integral rivets which are peined into the sole. The boss body is to be recessed into the handle, drilled and tapped for the handle stem.

This stem is 10 mm in diameter at its base going down to 8 mm separated by the 8 mm hexagon. This is then secured with a wrench so it will always be tight at the base. This stem alone has a lot of rigidity to it which then compounds when compressing the handle.

The handle has a cup for its fixing nut. This fixing nut has a radiused slot milled into it so that it can be driven with a coin. The cup is faceted at the bottom so that it cannot rotate to avoid mismatching contour or come loose from the handle. This gives a very rigid handle which is compounded when the handle is tighten up.

All the components that you can see, including the screw cup, are made from solid stainless steel bar.

 
Holtey No 984 d
 
The boss and stem fixed in position.
 
 
Holtey No 984 c
 
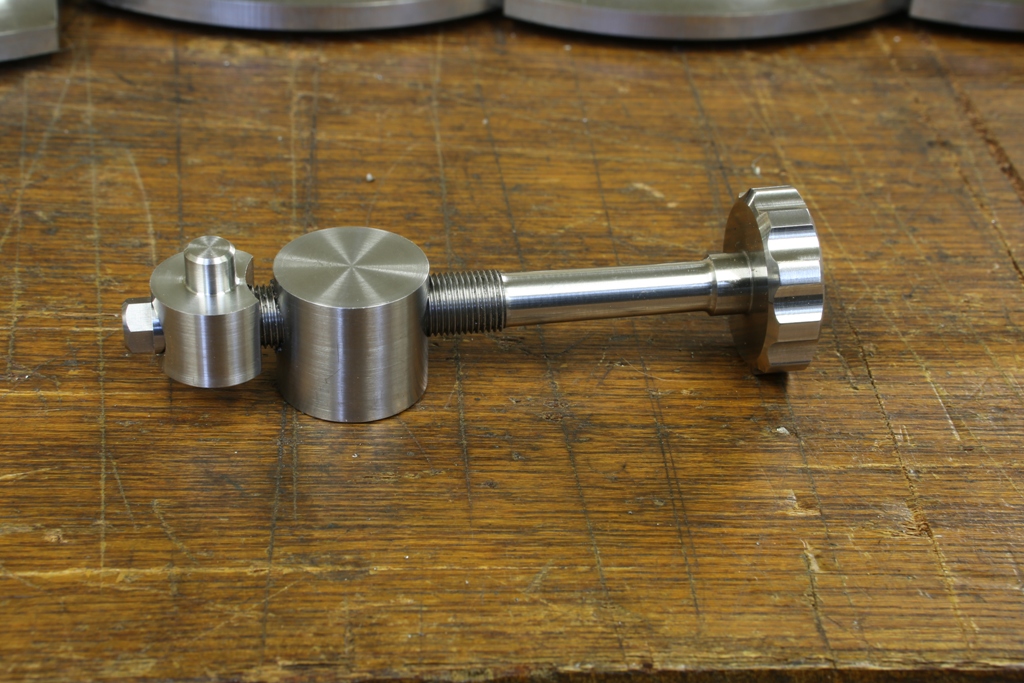
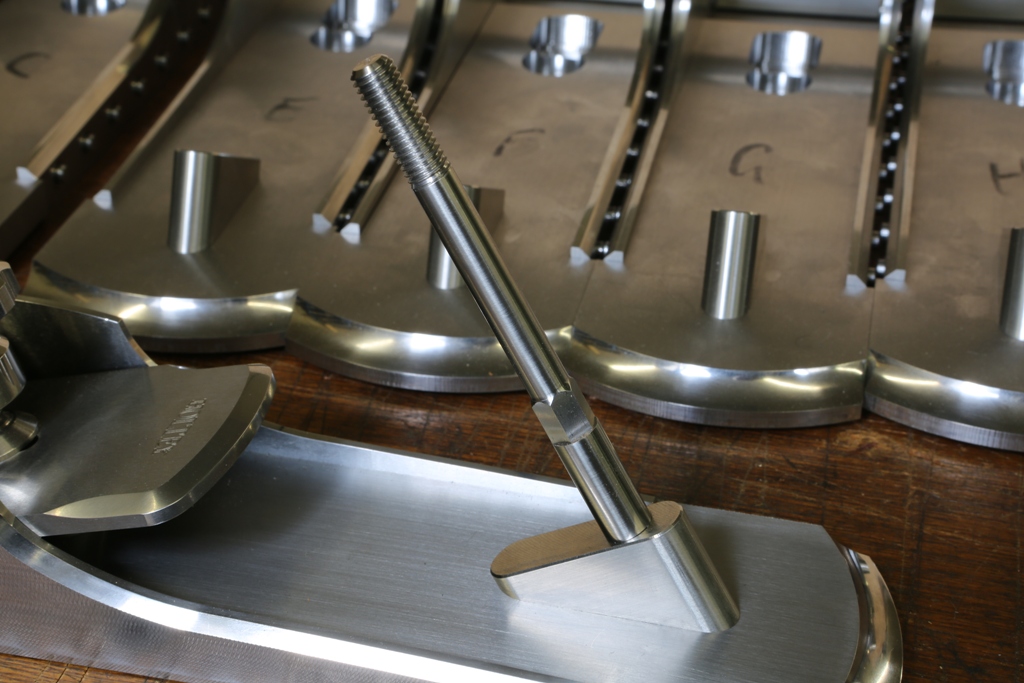
The adjuster – where does one start?

The most visual item is the spindle (still attached to its carrier) and like everything, it comes from a solid bar. It takes a lot of planning in the making. I will let the picture tell the story.

At the very last minute, when I am happy with everything else, the spindle can be parted from the carrier.

All the components are a project on their own.

A whole book compressed into a few lines :-)

January 22, 2016

window to my workshop 102

Filed under: No 984,Window to my workshop — Tags: , — admin @ 4:13 pm

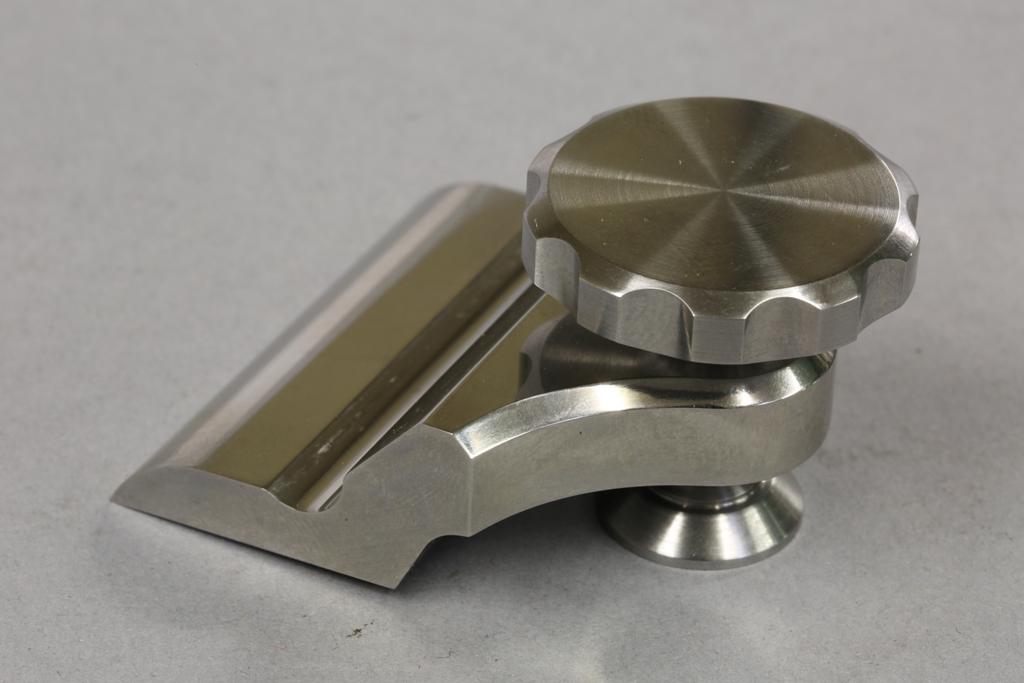
Lever caps assembly now finished

 
Sorry for the slow progress to those that are waiting, but life is not getting better at the moment. I have my mother’s funeral to go to next week and I also have to make a decision about whether to put down my very poorly dog.
 

CI3A2619
 
CI3A2624
 
CI3A2633
 

IMG_0941 - Copy
 

O


January 11, 2016

Window to my Workshop 101

Filed under: No 984,Window to my workshop — Tags: , — admin @ 9:25 am

More later ….

 
CI3A2584

November 30, 2015

Window to my workshop No 99

Filed under: No 984 — Tags: , , — admin @ 10:52 am

LEVER CAP

As with many of my components these are fabricated from solid bar. The three pictures shown below are starting from a raw bar, removing the excess and shaping then the finished product.


CI3A2423
 
CI3A2495
 
CI3A2511


This has probably been one of the most labour intensive of all the parts. Now that they are done, with the exception of polishing (which is no mean feat), I am very happy to move on to the thumb wheel and pressure pad.
 
Update: A modification has been made for ergonomic purposes. An additional chamfer has been added in case there is any contact with fingers or knuckles.
 
CI3A2522
 
CI3A2521

November 2, 2015

Window to my workshop 98

Filed under: No 984 — Tags: , , , — admin @ 5:41 pm

The pictures don’t do justice to the time spent on every little operation. Although I have taken many photographs along the way I don’t have time to document every little stage. The effort for every detail can seem a bit over the top, and I make little revisions all the time – the overall design will still be as the posted line drawing.

This is a nail biting moment, once I start cutting there is no going back. I can take hours double checking before I separate the toe from the the rest of the sole.
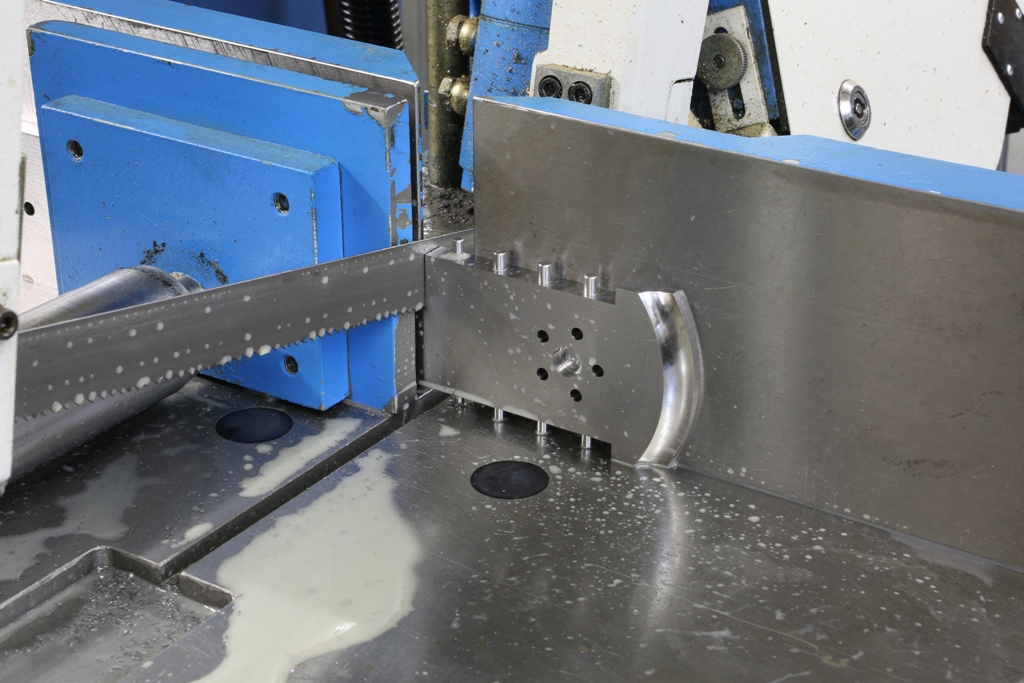


Holtey No 984 pic 7

 
Here I am milling the blade bed. The rest of this operation hasn’t been photographed as I covered this in the No 983 blog and it is almost identical as are the adjuster recesses. You can see that the work holding vice jaws are purpose made just for this plane. This enables me to get a firm grip.
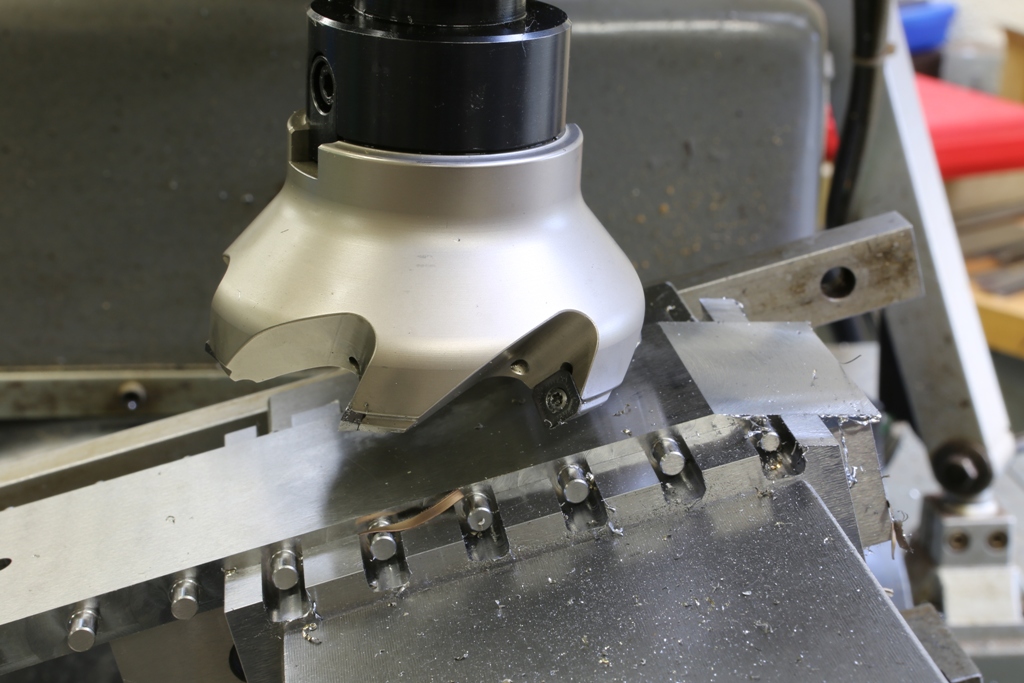
 

Holtey No 984 pic 8


Holtey No 984 pic 9

 
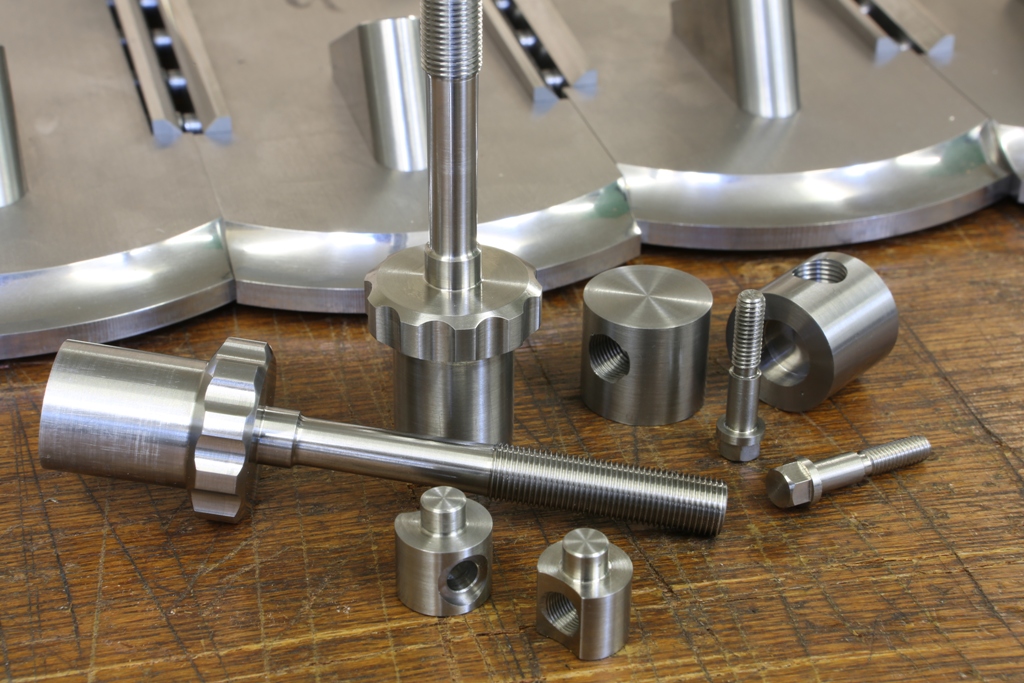
All my buns start off as a true square block. All drilling, tapping and recessing is carried out on the mill
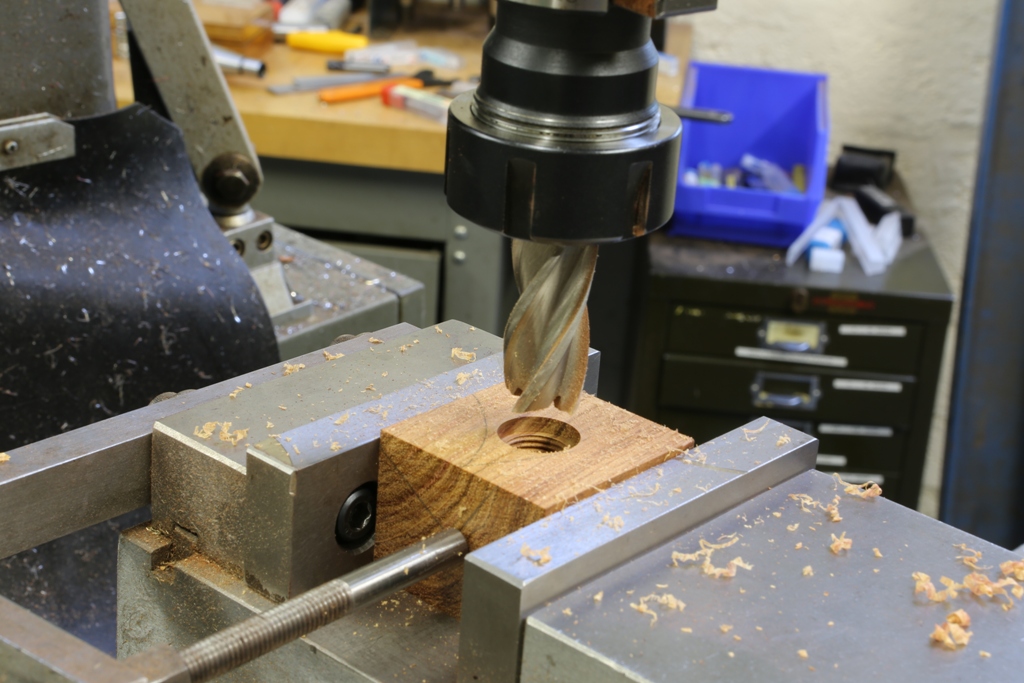


Holtey No 984 pic 10


Holtey No 984 pic 11
 

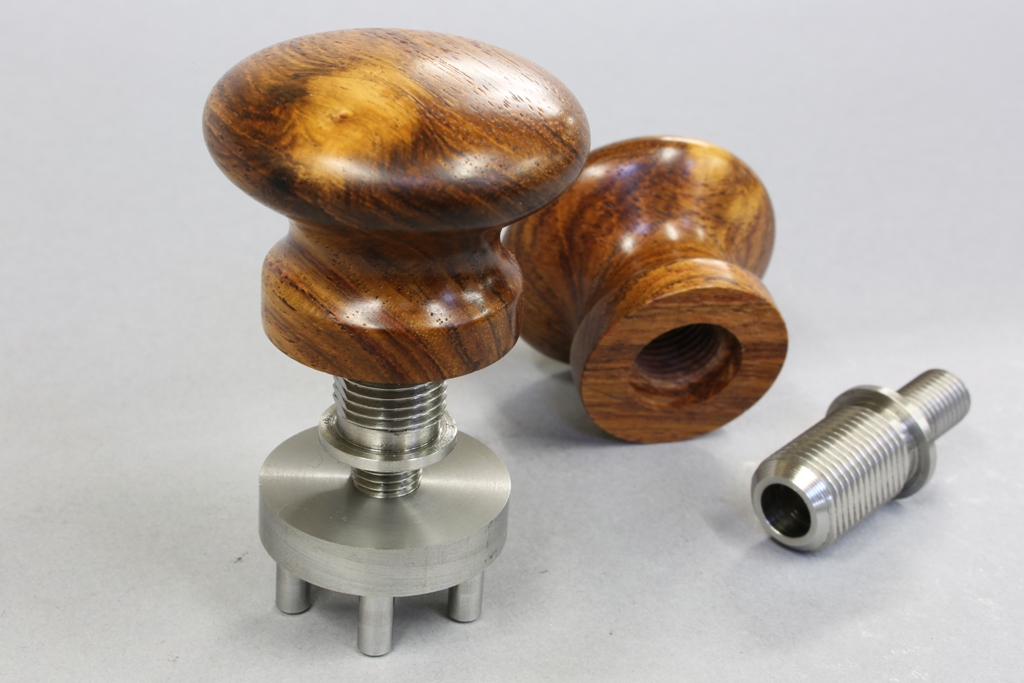
The bush shown here is to be epoxied into the front bun. You can use some imagination as to how I arrived here. The combined strength of the bush and its bun is considerable. Note there are two flats which make it impossible to remove the bush once the epoxy has cured.
 

Holtey No 984 pic 12

 
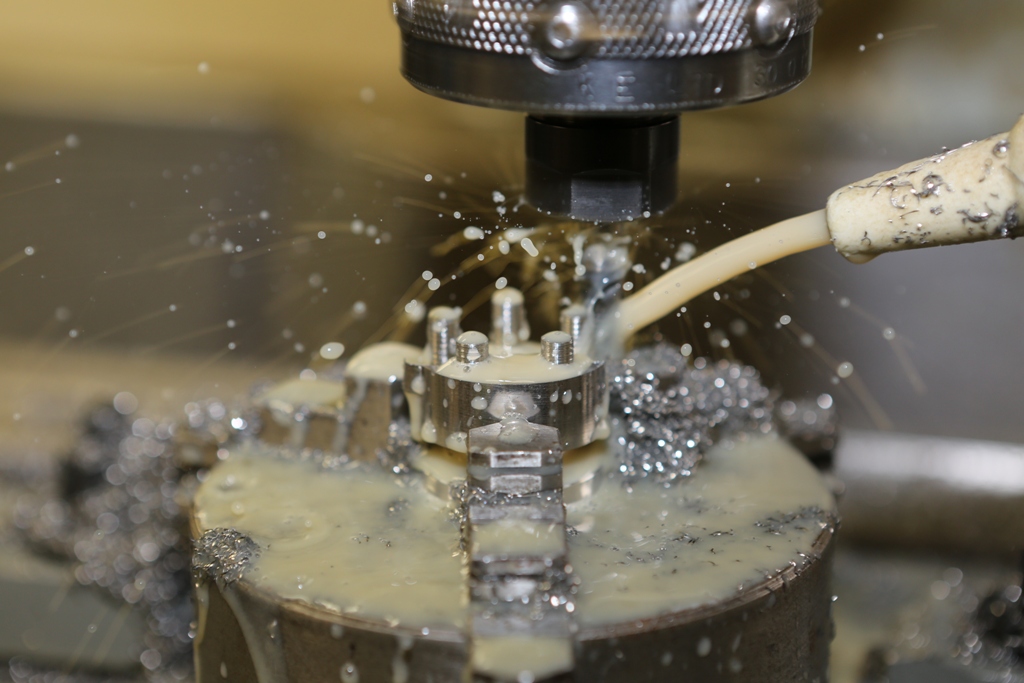
This is the milling operation for the five integral pins/rivets to the bun boss.
 
Holtey No 984 pic 13

 
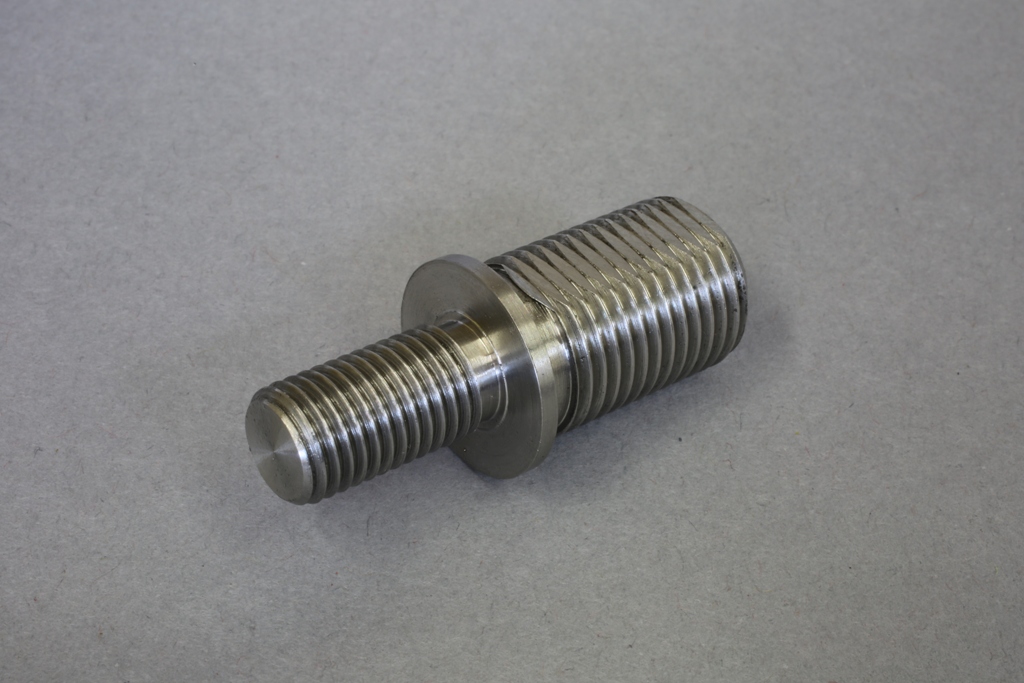
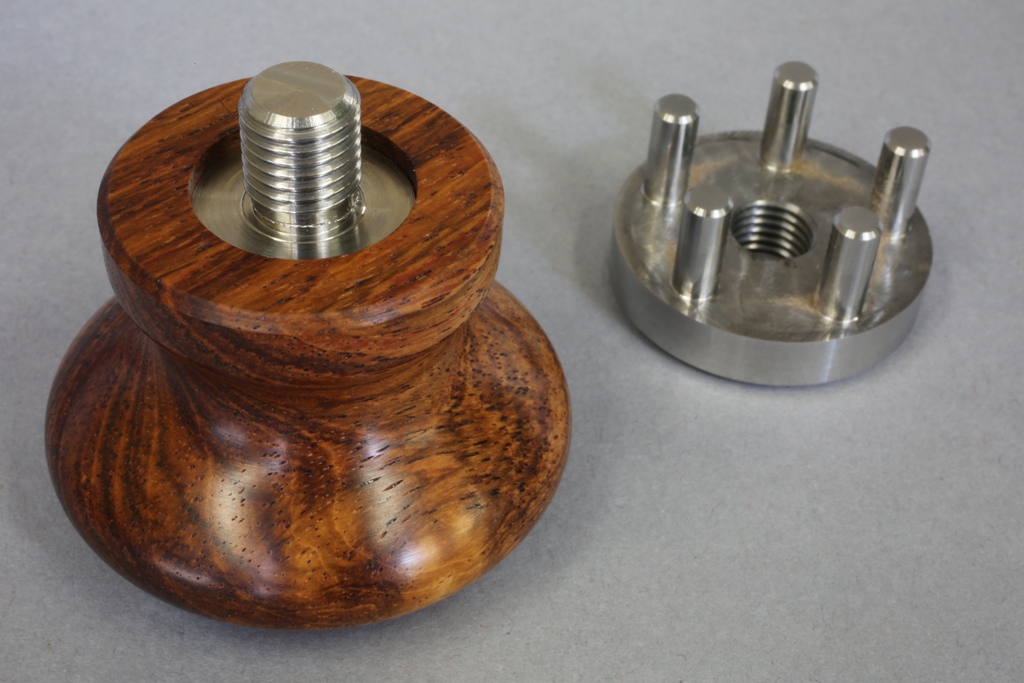
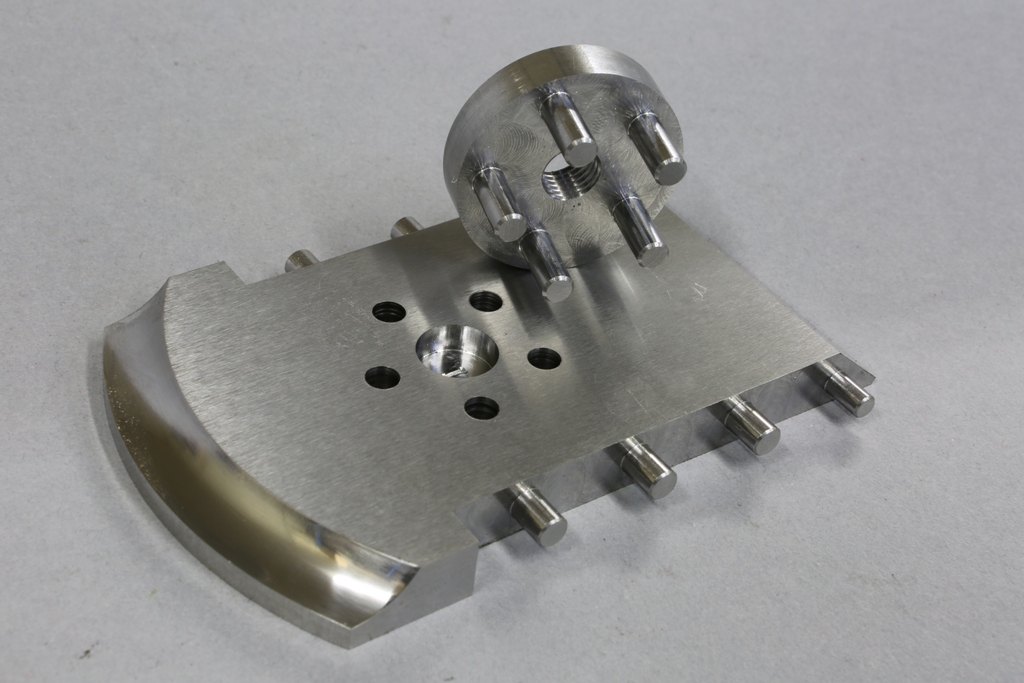
This is the finished boss for the front bun. I have chosen this method of fixing for its strength. I wasn’t happy about tapping blind holes. Who cares, it is not about cost :-) It is going to be the only one of its kind.
 
Holtey No 984 pic 14

 
Illustrating the fitting of the bush to the bun and the threaded nose to fit the finished bun to its boss.
 

Holtey No 984 pic 15

 
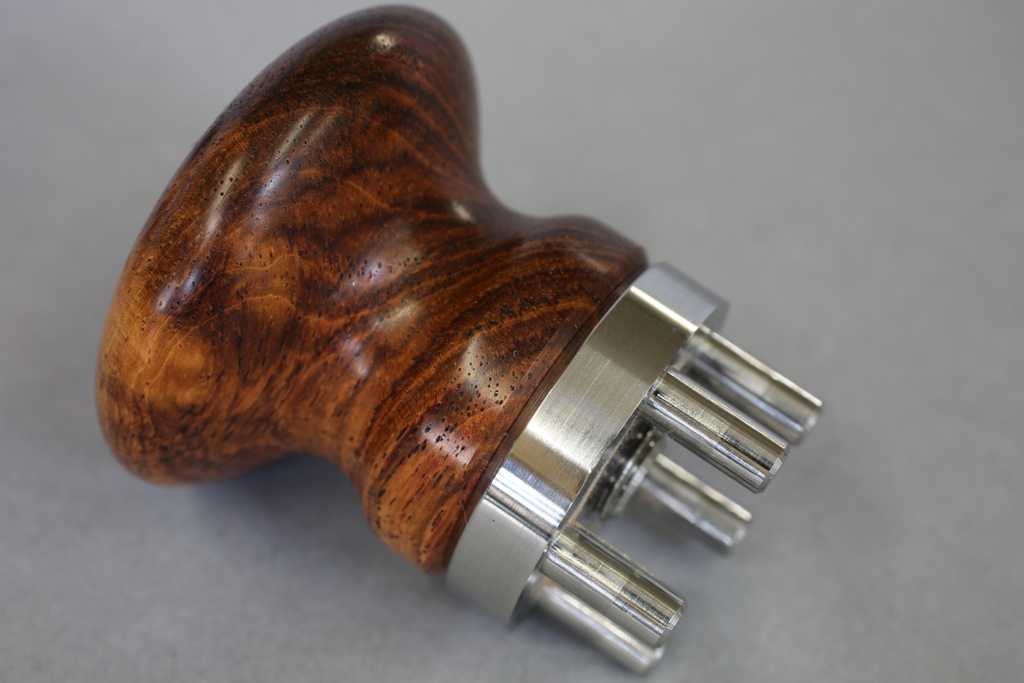
Once this is complete, the bun can be removed and the boss is ready to rivet in place. Note that I used a V joint between the boss and the knob base. The knobs will leave my workshop perfect but the rotary position of the knob can have a tendency to migrate and wood can lose its concentricity over time. Also when the knob is removed and refitted the sharp edges can be bumped, thus losing the desired effect. The V joint will hide any of these unsightly dinks.
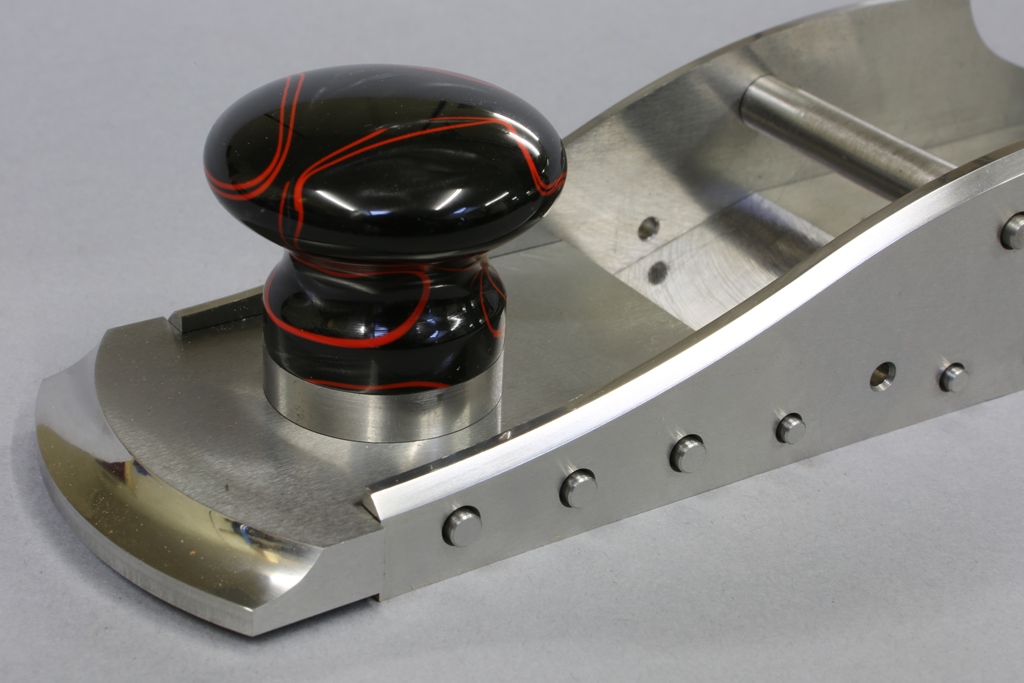
 

Holtey No 984 pic 16

 
Temporarily assembled plane.


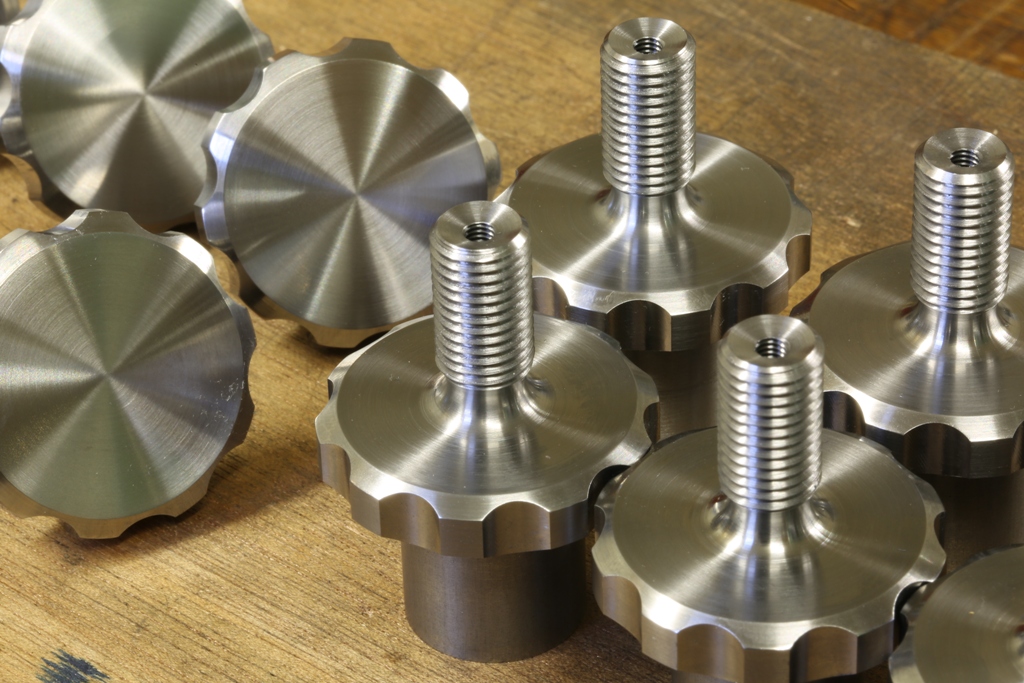
A general selection of knobs and parts.
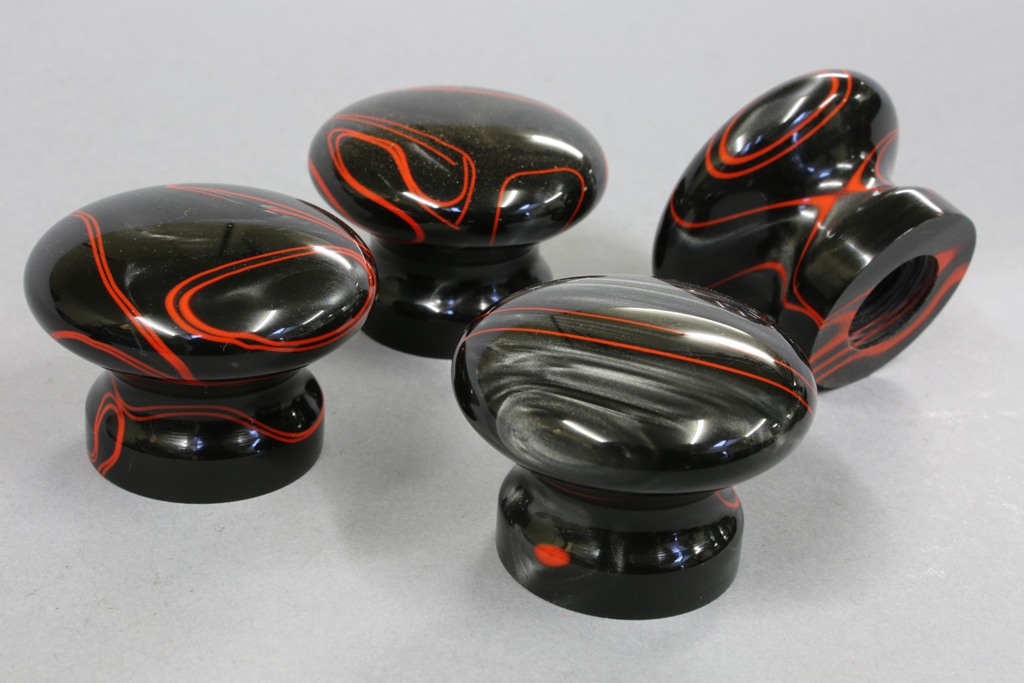
 
Holtey No 984 pic 17


Holtey No 984 pic 18
 
Holtey No 984 pic 19


Still a long way to go, sorry to those who have a plane on order.


Thought this was worth a picture and mention. The bushing here had been cemented with epoxy and I had started it with a few threads and then I was distracted ………

I discovered how strong this system is when I came back the next day. I will keep this as a reminder.
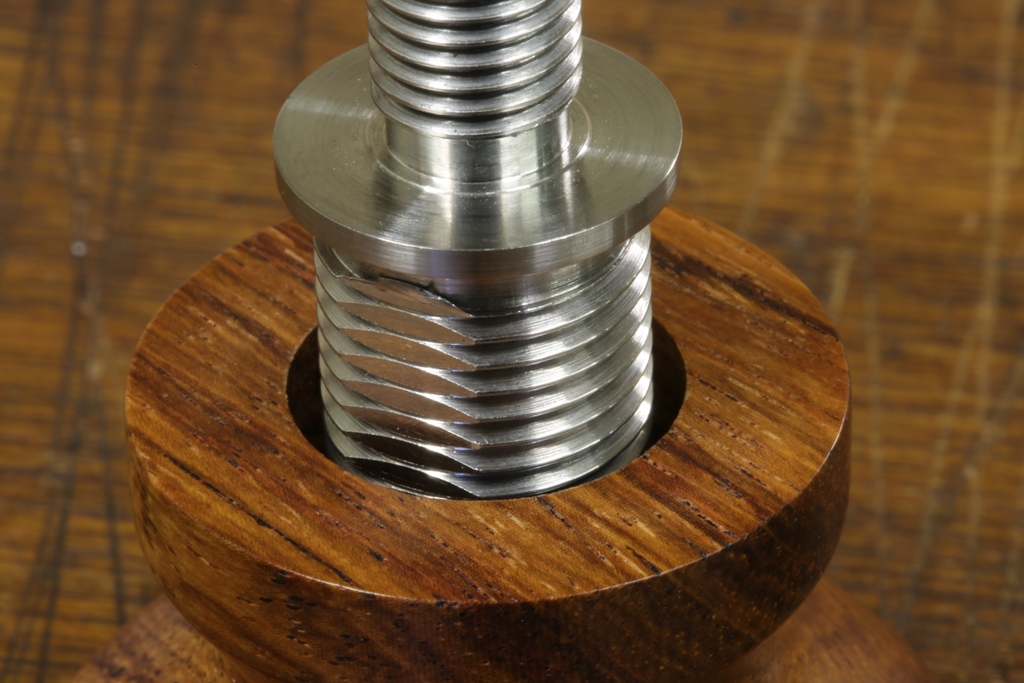
No 984 cockup

Older Posts »

Powered by WordPress