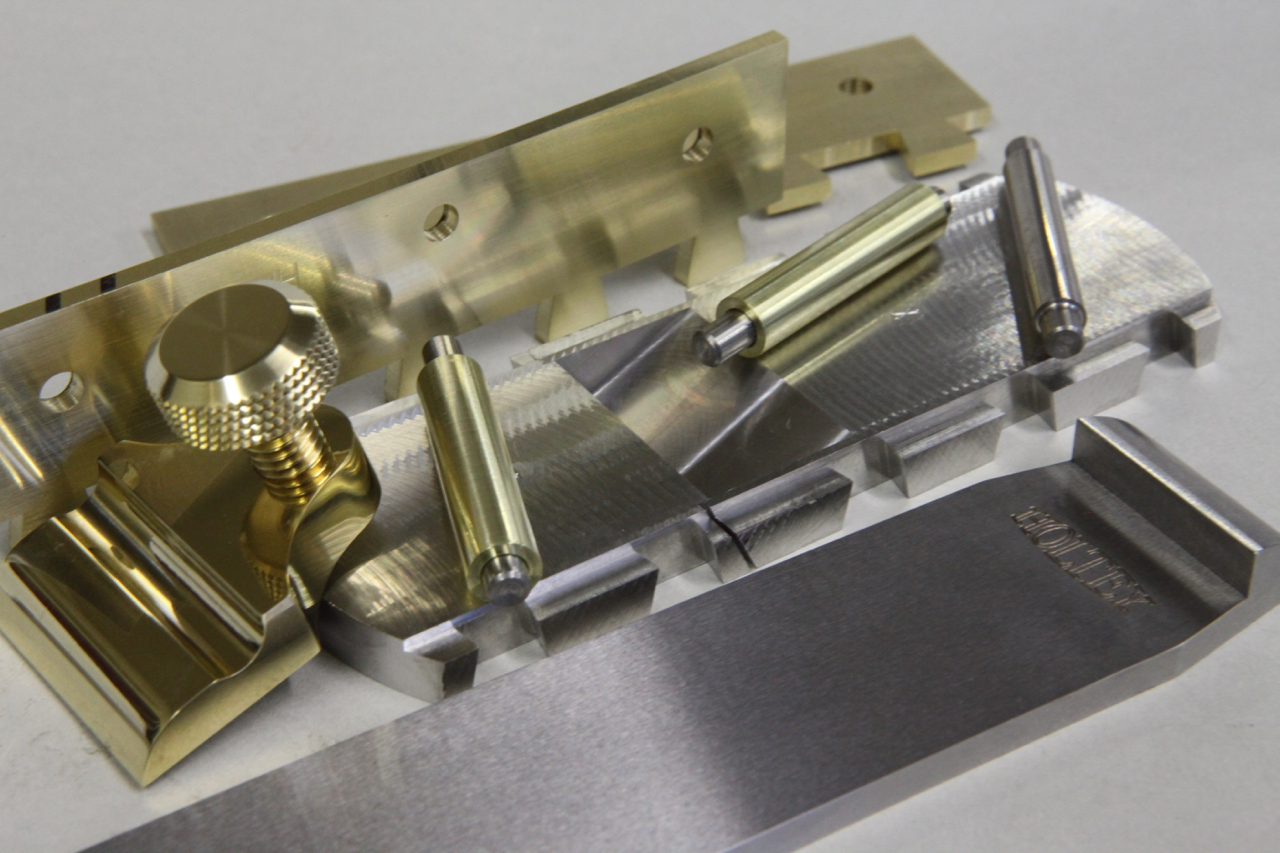
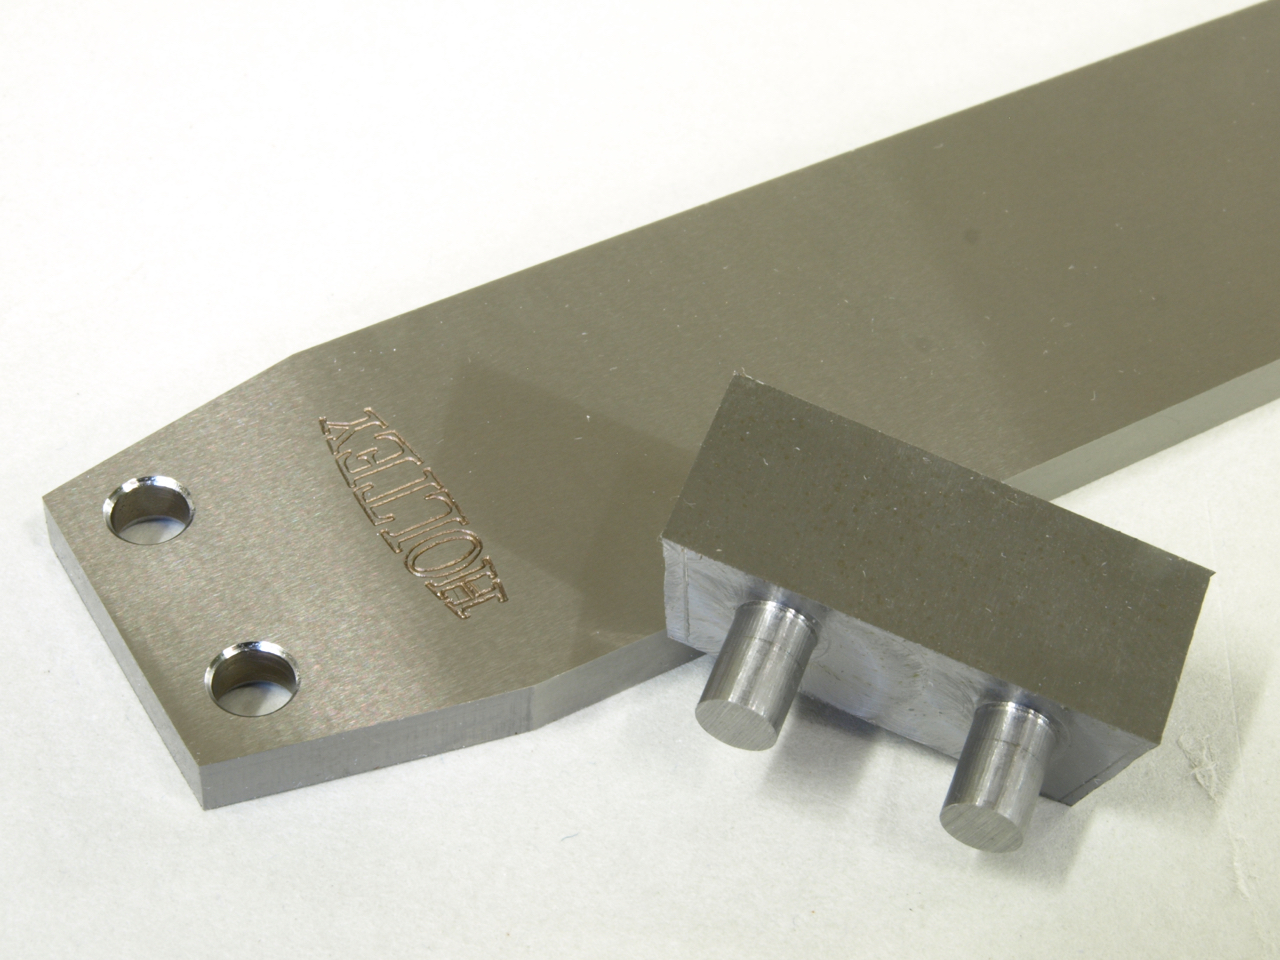
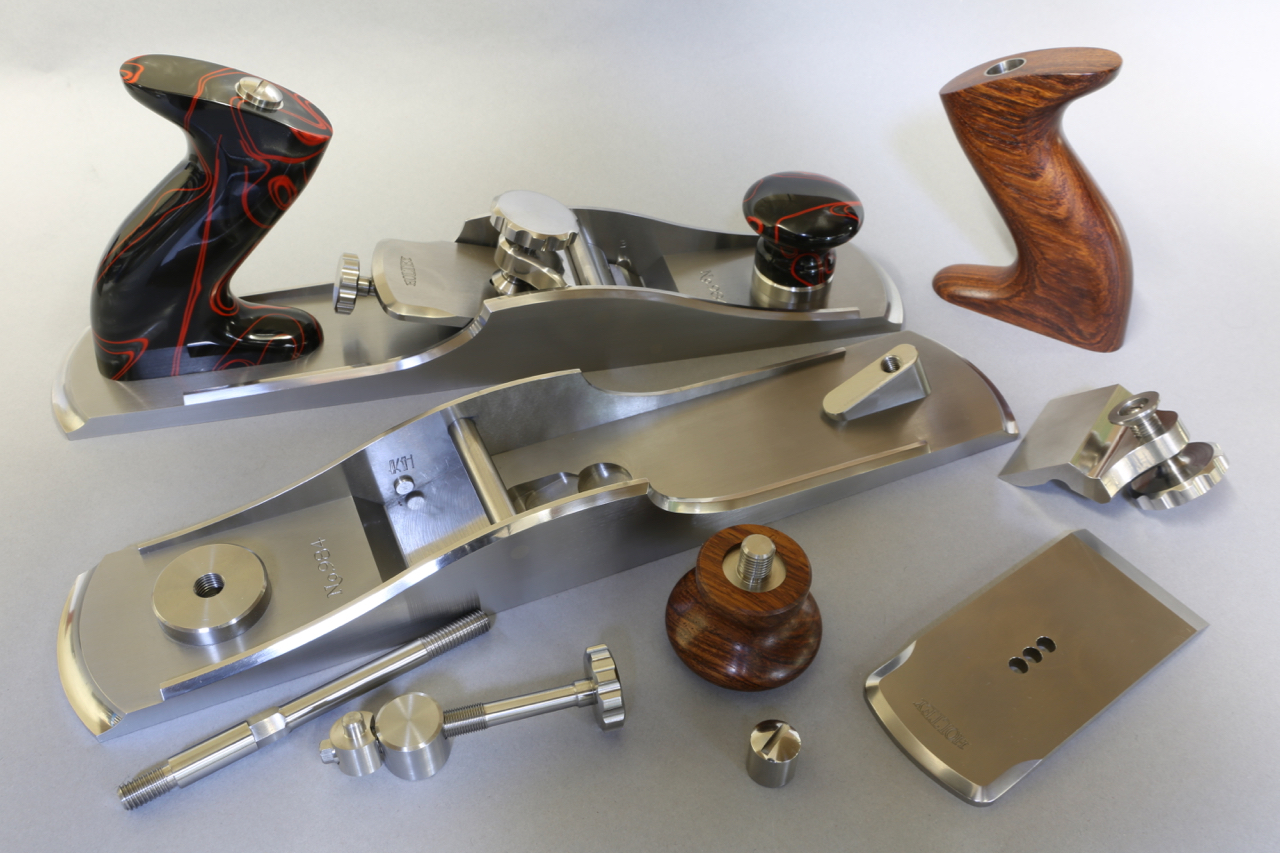
No 10 small smoother plane. Metal component parts
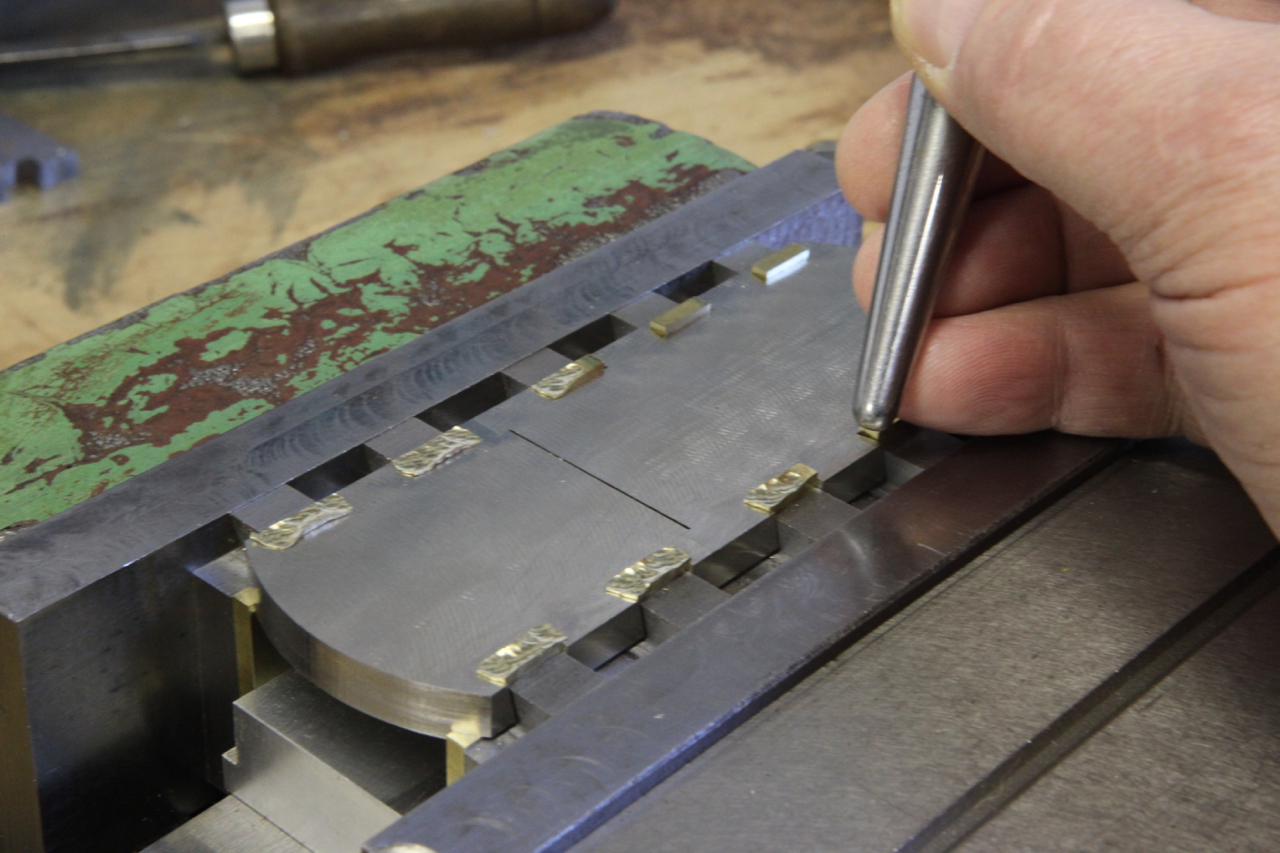
peining the dovetails showing the forming tools
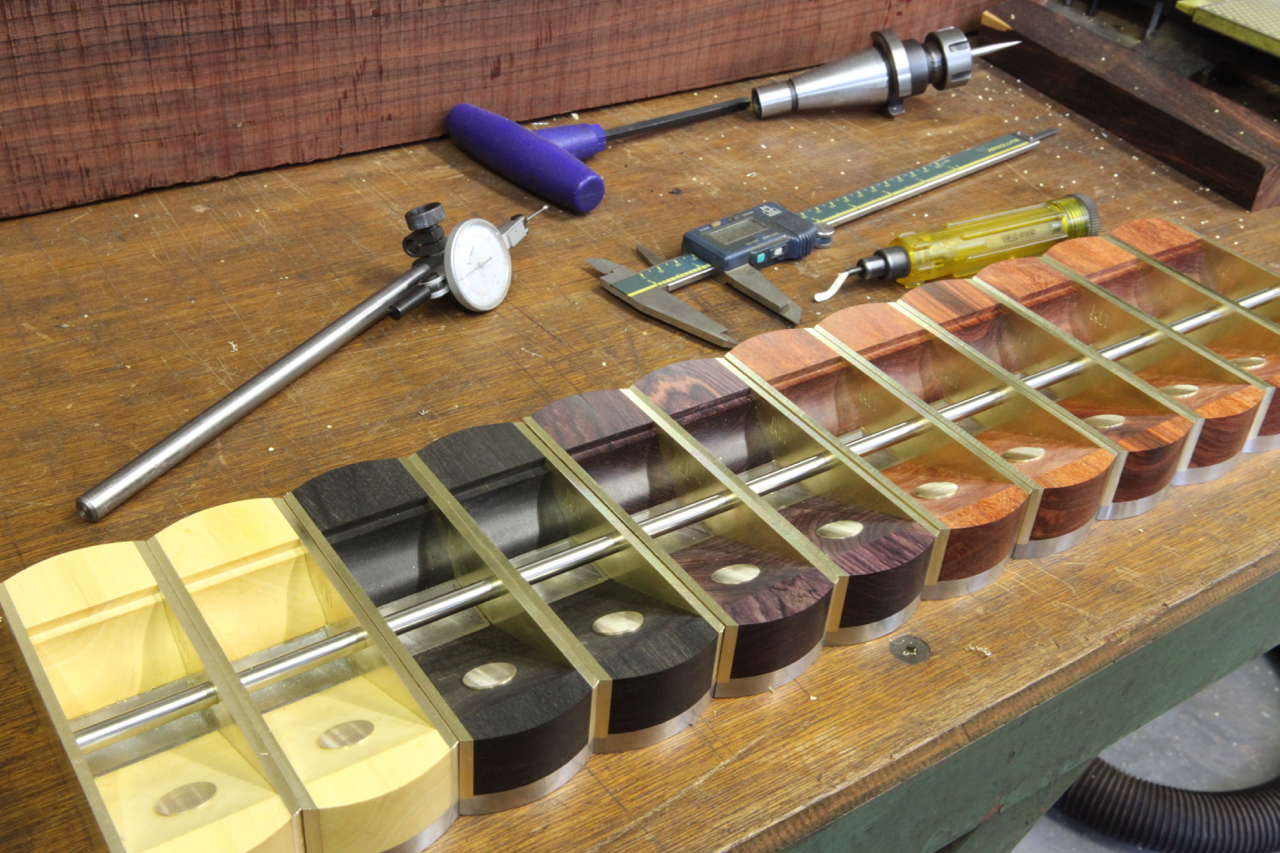
Showing various infills
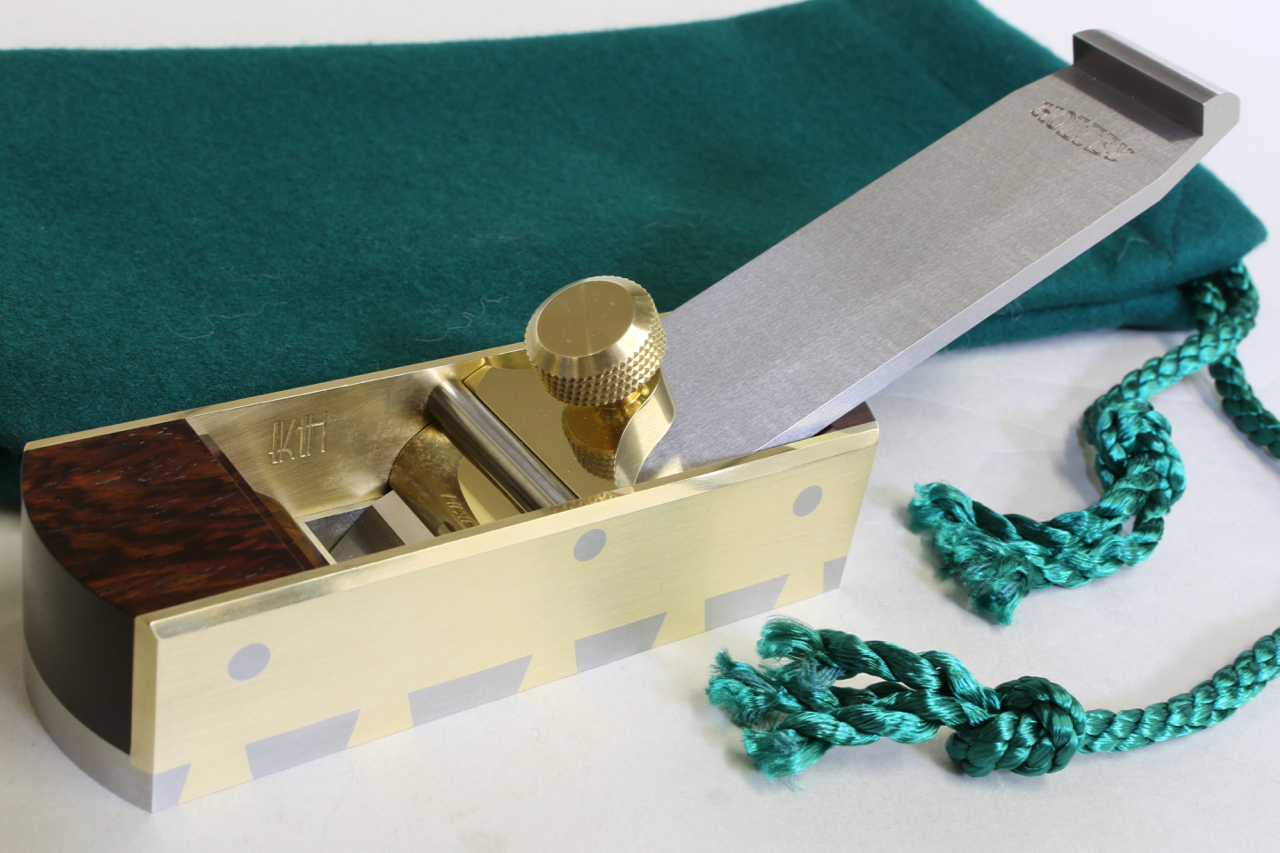
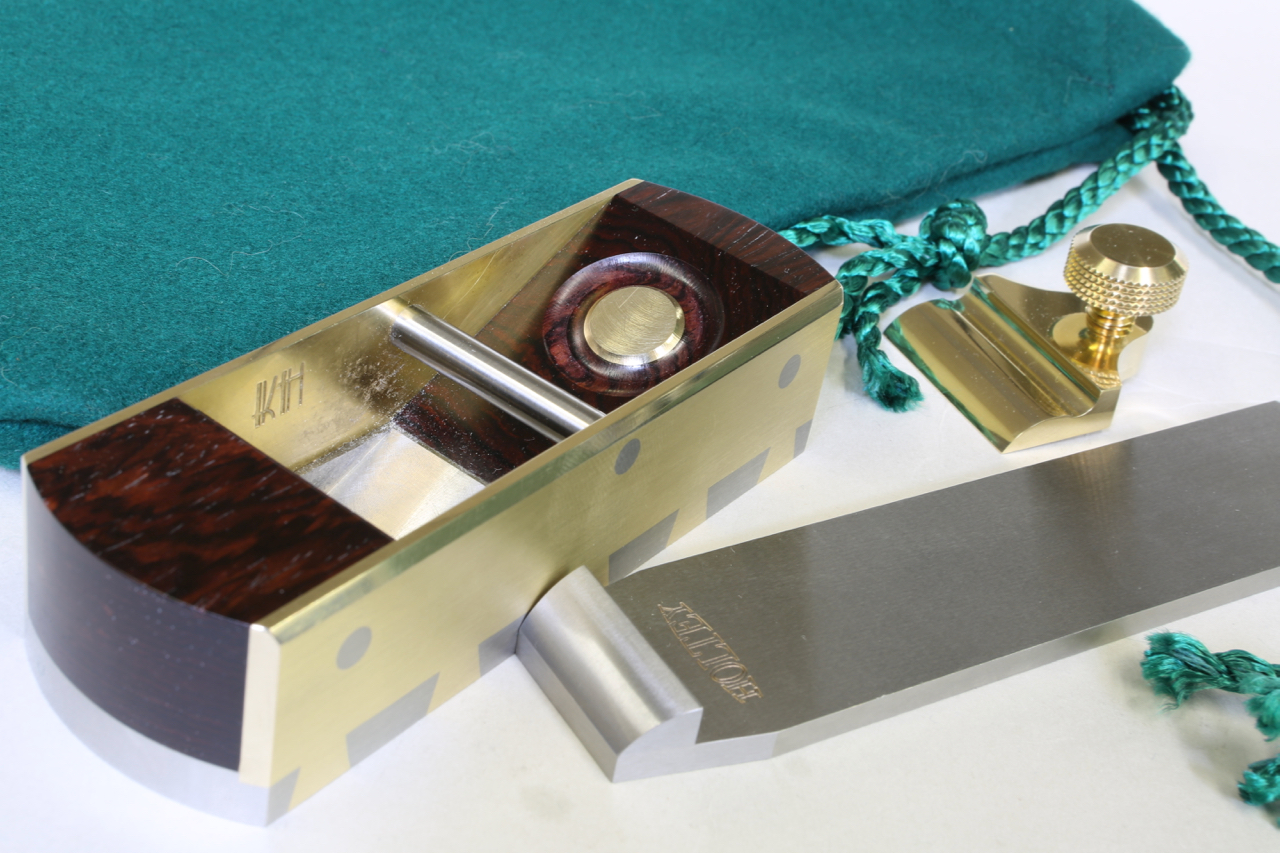
The finished No 10 smoother plane
No 10 small smoother plane. Metal component parts
peining the dovetails showing the forming tools
Showing various infills
The finished No 10 smoother plane
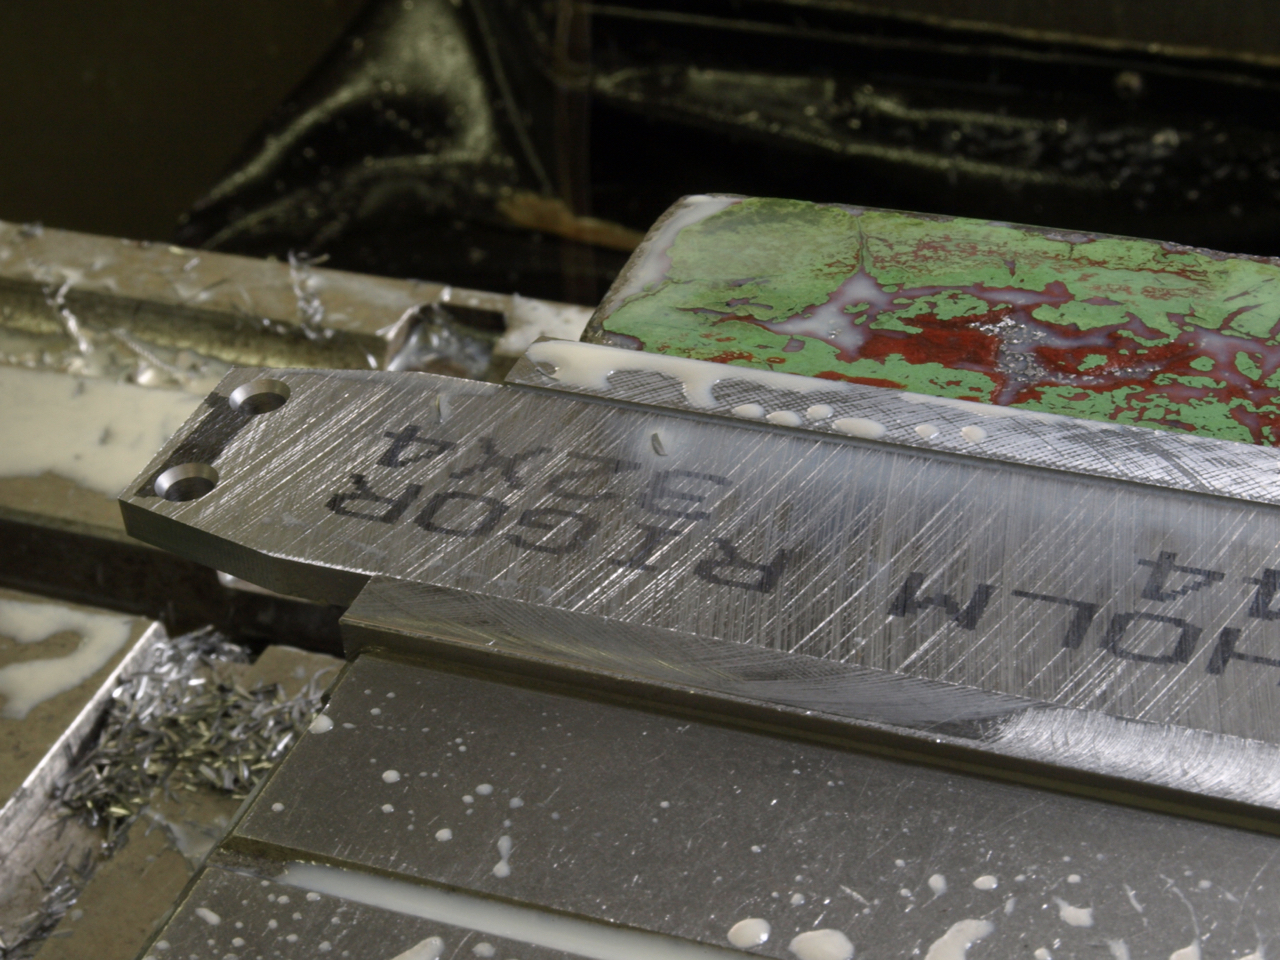
No 10 small finishing plane. The relationship between the sneck piece and the blade.
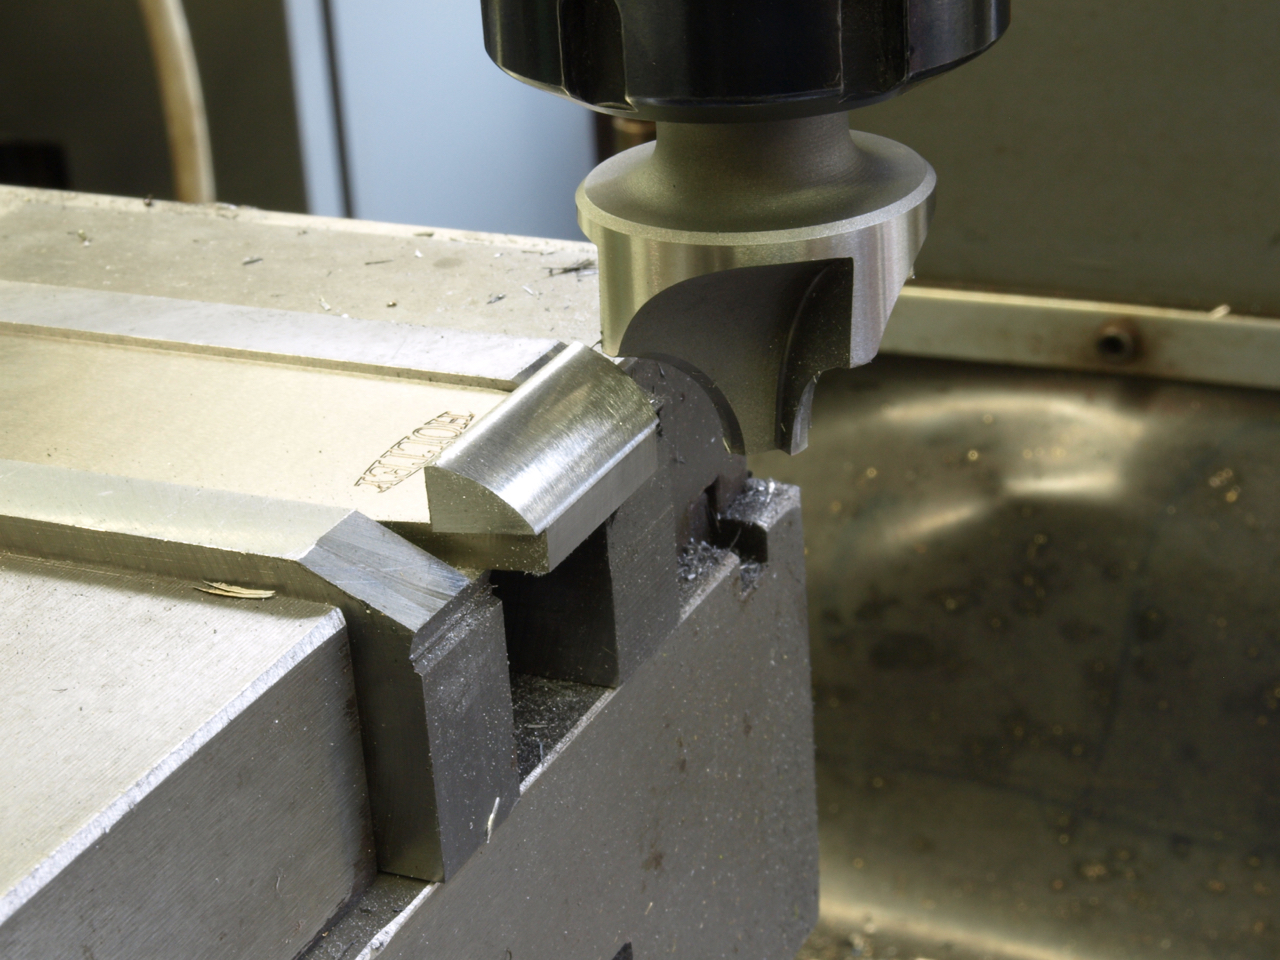
The blade is rejigged so that the milling cutter can follow the original contours of the facet.
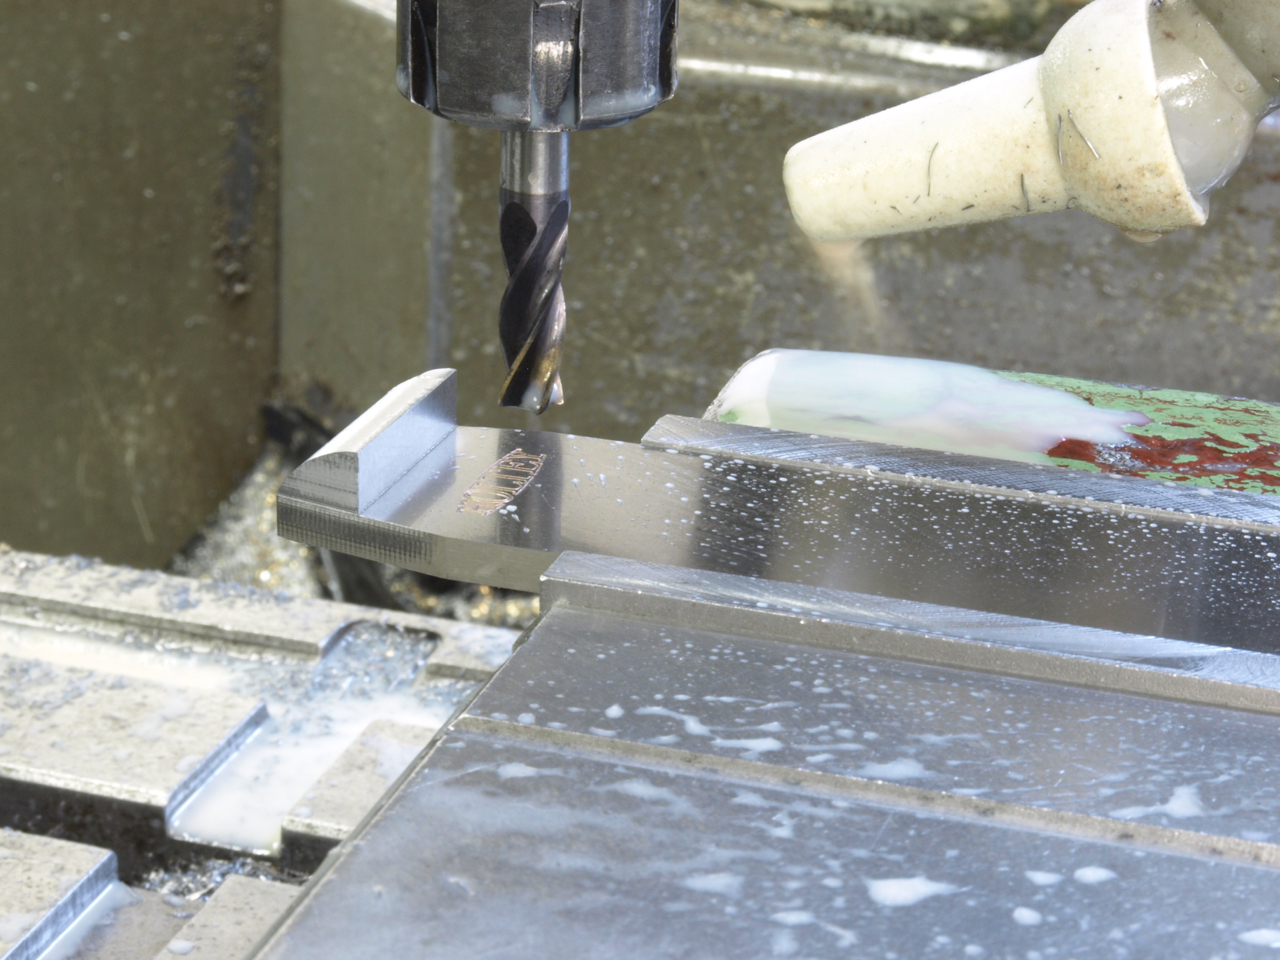
The sneck form is milled after the integral rivets have been peined with a fly press. The blade used at this stage has been hardened and surface ground. The hardening is the only item which is outsourced to a heat treatment specialist.
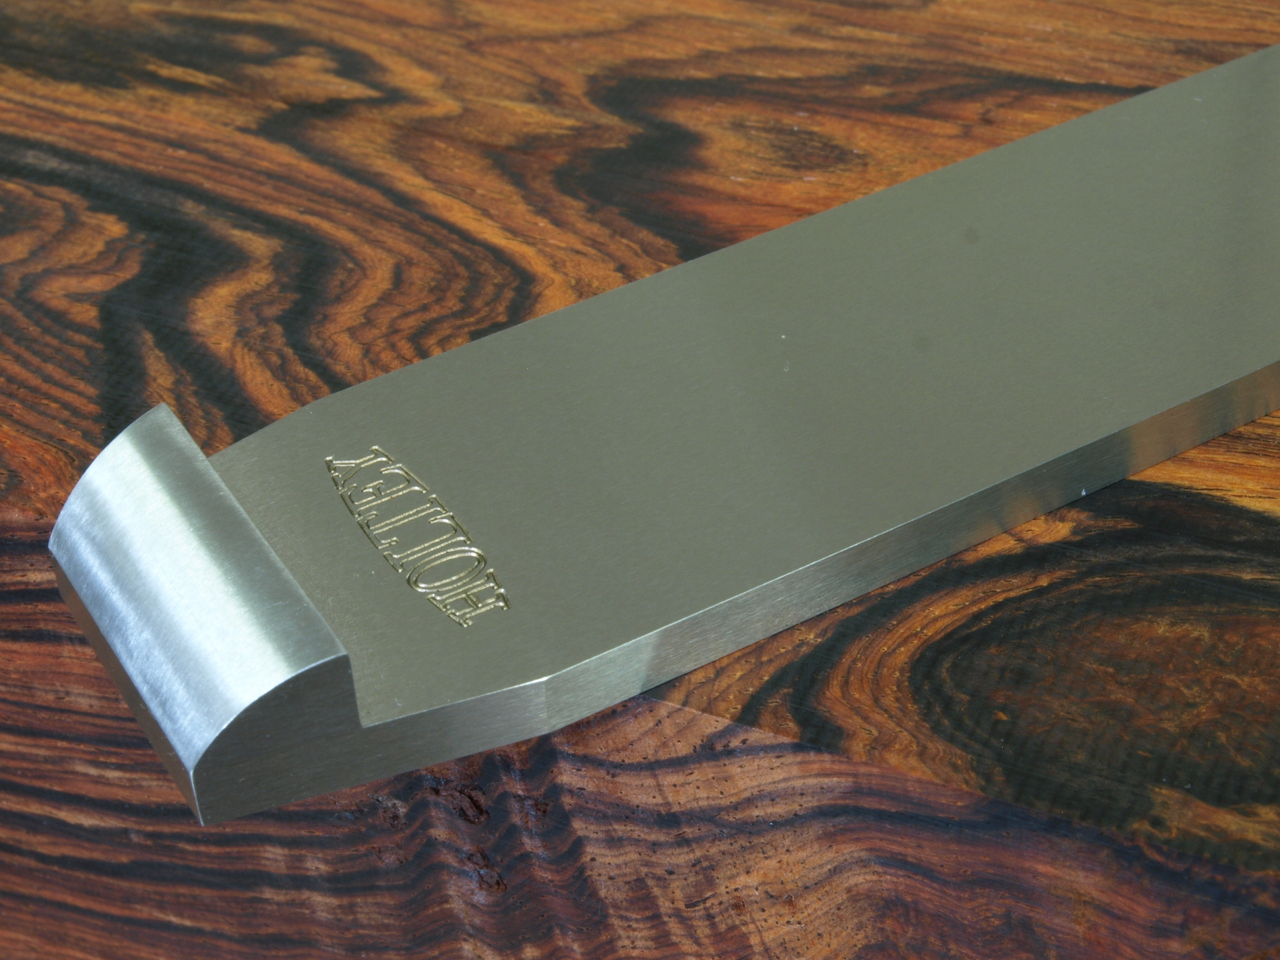
The finished No 10 blade
No 10 smoothing plane. I have chosen this plane for its simplicity as an insight for the amount of work and effort that goes into this plane. I will tell its story over the next few postings.
Starting with the blade drilling and facet forming
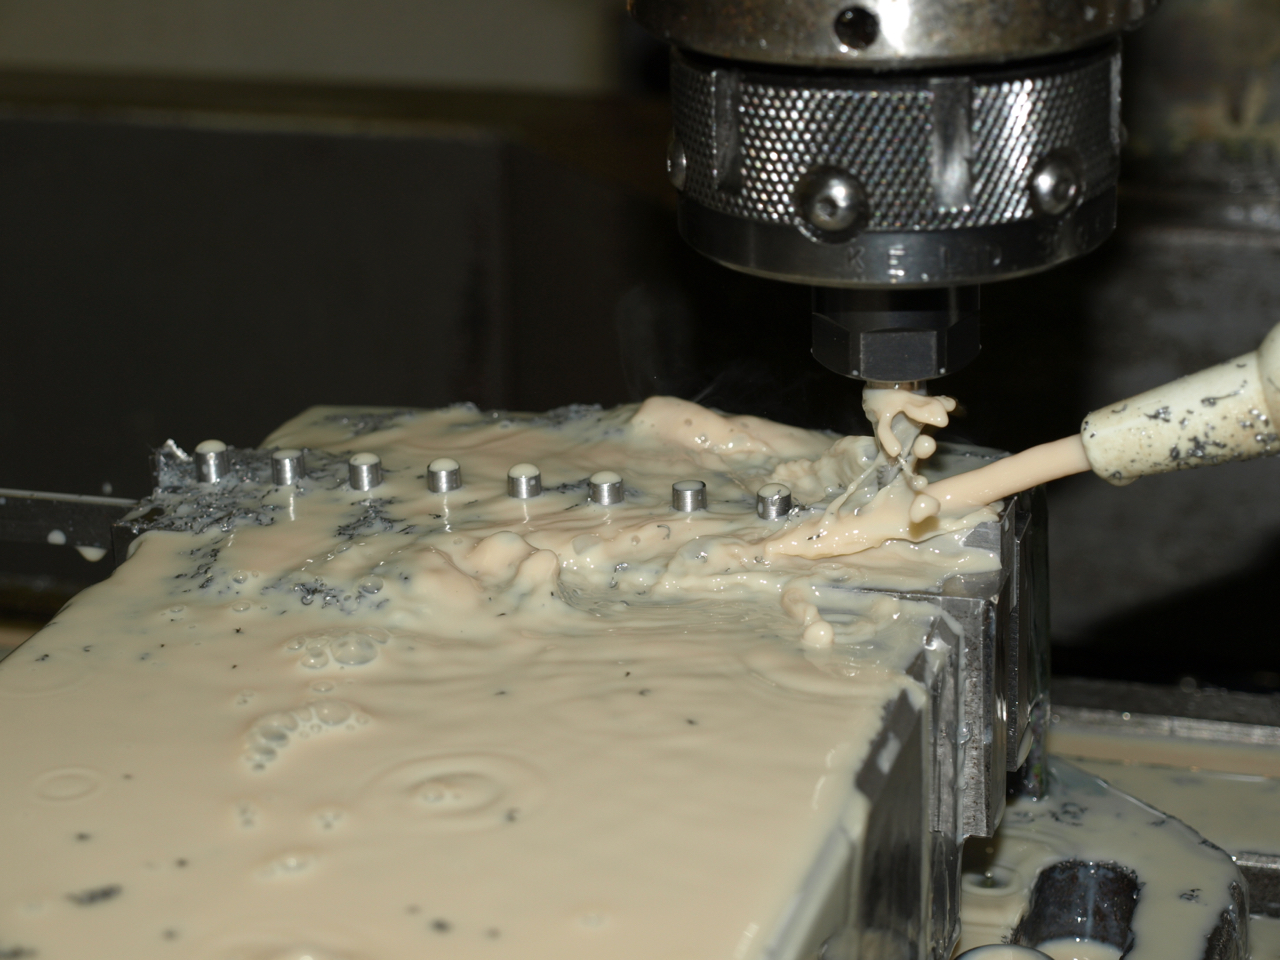
Integral rivets being milled in situ on a bar strip to be cut up into individual sneck pieces
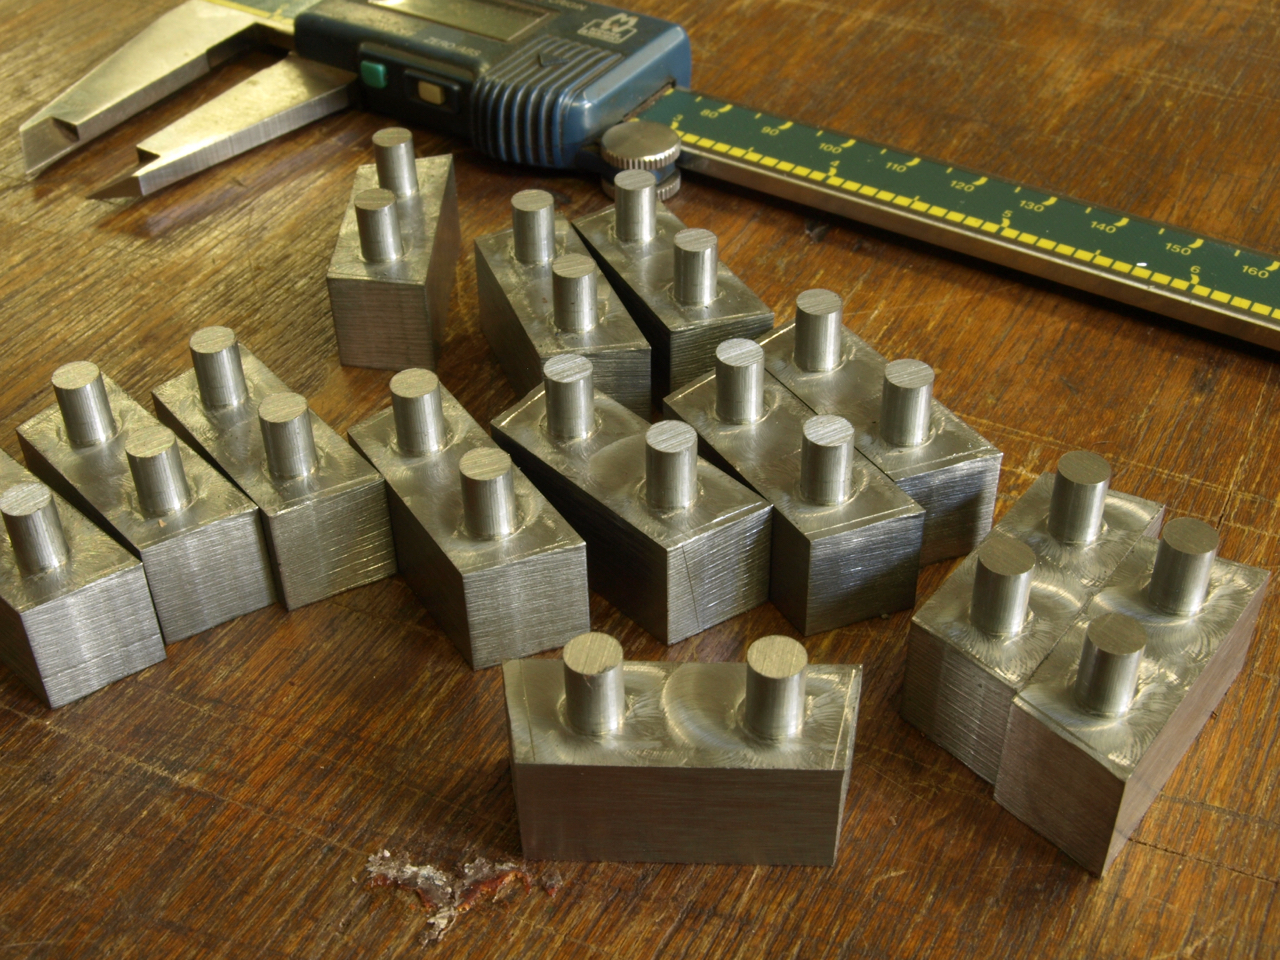
Sneck pieces shown after being cut into individual pieces
Some photos of the No 984 panel plane
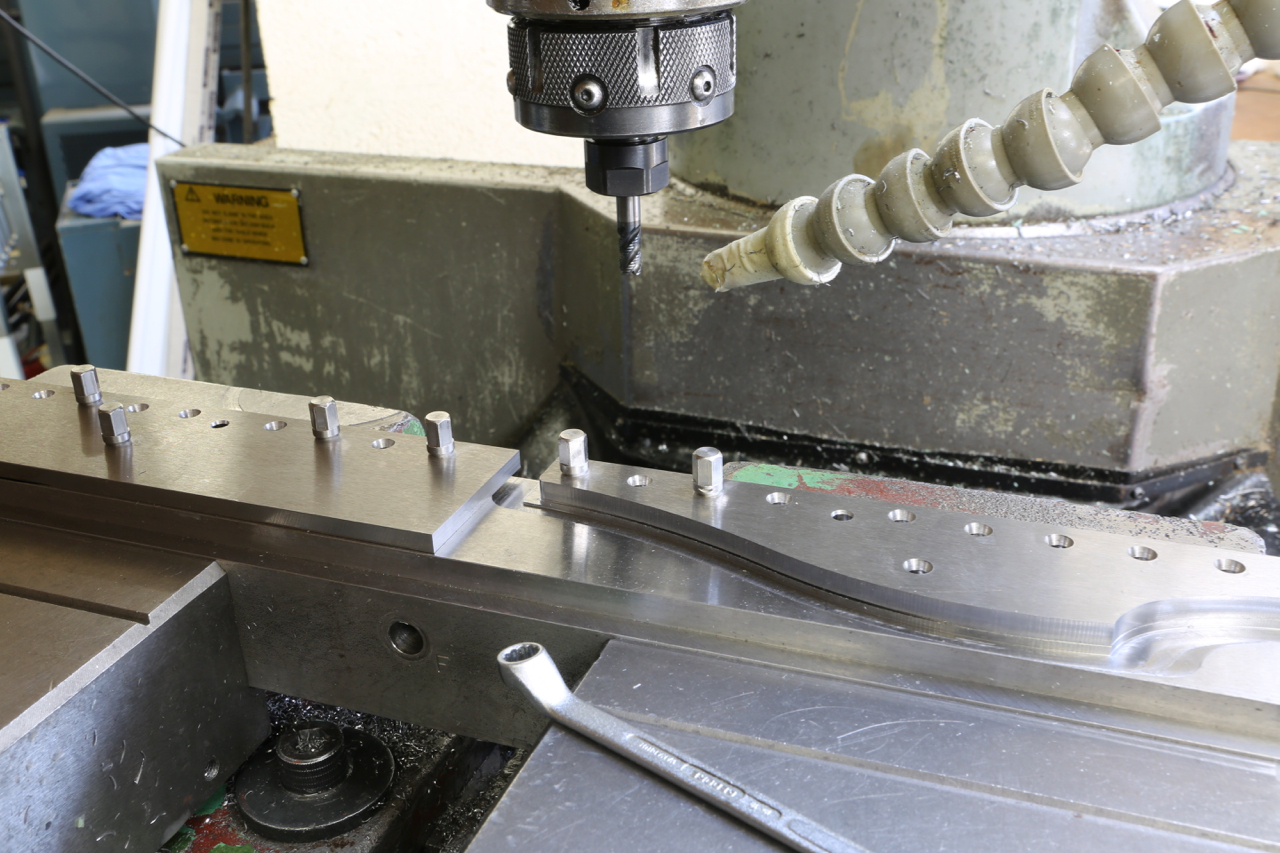
No 984 panel plane sides being routed on milling machine – no water jet or laser here. All work in house.

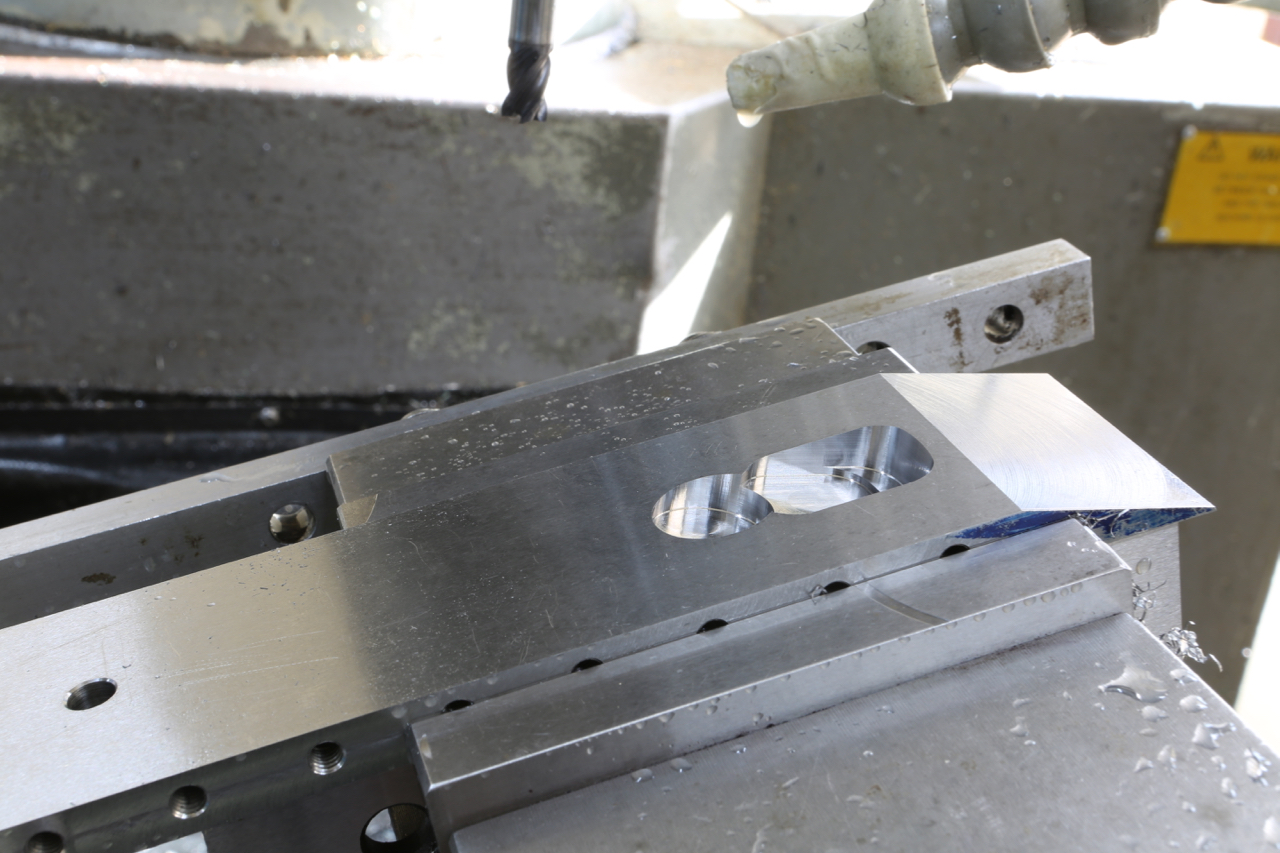
No 984 panel plane milling of blade bed and adjuster recess.
No 984 panel plane. Lever cap, adjuster and bun are easily removed without any tools
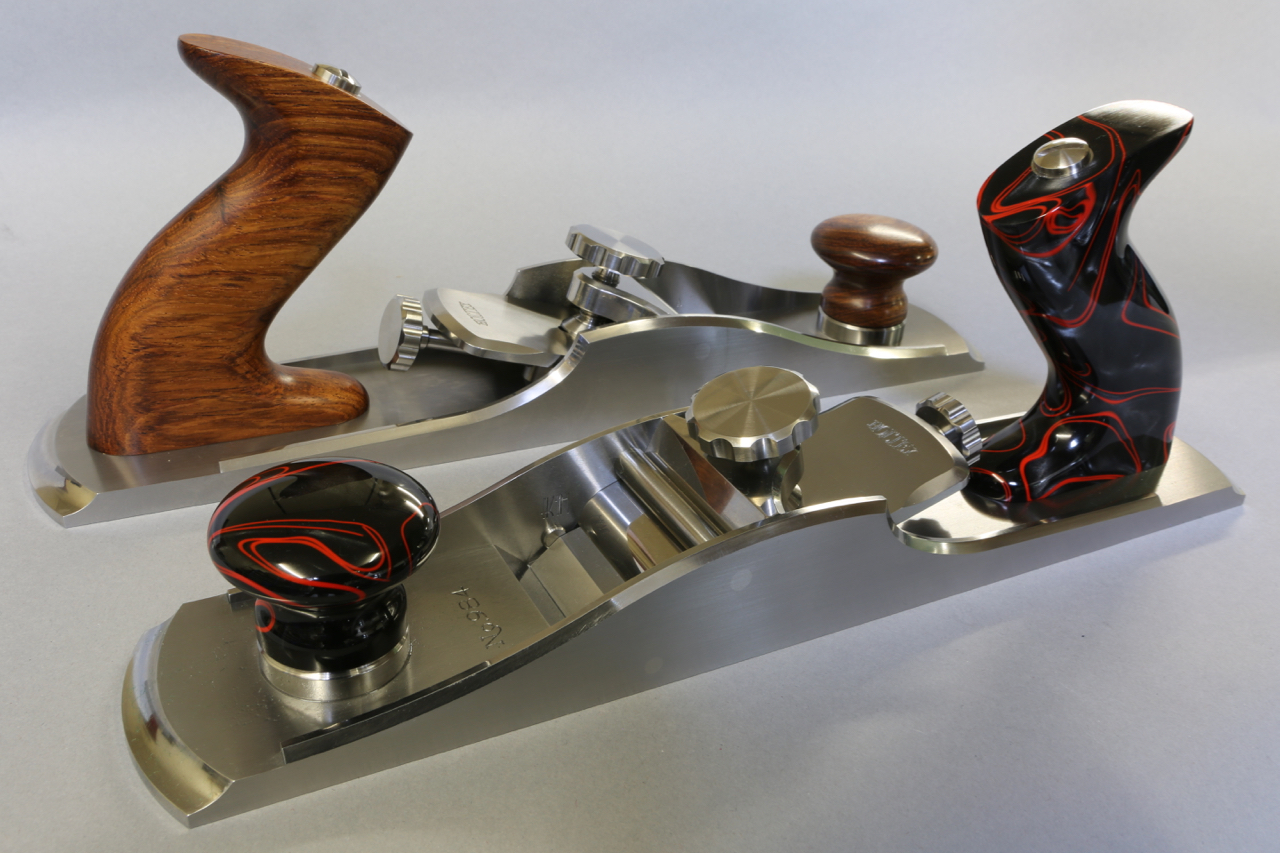
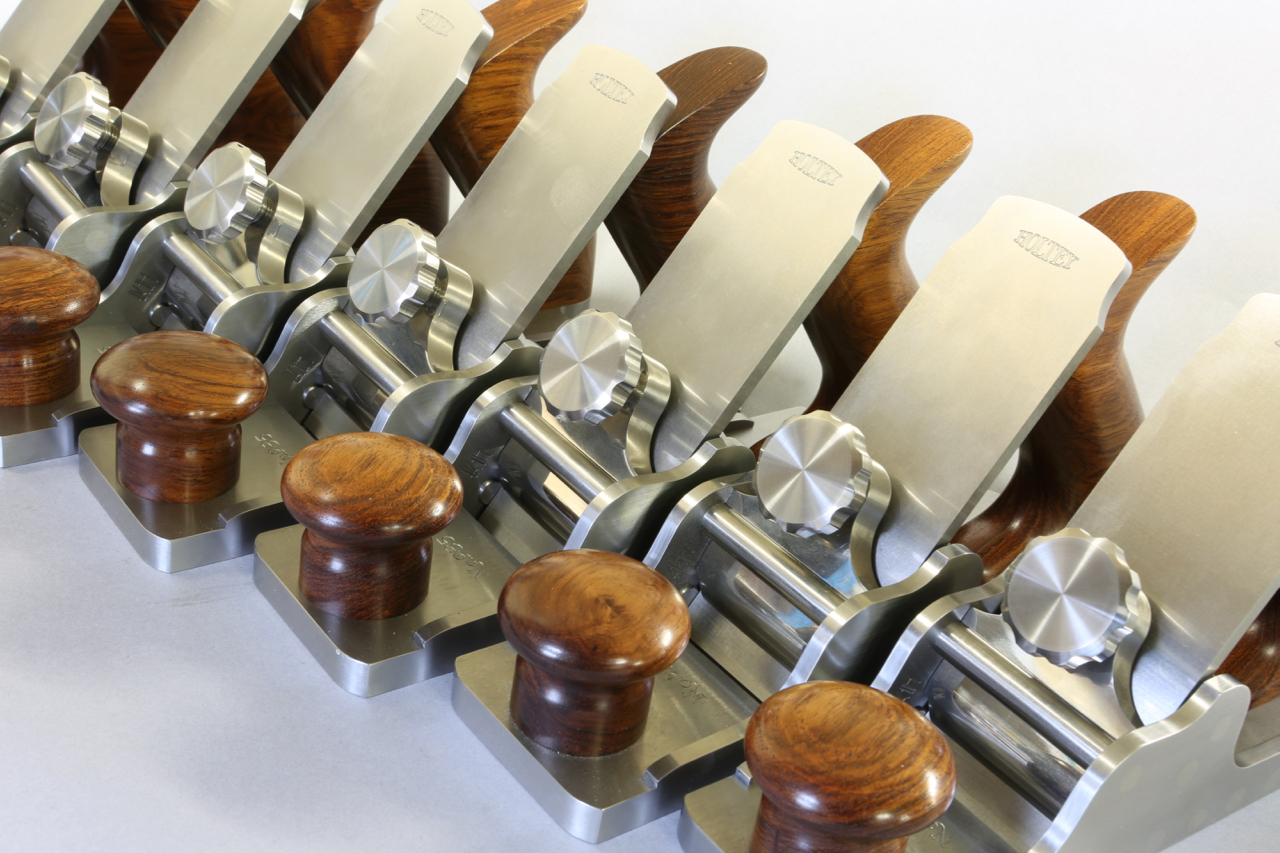
No 984 panel plane with acrylic and rosewood ( honduran rosewood) handles
With the sides prepared I can now make a commitment to the sole of the plane. i.e. mouth position and adjuster recess. This is a critical time which I would prefer not to get wrong, in fact it can get scary. The excitement level gets stronger as things progress.
I am making a variation of my No 984 panel plane to use up some components, it will be designated No 984s, there will only be a small number . It would be a shame to waste them especially these thumb screws.
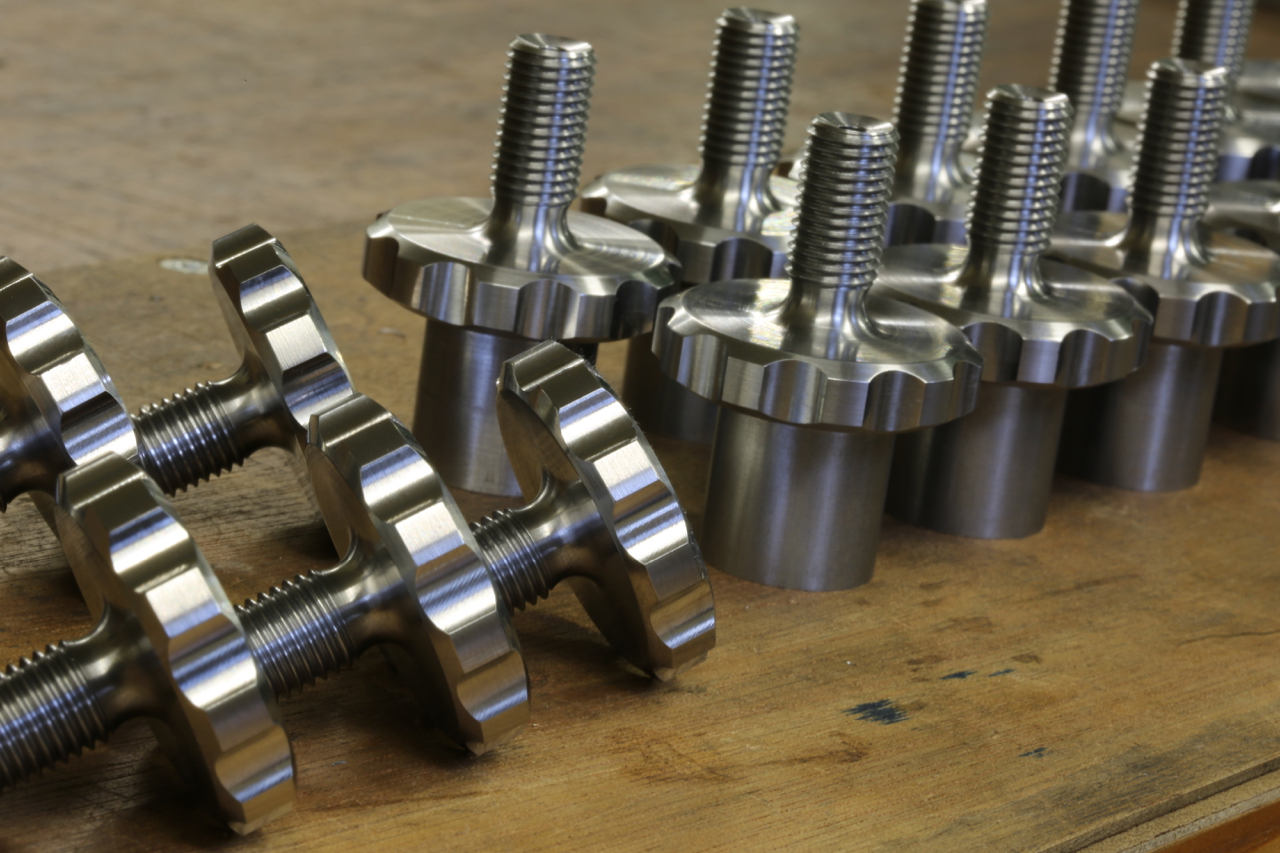
Unlike the No 984, with its in situ dowels, I have chosen to screw the No 984s planes. Both systems have their good points.
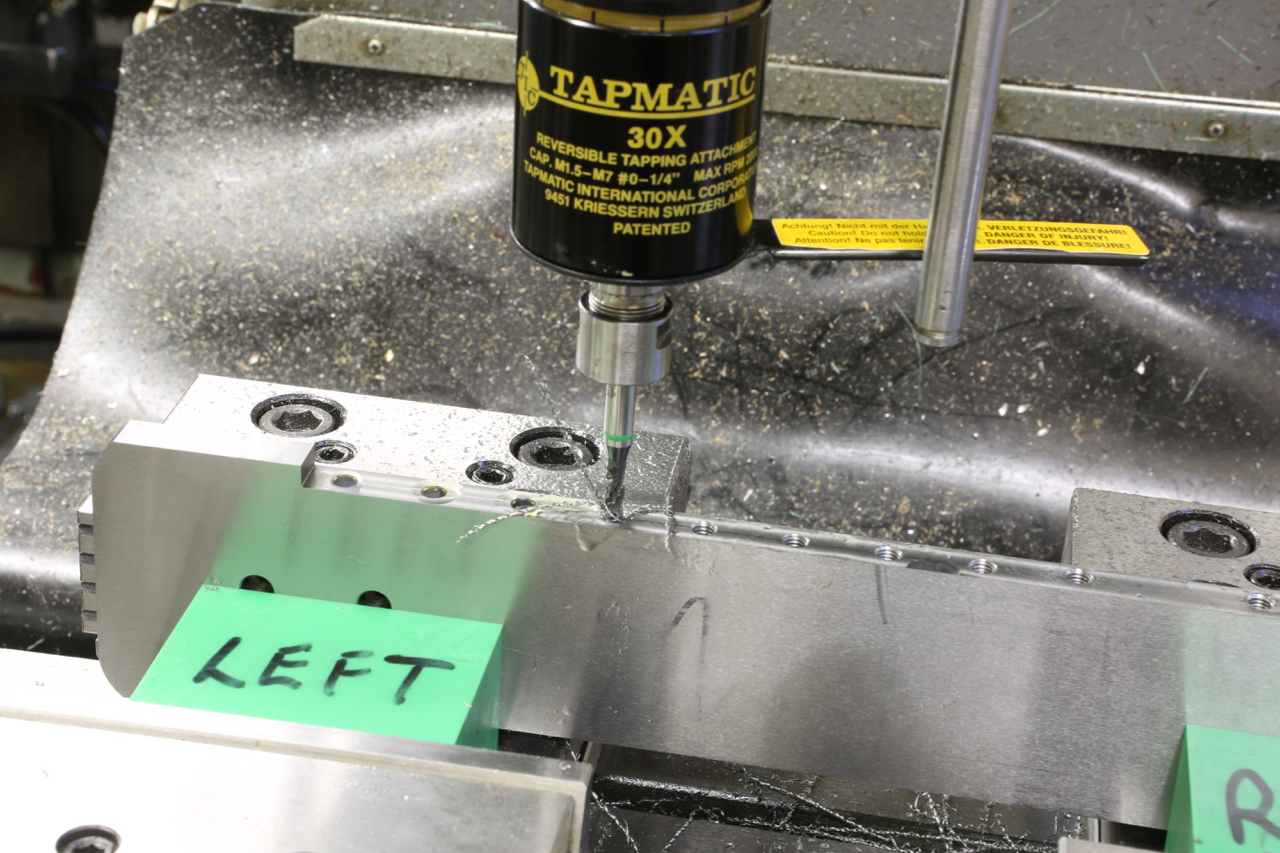
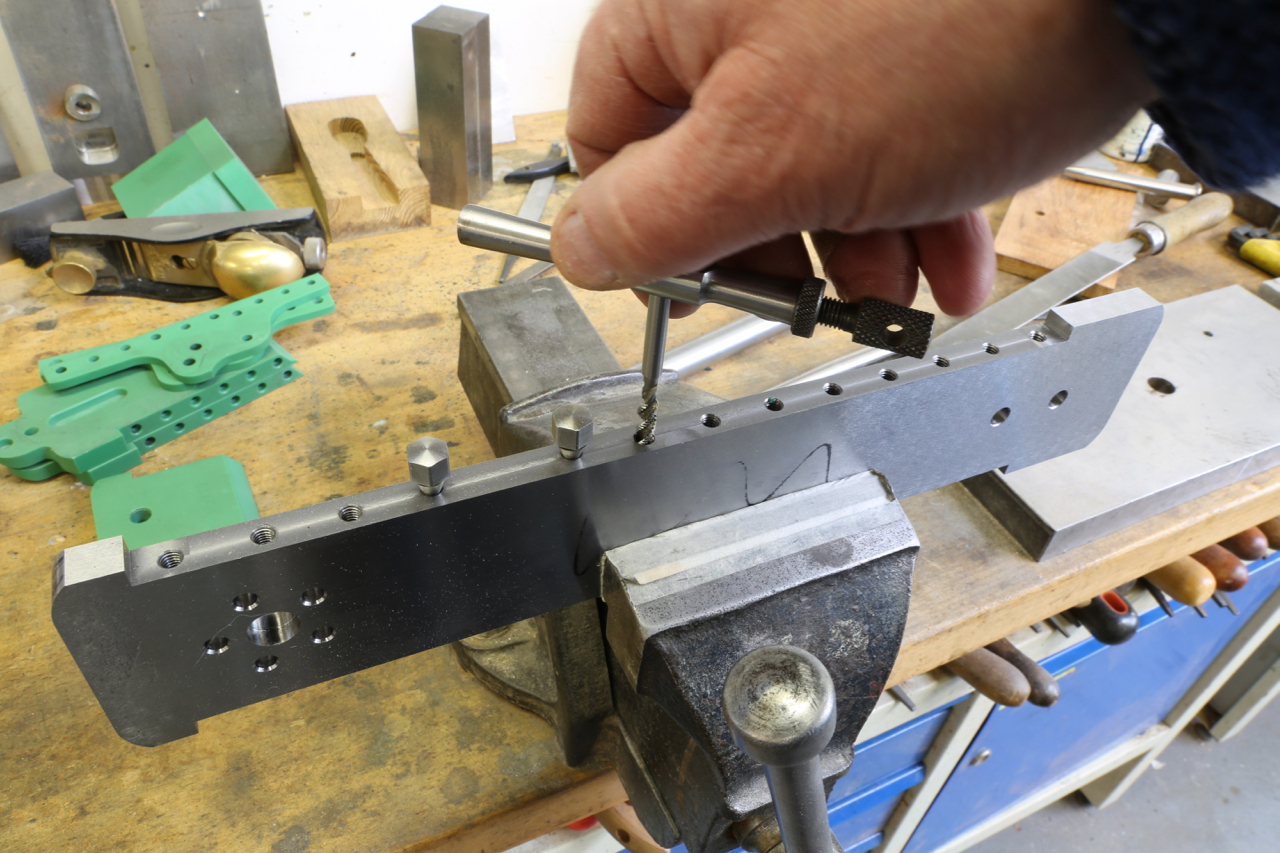
tapping on the mill with a tapping head never seems to be enough so I have to go over these again by hand. It is important for the fixing bolts to run free. I have to assemble and dis-assemble dry quite a few times. When it comes to the final assembly it is essential that there are no problems as the bolts will be going in with torque control and permanent locking compound.

With all the milling, grinding, forming, drilling and tapping done I am half way with the bottoms. These will now be set aside until I have completed the sides – next job.
Another plane which will be a future rarity. Just a one off as all future projects will be.
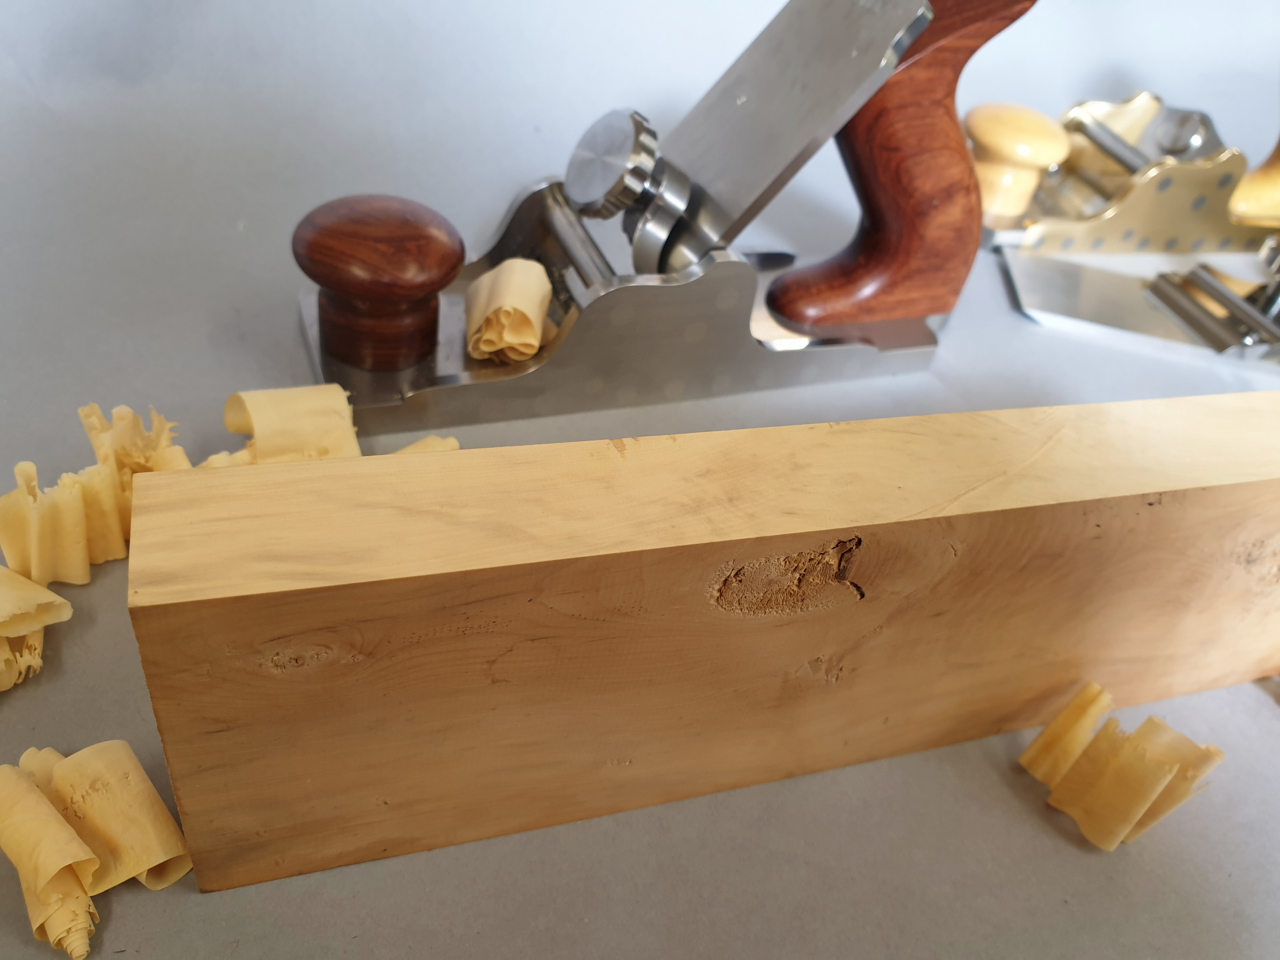
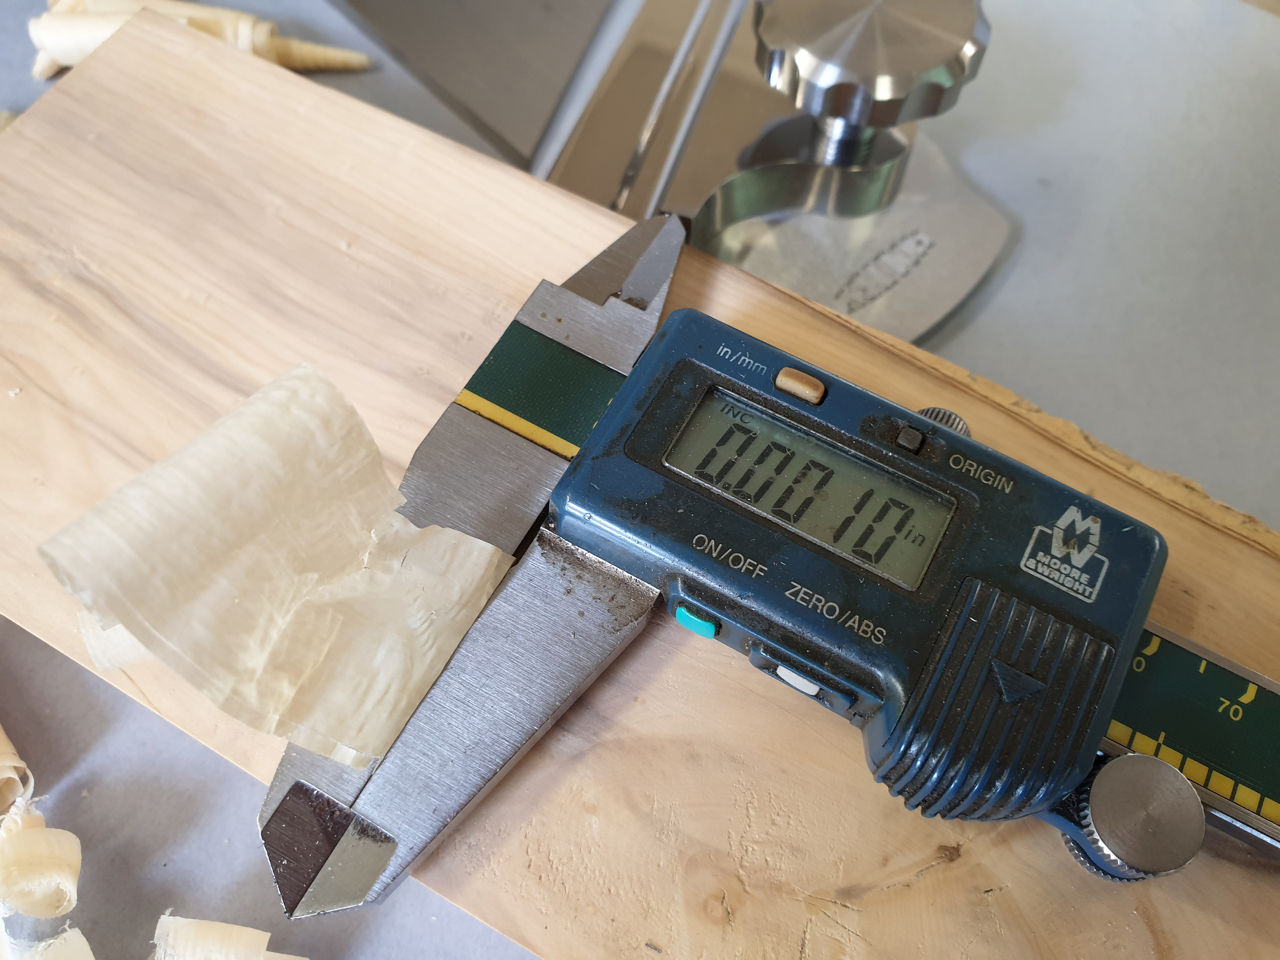
This is unusual for me because I think showing off shavings could be a little sad. Not many people tell you the wood they are using but here I have planed a very wild piece of Boxwood out of the scrap bin. As you can see there is a large knot near the edge so there is a lot of alternating grain. I was pushing off quite a thick shaving at 2 thou with no tear out at all. Then I was able to finish off at 1 thou without revisiting the oil stone. No doubt the enthusiast could improve on this performance as I don’t have the time to play. This is my new blade in stainless – that is all I am saying.
Powered by WordPress
