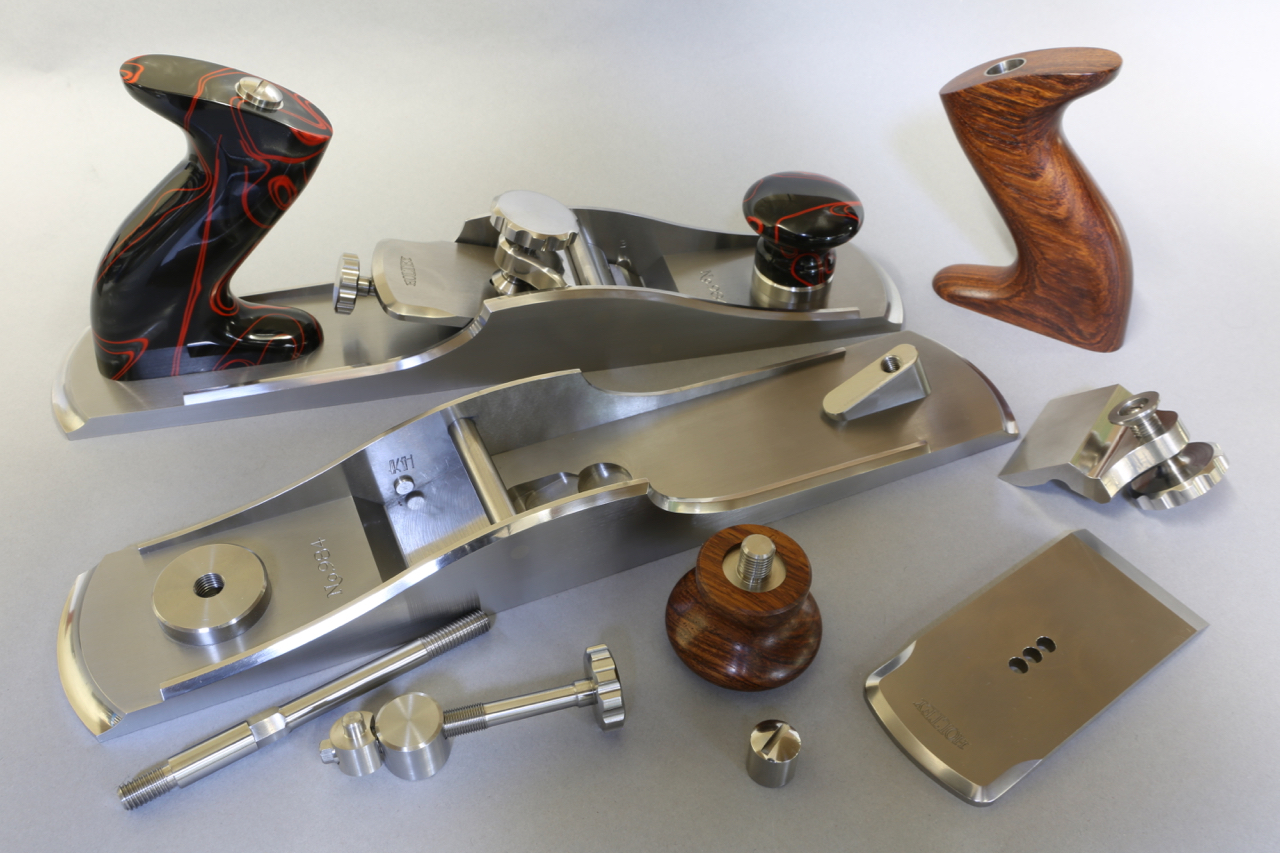
I have said little about this variant of the No 984 panel plane. It is to be designated No 984s.
There will be some differences as well as the decrease in length.
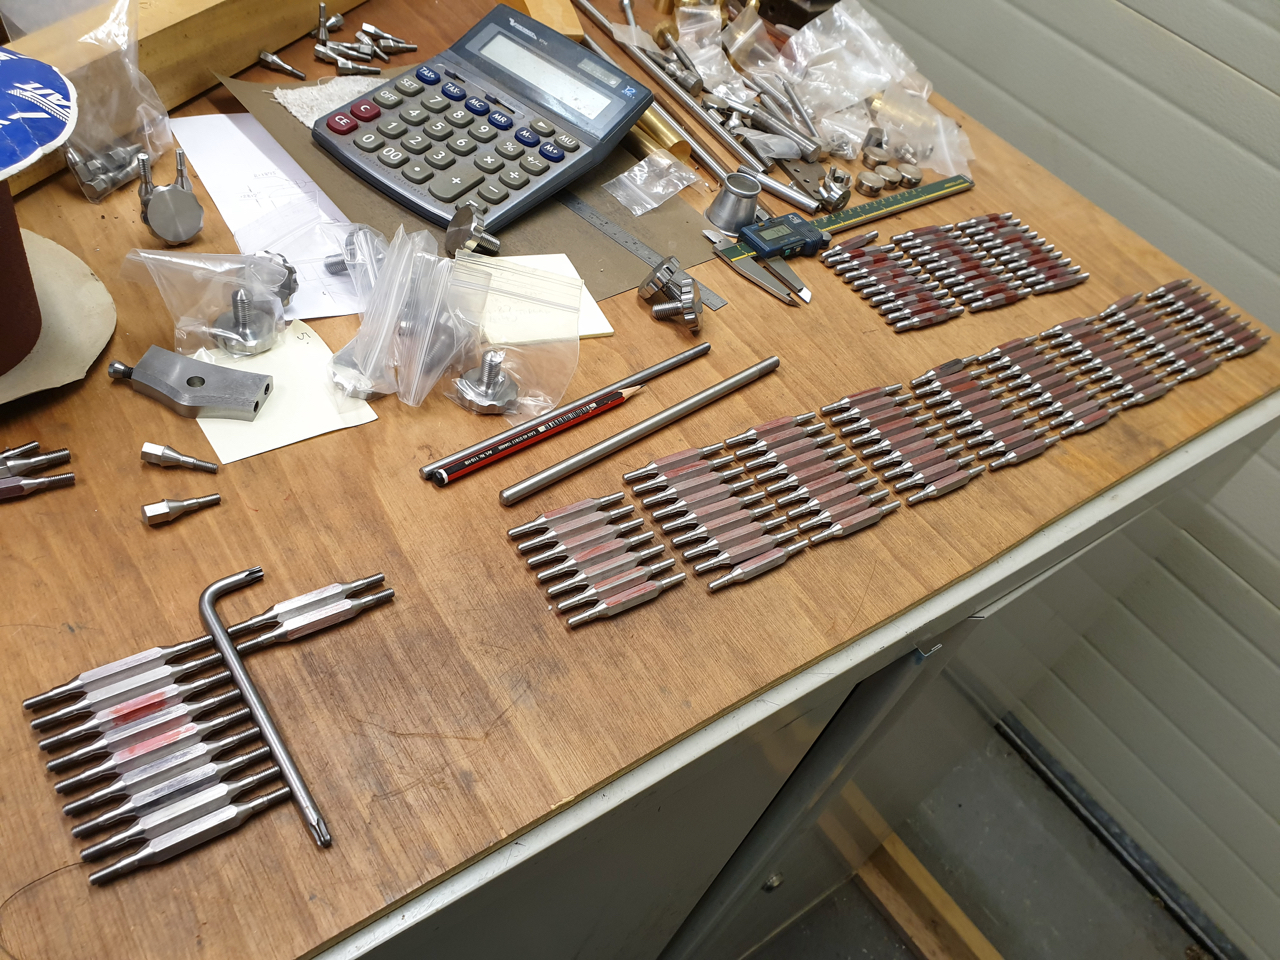
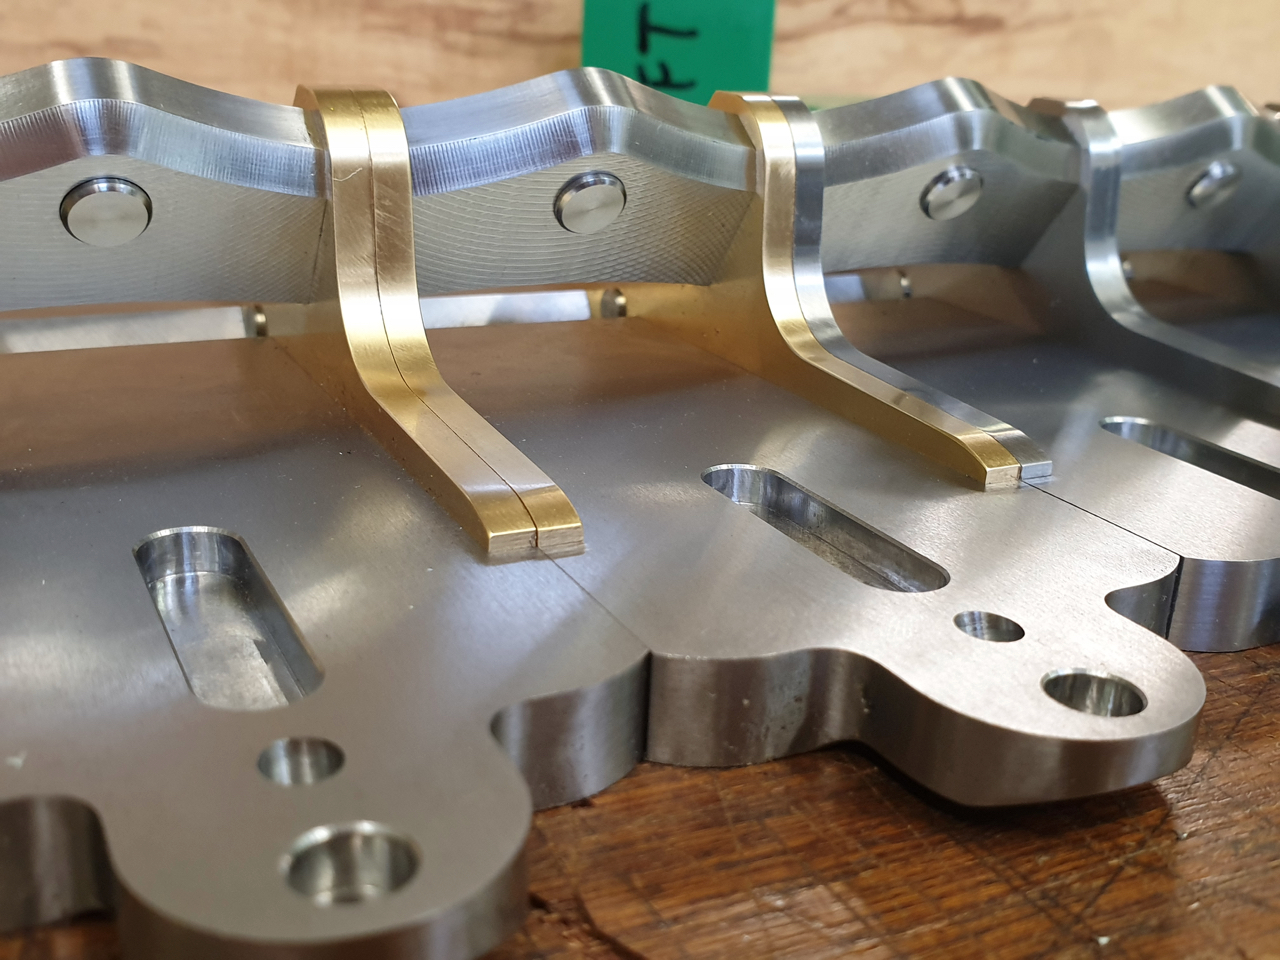
With the bottoms only being half worked they are now shelved until I have completed the sides.
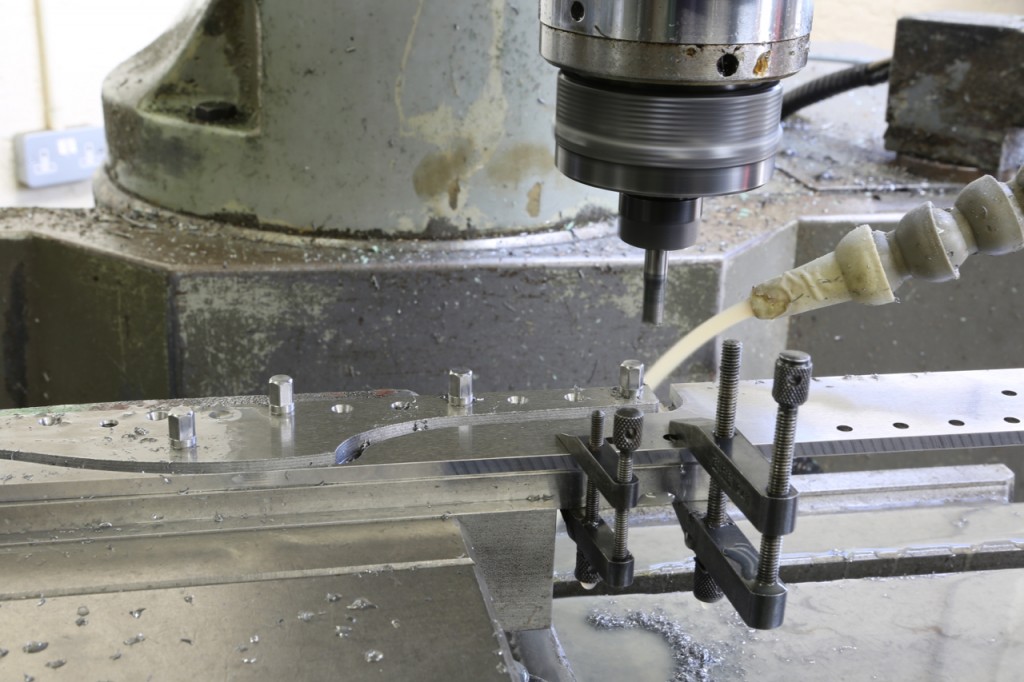
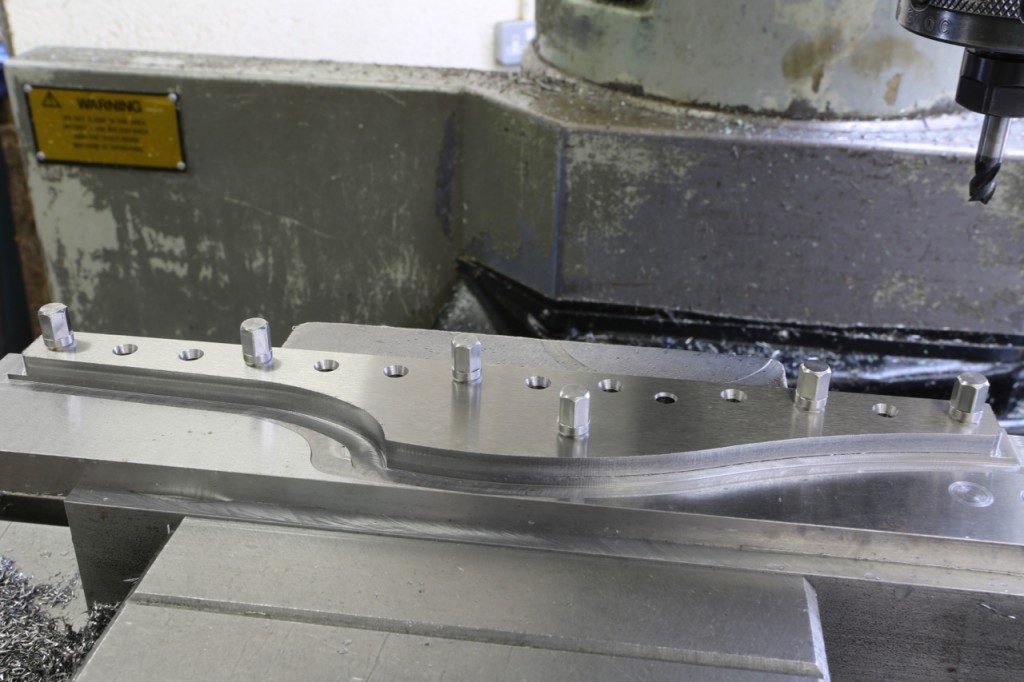
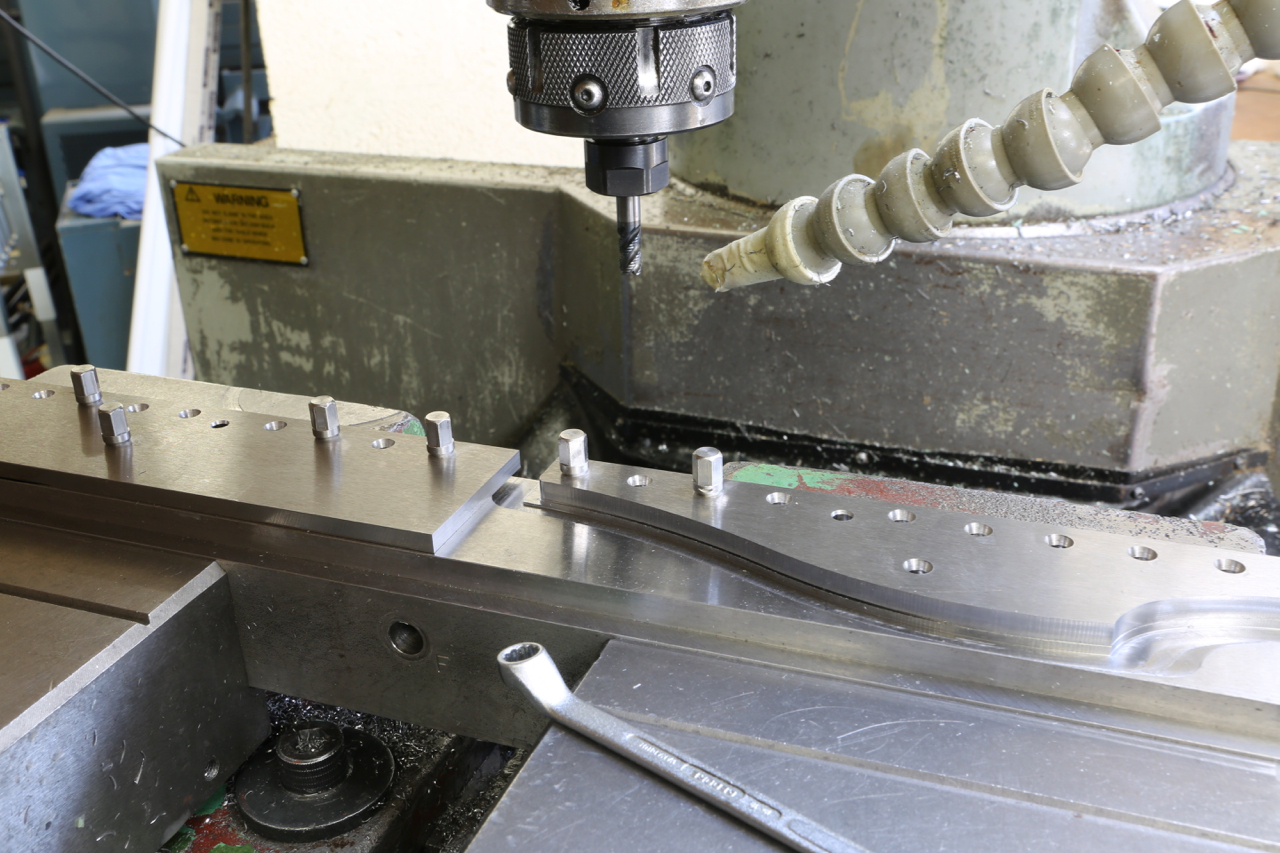
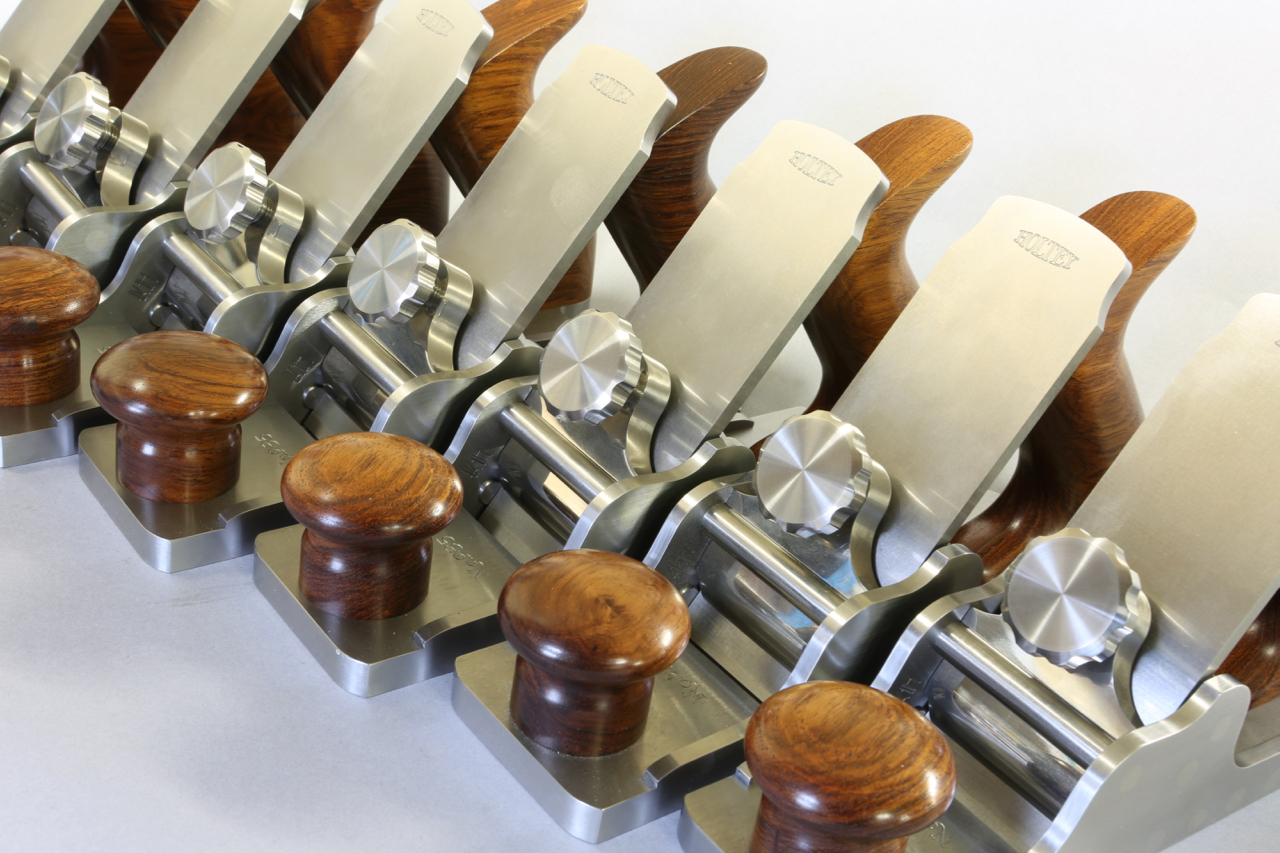
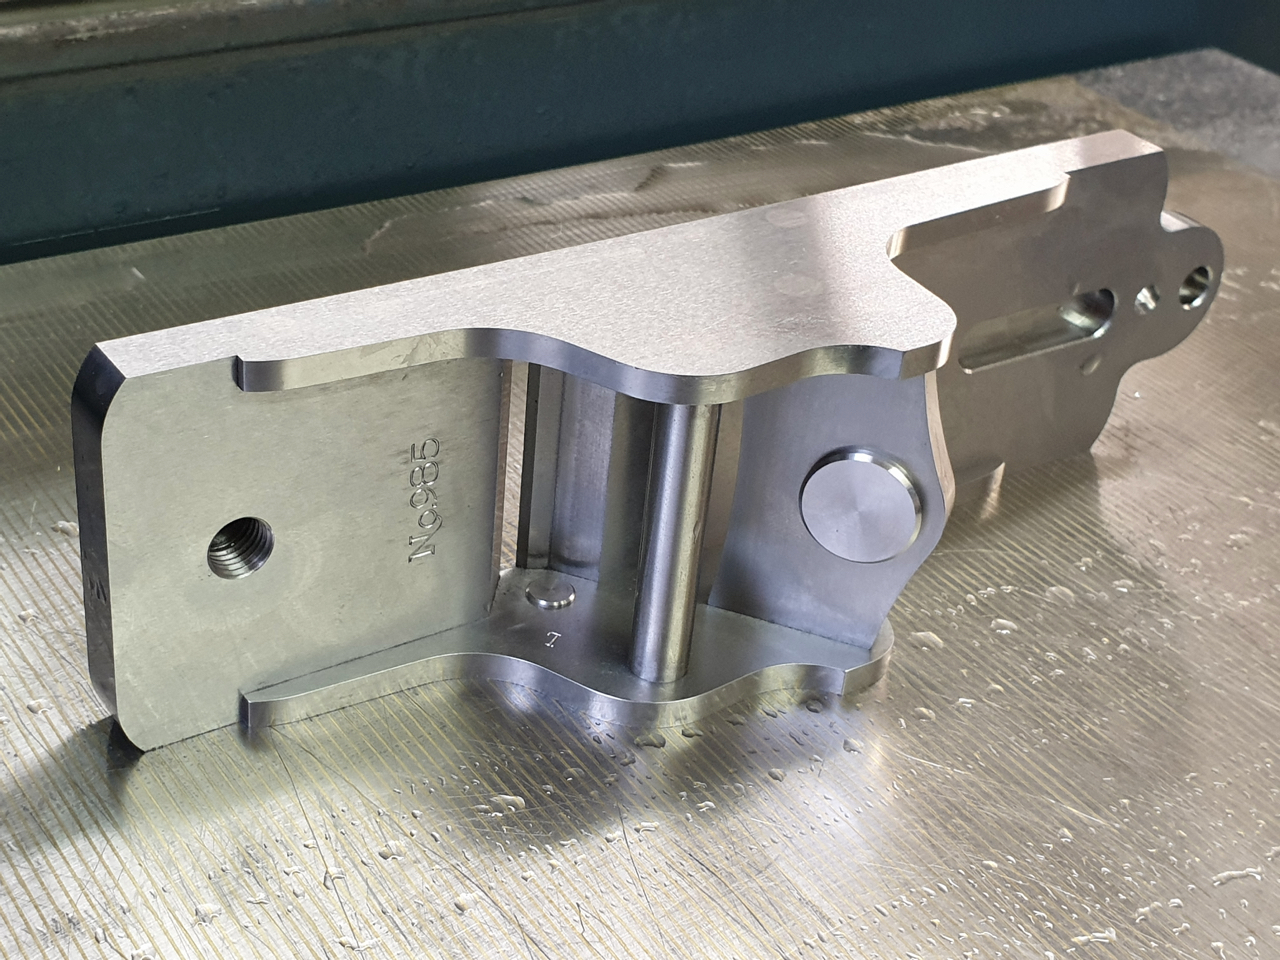
I have deliberated long and hard over the design of these sides. I have now decided not to chamfer them. This is by no means an economy and as you can see from the photos the chamfers could have been completed there and then and that would have been the end of it. I have taken a leap of faith and trusted my instincts because I feel that leaving the edges square will work better with the other changes. The profile looks more sharp finned and streamline than the chamfered version. It is all down to waiting for a finished plane. I know it will be the proverbial ‘brick built shithouse’ but this is what I wanted.
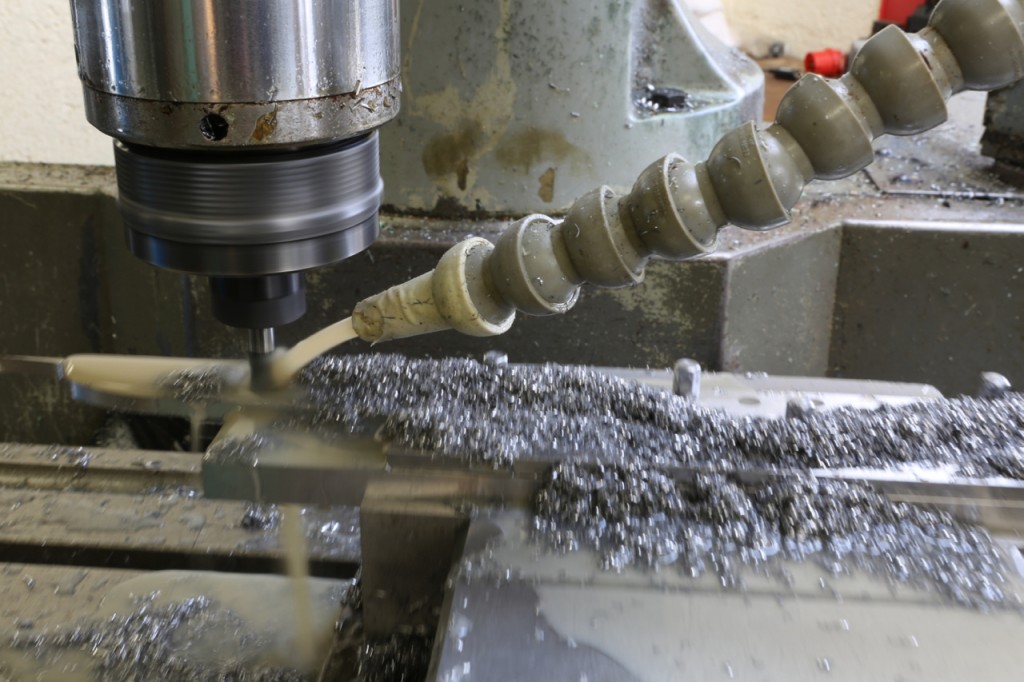
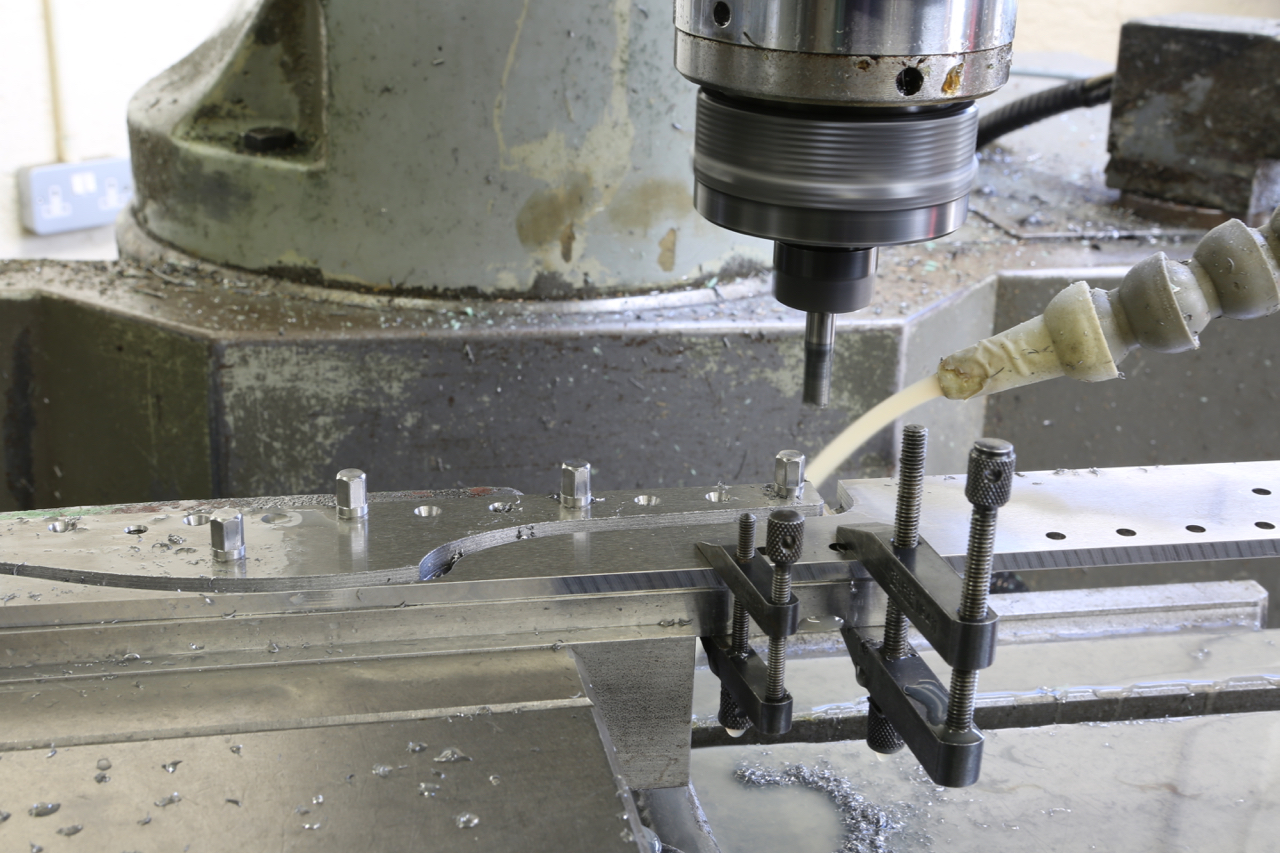
The middle picture shows the stainless steel side being routed with an 8mm ripper which surprisingly went through very quietly with no effort or noise. A single cutter lasted the whole job and still has life left in it. I have left the swarf in for the picture to show the amount of material removed.

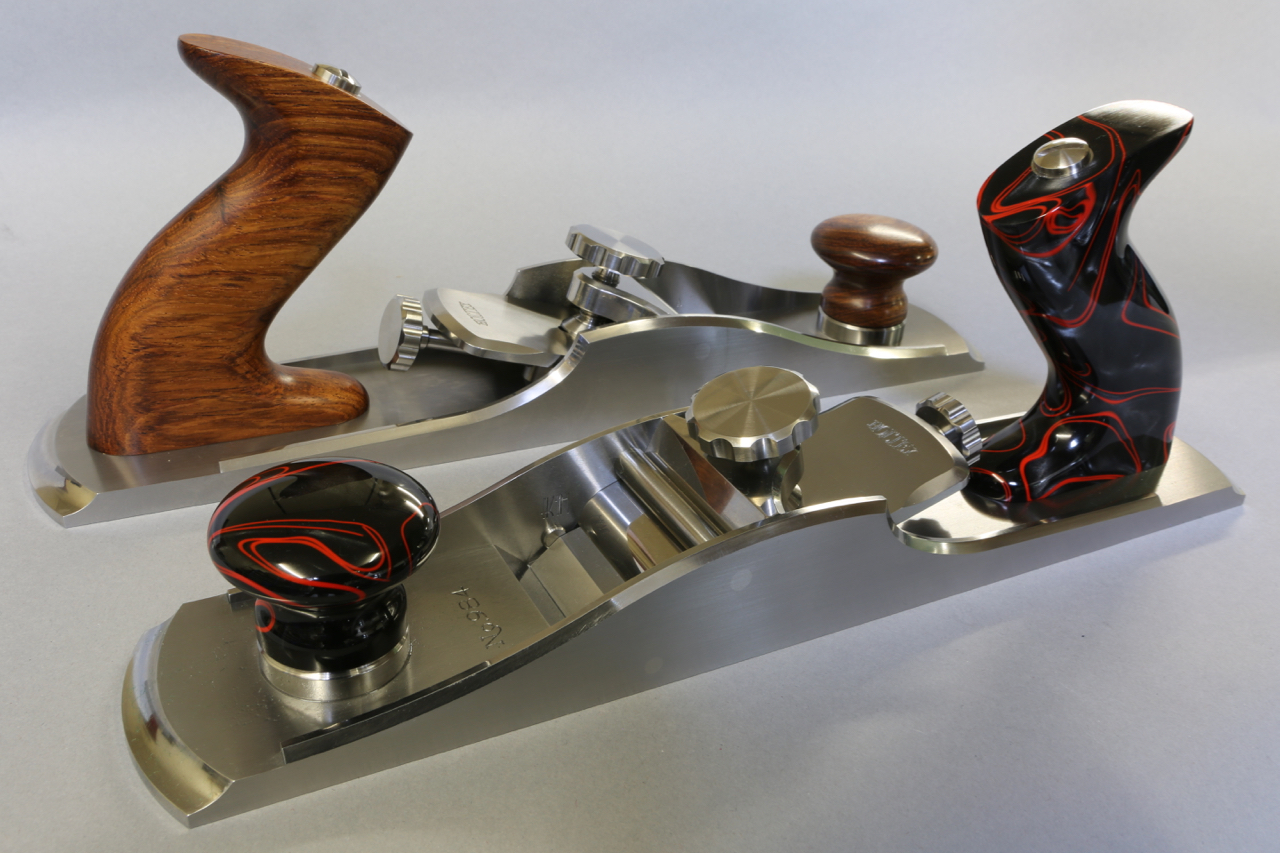


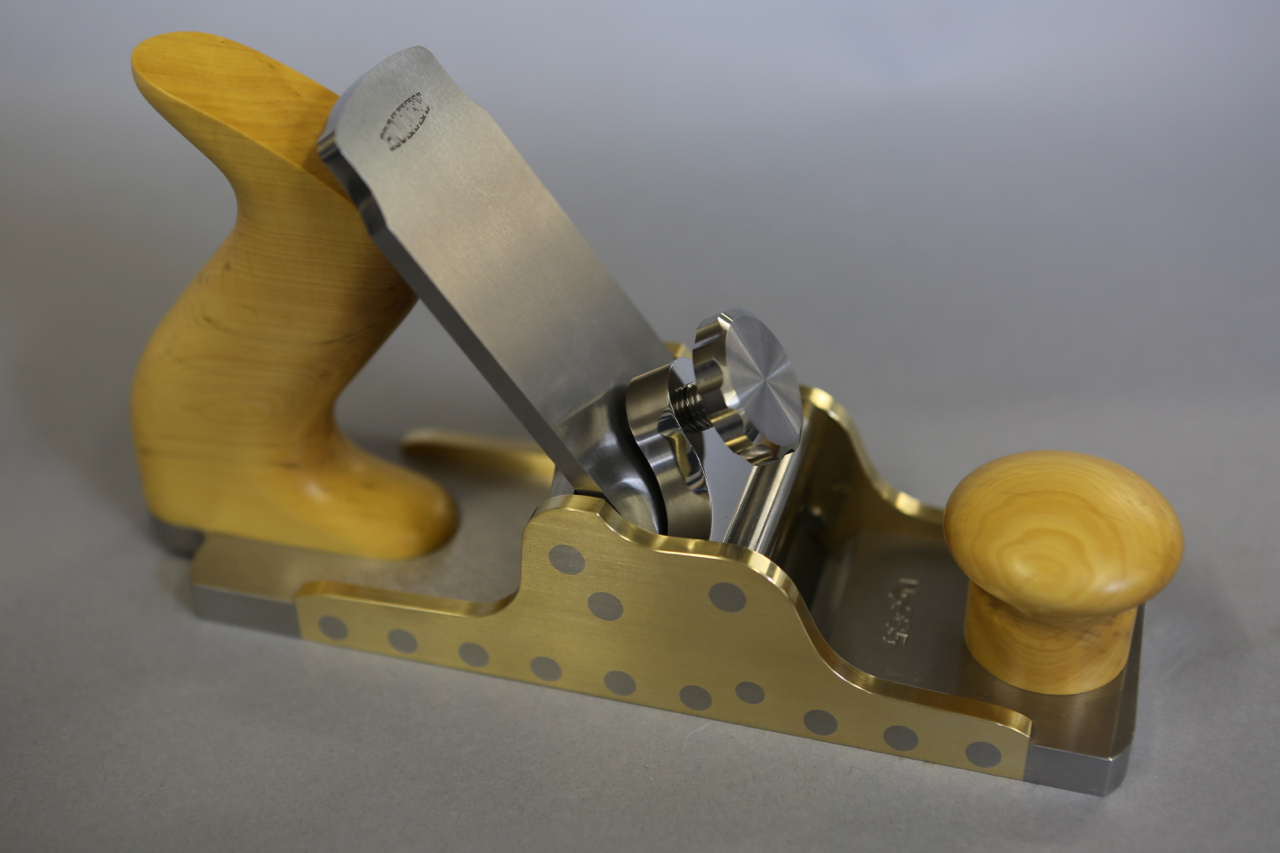

No 983 Commentary
I want to go back and take the time to explain the development and design of the No 983. I will be updating the website with this during next week. When I made this plane I only did a limited number which sold out quickly so I had to make another batch. It is very satisfying to complete a design but I am not going there again as the work is far too much. I won’t make the mistake of selling the last one (mine!) again, but I do have two left for sale.