From the Workshop

June 7, 2019

Workshop Blog 26 – No 985

dalbergia stevensonii better known as Honduran Rosewood

Over the years using various selected rosewoods this one has captivated me the most. It is not a bling wood, but it has an attraction of its own. It is very tough and business like. The contrast does not fade like many of the others. It takes an oil very well. No matter how plain it may look there is a hidden beauty that reveals itself quite quickly once you start shaping and fine finishing. This is an area where I find a lot of satisfaction and reward for all the effort that goes into the work. There is one downside to all rosewoods – I have an allergy to it. This Honduran one used to be the least offensive but after many hours of work it has turned on me.

This handle represents the end of the bunch and where only hand finishing counts.

CI3A5440

June 3, 2019

Workshop Blog 25 – No 985

Still plodding along.

The first picture is to try and give you some idea of the work that goes into these planes. The picture should be self explanatory. It shows some of the metal (stainless) work and handles. From this you can see it includes spines that are threaded and keyed ready for cementing with epoxy into the handles. This gives the kind of strength and rigidity which would surpass what is normally found on a closed handle.

It is this kind of work that makes me one of life’s misfits.


CI3A5426
 

Now I am on to the handle shaping which is basic hand work. My CNC machine doesn’t seem to have a button for this job. I find pleasure in the wood taking shape and interesting contrasts come to life.

Here the chosen wood is a Honduras Rosewood – Dalbergia stevensonii – still lots of work to be done. The price of the plane goes up and up with the pain of the work.


CI3A5429

May 23, 2019

Workshop Blog No 24 – No 985

Slipping behind on postings as I have been so busy.

As a follow on from last posting on upper blade bed, the design is similar to the one used in my No 982. I didn’t want to go this far but I can’t think of anything better. It is certainly solid if nothing else. You just have to bite the bullet and get the work done.

CI3A5417


CI3A5402


This picture shows the tooling required for the last part of the operation after much preparation. As you can see this kind of tooling doesn’t come cheap. I always keep plenty of backup – if I get a tool failure I want to be able to change it immediately.


CI3A5407

May 8, 2019

Workshop blog no 23 – No 985

Looking back on the last posting and it has been a whole month – I have been away for a while and life just seems to get in the way of work sometimes. Was having a look at what retirement could be like, but I can’t afford it!

A quick photo of work on the upper blade bed. The amount of work here was greatly underestimated in my planning. It is always difficult to estimate in the first place and then I keep tweaking and tuning as I go along. Why spoil the ship for a ha’porth of tar. I don’t think I will ever be rich but I can aim to be the best.

I will retain radio silence for a little bit longer until I have something more interesting to show.

CI3A5378

April 8, 2019

Workshop blog no 22 – No 985

I wish this stainless stuff would cut as easy as the plastic. The plastic is very useful for setting up.

This is quite a heavy cut for my machine and she it is getting quite old. So it always nice to put these jobs behind me.

CI3A5367

With the recesses now cut I am still not out of the woods as the drilling for the custom made screws makes me worried about tool breakage – set up is critical. The drilling stage is three different tools.

CI3A5374

The tapping is the most dangerous part of this stage and I always take a sigh of relief if I finish without incident. One tap breakage means I am minus a plane – that is a lot of work gone down the toilet! It is not like a production line and every plane is relied on to show a profit.

CI3A5376

Every stage of this work has to be a well planned operation to avoid any casualties.

April 4, 2019

Workshop blog no 21 – No 985

Just a little progress update, but I am getting there.

CI3A5360

March 27, 2019

Workshop blog no 20 – No 985

Filed under: No 985,Window to my workshop — Tags: , , , — admin @ 10:30 am

I was hoping to get my handles underway this week, but decided to complete the chassis first as the handles will need tweaking when I have an assembled plane.

The start of the front bun, drilling, tapping and counter bore ready to go on to the turning abor. This is the same fit as the fixing bush. Which is another hidden job.

CI3A5326

This operation is usually done on the manual mill as the thread cutting is best done by hand for better sensitivity and ensuring sharp and clean threads. More on this later.

CI3A5343

With reluctance I have put the wood working on hold and moved the chassis forward. Here is the holding fixture awaiting programming and tooling.

CI3A5353

March 22, 2019

Workshop Blog no 19 – No 985

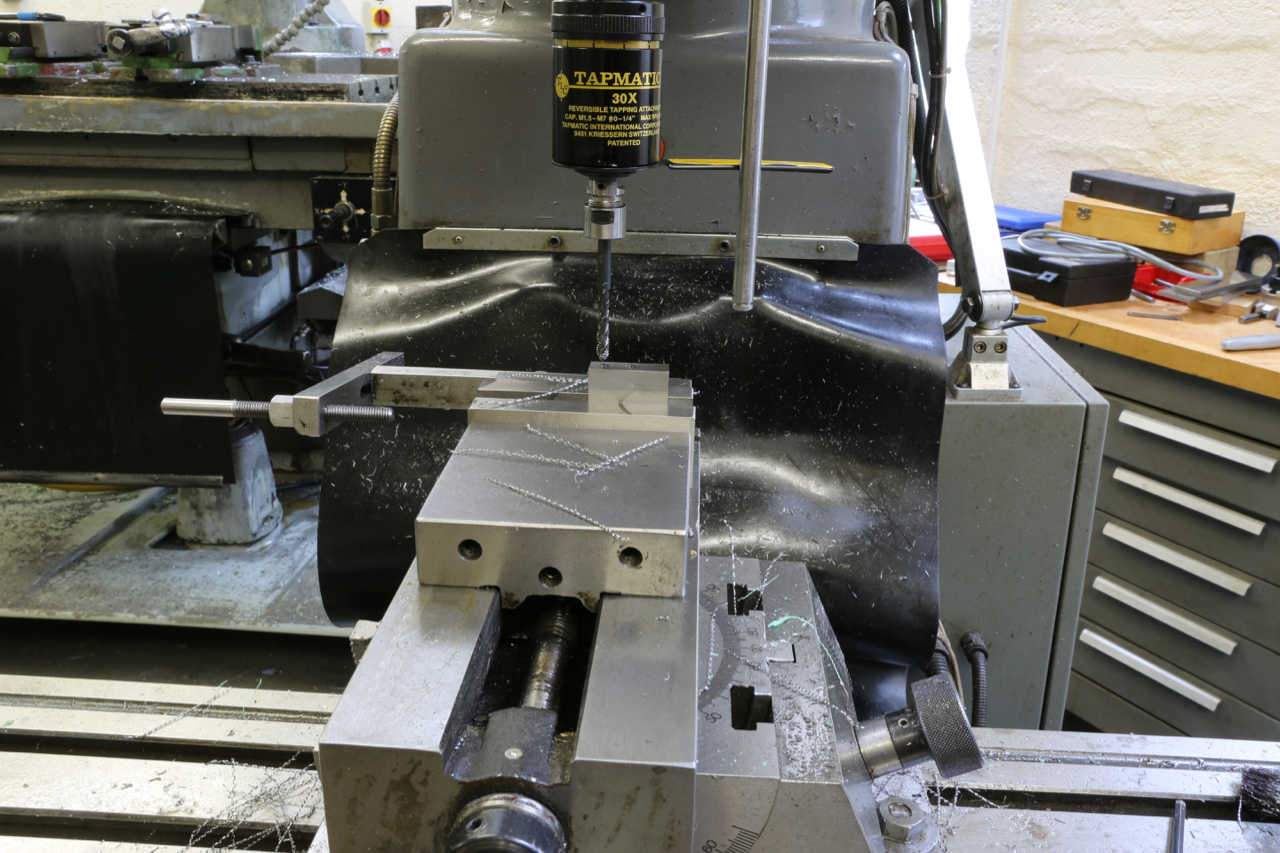
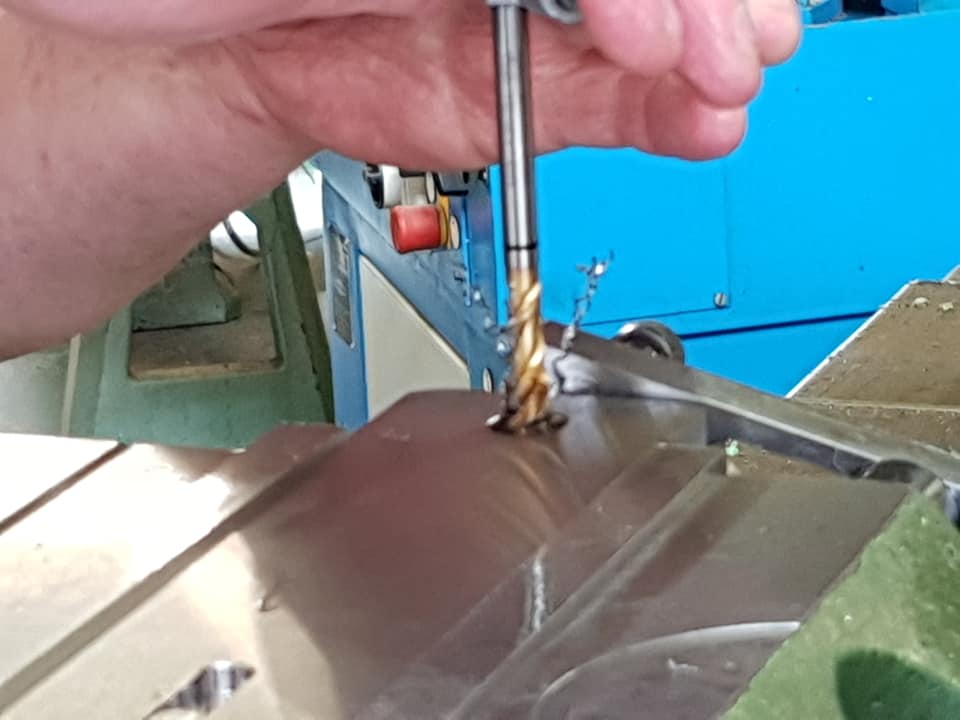
One of the things about the smoothing plane is that it is for finishing only and this is better achieved by keeping the plane as short as possible. In the past a smoothing plane was a smoothing plane and usually about 7 1/2″ sole length, obviously here we are not trying to straighten or flatten the wood, this means very fine cutting. You have to follow into imperfect surfaces which bigger planes wouldn’t reach.

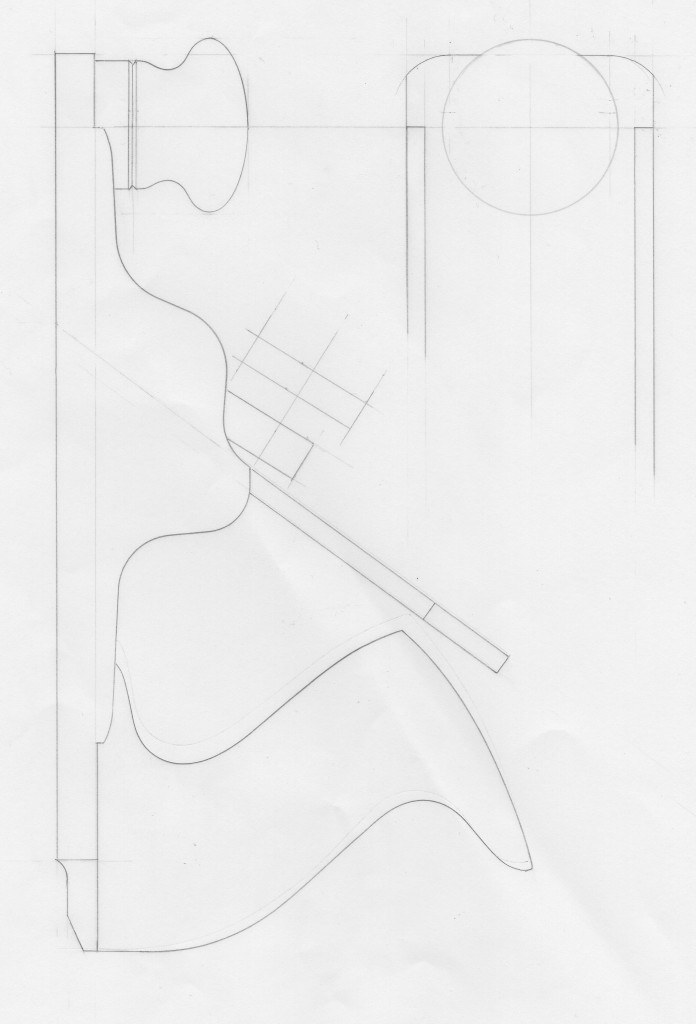
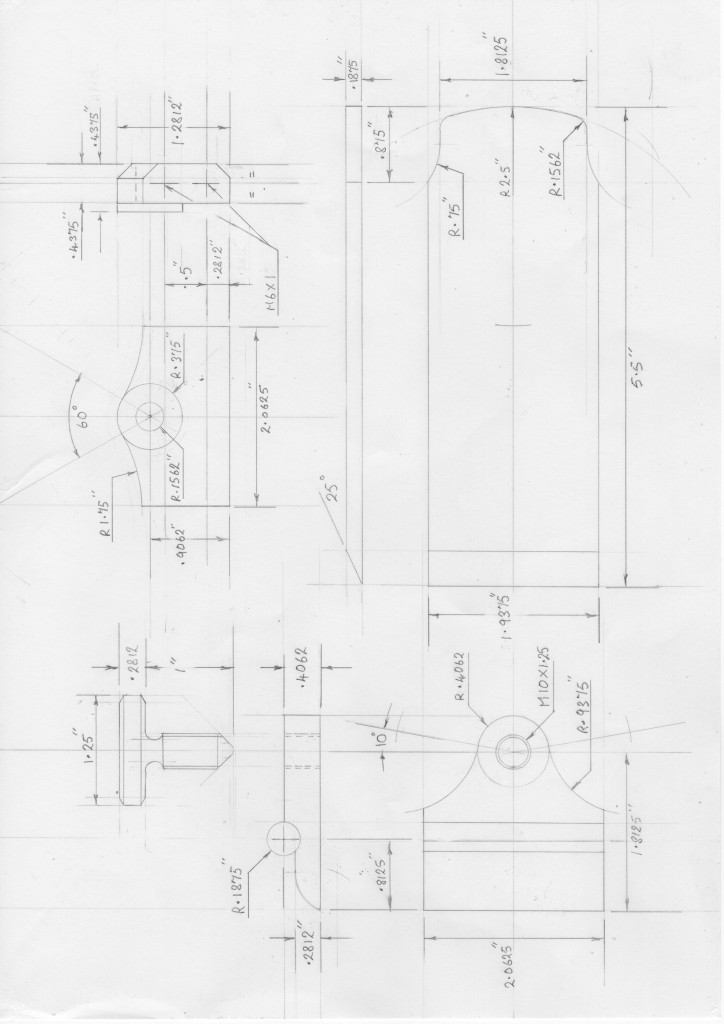
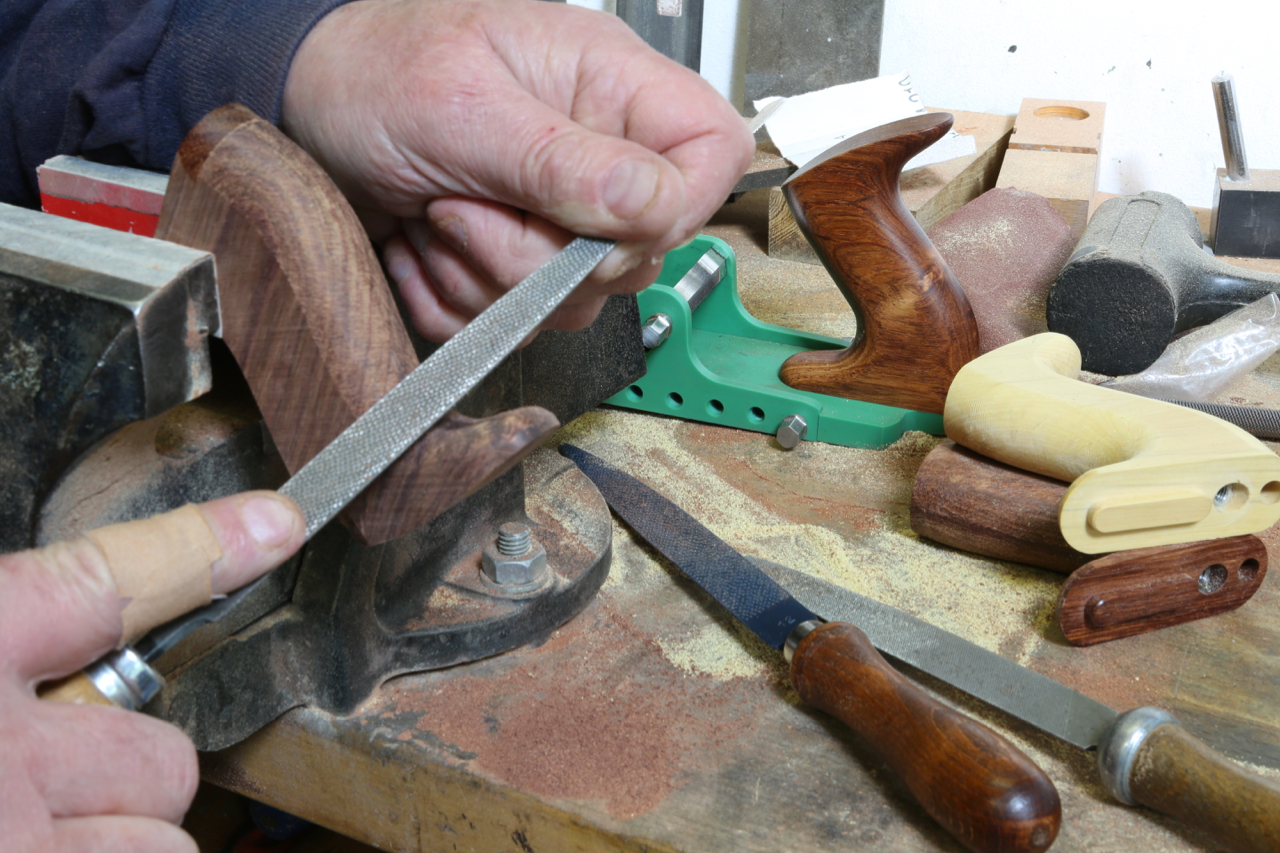
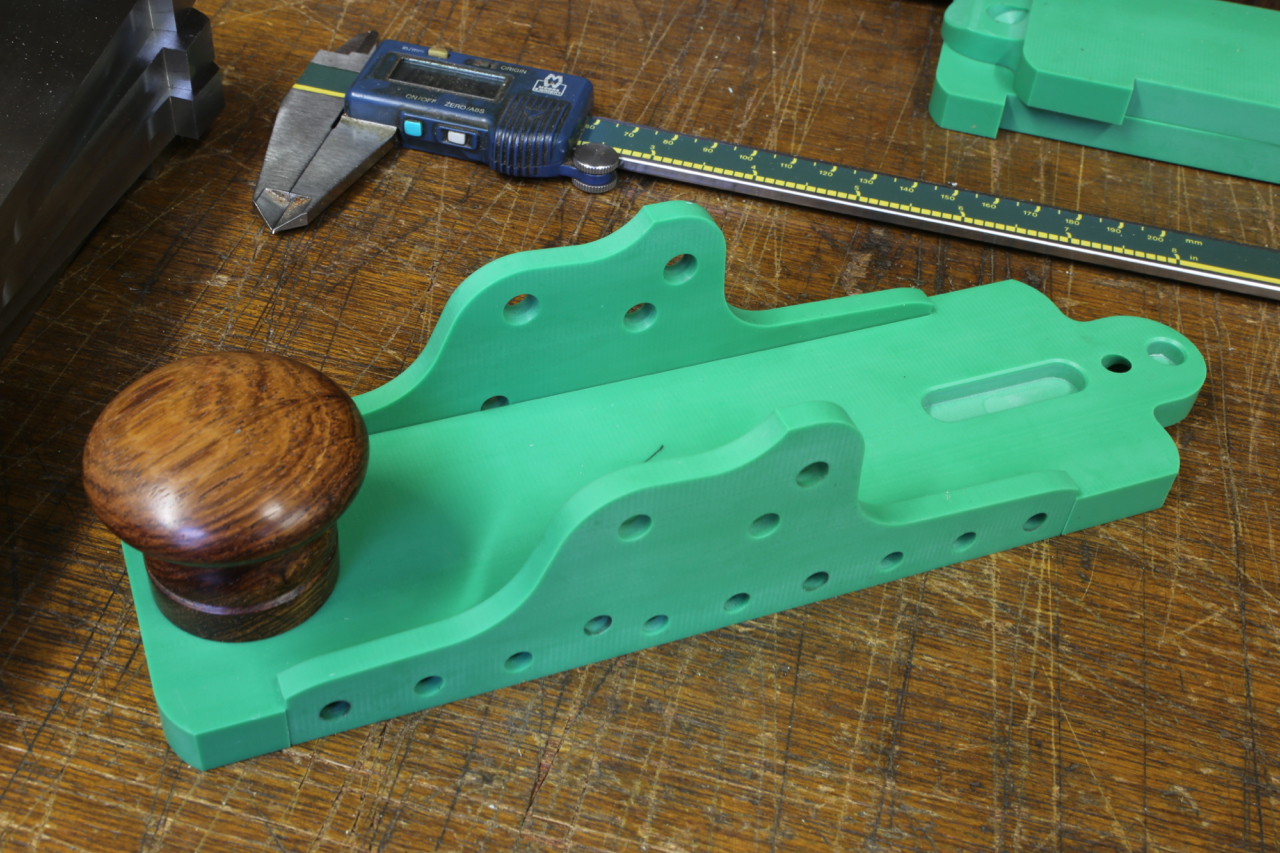
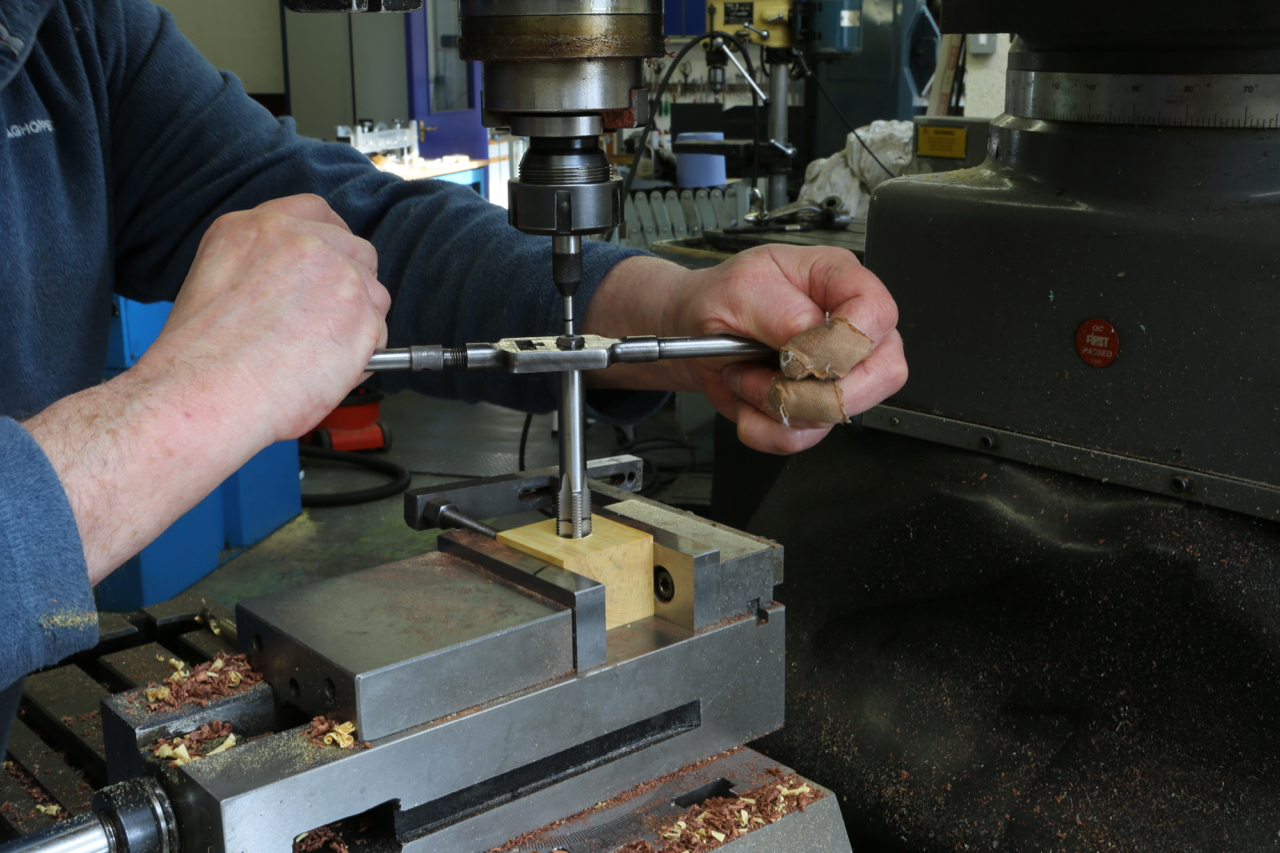
For this plane the adjuster had to go. I wanted a full rear handle but had to lose some of its height, which is fine as most people are happy with just holding with three fingers leaving the index finger to rest on the side of the blade for orientation and feedback.

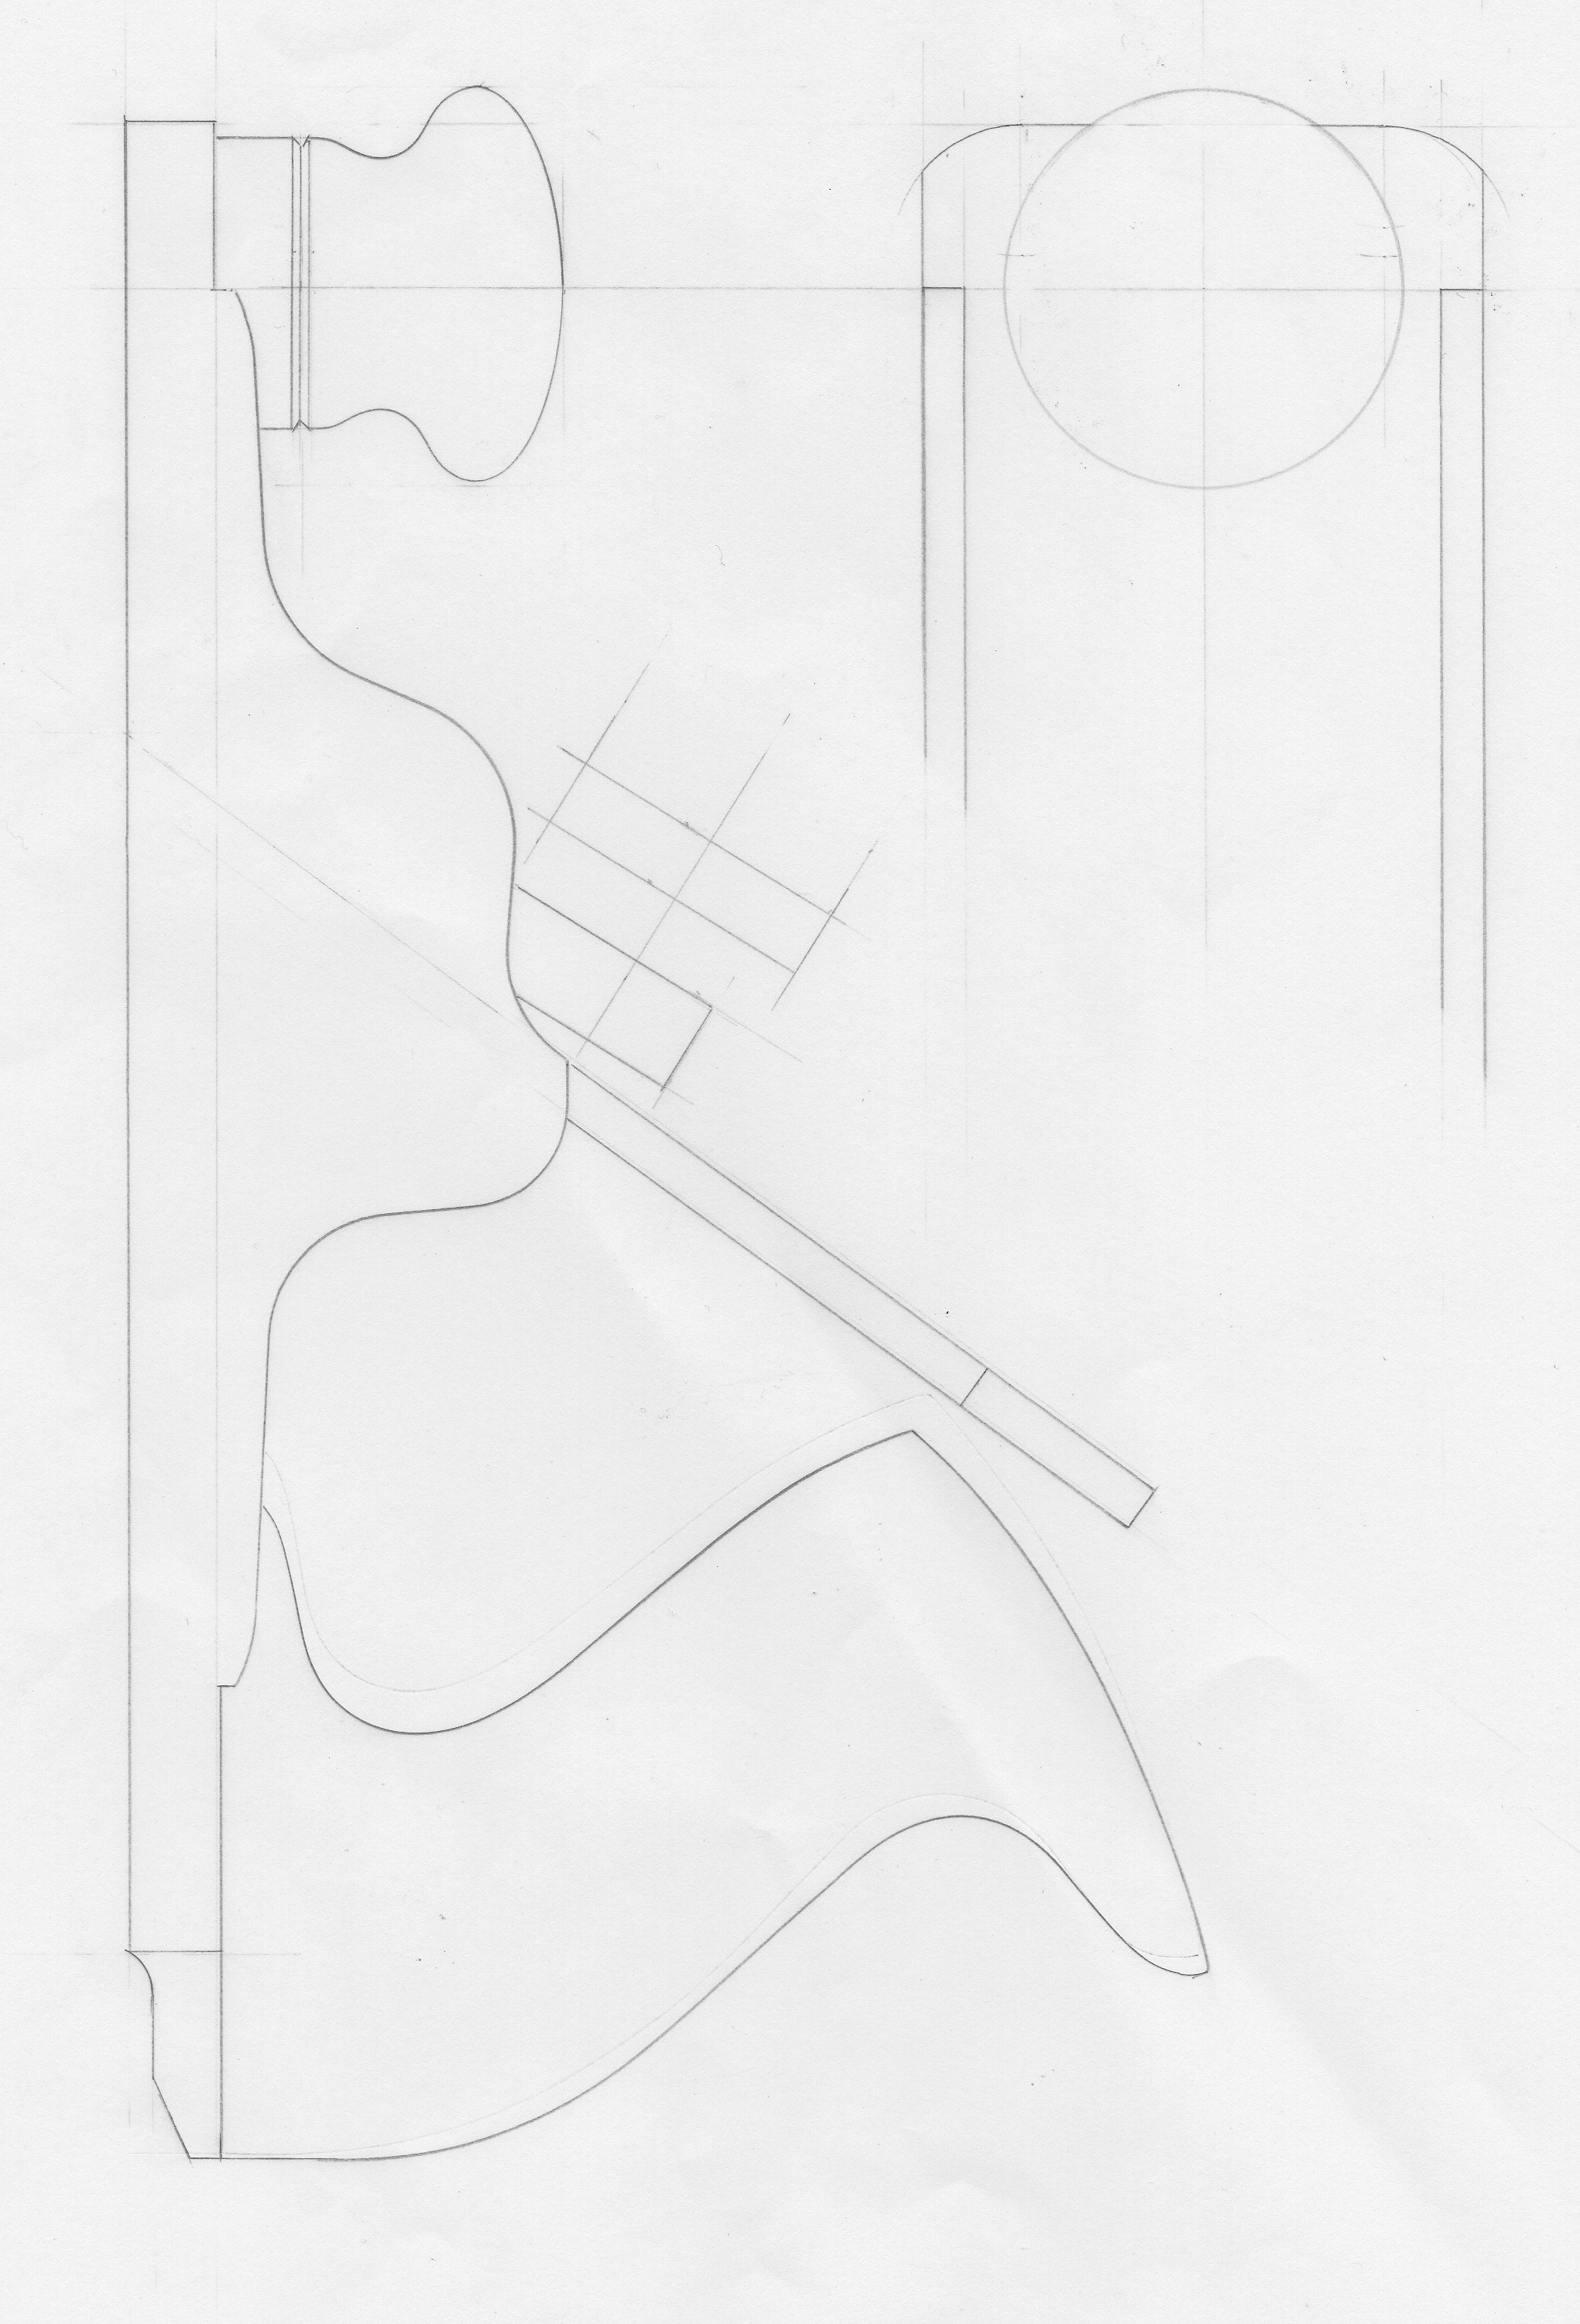
I have had to make a compromise on the length of the sole as I could not get down to 7 1/2″ but settled for 7 7/8″. One of the reasons it was hard to keep the length down is that I managed to retain a 50 degree working angle on the rear tote which makes the plane much more comfortable to use. Not to be confused with the blade angle which is 54 deg.

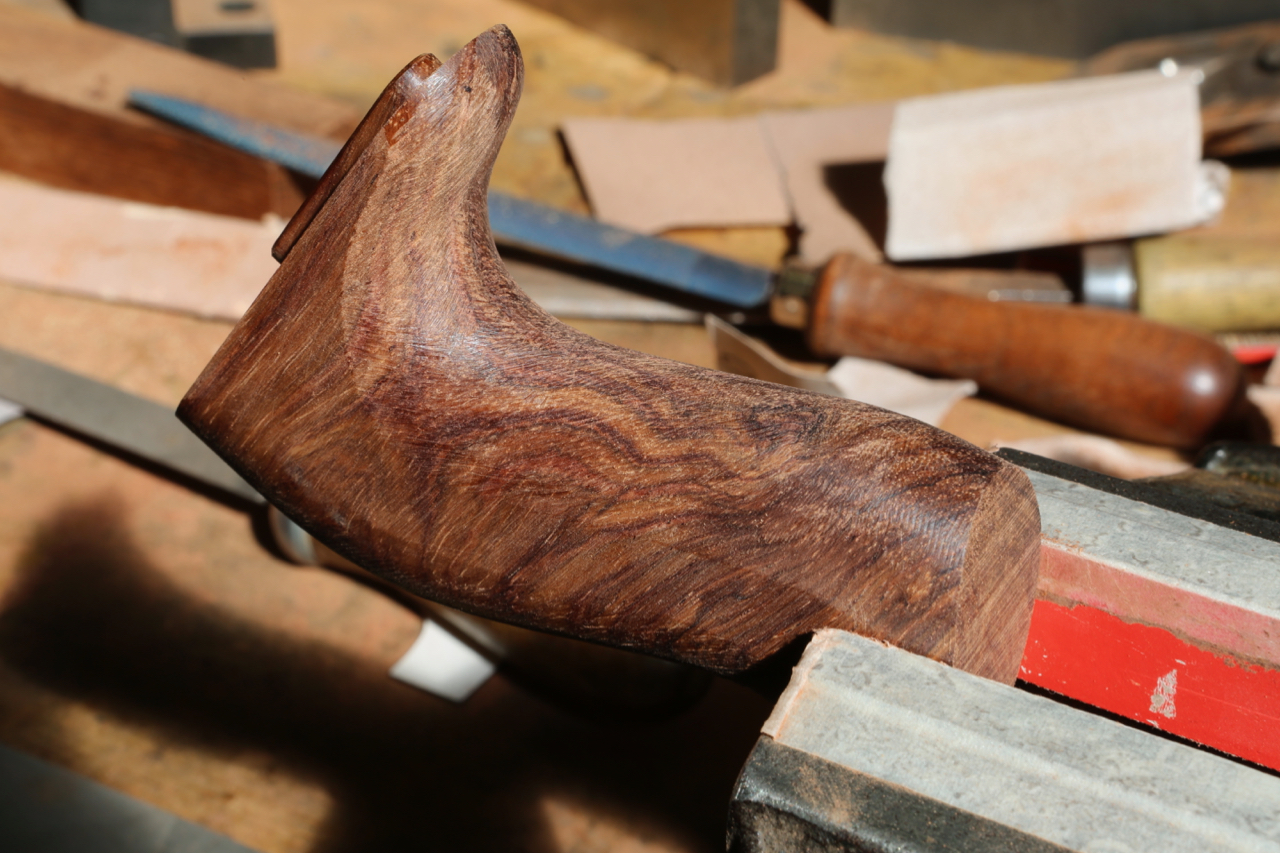
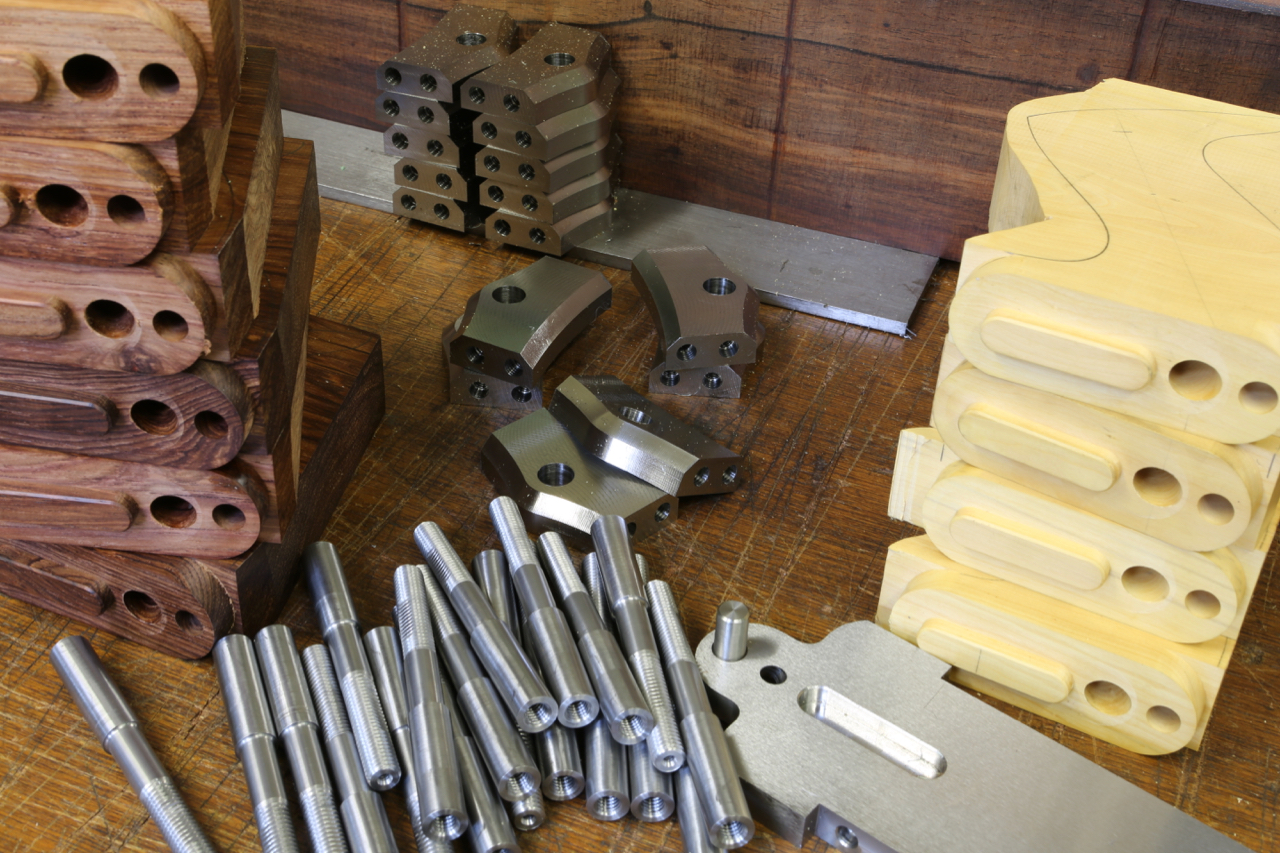
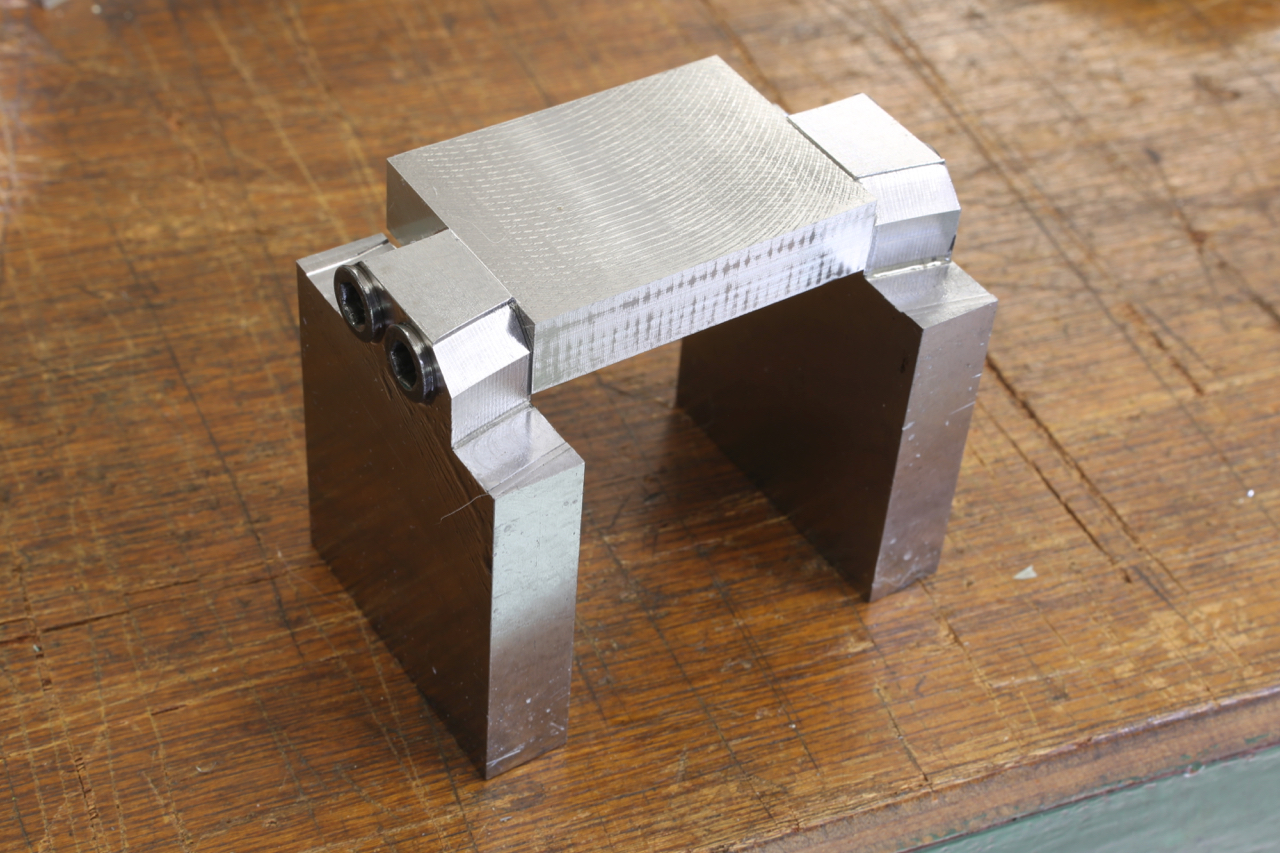
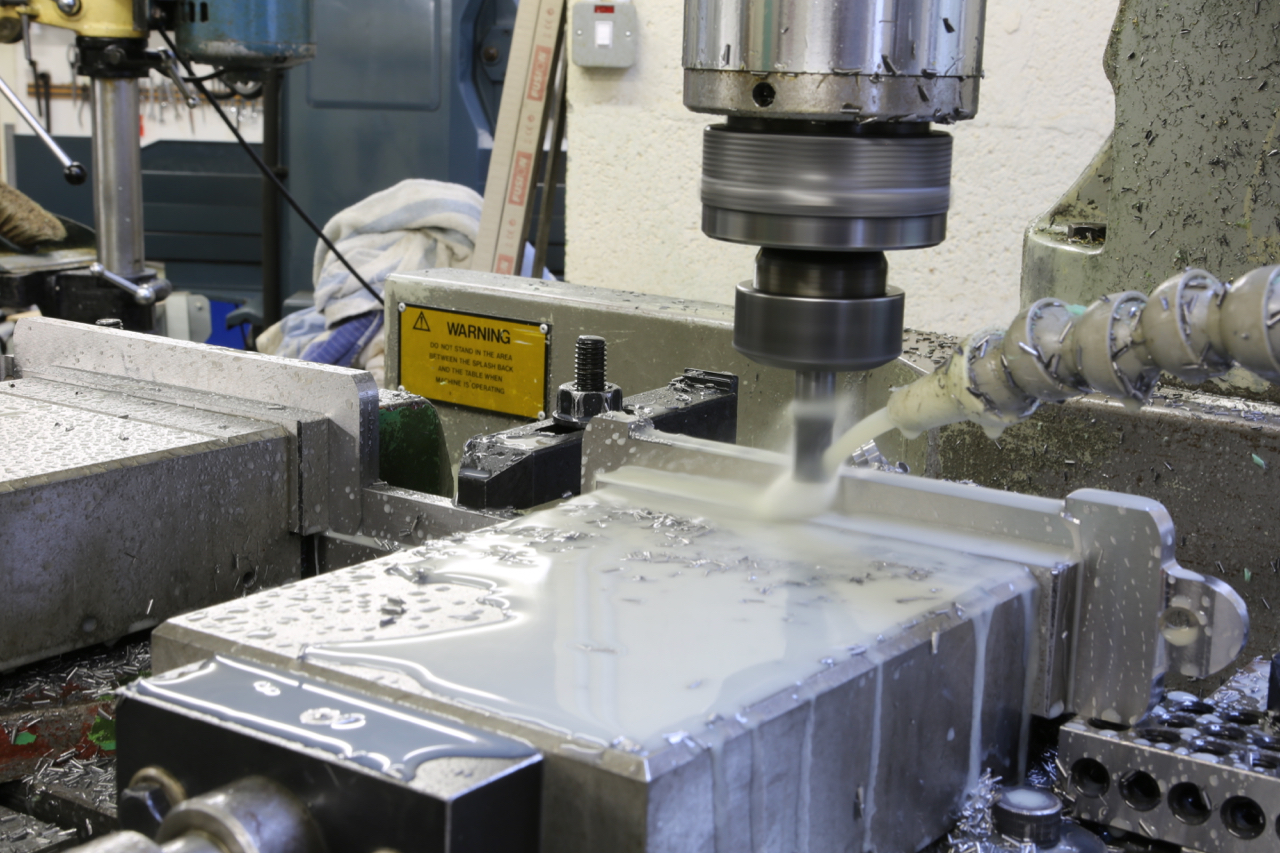
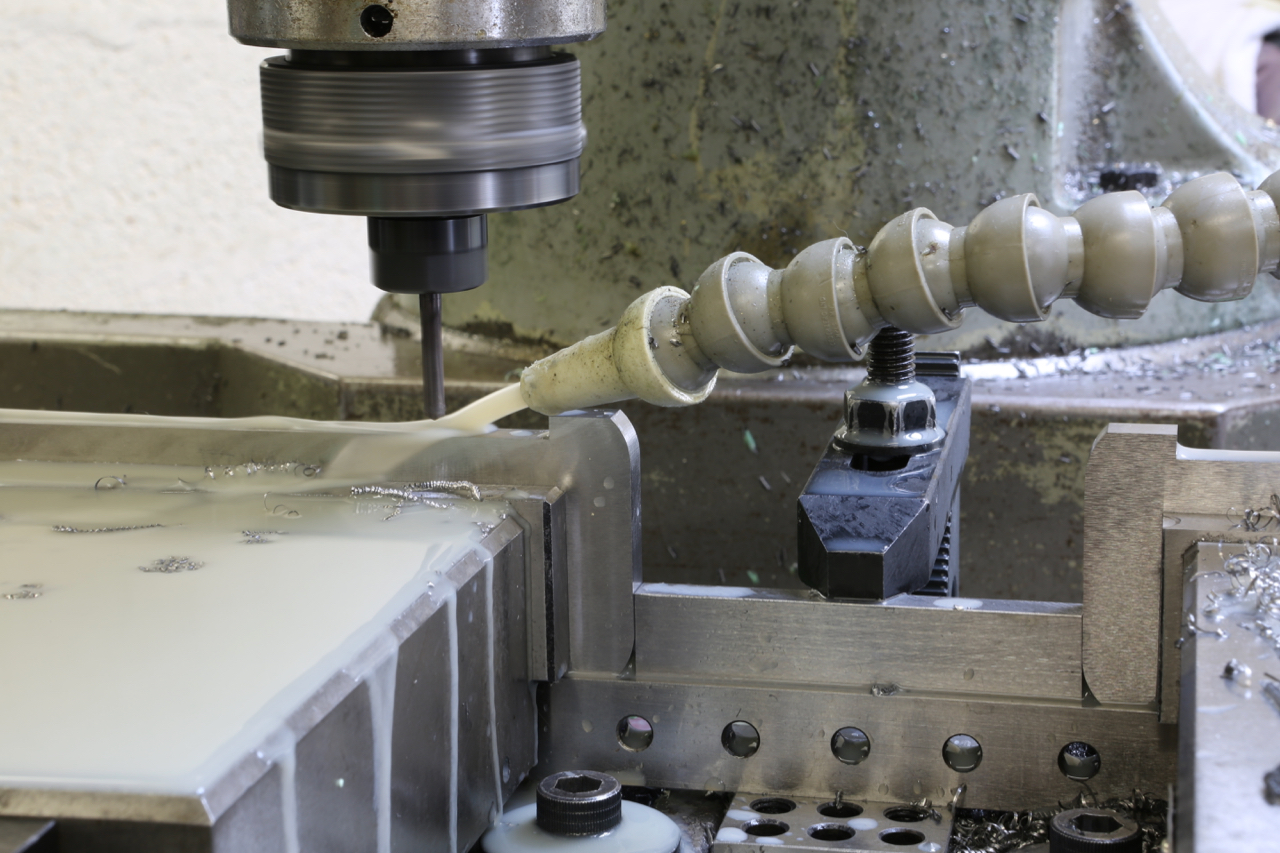
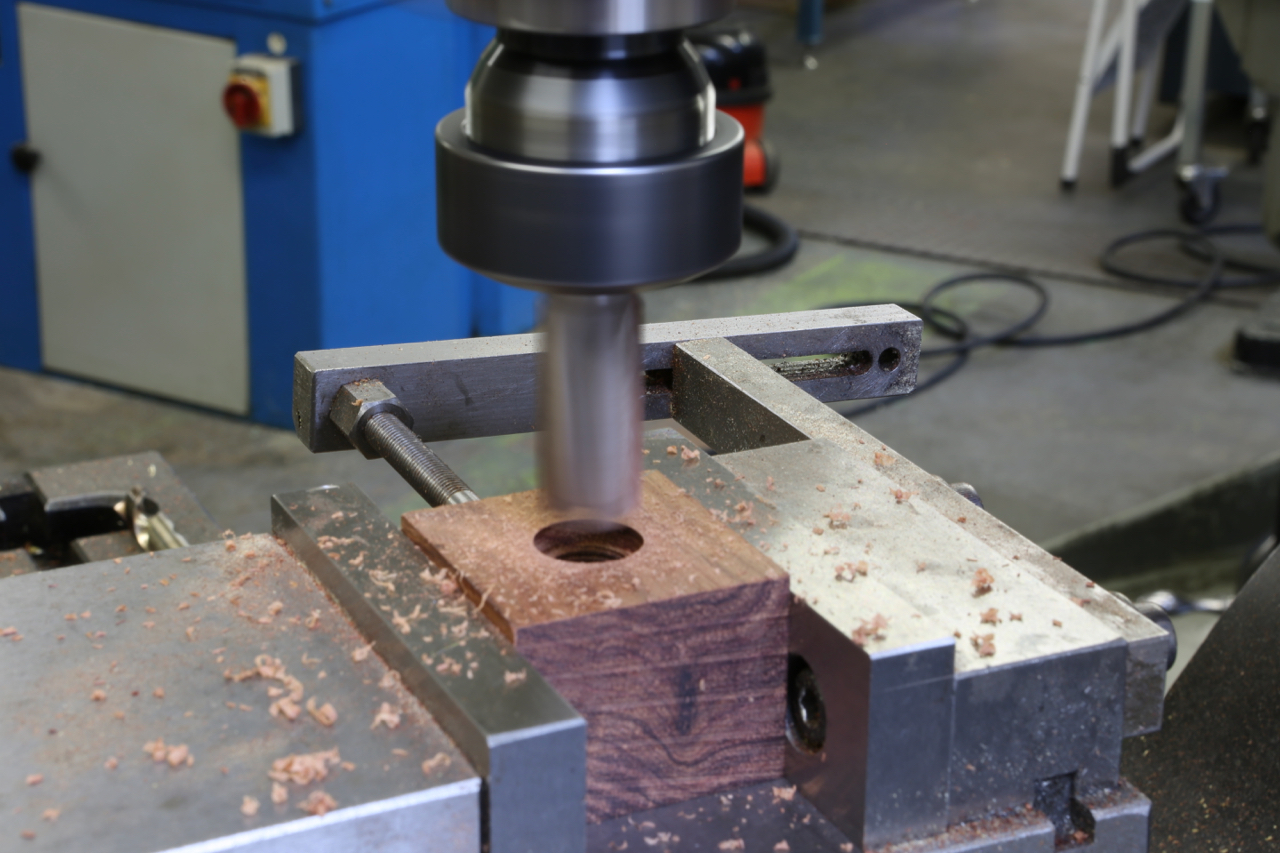
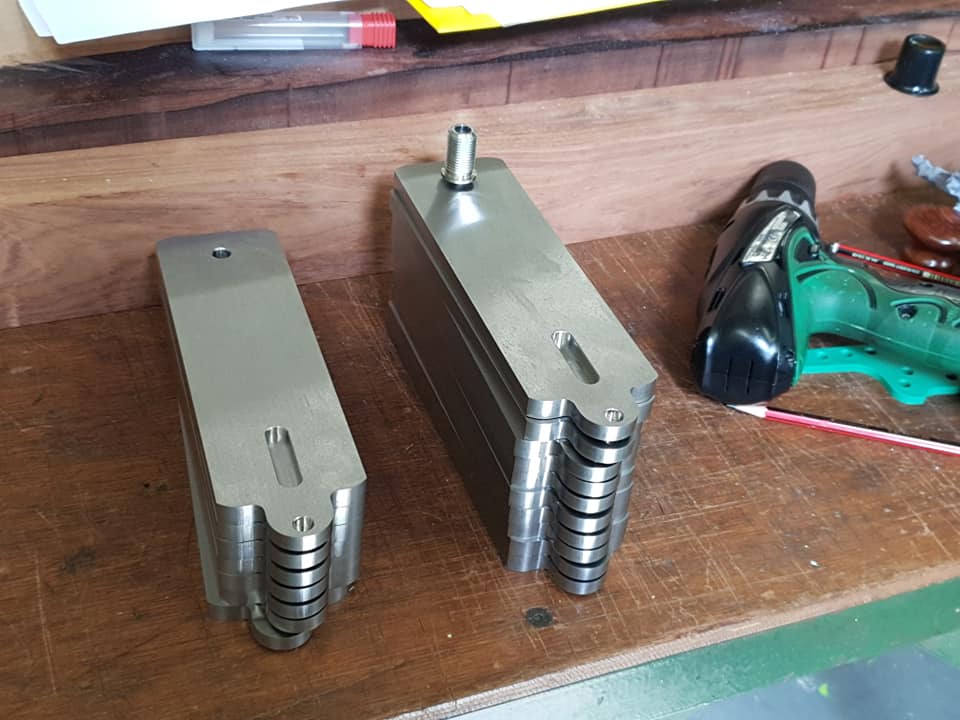
As mentioned previously the plane is in 416 stainless steel and the wood used for the handles is the same as the No 984 – Dalbergia Stevensonii. This wood has a nice texture, hard, dimensionally stable and retains its contrast and colour.

The lever cap and thumb wheel are in a similar design to my No 984 plane also. The handles are extremely rigid and show no sign of their fixtures (another example of hidden work). As my blog progresses you will see more about them.

This is a designed and engineered tool. I feel that I am fulfilling my object of always surpassing the standard which has gone before.

I thought this was a good stage to let people know what this plane looks like. I have added two drawings though I do get paranoid about being copied.

Holtey No 985c

Holtey No 985a

March 19, 2019

Workshop Blog no 18 – No 985

Setting up for the completion of the rear handle carrier.

CI3A5318

The handle carrier now finished with drilling and counterbore and with streamlining facet.

CI3A5324

March 18, 2019

Workshop Blog no 17 – No 985

Filed under: No 985,Window to my workshop — Tags: , , , — admin @ 2:57 pm

After a lot of deliberation I have made a decision to screw the front bun directly to the sole which allows me to achieve the design aspect I was looking for.

55516272_10205956891718225_713172228509794304_n

54401918_10205956891278214_436265778447122432_n

53838532_10205956891958231_2837485567329959936_n

You will notice that the profile has been cut showing recesses for the handle tenons. Still a lot of work here as everything is complex just to achieve a simple line. The handle will be secured by one 6mm screw. All my dimensions are critical so precision is the key word. I am longing to get this bottom finished and get on with the rest of the plane. On all my planes the bottom is the mainstay of my work.

54522537_10205956892238238_8477769734358564864_n

« Newer PostsOlder Posts »

Powered by WordPress