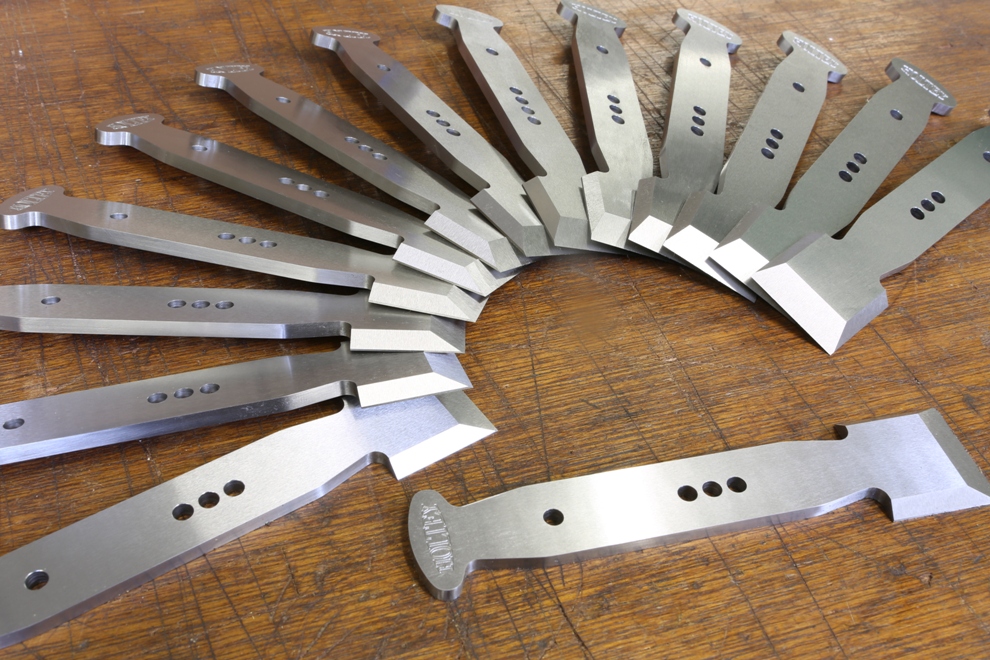
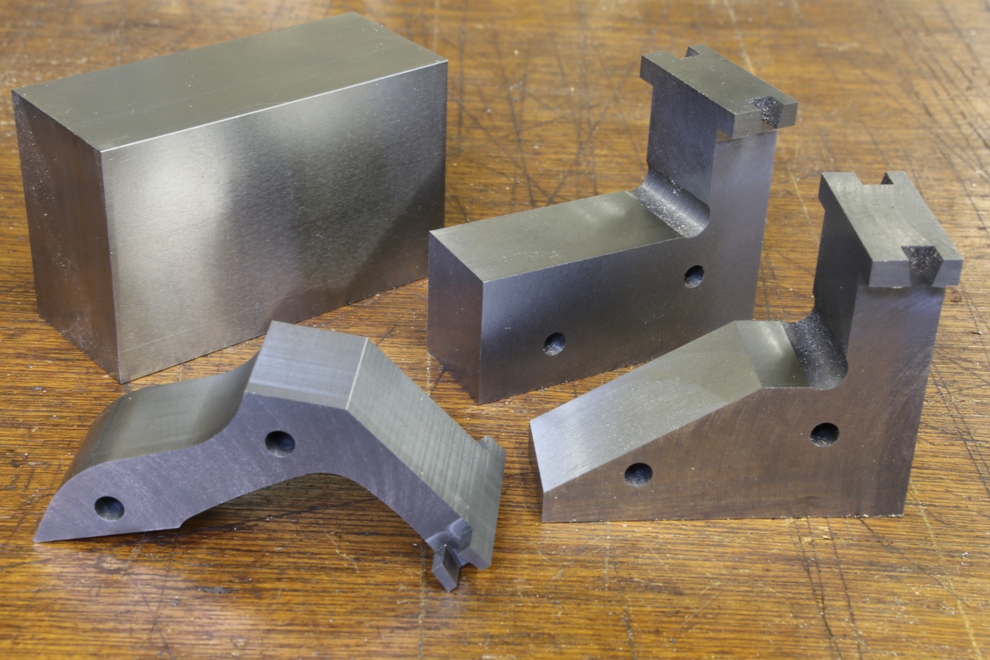
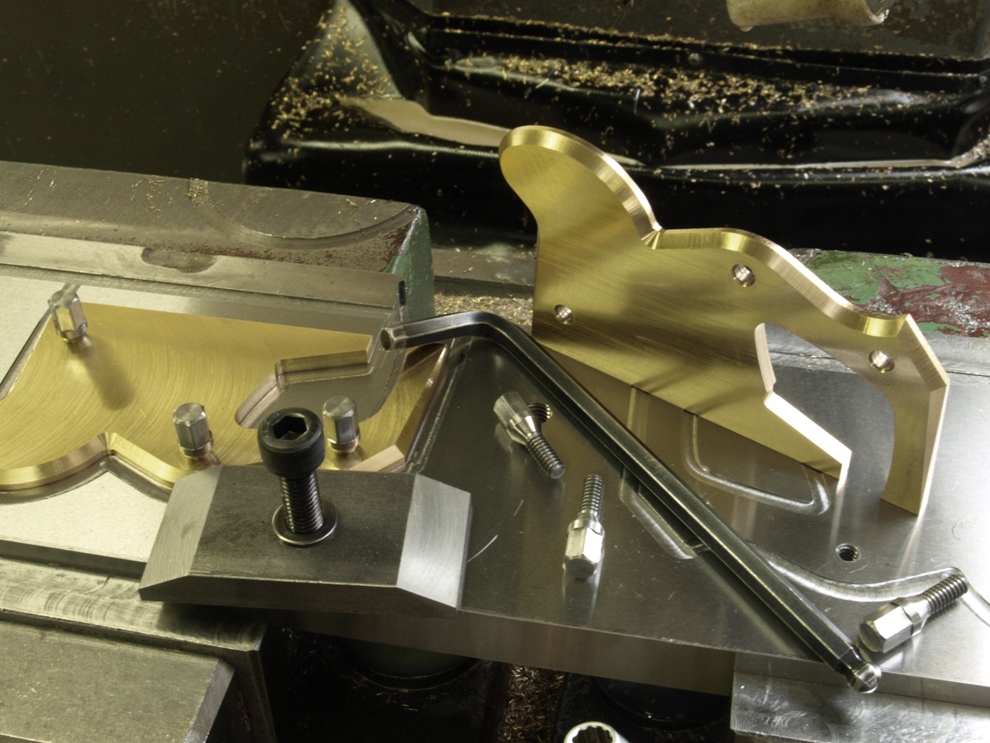
The work has started on the stainless steel bottoms of these No 10 smoother/mitres. This will probably be the only batch of infill planes I will make using stainless steel. This particular batch is 304 which was cropped from a sheet. The problem with this is the bruised edges have work hardened to the point that nothing will break through the hard skin which has been generated from the use of a break press. Never the less I am committed to progress now.
I do plan to use stainless steel on my non-infill planes in future for the obvious advantages. However with infill planes some of the metal has to be worked dry after the infill is fitted as I cannot use coolant. I am not happy working stainless without the use of coolant. Stainless steel is a complex alloy, any cutting needs to be done with the correct surface speed and it also benefits from some cooling and lubrication.
A little anecdote:
Many years ago I spent a short amount of time gliding. The club that I was flying with were using some fairly old gliders that had a wooden skid which was more suitable for landing on grass. Most of the landings at this airfield were done on concrete. This meant that they were fixing steel strips to the undersides of the skids to take up some of the wear. Unfortunately these didn’t wear too well and it was constant work fitting new strips. Upon my suggestion we replaced these strips with a stainless steel plate, preformed to the curvature of the skid, expecting to achieve a longer life. This was certainly fulfilled.
Unfortunately there was a slight side effect. Because of the problems from abrasions on landing and a high surface speed it created a considerable amount of hardening. Causing the stainless to repel anything when there is a high surface speed.
Those who have ever flown this type of glider knows that it was useful to press down on the front of the gilder using the skid as a brake, as the brakes never worked well but to use the skid as a brake is bad form and bad for the skid. With the stainless steel on the skid the effect was like landing on ice! The club’s no 1 instructor, who was forever moaning about using the skids as brakes, overshot on his first landing with the new skids and got into an argument with some barb wire and a hedge. The club rapidly decided to do something about their poor brakes.

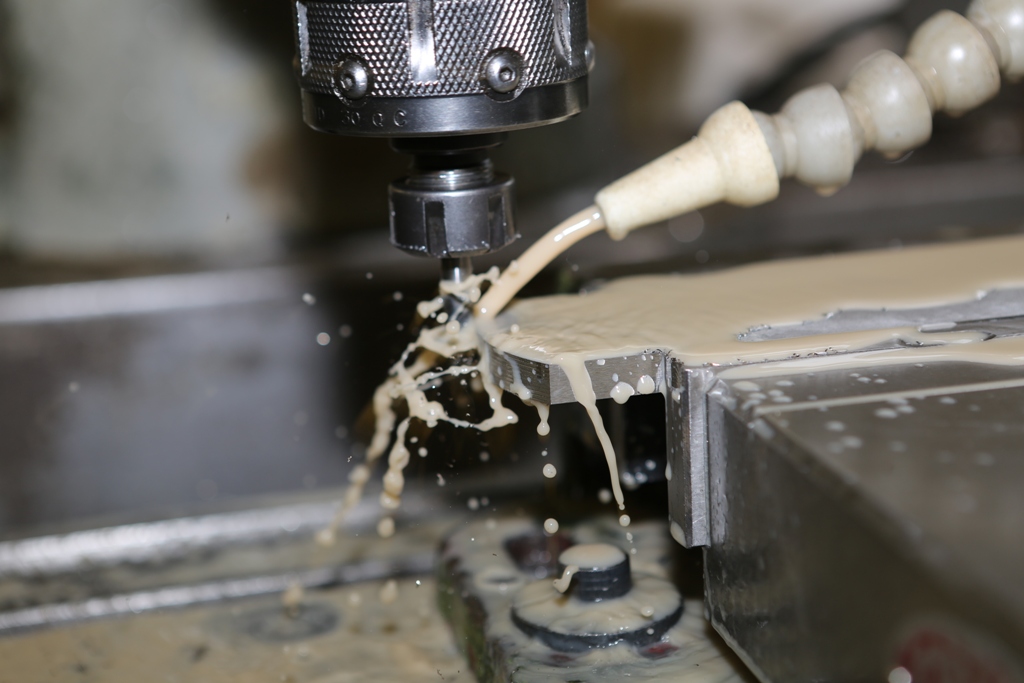
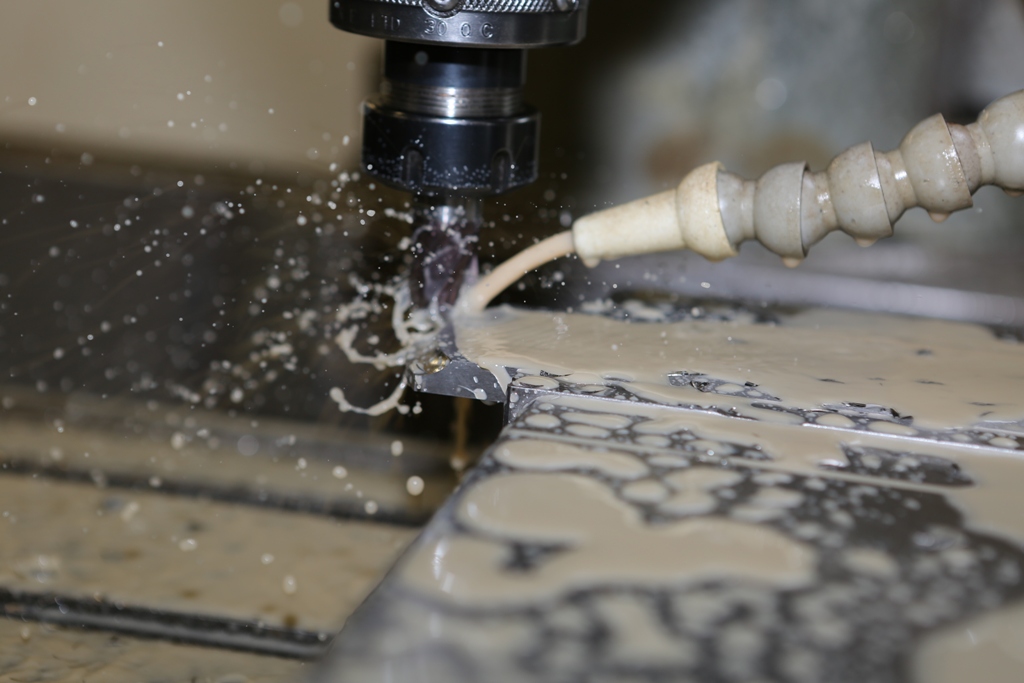
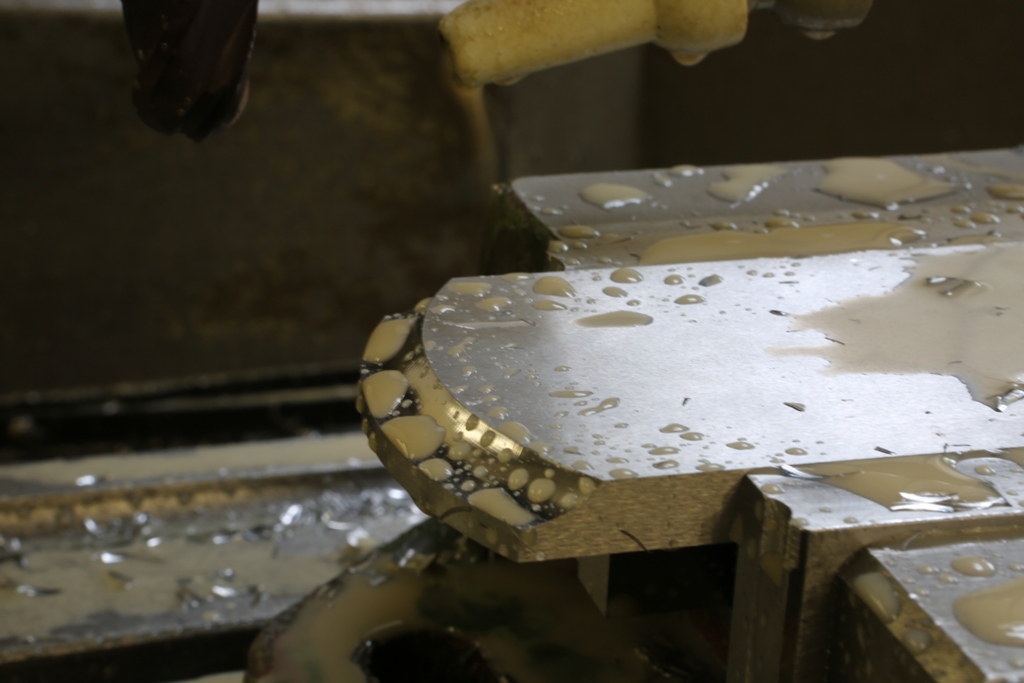
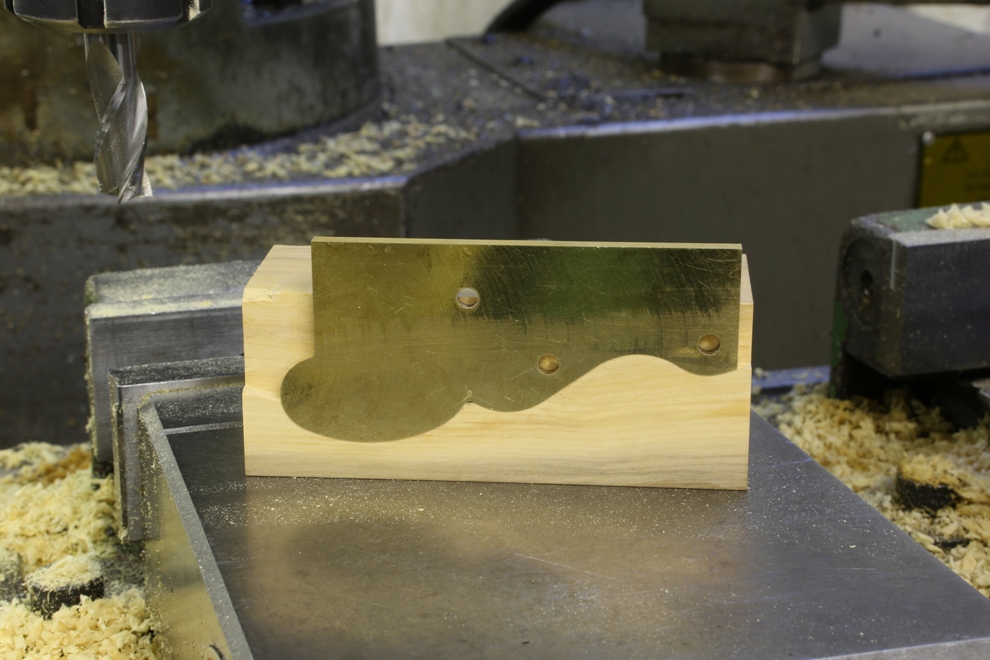
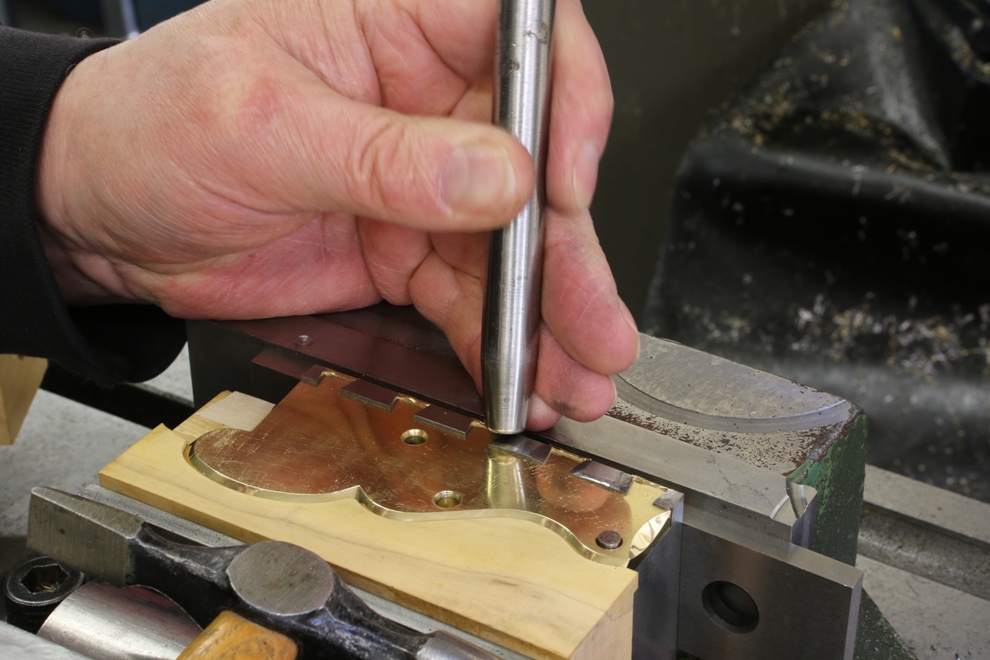
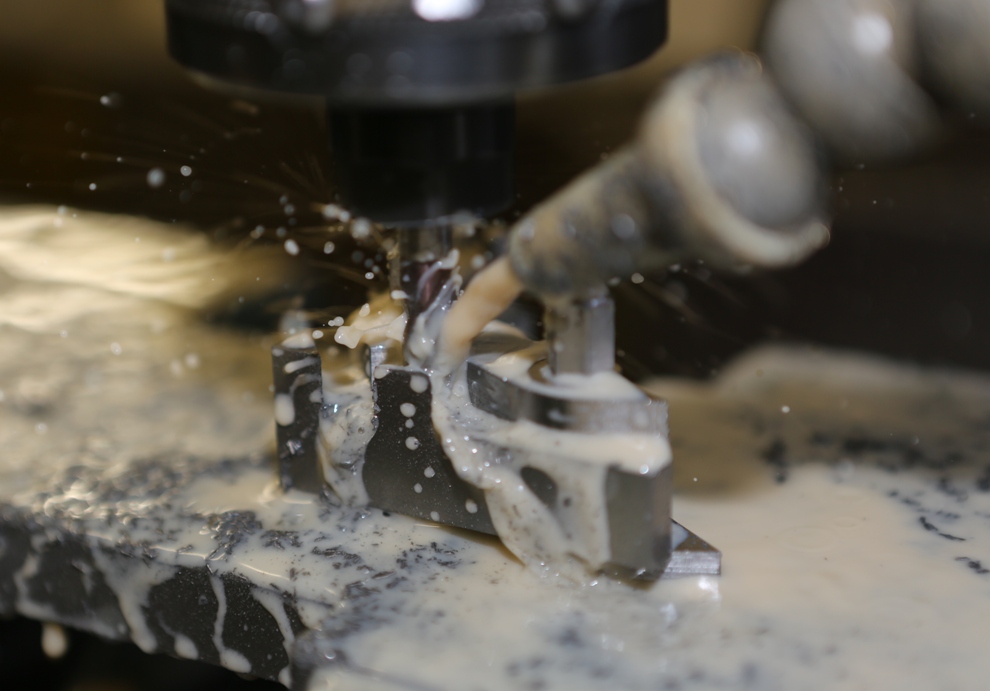
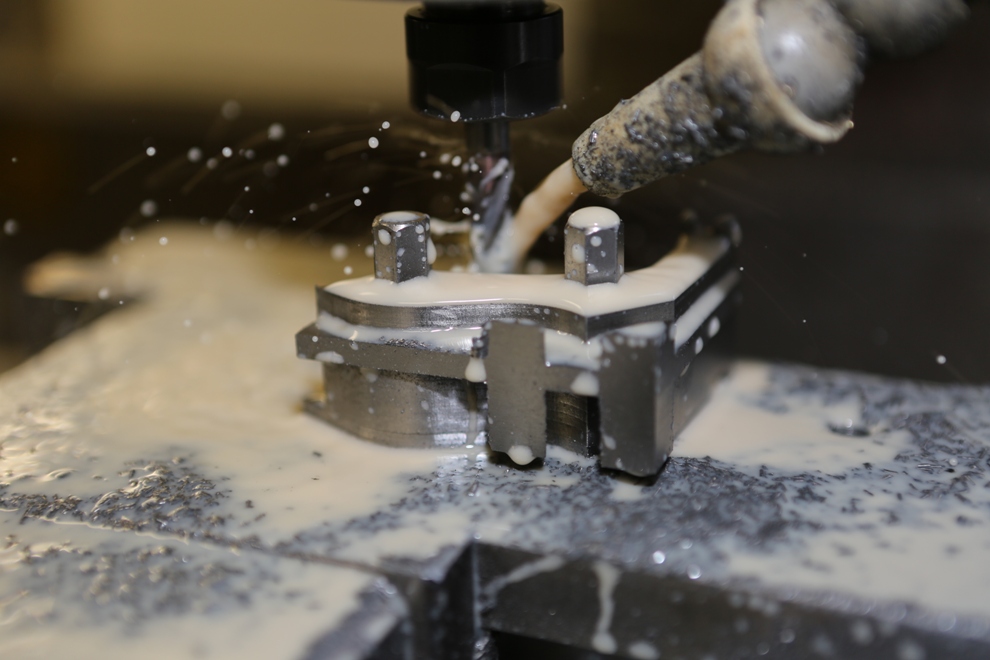
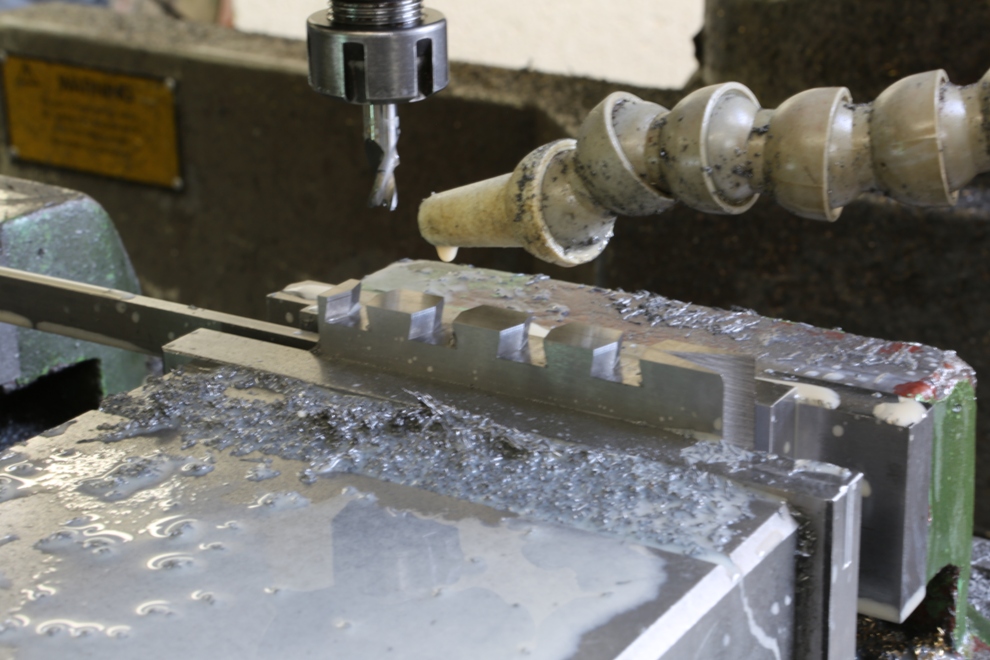
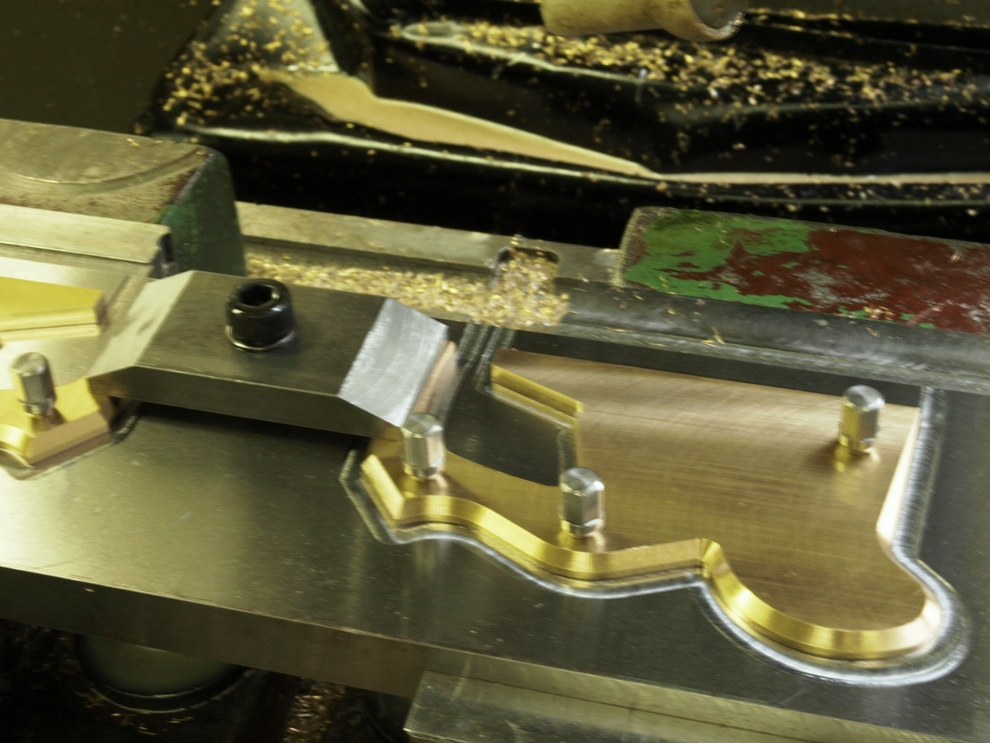
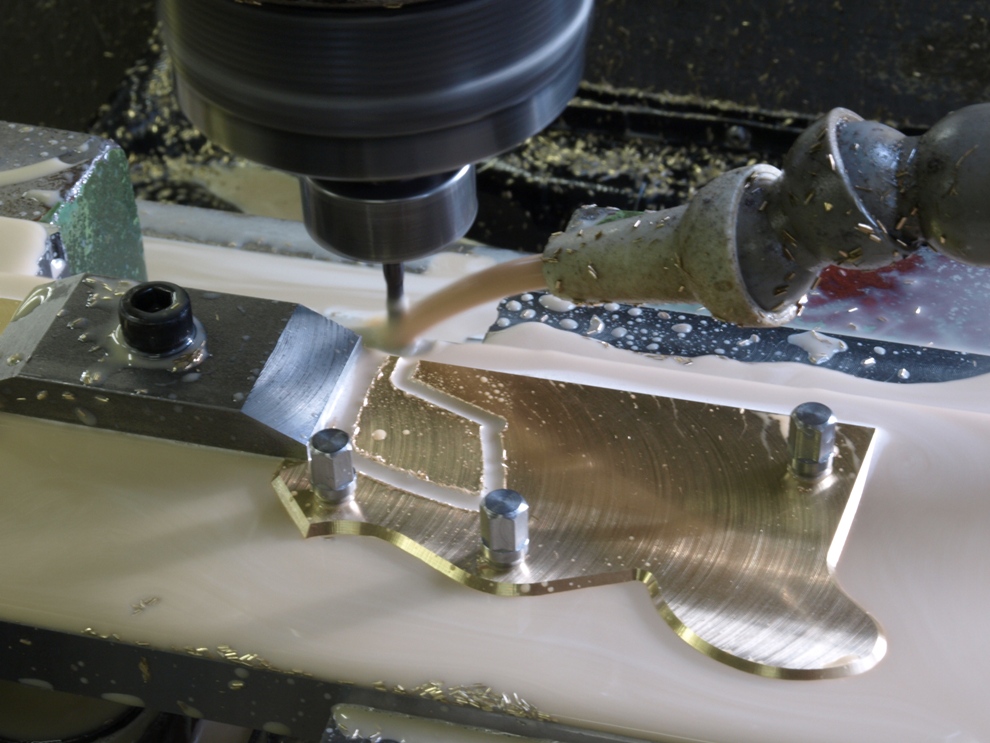
Face milling the bottom blank.

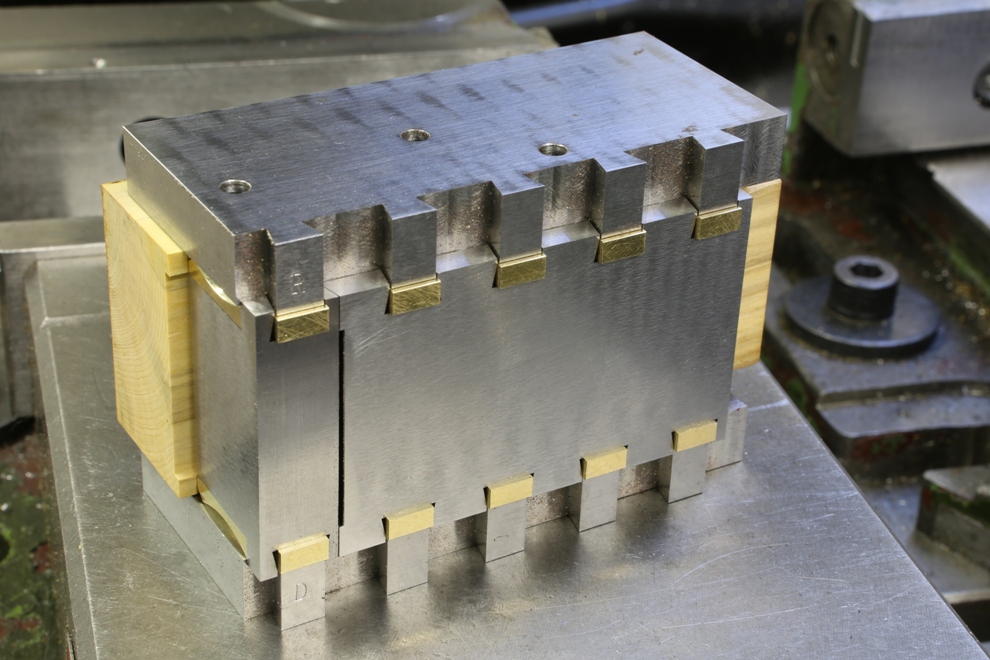
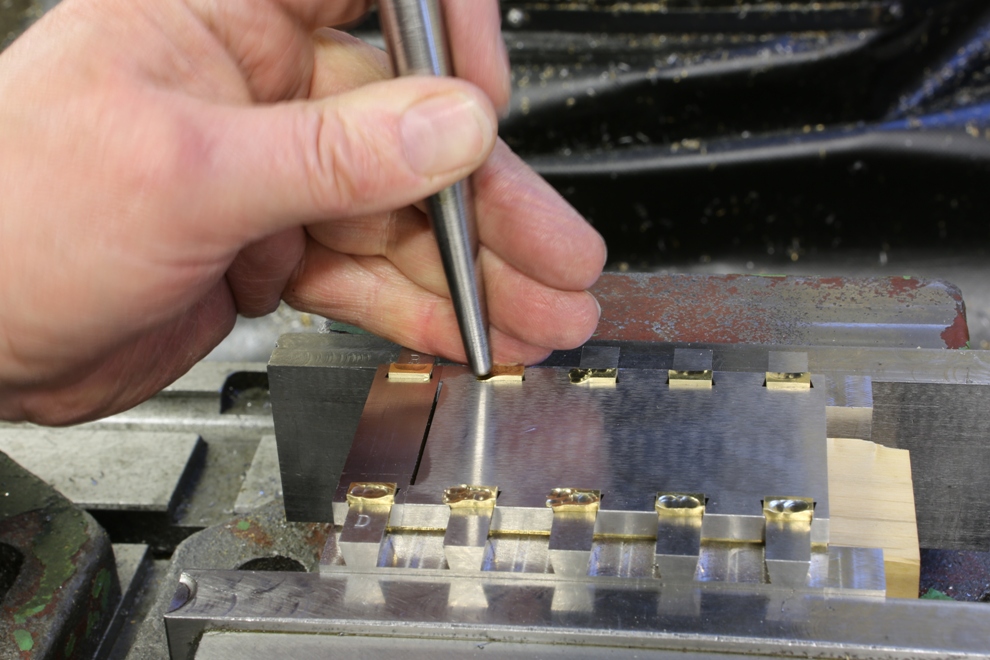
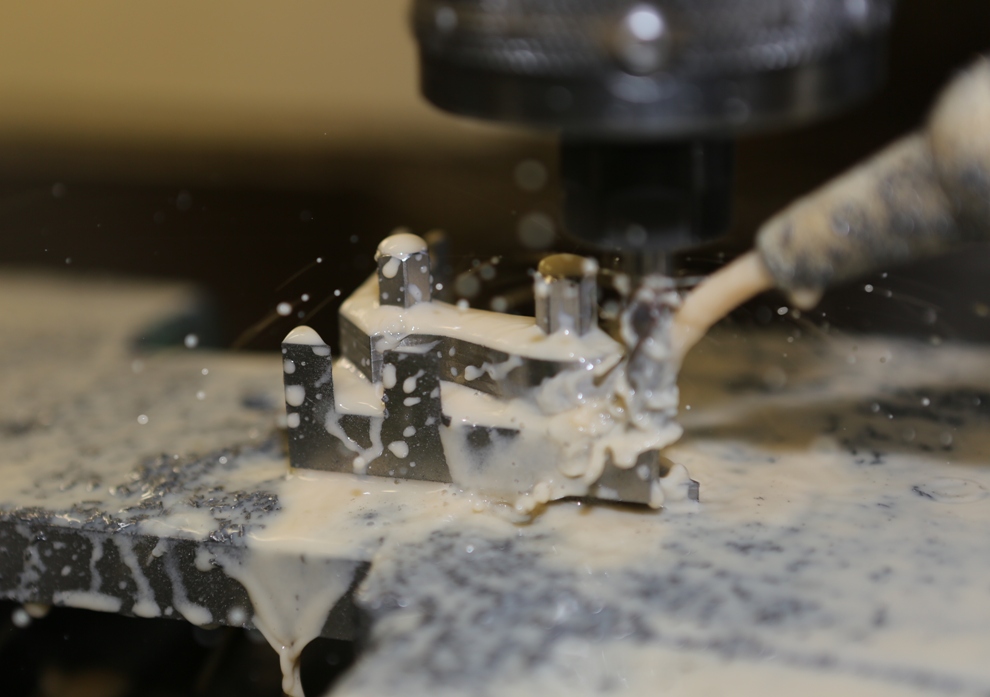
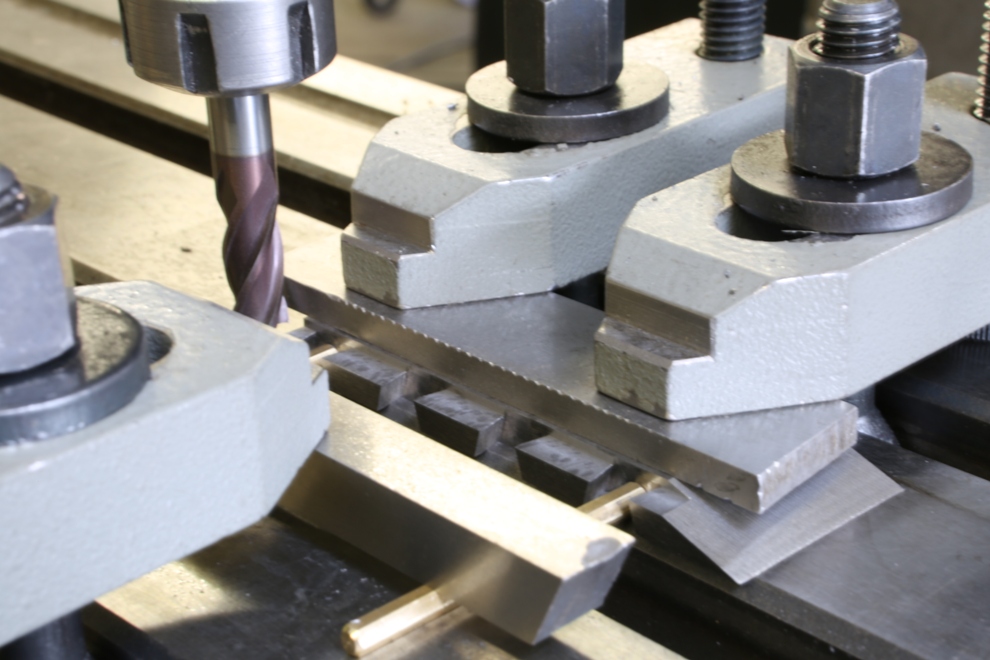
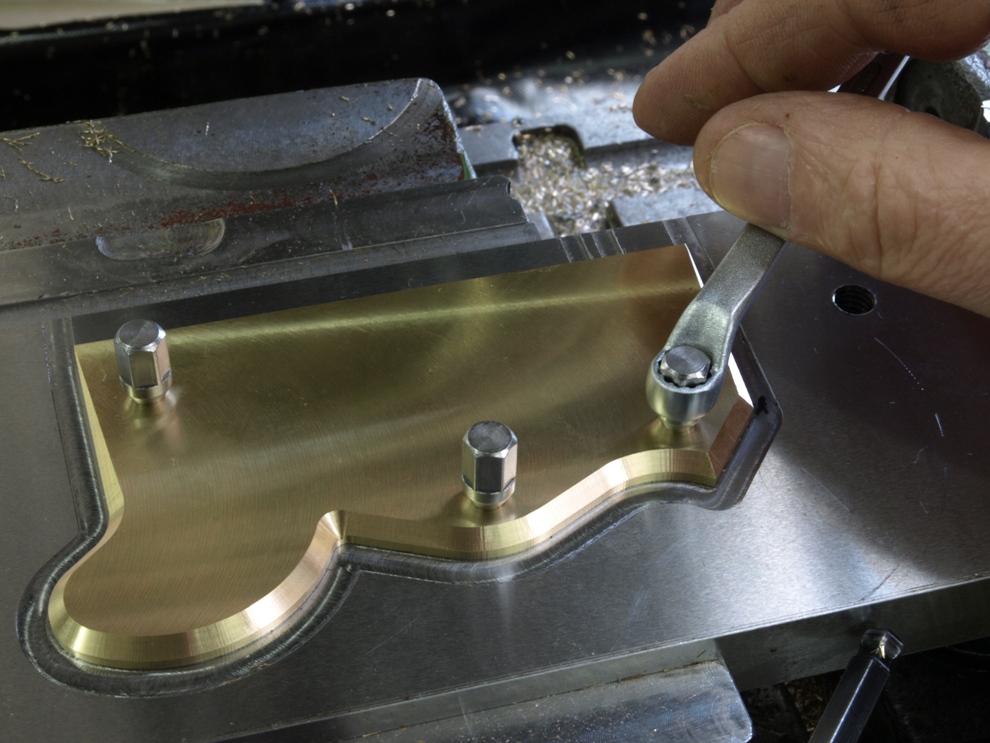
Showing the extremely rigid clamping fixture to ensure repeatability and regular thickness of this plane bottom. This is a lot more complicated than surface grinding.
(more…)