From the Workshop

December 4, 2018

New Workshop Blog 3

No 98 bronze lever caps

lever caps

These are the last lever caps of this type. I also used them on my mitre planes. Gone forever as the foundry closed down and my patterns are lost.

profiling cut on lever cap

After preparation including flattening, squaring etc, the profile is cut out.

No 98 lever cap part machined

The lever caps after profiling also showing centering hole to be bored to make ready for tapping

No 98 lever cap 7a

Tapping after the boring

no 98 lever cap 13

The machining for the keep recesses so the lever cap can be released after 2-3 turns on the thumb screw

DSCN0008

Ready for final shaping and polishing

Discussion

Filed under: Discussion,Window to my workshop — Tags: , , , — admin @ 10:14 am

I am hoping to get some feedback here, so please register if you haven’t already and comments will be appreciated.
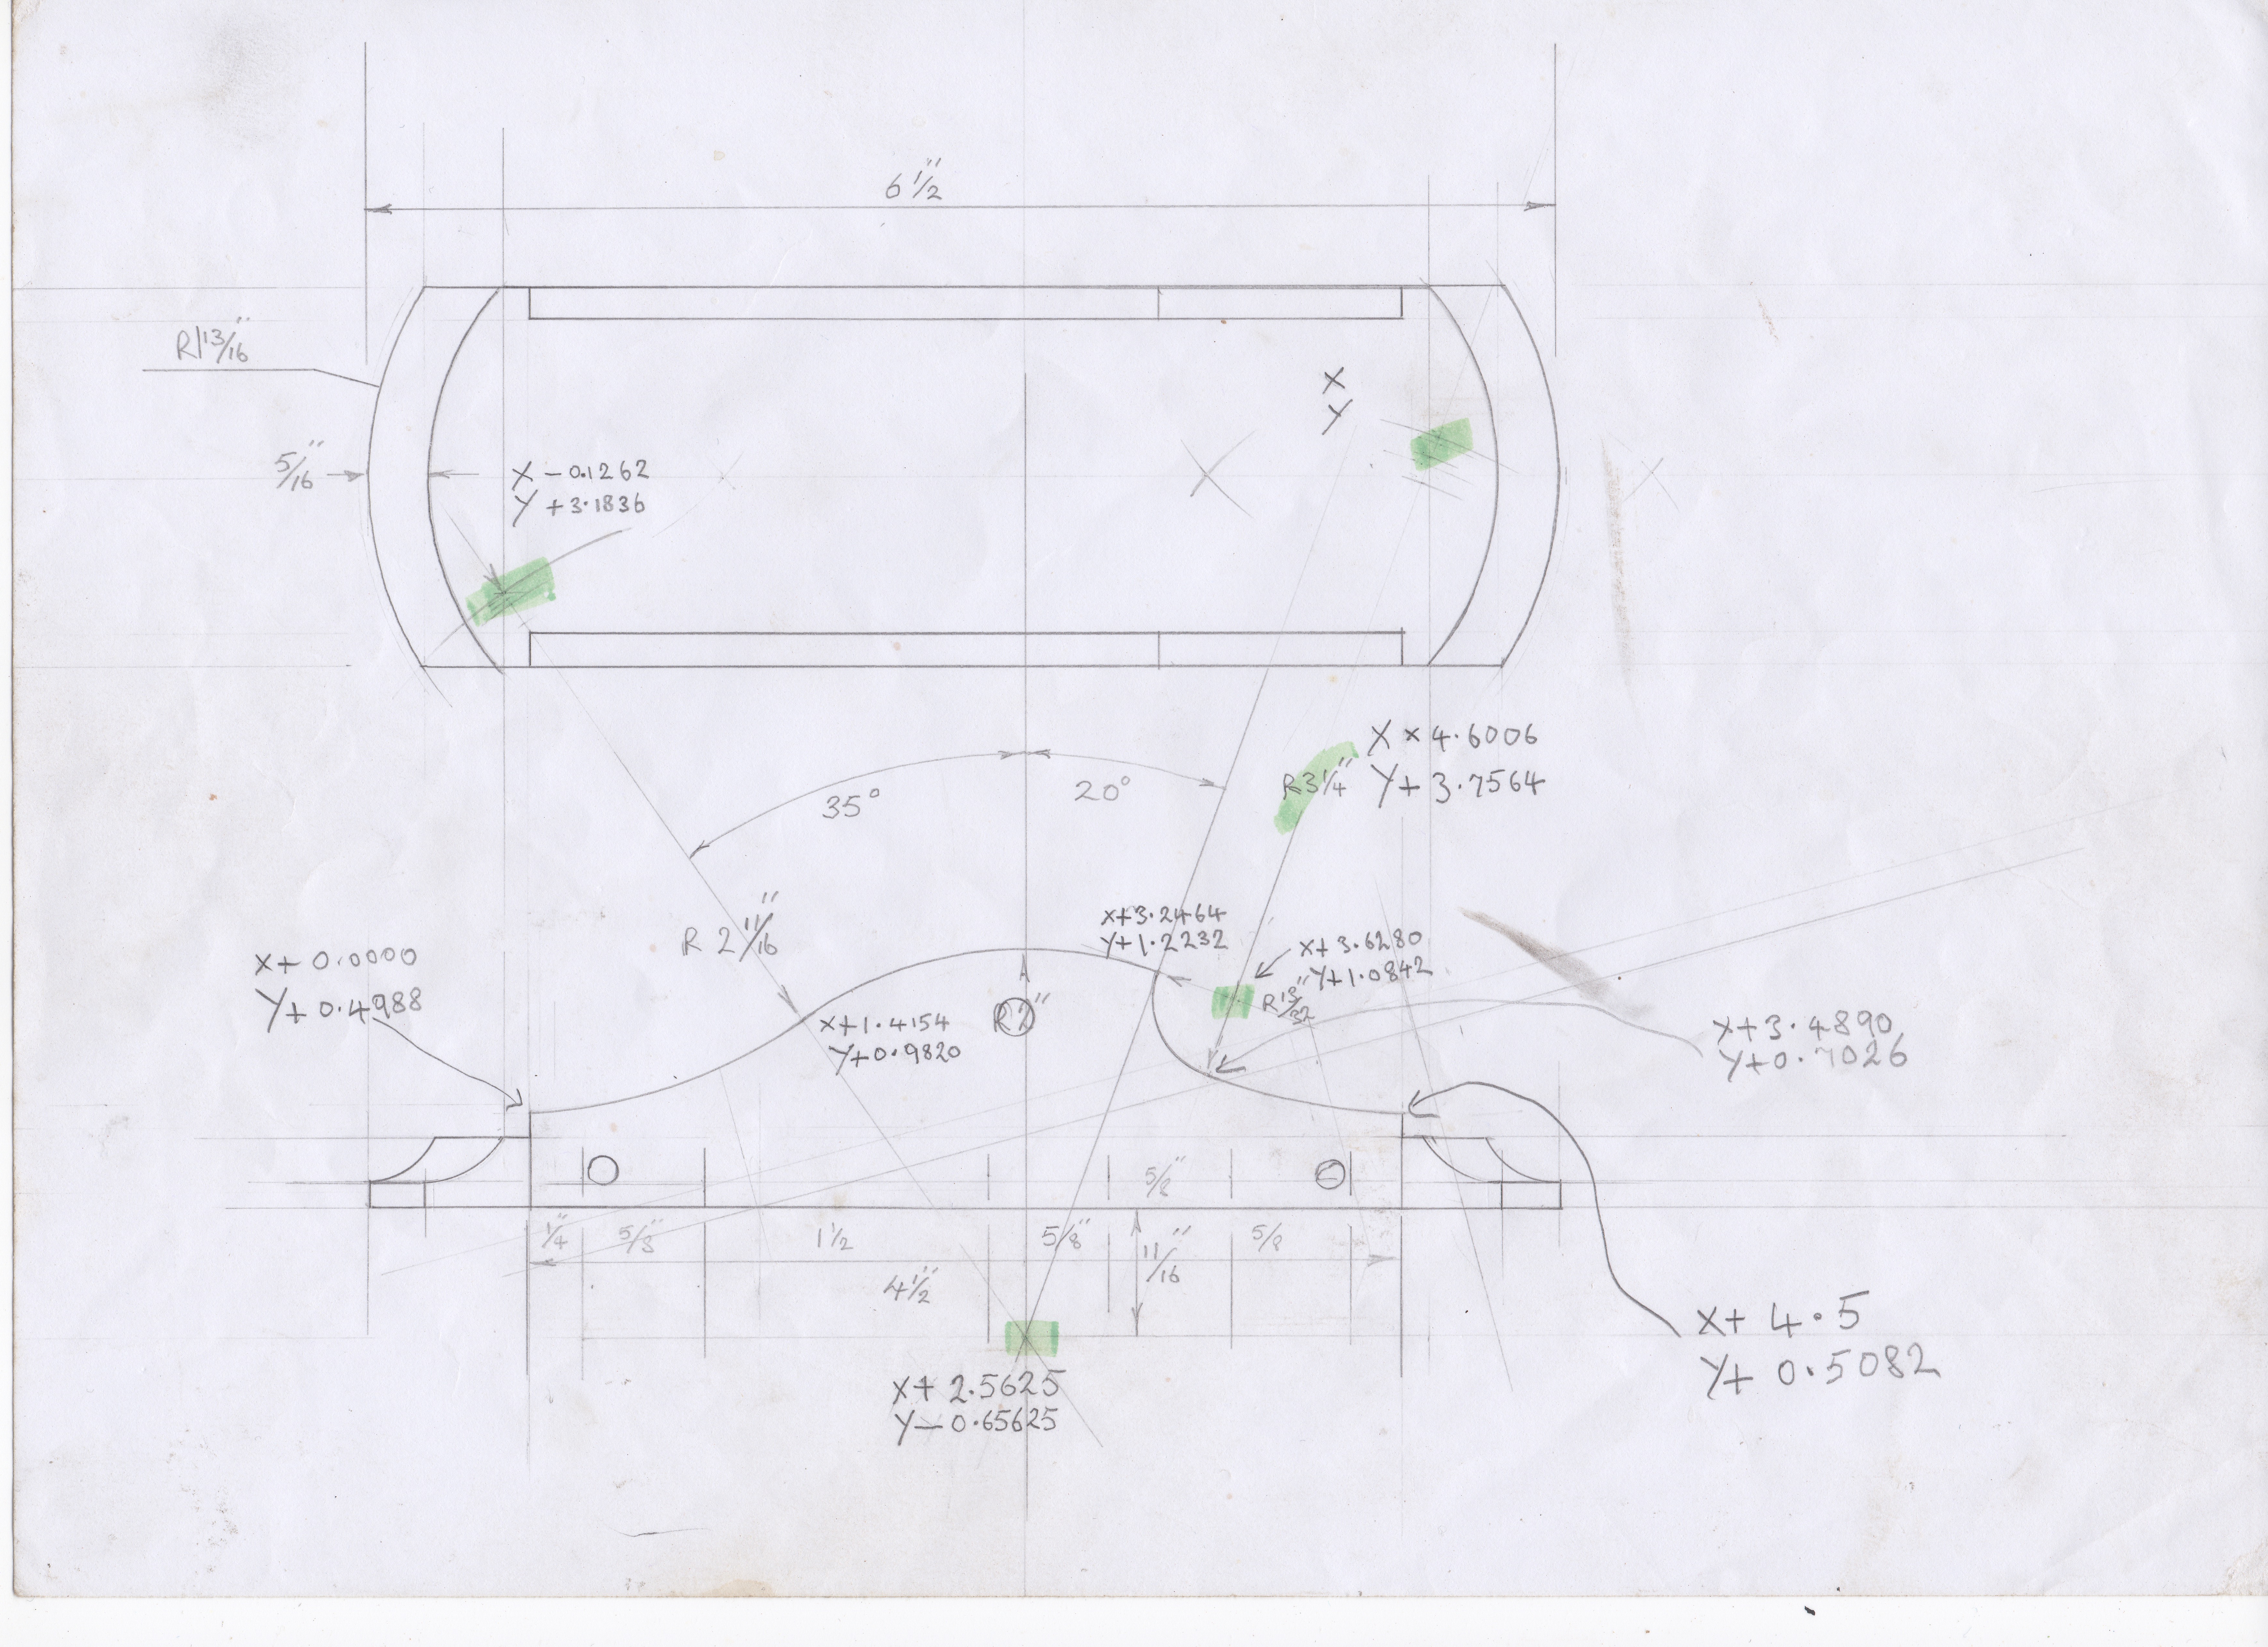
Snecked Blades

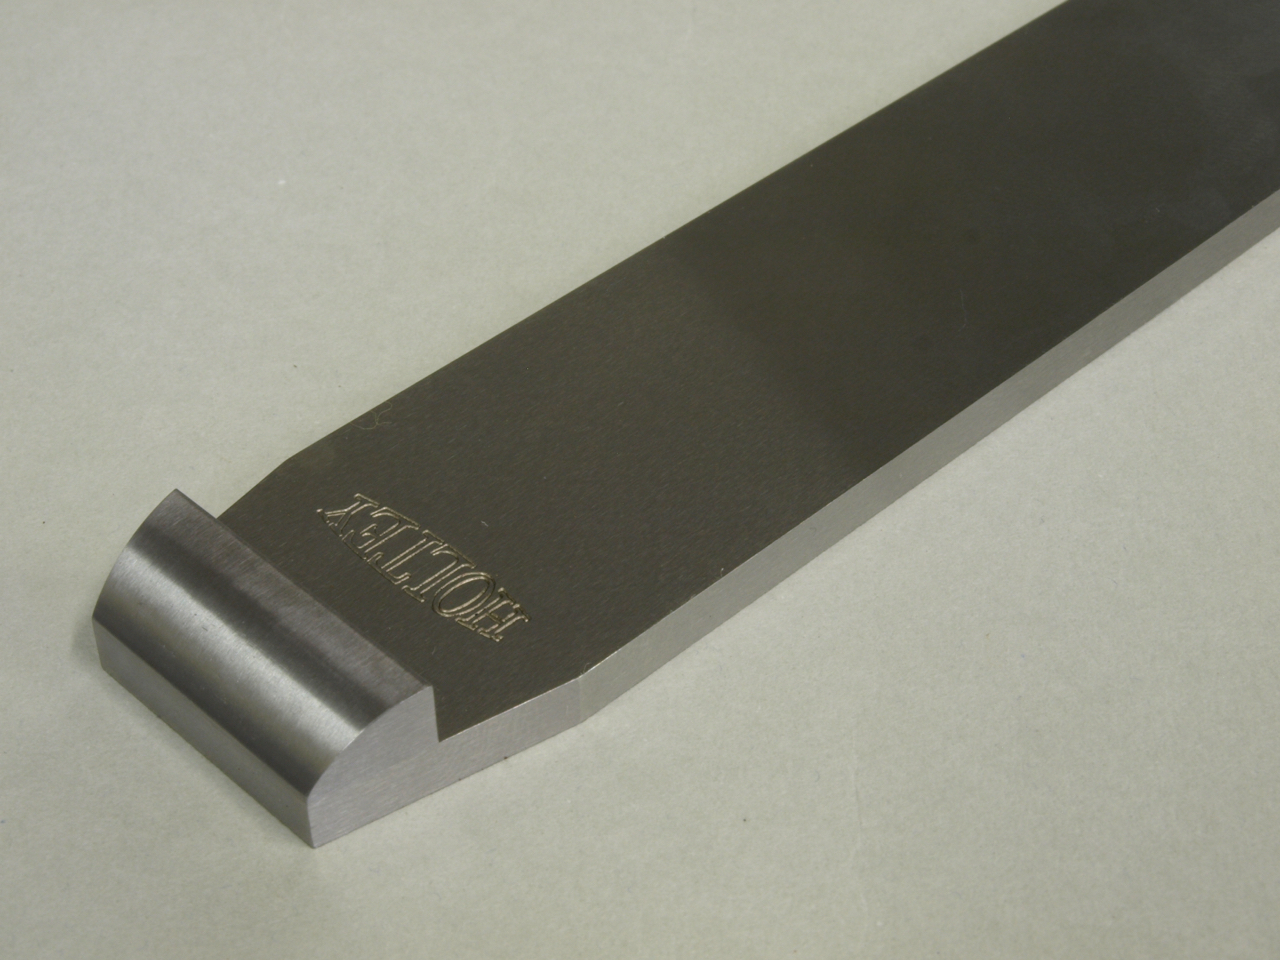
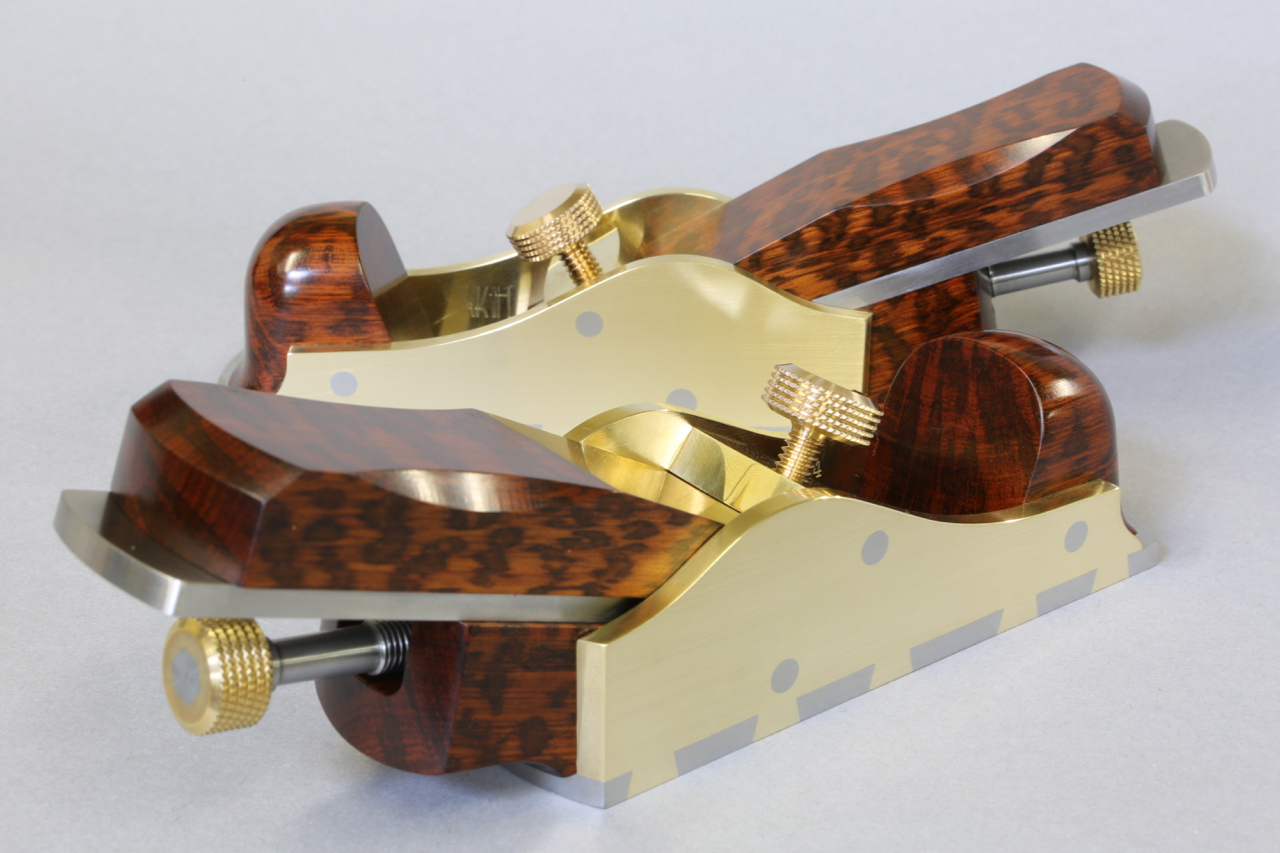
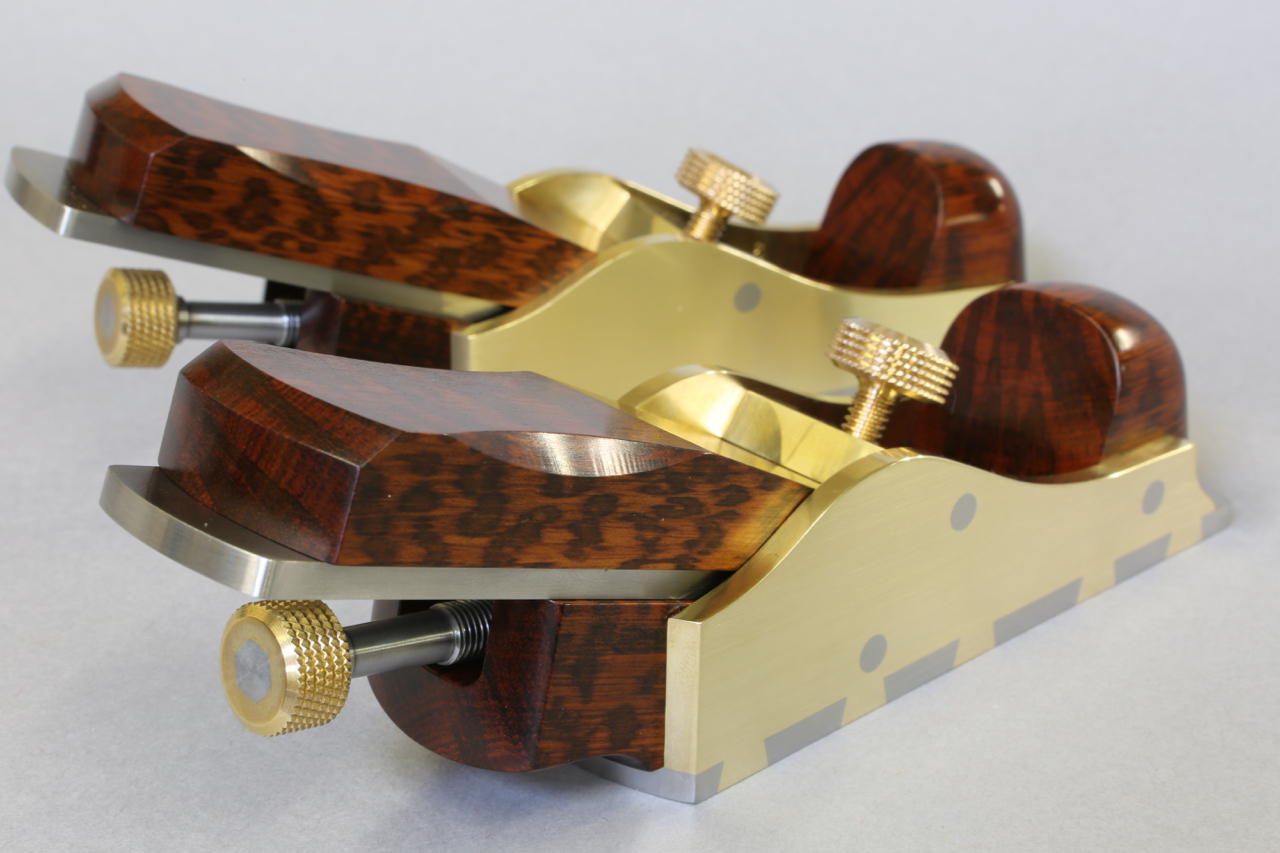
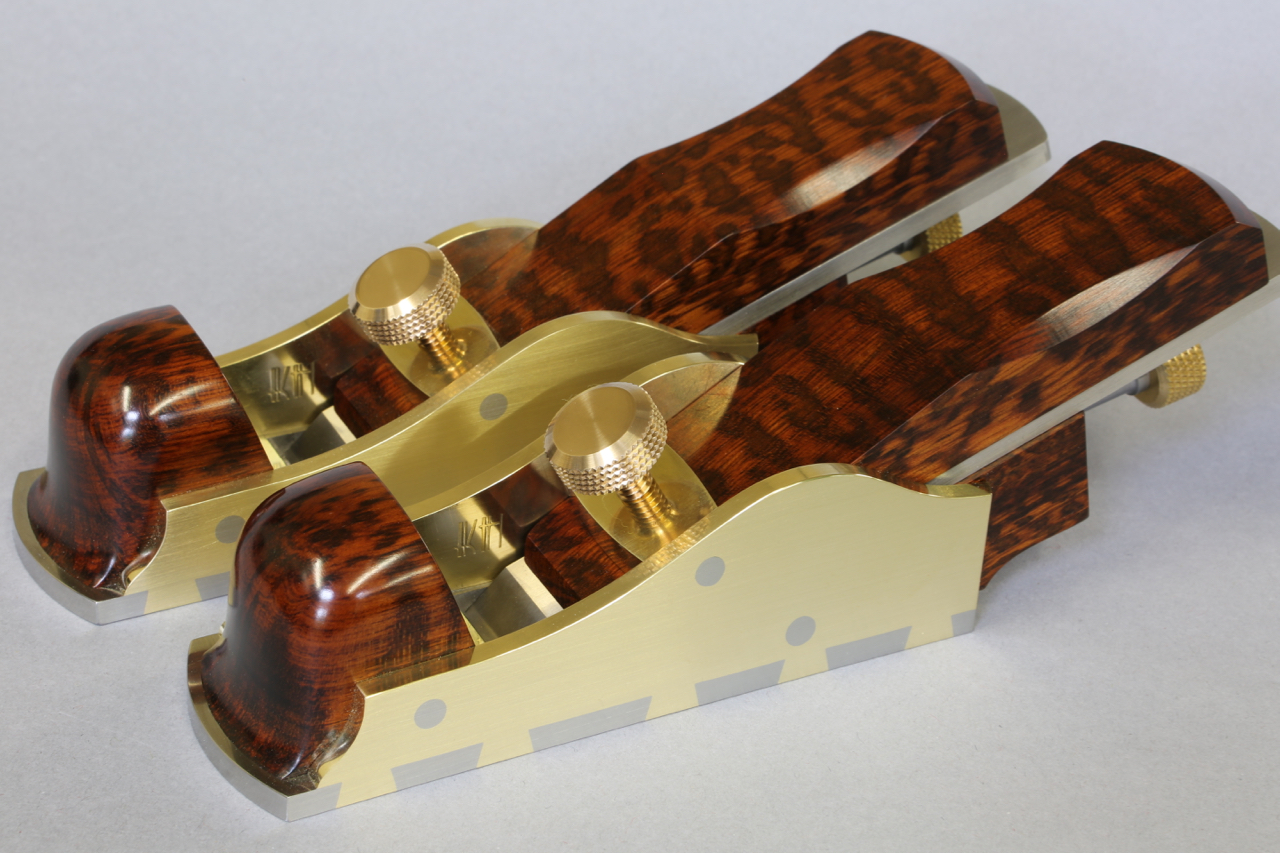
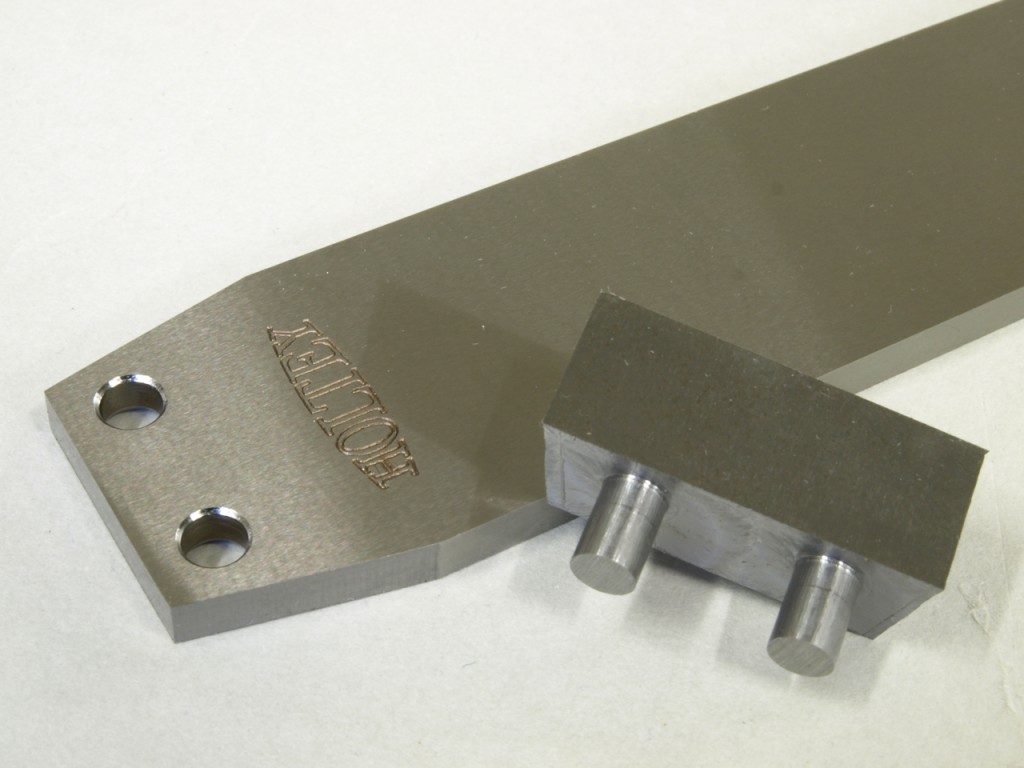
In the course of my research I have found that the only planes that were made with snecked irons were shoulder planes, and the occasional thumb and chariot planes – these were side snecked as in my 11-s smoothing plane here (double sided sneck).

CI3A4971

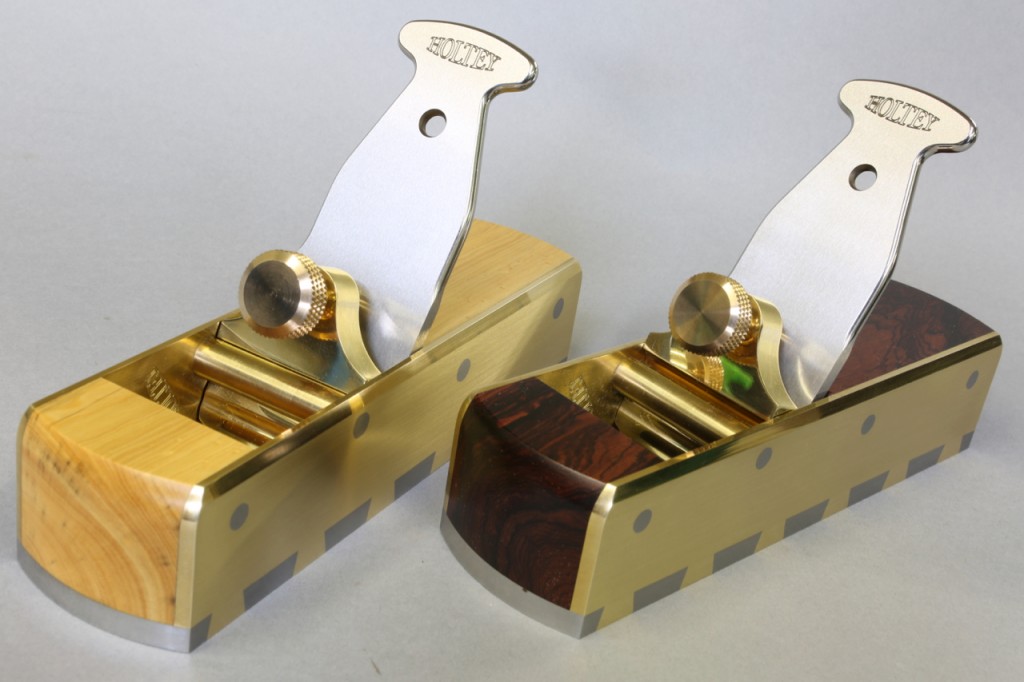
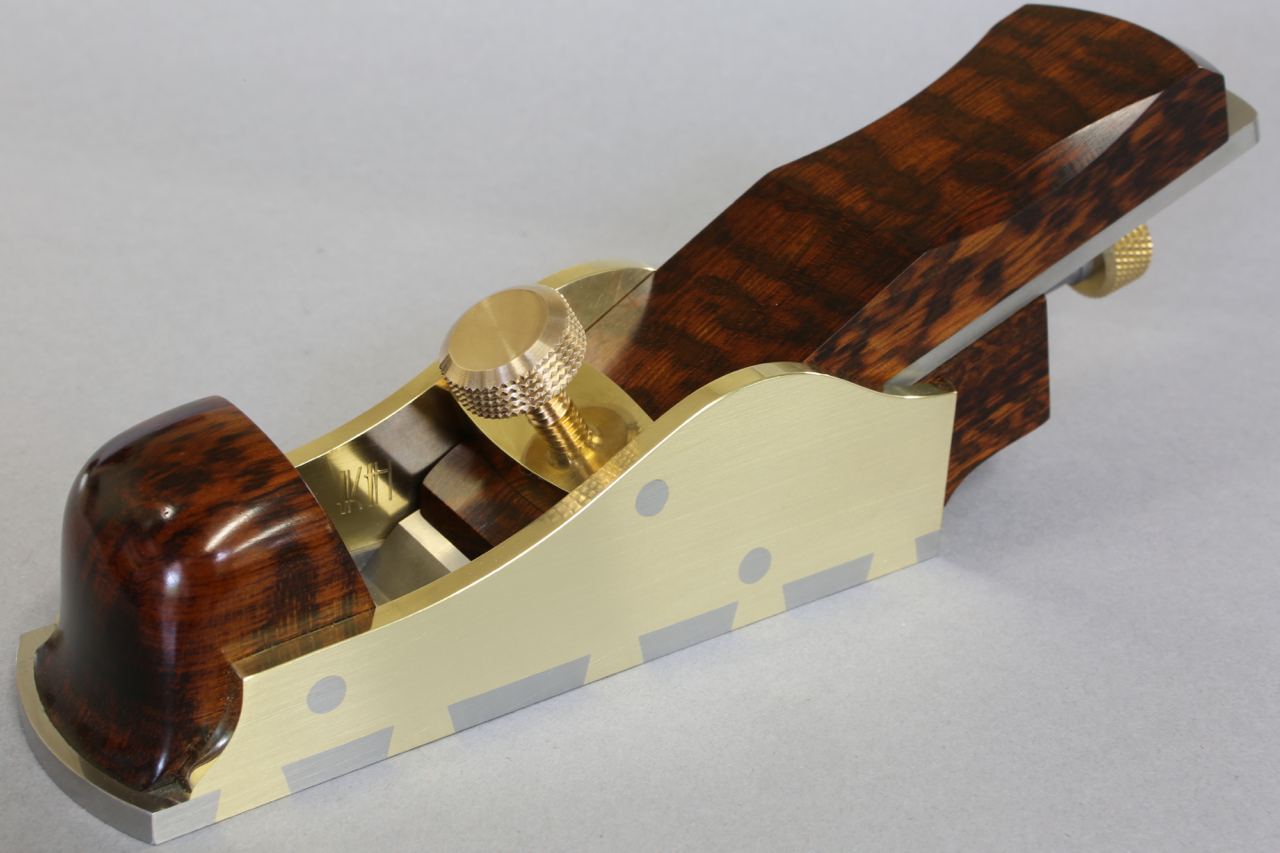
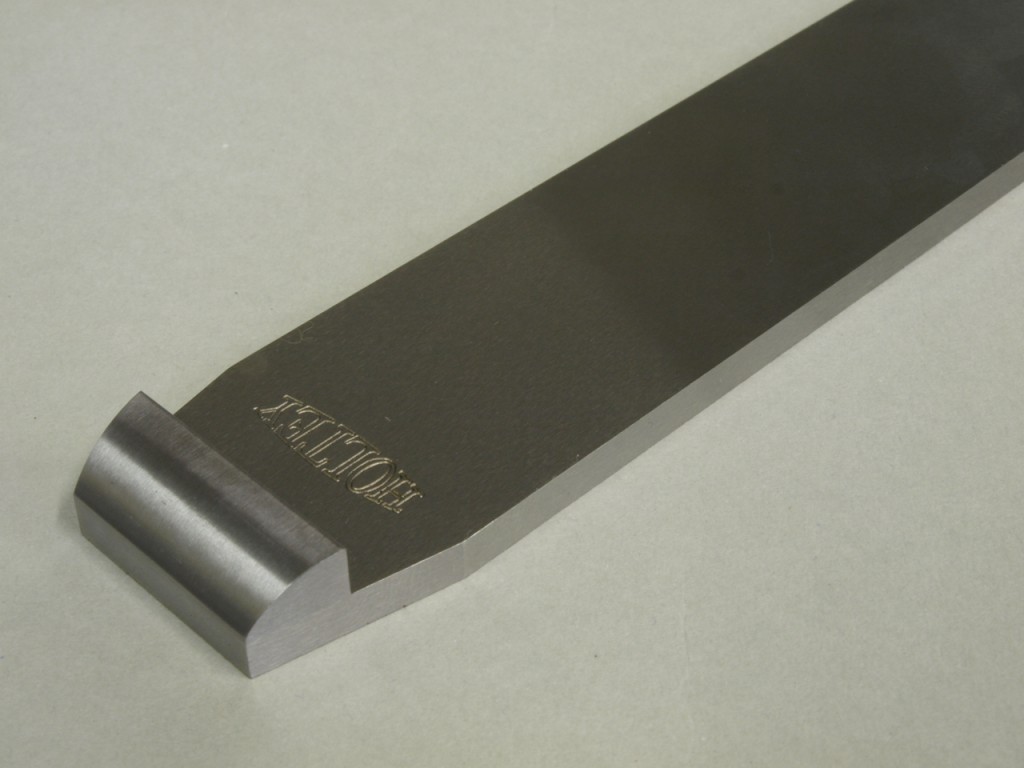
Mitre planes usually have top snecked irons, as in my No 10 shown here.

OLYMPUS DIGITAL CAMERA

OLYMPUS DIGITAL CAMERA

I can’t understand why smoothers and panel planes etc did not have snecked irons. Of course top snecking would require a longer blade as lever cap or wedge would restrict their use. A side sneck should still work on these planes.

Is it possible that the use of chip breakers had something to do with this?

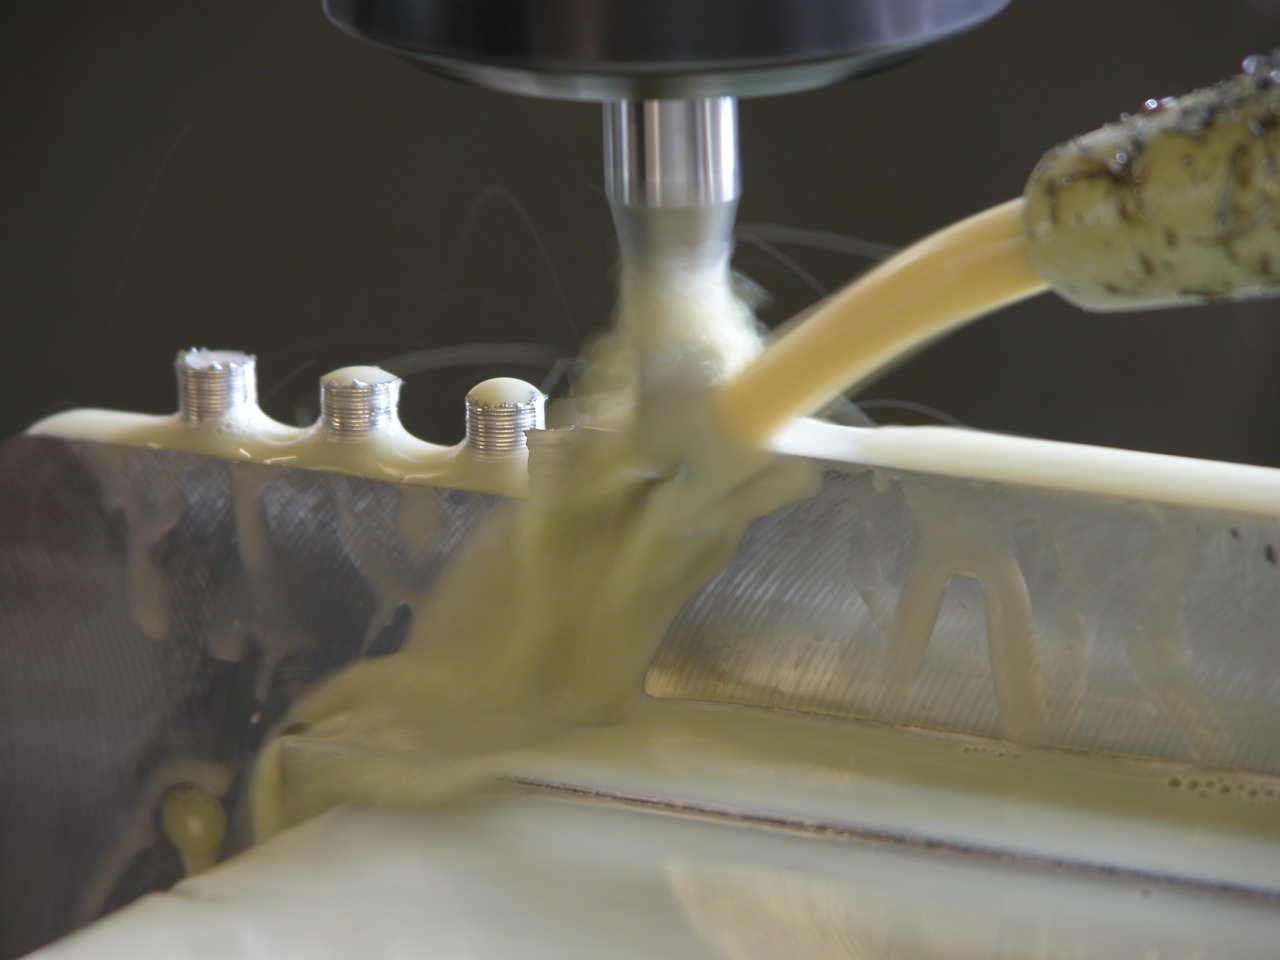
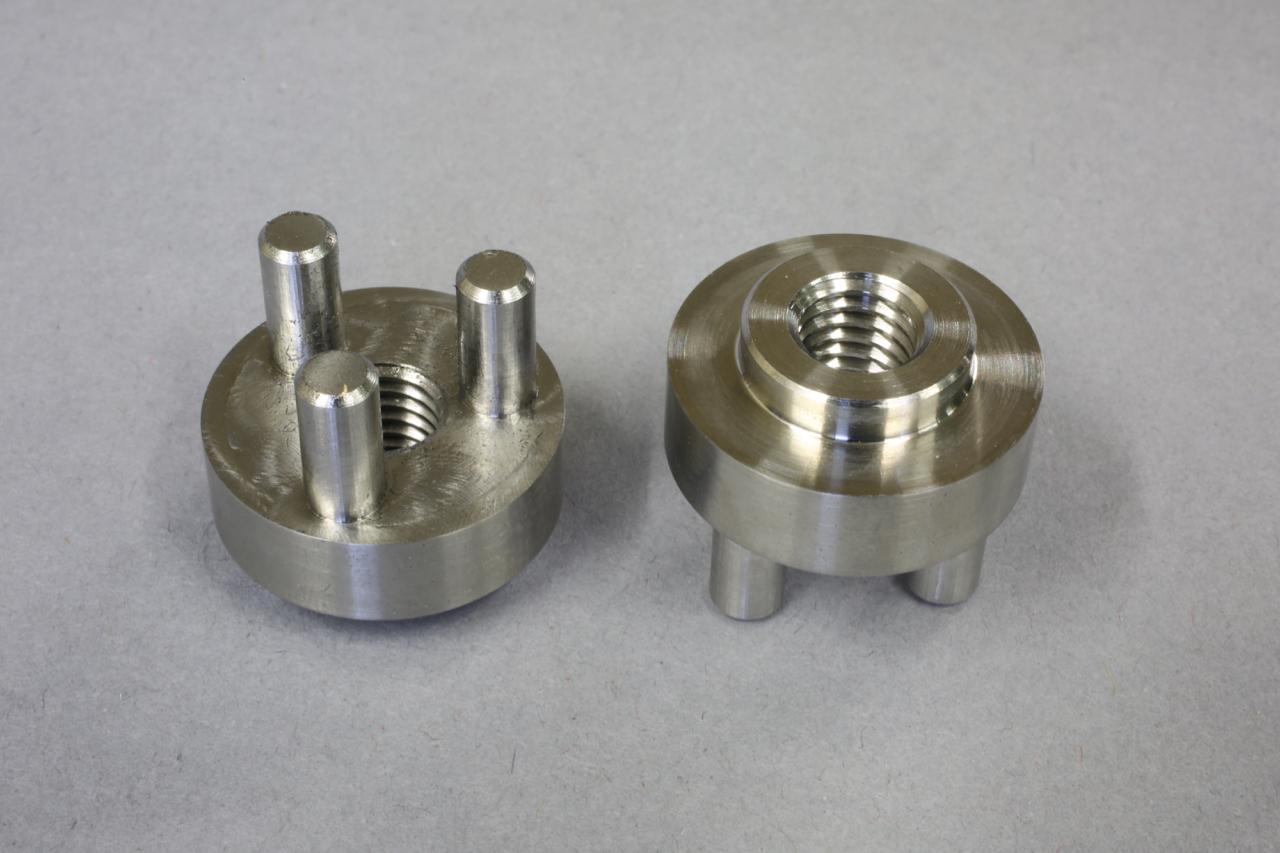
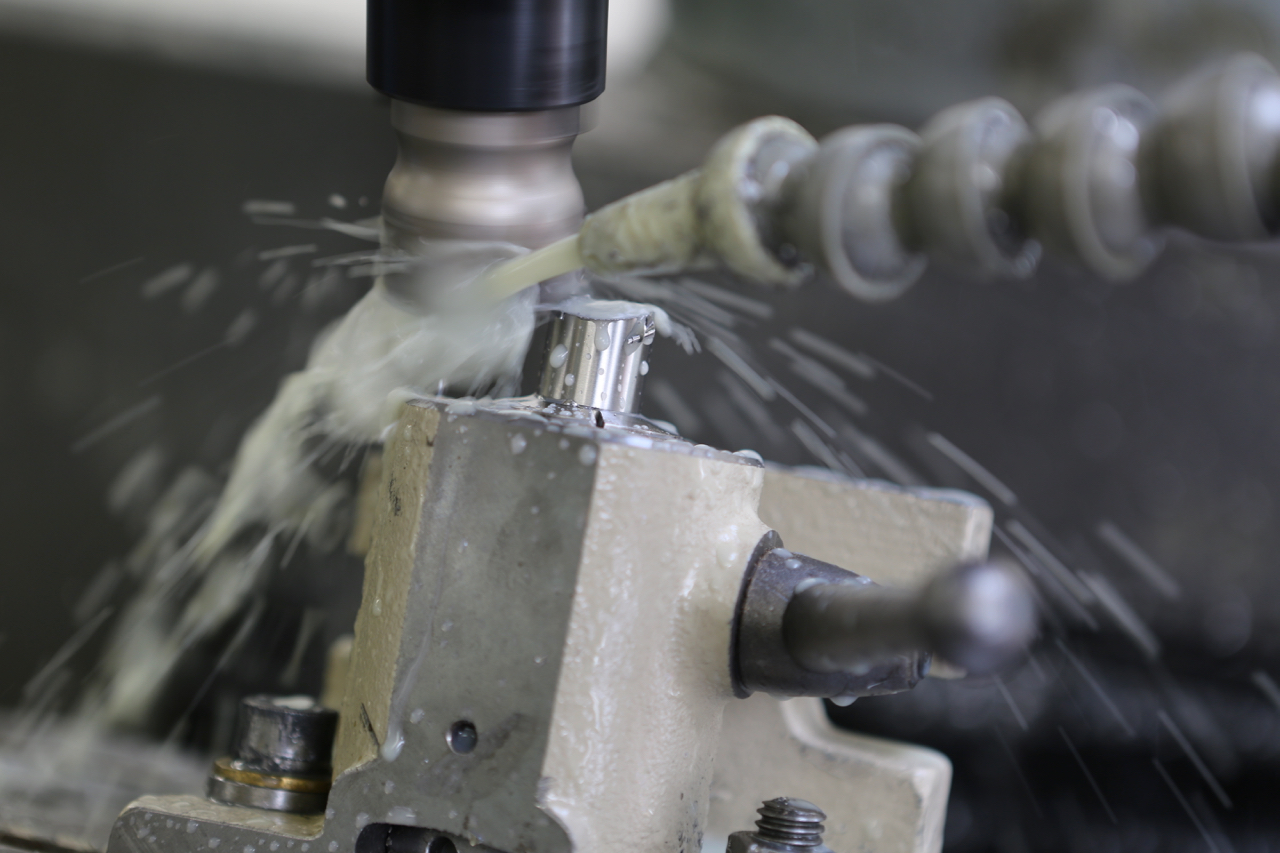
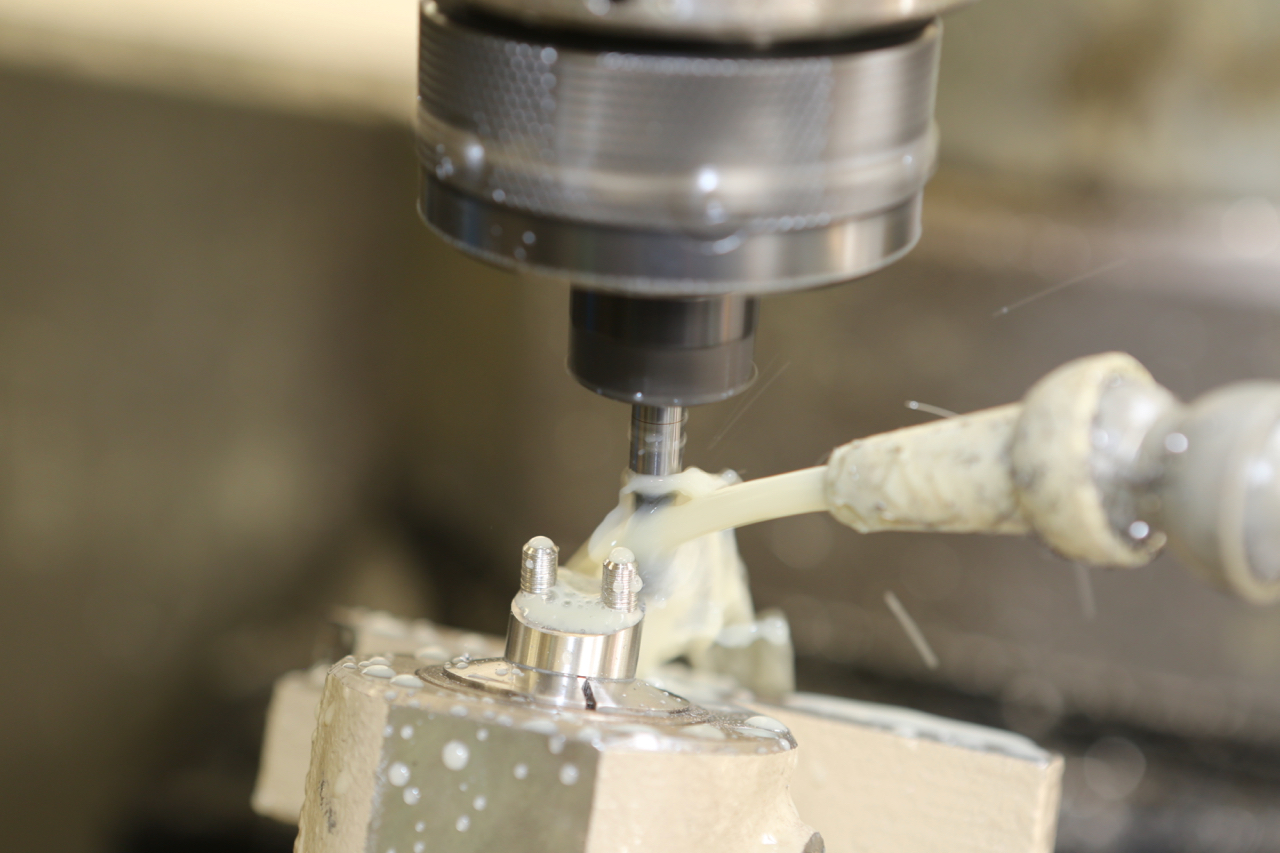
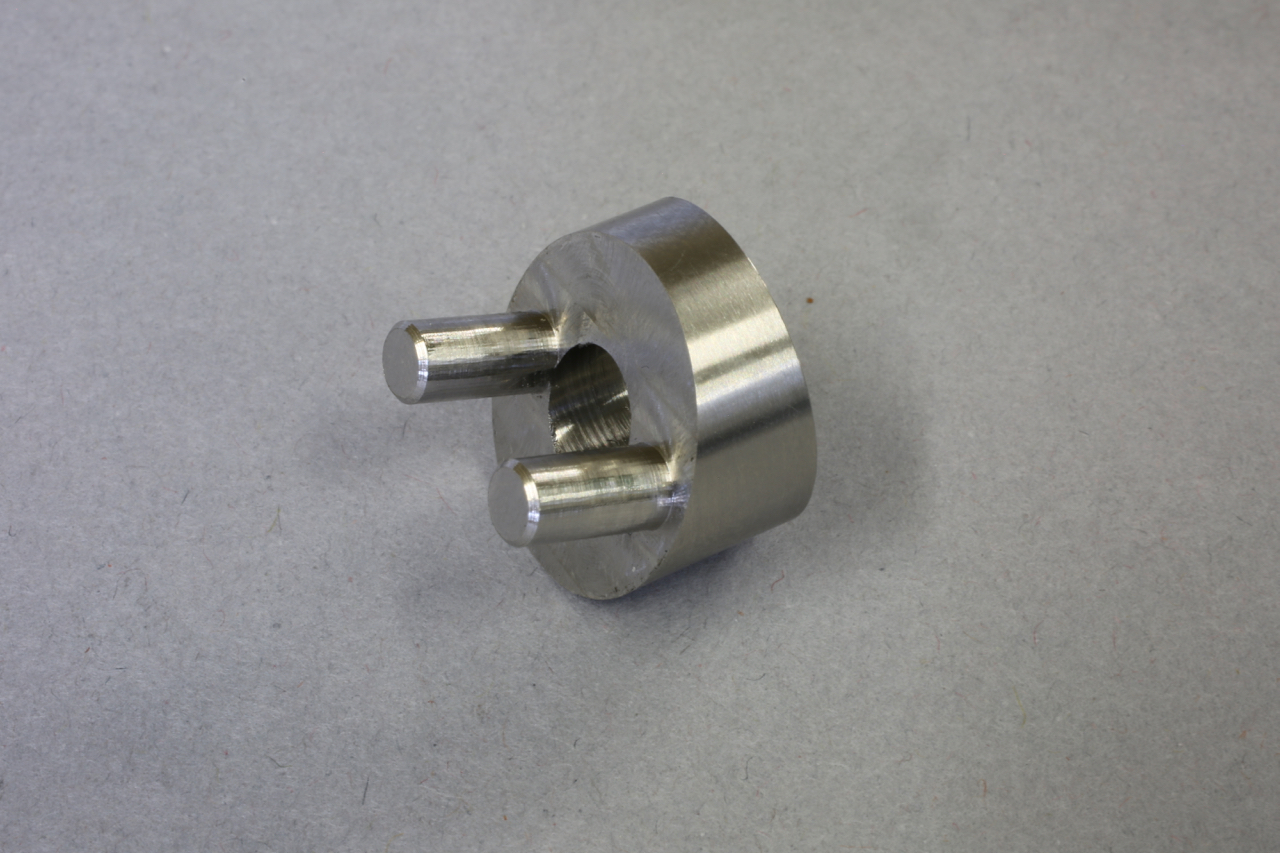
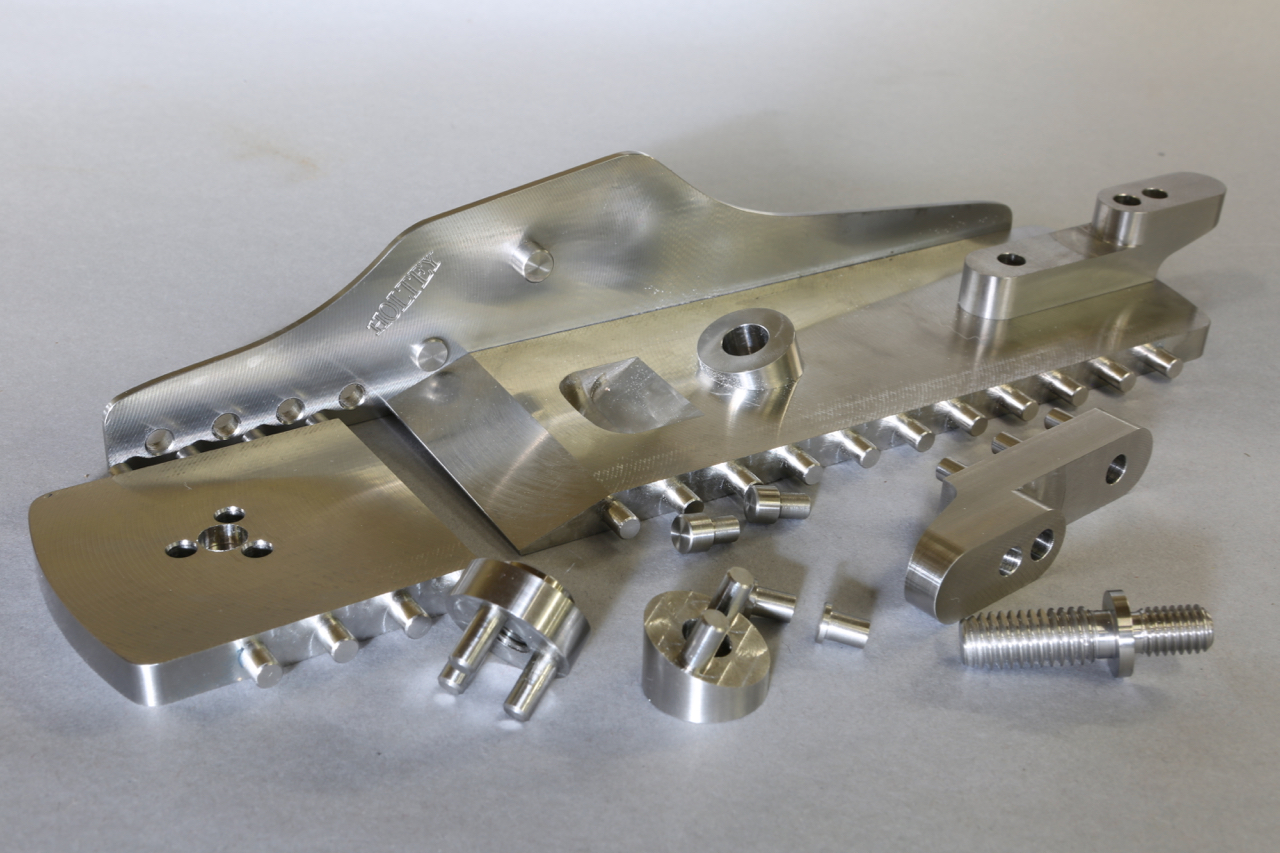
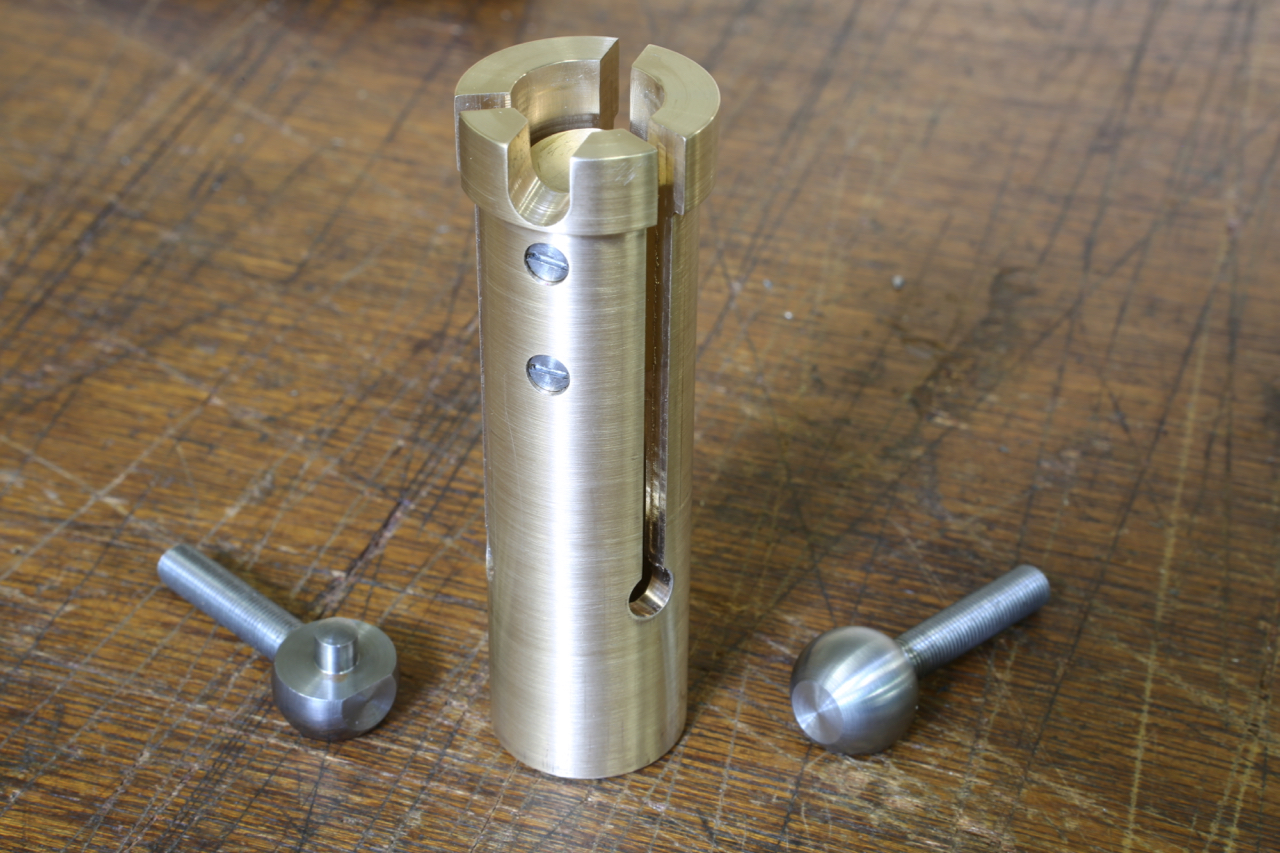
I am working on a development plane at the moment and planning to make it a non-adjuster plane. I feel that having a snecked iron will make a considerable difference in setting up the blade. I am also wondering if users choose to use a non-adjuster plane because it is better or is it an elitist thing?

November 27, 2018

New Workshop blog 2 (post retirement)

Some more components for the No 98 plane. Showing the integral rivets being cut in situ

finishing cut on bun boss

DSCN0014

Finished items are the front and rear handle bosses. All in stainless steel as usual.

CI3A4920

CI3A4918

November 26, 2018

New Workshop blog 1 (post retirement ????)

Filed under: No 98 plane,Window to my workshop — Tags: , , , — admin @ 4:14 pm

During the course of finishing off bits and pieces out of the back of the cupboard I decided I would put together some more No 98 planes. I was horrified to find not all the pieces there. However, I had already promised a plane to someone so I need to get on with it.

I am just making components as I need them. I will start with some pictures of the adjuster boss and post as I go. This No 98 plane was the start of my own designs (and the start of bevel up smoothers in general). You will notice from just these few pictures how much work is involved.

CI3A4882

An enormous set up for a tiny component

CI3A4905

Planing the end off to initiate a 15 deg angle

CI3A4894

Milling out the integral rivets at the same 15 deg.

CI3A4923

The finished item

CI3A4935

You can pick out where this item belongs

Over the years I have and many enquiries for this No 98 plane which I hadn’t been able to fulfill. So those of you who want one this is your only chance to get one. Just making a few. See my website for pricing.

November 19, 2018

Another obituary

Filed under: Window to my workshop — admin @ 12:14 pm

Harvey

It seems sad that I have only used this blog lately as an obituary for my four legged family. Sadly we have to add Harvey, our eldest and last Belgian Shepherd to the ones who have gone. He is going to leave a large void in our lives which will take some time to get used to.

October 19, 2017

Anlon

Filed under: Window to my workshop — admin @ 12:43 pm

Another member of the team gone

DSC_5776

October 10, 2017

Window to my Workshop 116

Filed under: No 983 block plane,Window to my workshop — Tags: , , — admin @ 3:06 pm

All the chassis work done on my No 983. A lot of f…… work done

No 983 chassis

No 983 sample

July 6, 2017

Window to my Workshop 115

Filed under: Drawings,No 983 block plane — Tags: , , , — admin @ 9:04 am

In conversations over the years I have always been praised for my (primitive) drawings as CAD is the way now. (See the dinsaour card on my Facebook page – thank you David) I have never had to time to learn CAD. The hardest thing was to learn an early Heidenhain control unit for my mill. I am just starting a new batch (yes, I know I am supposed to be retiring :-) ) of these No 983 planes, mainly because I sold the last one which was mine, I am going to use this opportunity to explain some of the workings in more depth. Maybe because I am getting older the work seems to expand but I have never allowed economic restraints to get in the way.

Going back through some of my drawings, which are very untidy, I decided to post some up. Starting with this side layout of the No 983 – warts and all. This is how I work and then I have to convert it into a suitable dialogue for my Heidenhain. Luckily I am the only person who has to understand this.

No 983 outline 1

June 28, 2017

Photos of A31 Thumb plane

Filed under: A31 Thumb plane — Tags: , , — admin @ 4:17 pm

The A31 Thumb planes are now finished. The snakewood has come out really well

CI3A3724

CI3A3729

CI3A3736

CI3A3746

CI3A3718

June 19, 2017

Window to my workshop 114

Filed under: A31 Thumb plane,Window to my workshop — Tags: , — admin @ 6:17 pm

I want to show off some of the finer detail in the making of my adjuster components and the tooling used to make them.

These are for my low angle planes:
 

CI3A3692
 
This is a ball turner I made 30 years ago in the days when I was very enthusiastic for making miniature locos. Over time it has been used a lot in the making of my planes.
 
 
CI3A3698
 
A fixture I made which is used for making my adjuster bases.
 
 
CI3A3661
 
After the threaded stem and body has been ball turned a flat is needed so that it glides freely over the adjuster base and helps to orientate the blade driver. This is the flat after milling.
 
 
CI3A3680
 
This is the blade drivers at different stages of their making. Two of which are still attached to their carriers, and one finished.


CI3A3687
 

The last stage in the making of this blade driver is to turn the spigot on to its body. I had to make a special collet which was a little bit fussy because the spigot has to be formed 8 degrees from the perpendicular. Unlike the Norris counterpart it is all in one piece. Norris never went this far.

« Newer PostsOlder Posts »

Powered by WordPress