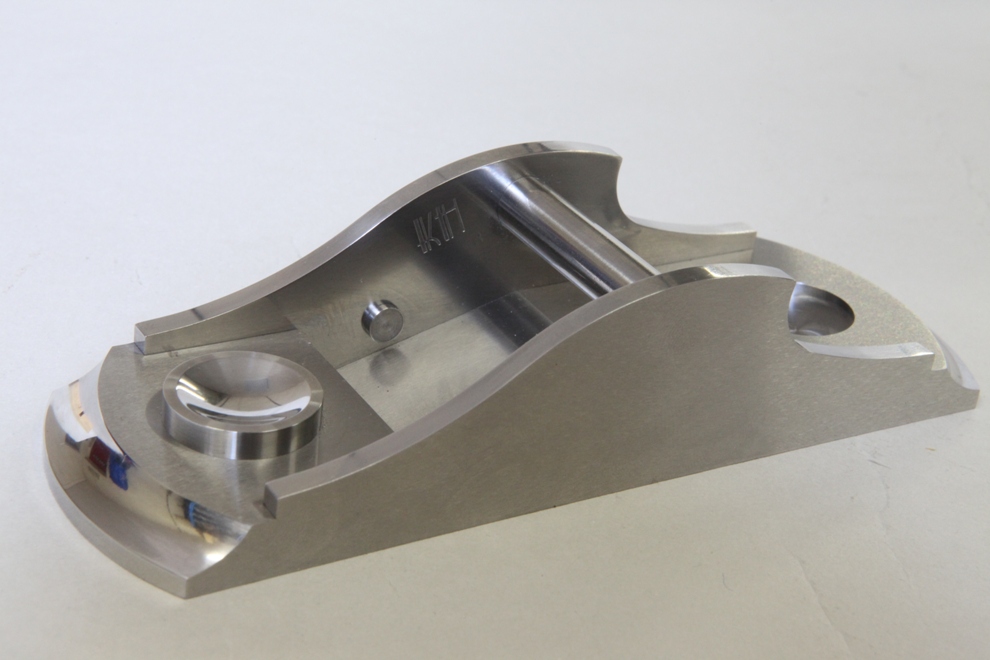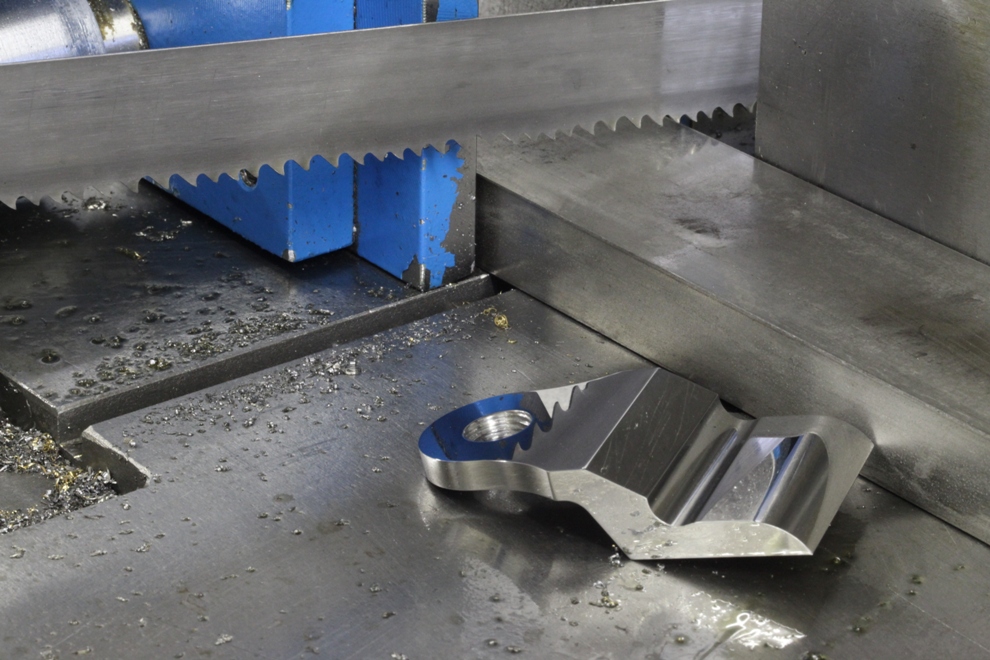
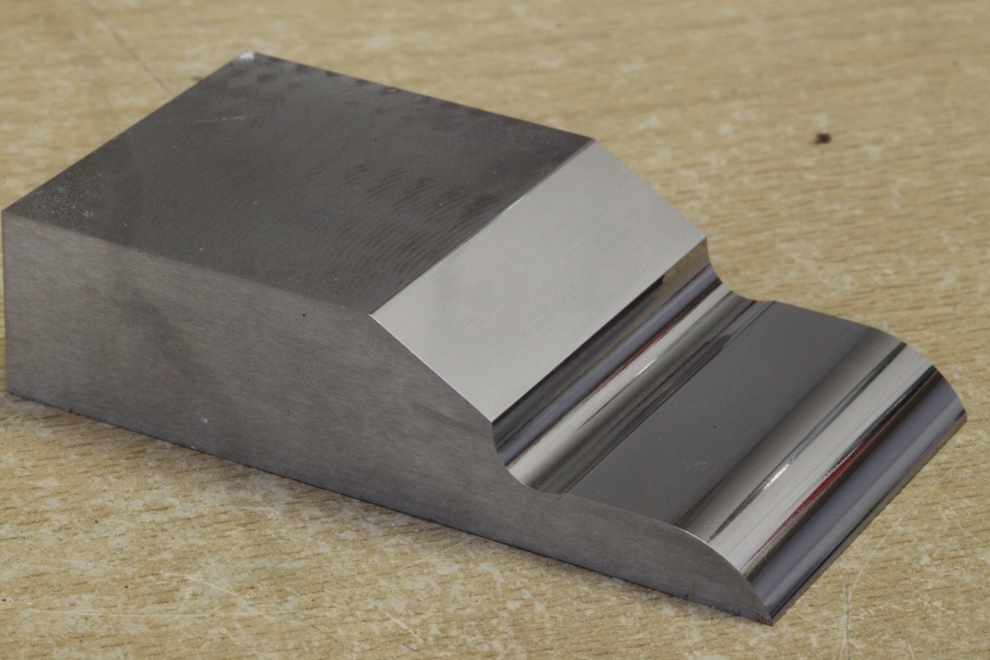
Now I have a finished lever cap and the picture is a reminder that it is cut from a solid stainless steel bar.
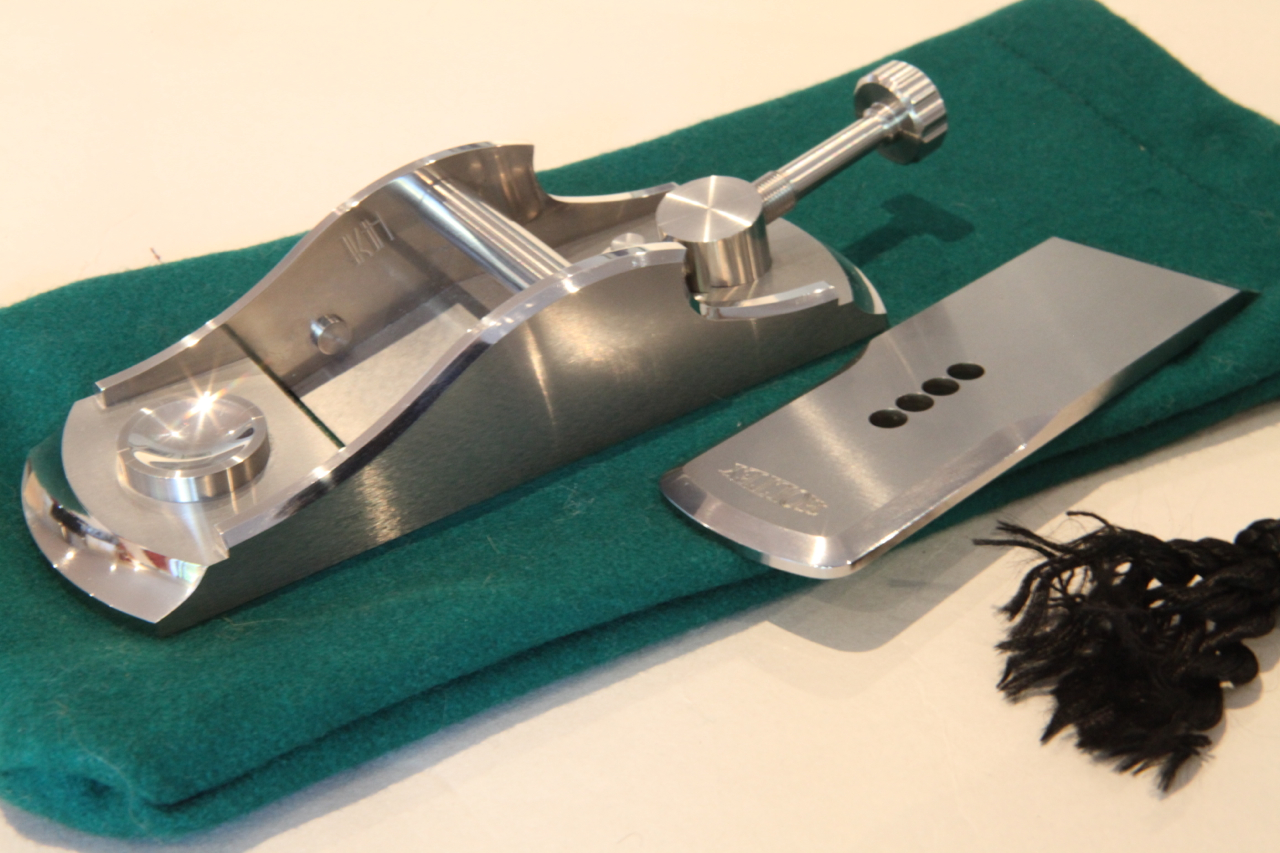
The plane is now finished and is due to be on the website by the end of the week.
Now I have a finished lever cap and the picture is a reminder that it is cut from a solid stainless steel bar.
The plane is now finished and is due to be on the website by the end of the week.
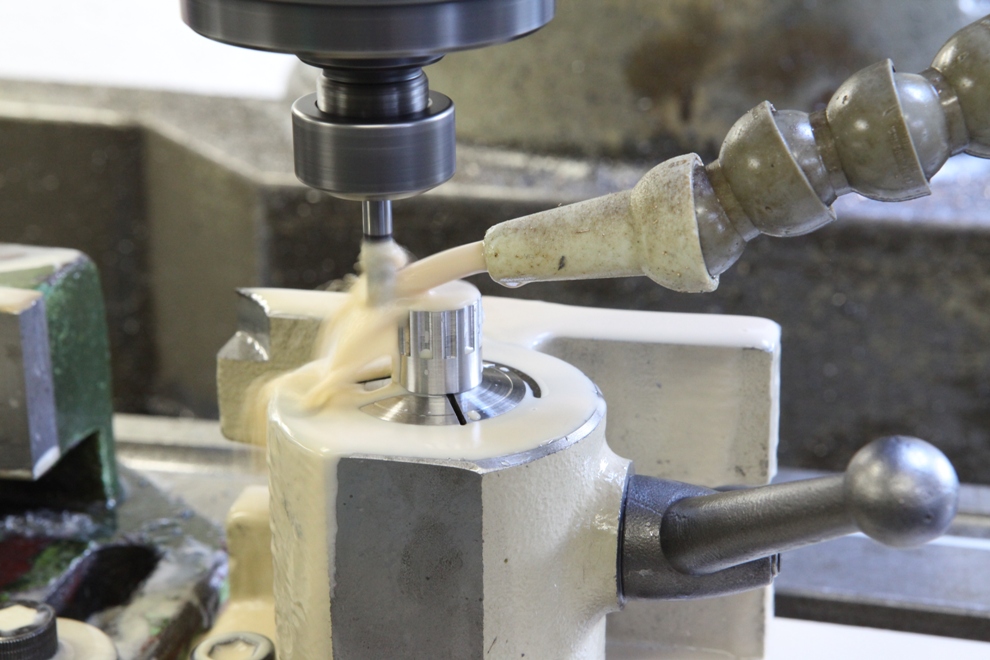
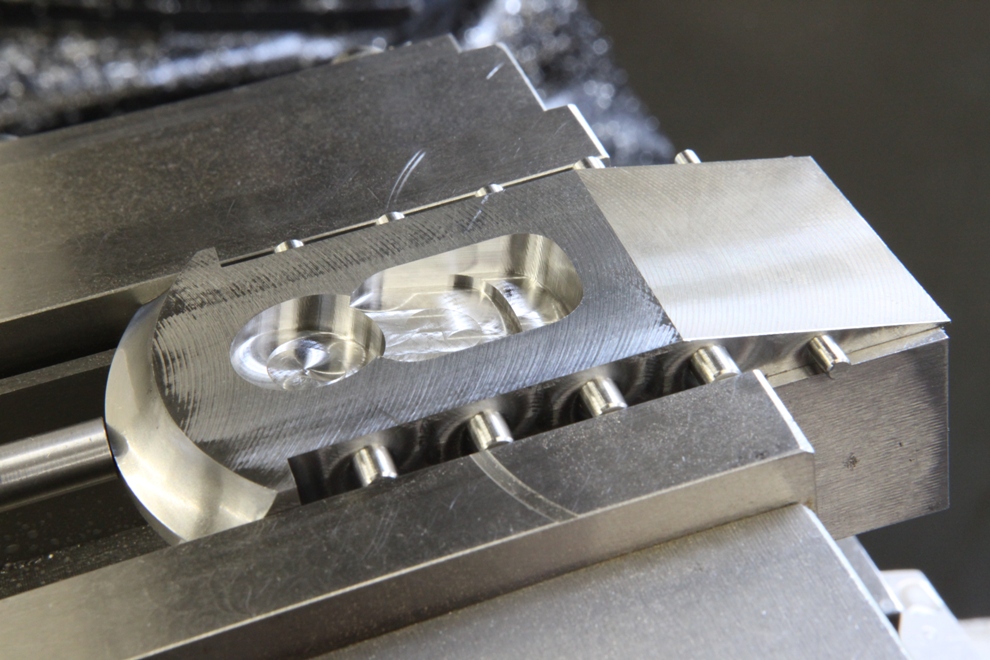
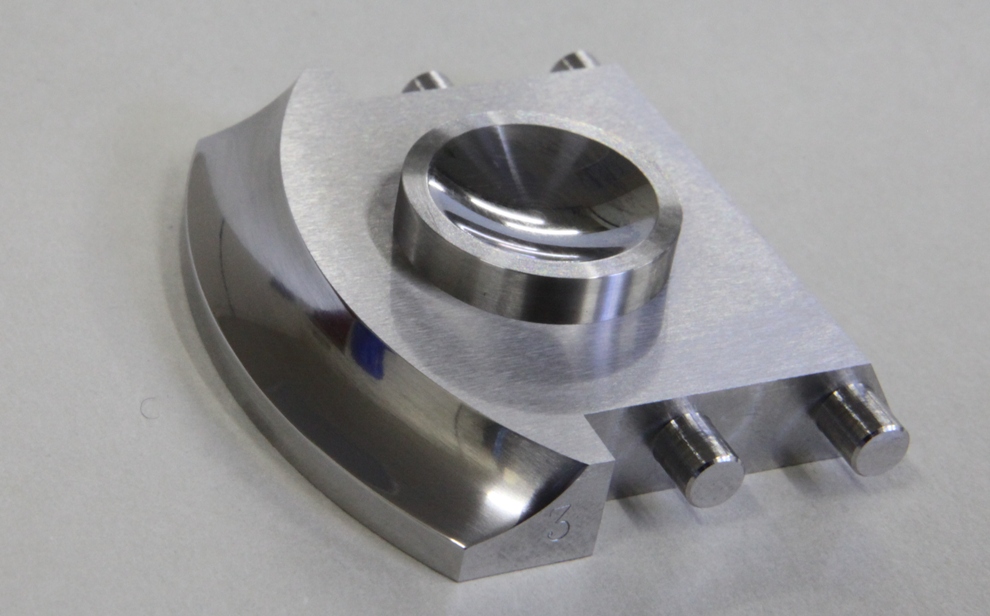
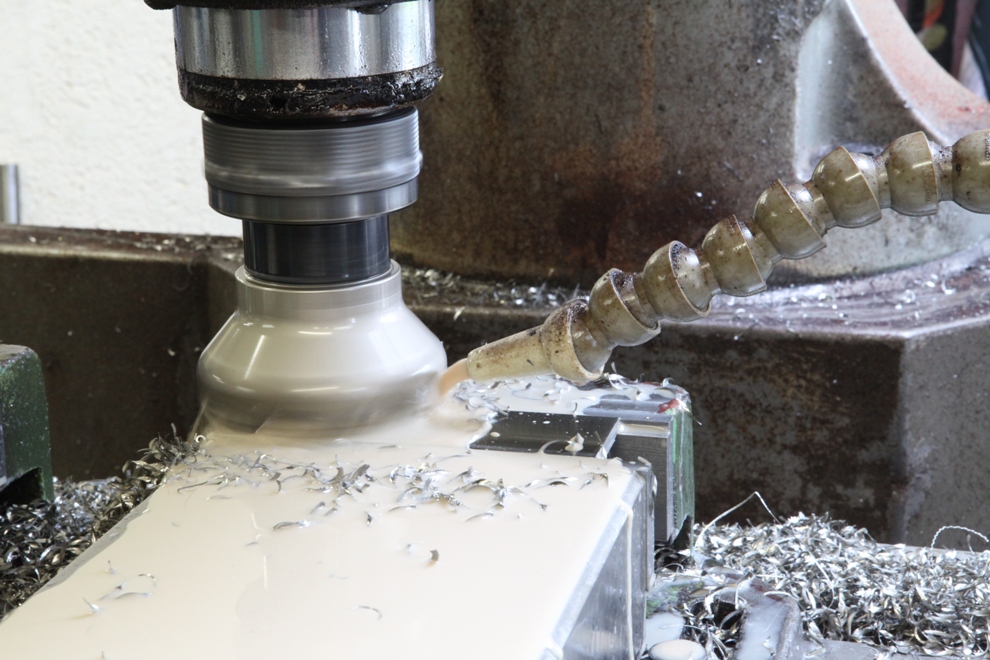
As this lever cap has taken a very long time to make I thought this picture, of it not even half way completed, tells some of the story. The milling, grinding and polishing has to done in sequence to achieve the finish I require. It will be a complex shape when completed.
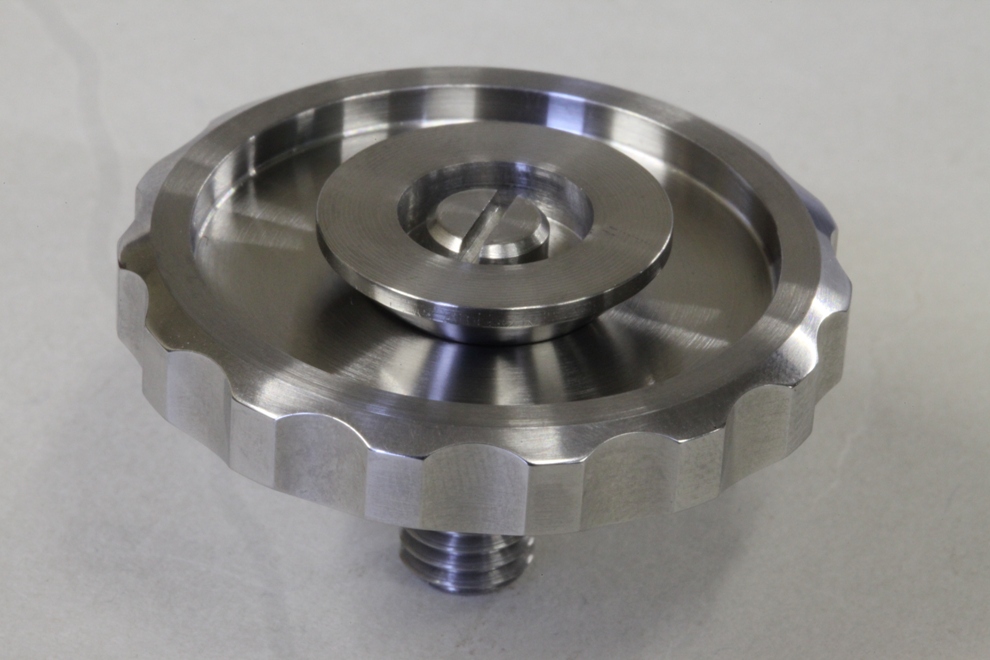
After several weeks of design, trial and tribulations, the thumb wheel in stainless steel is finally complete. New designs and ideas are always time consuming.
This picture shows the thumb wheel inverted and assembled with the floating spherical washer (the washer does not appear to be central on the photo as it is floating). This works with the matching spherical depression in the underside of the thumb wheel like a ball and socket; evenly spreading the load over its area, helping to eliminate any lateral movement on the blade as you tighten down on it. It also helps to evenly distribute the pressure throughout the blade bed reducing body distortion.
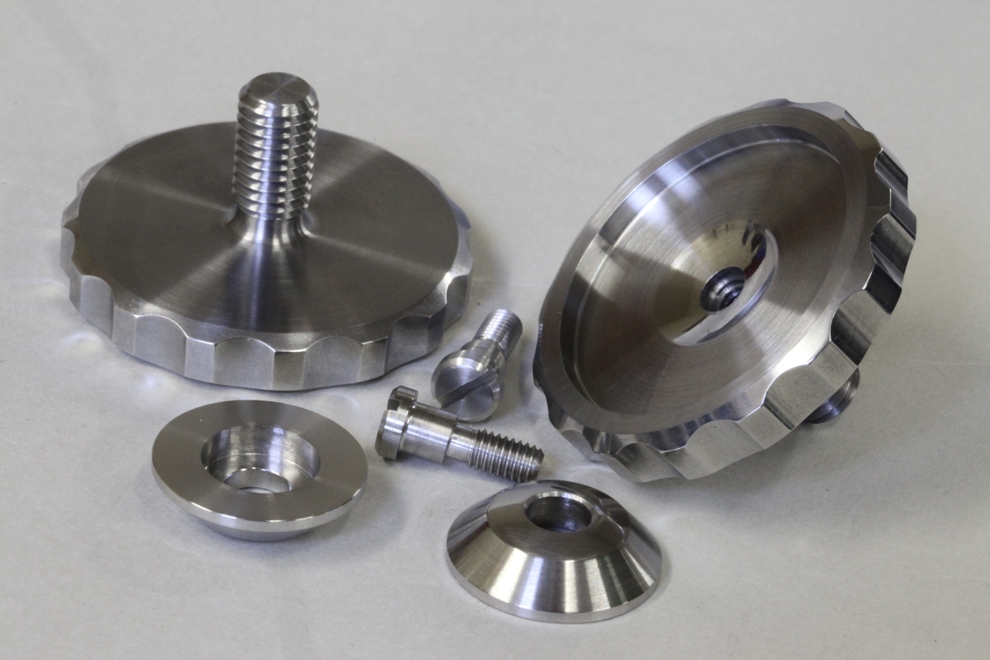
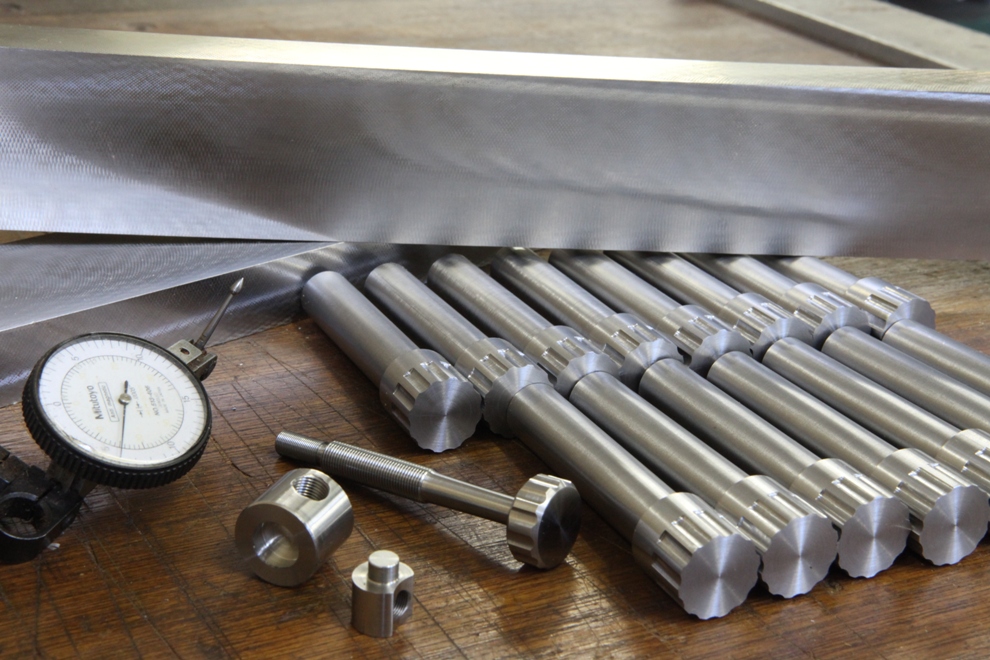
These are the three components making up the thumb wheel. I have changed the grip arrangement on the thumb wheel and screws. I dislike the fact that a lot of knurls fill up with dirt. Aesthetically I find this method, though labour intensive, is more pleasing and feels comfortable on the thumb/fingers.
I would like to emphasise that, as always, all my components are hand made, in house.
Nice to be back at work after my carpel tunnel operation. Still a bit sore but I can’t stay away!
All that is left now is the lever cap and palm rest. But this is quite a large chunk of work.
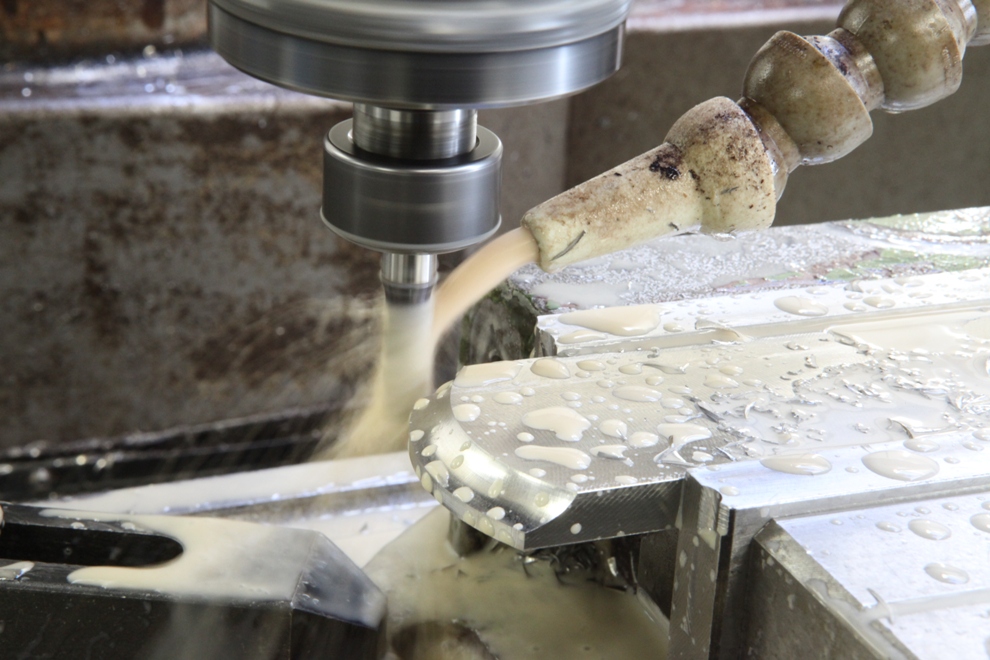
Slow progress but I do like to get my bottoms right. All materials are in 303 or 304 stainless steel due to its better corrosion resistance
As you can see the finger rest is press fit.
Work in progress on the new No 983 stainless steel block plane

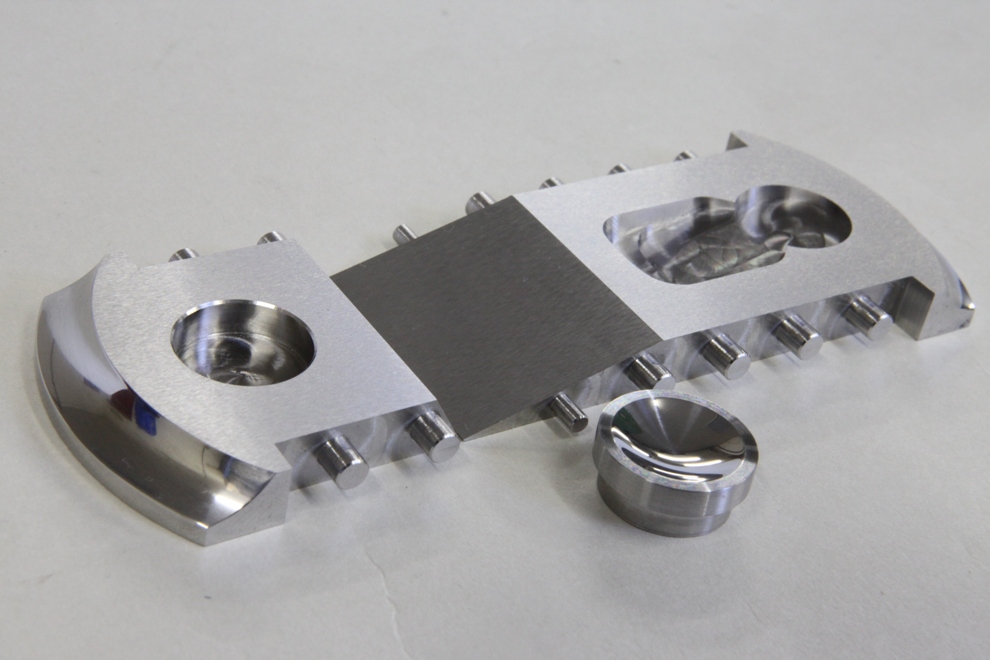
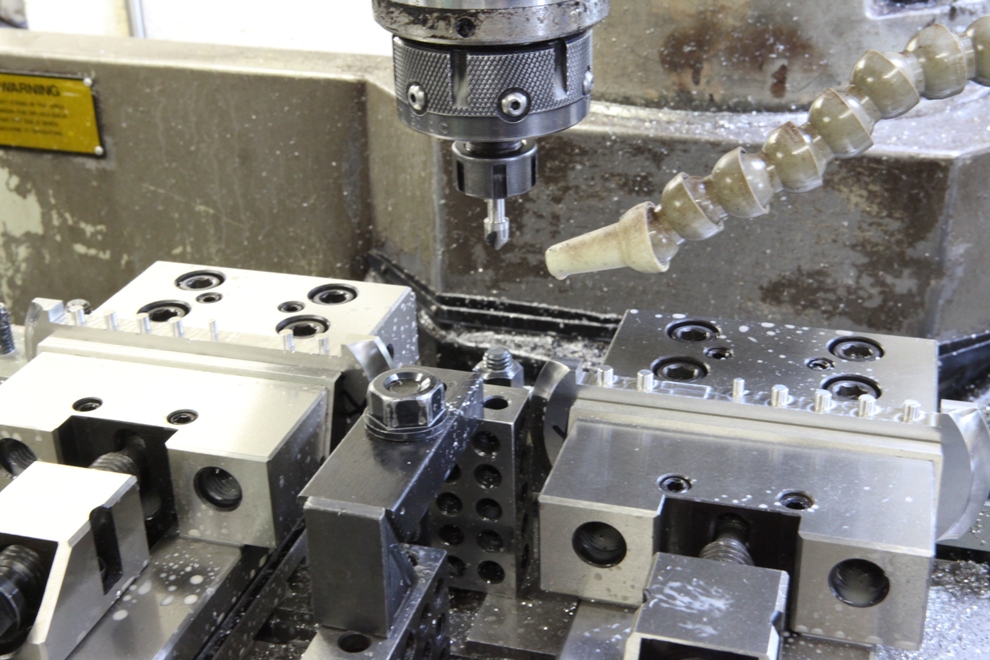
Integral pins are back! These pins are cut 0.22″ long, cut full depth in one go with a 6mm roughing cutter. Then go round the houses again with a 6mm finishing cutter. Some people don’t believe that I can cut these pins full depth in one go in s/s (or any other material). It is just a matter of getting things right.
The last job is to put a tiny lead chamfer which not only makes an easier entry but it helps to prevent the edges from splitting during the peining process.
I thought it about time I wrote some more in my blog. Looking back on my past entries I notice that there are some gaps which I intend filling here.

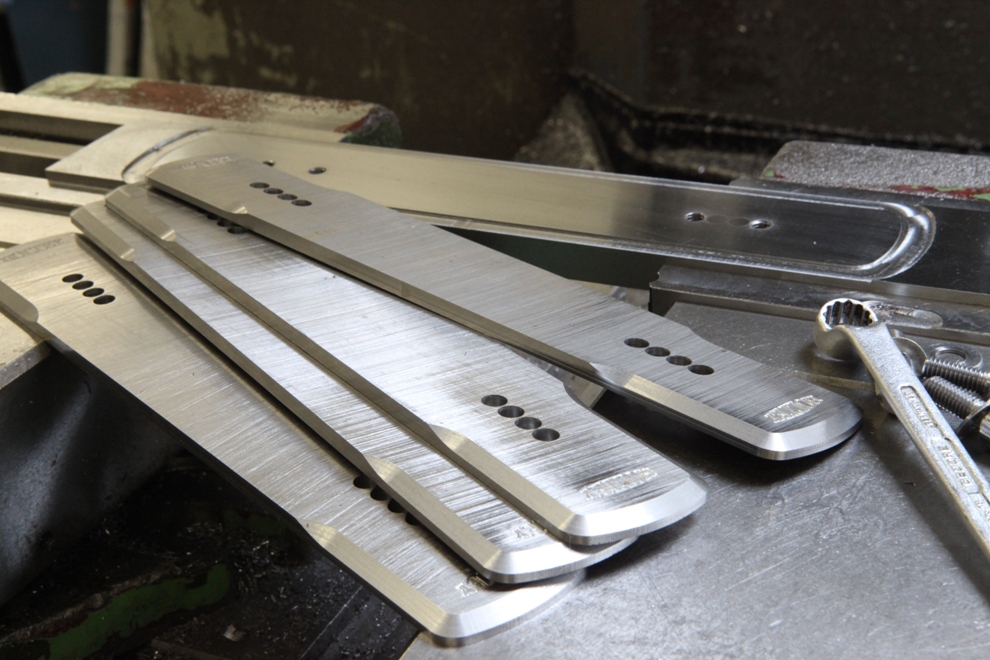
At the beginning of any project the metal is a good place to start (after design and drawings are done of course). In all my classic designs I use mild steel – I have tried it in several different forms; hot rolled (which is very good and has little stress in but comes with a lot of scale to deal with), BMS (which is nice and clean but has a lot of stress in it), sheet metal (which still has a difficult scale to deal with and some stress). Stainless steel would be my favourite choice, but not on the classic type of planes. I therefore choose mild steel as this is a nice ductile material once the stress problems have been dealt with. To relief the stress I have to cut it to manageable sizes and send it off for heat treatment. This picture shows the material in two stages – after heat treatment and some after surface grinding.

As you can see from the picture my grinding machine is a Jones and Shipman 1430. It was made in the ‘60s and it has been reconditioned by Andmar who are more ‘Jones and Shipman’ than the company themselves. It has been the main stay of my workshop since I purchased it 10 years ago as all my work including tool making passes through here. That is every jig and every piece of work holding (as well as plane components). It sets the standard for all my work.

This surface grinder uses a 24” x 12” Eclipse magnetic chuck which needs re-surfacing every 12 months. This can take up the best part of a day. The nice true surface is so good I just had to photograph it (sad isn’t it!).

My current project is A1 14 ½” Panel planes. I have documented this before (use this link http://www.toolworkshop.co.uk/blogarchive/) so I am just putting a few pictures to look at.


Powered by WordPress