No 10 small smoother plane. Metal component parts
peining the dovetails showing the forming tools
Showing various infills
The finished No 10 smoother plane
No 10 small smoother plane. Metal component parts
peining the dovetails showing the forming tools
Showing various infills
The finished No 10 smoother plane
No 10 small finishing plane. The relationship between the sneck piece and the blade.
The blade is rejigged so that the milling cutter can follow the original contours of the facet.
The sneck form is milled after the integral rivets have been peined with a fly press. The blade used at this stage has been hardened and surface ground. The hardening is the only item which is outsourced to a heat treatment specialist.
The finished No 10 blade
No 10 smoothing plane. I have chosen this plane for its simplicity as an insight for the amount of work and effort that goes into this plane. I will tell its story over the next few postings.
Starting with the blade drilling and facet forming
Integral rivets being milled in situ on a bar strip to be cut up into individual sneck pieces
Sneck pieces shown after being cut into individual pieces
David Barron has done a very nice job of a video on my new No 10 plane. You can see it here:
Was it really Christmas Eve since I last blogged!!!!!!
The first batch of planes are now finished, they were not easy but it hasn’t taken me 10 solid weeks to get this far.
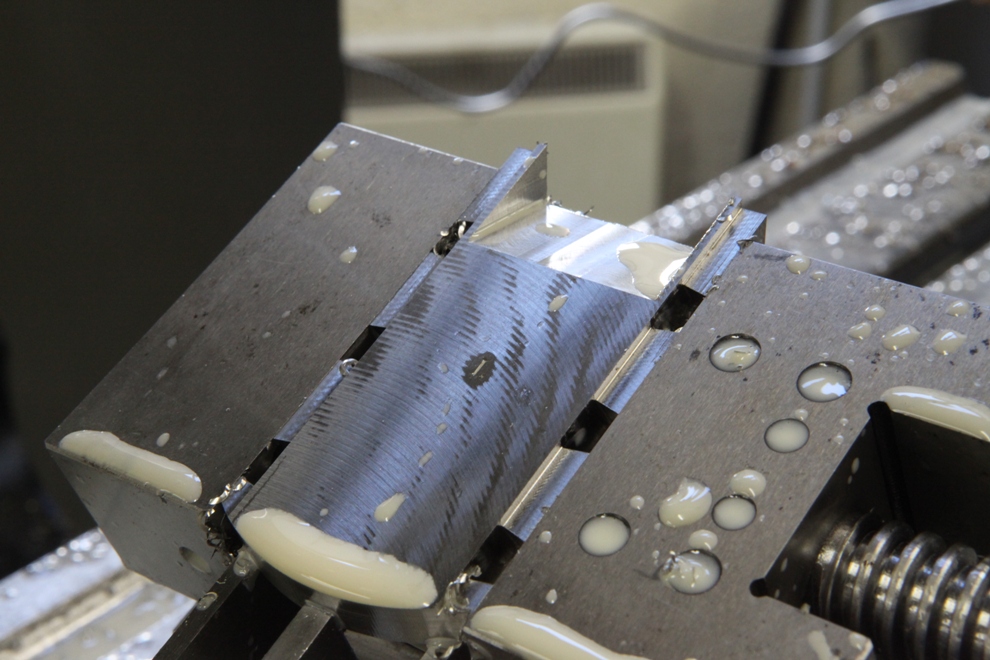
I seem to have landed here without any pictures of separating the bottoms into front and rear. This picture now shows the beds being milled. There is a surprising amount of material to move and has cost me a considerable amount in tooling. Stainless steel does have its disadvantages.
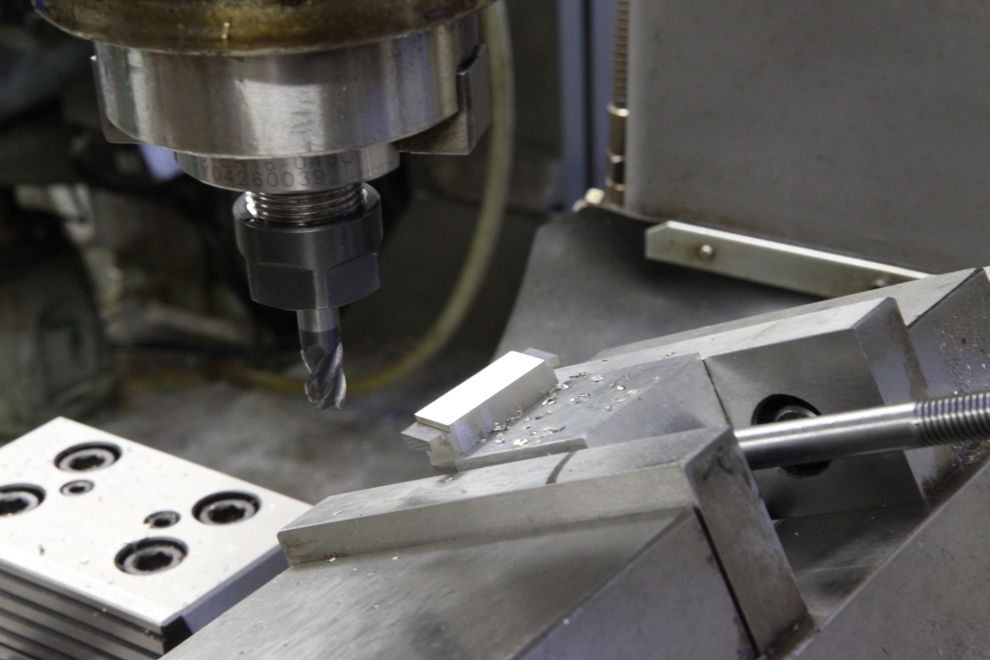
The front end of the bottom. There are two operations here. The first one is to machine the angle for the front end of the mouth then a small rebate is machined to catch the sides of the mouth from the rear section. This will lend a desirable amount of support, especially when it comes to peining the dovetails otherwise this part of the dovetail will cave into the mouth. It also provides additional rigidity to the plane body because any stresses could force the two halves of the plane to jiggle. It doesn’t sound very technical but it is descriptive. It could show a step where the front and the rear of the bottom join. Of course we are only talking very small amounts here (+/- 2 thou).
Something that always amuses me on the traditional mitres is the tongue and groove joint. This does absolutely nothing.
(more…)
Mistakes – what is a mistake?
There are those that will always deny making mistakes and there are those that can keep smiling when they have made one as they have thought of someone to blame it on. So many projects can go off course along their journey, or find that the goalposts have been moved. Those with the creative thinking processes, for good or bad, can always find a solution; then only count its merits.
In the case of the No 10 plane, and its simplicity, there seemed nowhere to go wrong, but to be 100% sound in my mind I need to alter some of its dimensions. Having slept on it I have decided it is folly to rescue anything I am not completely happy with. This doesn’t sound much – just need to remake the sides and procure some new infill material. I have come too far now to take any risks. Reputations can’t be compromised. Luckily I haven’t had to use the reject bin too much over the years – it is due to put on weight.
Apologies to those waiting for their planes but as you can see from the blog below there is still steady progress.
—————–
In the making of my planes I rely quite a lot on a manual mill. So far throughout the making of these planes the machine has been in constant use.
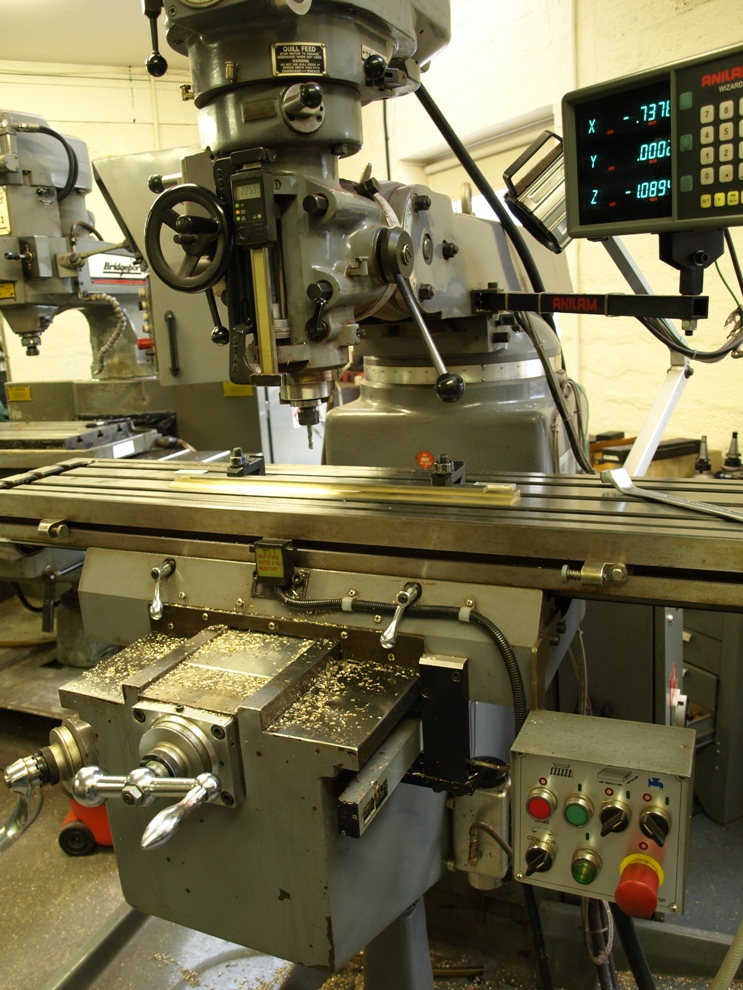
There is a lot to be said for a good quality manual mill with a DRO. The skill is in setting up and operating these machines and along with essential hand working I am able to achieve standards that are impossible to achieve with hand work alone. In my cabinet making and joinery days there was always a division between machinists and hand workers. Why? I have always wanted to be involved in every aspect of the project from initial thought to the finished item. This is why I never outsource any of my work.
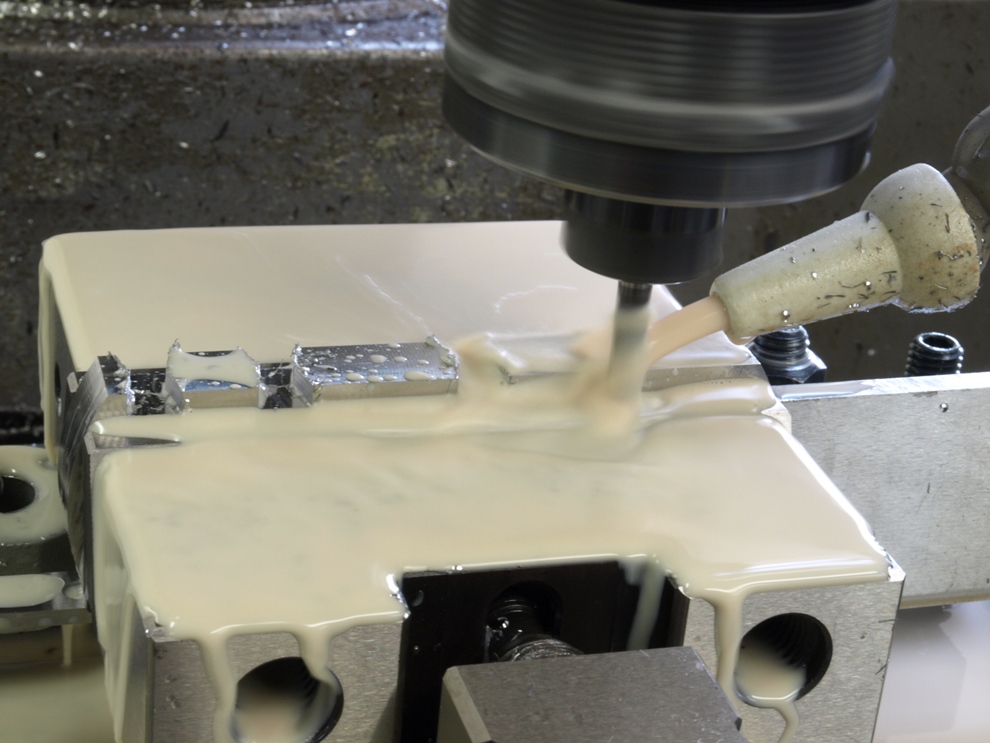
For some reason I have never looked forward to doing this stage of the work in stainless steel in spite of all the experience I gained with the No 98. With a good plan of attack stainless steel will lend itself to quite a lot of cutting and manipulation. There are some that shake at the knees at the mention of stainless steel. This picture shows the first stage of roughing out for the dovetails and in the following picture it shows the milling in the final stage with a forming tool. Note that the bottoms having the compound dovetail so they are made in mirrored pairs to simplify things.
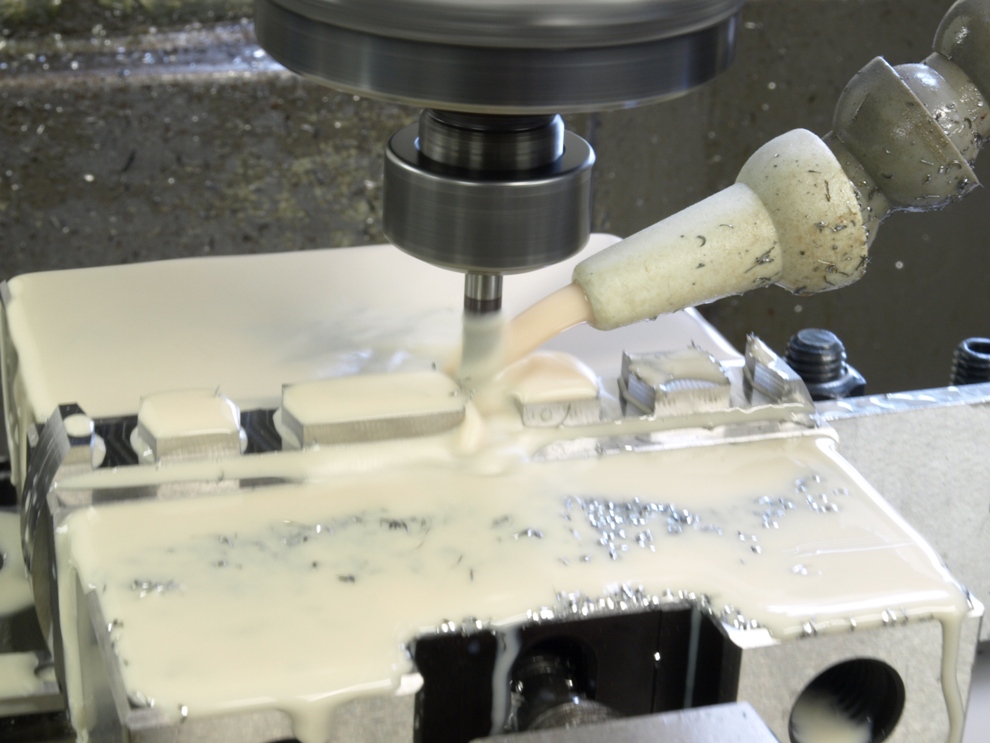
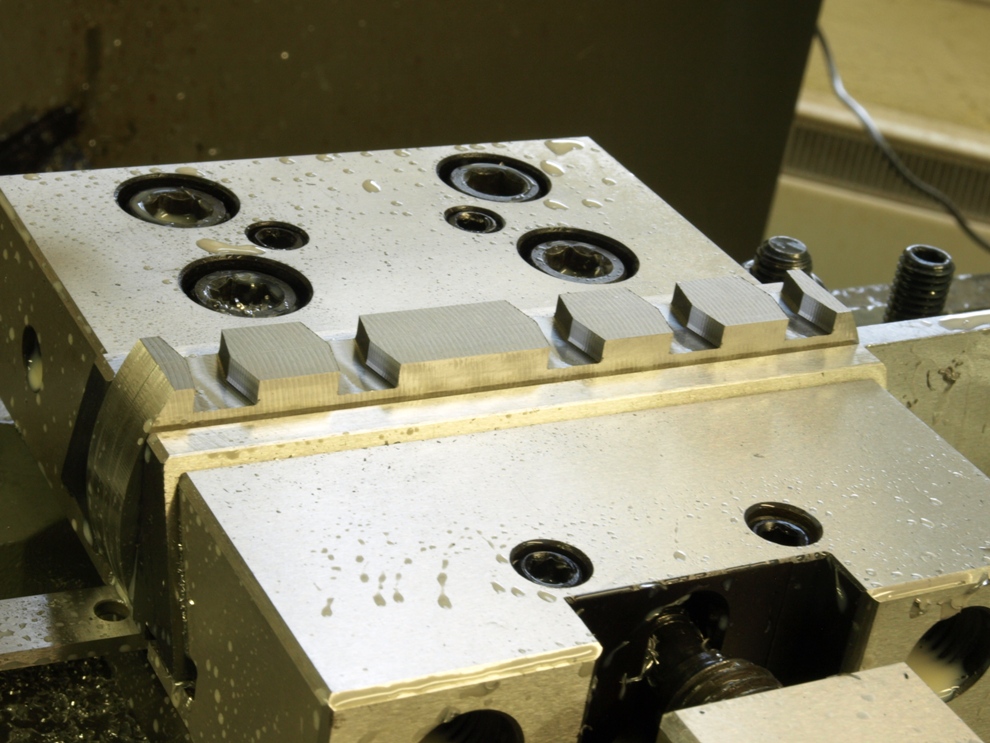
Dovetails finished with all the mess cleaned away.
(more…)
The work has started on the stainless steel bottoms of these No 10 smoother/mitres. This will probably be the only batch of infill planes I will make using stainless steel. This particular batch is 304 which was cropped from a sheet. The problem with this is the bruised edges have work hardened to the point that nothing will break through the hard skin which has been generated from the use of a break press. Never the less I am committed to progress now.
I do plan to use stainless steel on my non-infill planes in future for the obvious advantages. However with infill planes some of the metal has to be worked dry after the infill is fitted as I cannot use coolant. I am not happy working stainless without the use of coolant. Stainless steel is a complex alloy, any cutting needs to be done with the correct surface speed and it also benefits from some cooling and lubrication.
A little anecdote:
Many years ago I spent a short amount of time gliding. The club that I was flying with were using some fairly old gliders that had a wooden skid which was more suitable for landing on grass. Most of the landings at this airfield were done on concrete. This meant that they were fixing steel strips to the undersides of the skids to take up some of the wear. Unfortunately these didn’t wear too well and it was constant work fitting new strips. Upon my suggestion we replaced these strips with a stainless steel plate, preformed to the curvature of the skid, expecting to achieve a longer life. This was certainly fulfilled.
Unfortunately there was a slight side effect. Because of the problems from abrasions on landing and a high surface speed it created a considerable amount of hardening. Causing the stainless to repel anything when there is a high surface speed.
Those who have ever flown this type of glider knows that it was useful to press down on the front of the gilder using the skid as a brake, as the brakes never worked well but to use the skid as a brake is bad form and bad for the skid. With the stainless steel on the skid the effect was like landing on ice! The club’s no 1 instructor, who was forever moaning about using the skids as brakes, overshot on his first landing with the new skids and got into an argument with some barb wire and a hedge. The club rapidly decided to do something about their poor brakes.
Face milling the bottom blank.
Showing the extremely rigid clamping fixture to ensure repeatability and regular thickness of this plane bottom. This is a lot more complicated than surface grinding.
(more…)
Showing the continuing work to this non-adjuster blade.
Work on the blades recommences now that they are back from hardening.
This picture shows one of the many grinding operations.
Even the snecks have to be ground on one surface before they are assembled.
(more…)
Some of the woods that I intend to use in the No 10. Although it doesn’t look at its best at this stage I am putting the picture up to satisfy an enquiry. There is ebony, box and rosewood.
This wood is very, very special. It is Pterocarpus santalinus. As it comes at a premium it will only be appreciated by those who are familiar with this wood.
I think I have been here before, though in a different application.
(more…)
No 10 smoother/mitre
A very patient customer asked me to make a small mitre plane. He wanted a 11/4” wide blade to be bedded at 25 deg and bevel up with a short body. No adjuster was required.
I would classify this plane as a smoother/mitre. The small mitre plane has always seemed to be surprisingly scarce for its usefulness. Having got my simple sketch approved the first batch is now well on the way (the sketch can be seen on the website here http://www.holteyplanes.com/).
It is a combined stainless steel bottom with naval brass dovetailed sides and brass lever cap and thumb screw. The blade is in my A2 original specification and has a top sneck. The length of the plane is 43/4“.
Despite its apparent austerity there will be no lacking in specification and quality. The designation will be No.10. Delivery will be end of November 2011.
What better place to start than the blades. Here are the A2 blanks being drilled and shaped. These are now away being heat treated (the only work to be done out of house).
Brass sides have been cut from sheet and trued up into rectangular blanks.
(more…)
Powered by WordPress