From the Workshop

April 22, 2020

Improved pattern mitre

Filed under: Specials — Tags: , , , , — admin @ 6:51 pm

Holtey improved pattern mitre plane, Norris and Spiers style. But with an adjuster

Lever cap for improved pattern mitre plane

Leadwood A11 Dec 06 g

Improved pattern Mitre plane showing bun

Image15 (1)

improved pattern mitre plane with adjuster, rear view

Image21 (1)

showing adjuster in it’s recess

Image6 (1)

Image2 (1)

April 17, 2020

No 10 Smoother plane revisited

Filed under: No 10 smoother/mitre — Tags: , , , — admin @ 11:47 am

No 10 small smoother plane. Metal component parts

IMG_0445

peining the dovetails showing the forming tools

IMG_0317

Showing various infills

IMG_0677

The finished No 10 smoother plane

CI3A1002

July 6, 2017

Window to my Workshop 115

Filed under: Drawings,No 983 block plane — Tags: , , , — admin @ 9:04 am

In conversations over the years I have always been praised for my (primitive) drawings as CAD is the way now. (See the dinsaour card on my Facebook page – thank you David) I have never had to time to learn CAD. The hardest thing was to learn an early Heidenhain control unit for my mill. I am just starting a new batch (yes, I know I am supposed to be retiring :-) ) of these No 983 planes, mainly because I sold the last one which was mine, I am going to use this opportunity to explain some of the workings in more depth. Maybe because I am getting older the work seems to expand but I have never allowed economic restraints to get in the way.

Going back through some of my drawings, which are very untidy, I decided to post some up. Starting with this side layout of the No 983 – warts and all. This is how I work and then I have to convert it into a suitable dialogue for my Heidenhain. Luckily I am the only person who has to understand this.

No 983 outline 1

August 14, 2015

Window to my Workshop No 96

Filed under: No 984,Window to my workshop — Tags: , , — admin @ 5:08 pm

It is always tempting to rush off to the next stage, like the bottoms. But once the side profiling is complete there are still quite a number of other operations to be completed and these sides just scream to be finished. The polishing of the sides is a major undertaking and it eats up a lot of my time.

Holtey No 984 w

I use four abrading grades and at each stage everything is continually blued which helps me avoid any form corruption.
 
Holtey No 984 x

With a few purpose made spacers I am able to keep the edge polishing true and sharp without any deformation.
 
Holtey No 984 y

It could be embarrassing to mention how much time this operation takes but if perfection is required …..
 
Holtey No 984 z

These sides are now waiting for stamping and another surface grind on the inside faces, for its final texture.
 

January 28, 2015

Window to my Workshop 86

Filed under: A28 — Tags: , , — admin @ 3:23 pm

Despite having some part made infills which had been drying for 20 years, I decided that I preferred this piece of rosewood (which has also been in my workshop for a long time, and I have very little left) – Dalbergia Cubiquitzensis – it has more ‘bling’ :-)

I am in the process of making a small batch of these planes, which will include this rosewood, Boxwood and a mystery wood – photos soon.

CI3A1383

January 16, 2015

Window to my Workshop 83

Filed under: A28 — Tags: , , , — admin @ 3:12 pm

Progress on my A28 Chariot Plane

Holtey A28

This picture shows some idea of all the work that goes into this plane. Unless you have done it yourself you can never imagine the effort and thought that goes into making this Chariot. This plane is made to a standard light years beyond its original counterpart made by Norris.

May 13, 2014

Window to my workshop 78

Filed under: A27 Bullnose,Window to my workshop — Tags: , , — admin @ 12:09 pm

Blades for the Bullnose plane


Holtey Bullnose 9
 
Cutting the blade bevel


Holtey Bullnose 11
 
The blade is secured by its adjusting holes etc, in a purpose made holding block, for profile milling.


Holtey Bullnose 13
 
The milling is coming to an end of the first cut.
 
 
Holtey Bullnose 15
 
The finishing cut.
 
 
Holtey Bullnose 16
 
Profiling complete, with just the side bevels to be done. This is a quick summary of some of the blade work.
 
 
Holtey Bullnose 17
 
A picture of the main components ready for assembly. It has been a long time getting here. It is just like climbing a mountain – you keep seeing false summits.
 

February 10, 2014

Window to my Workshop 76

Filed under: A27 Bullnose,Window to my workshop — Tags: , , , — admin @ 12:29 pm

A27 pic1
 
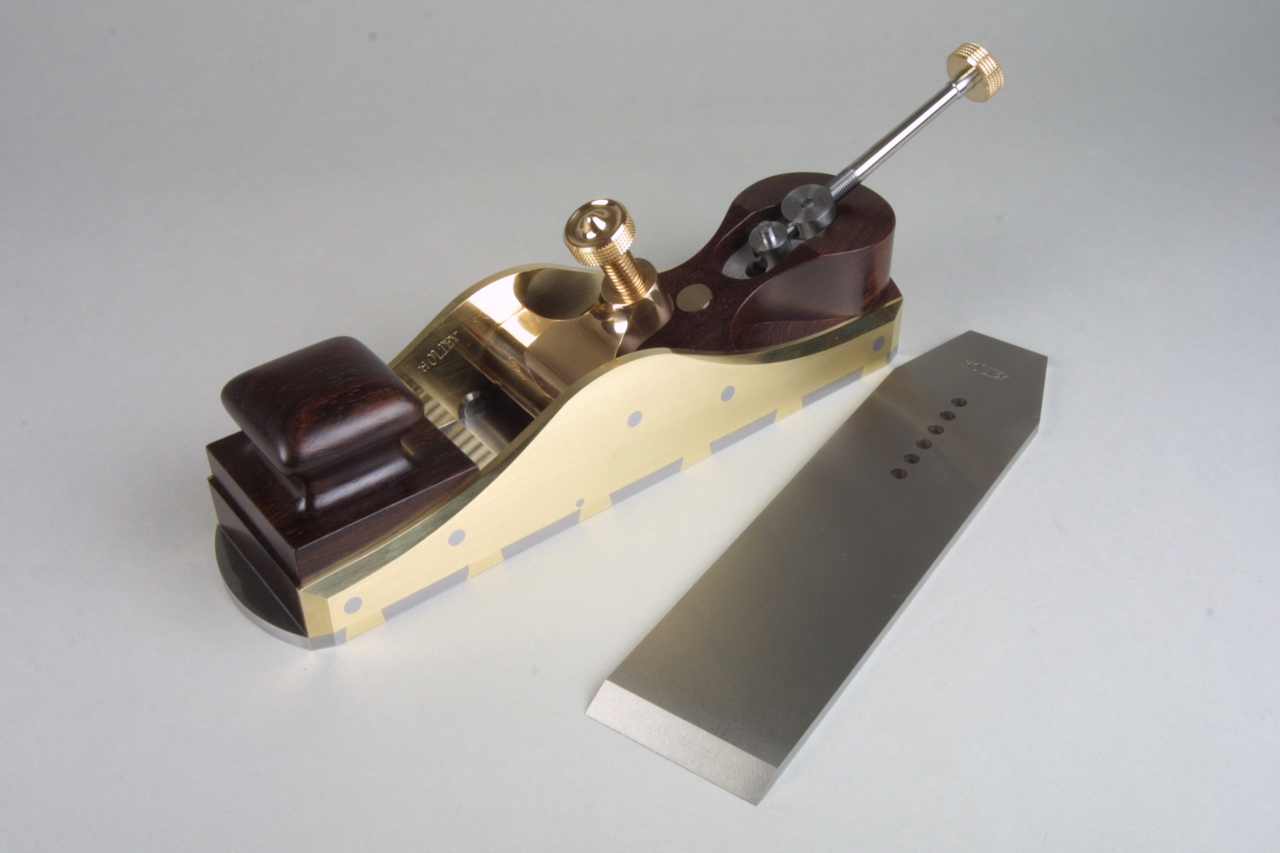
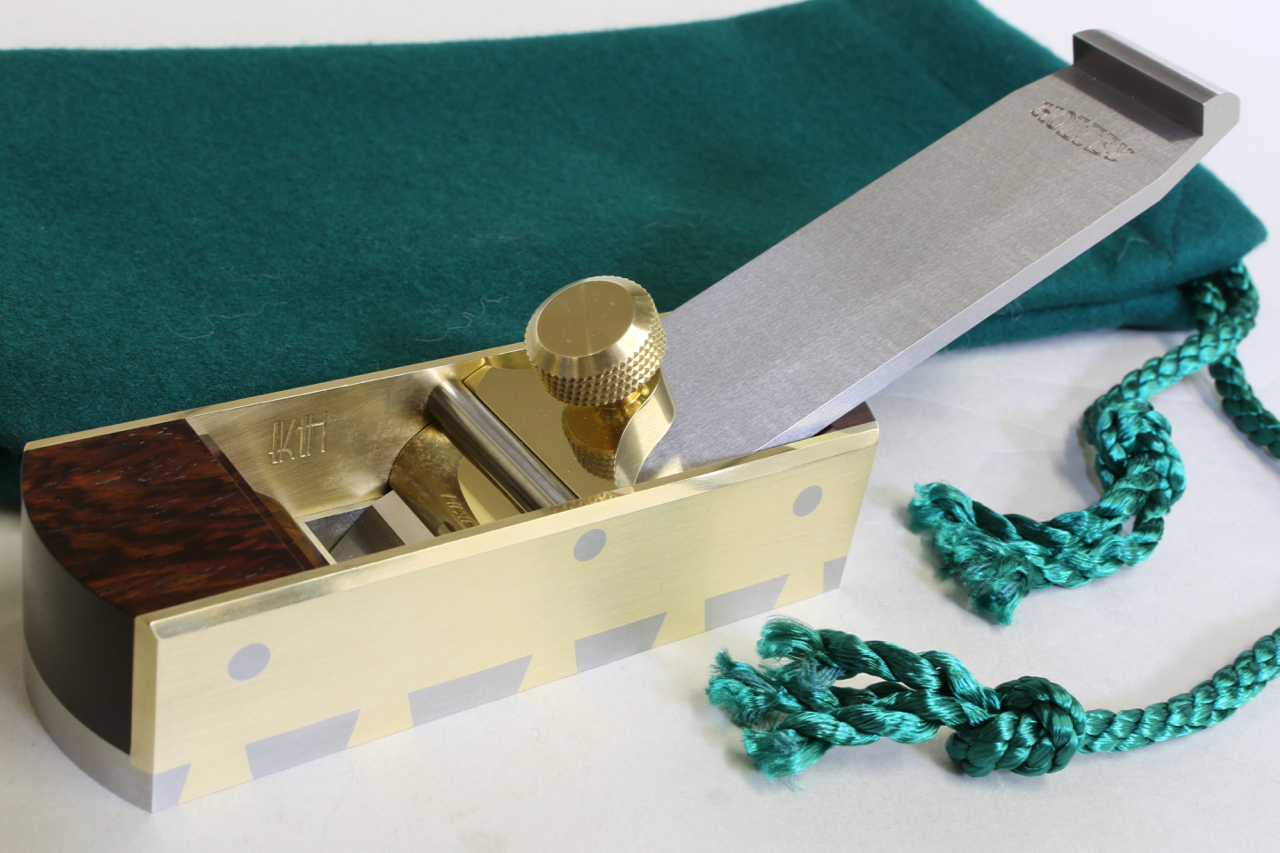
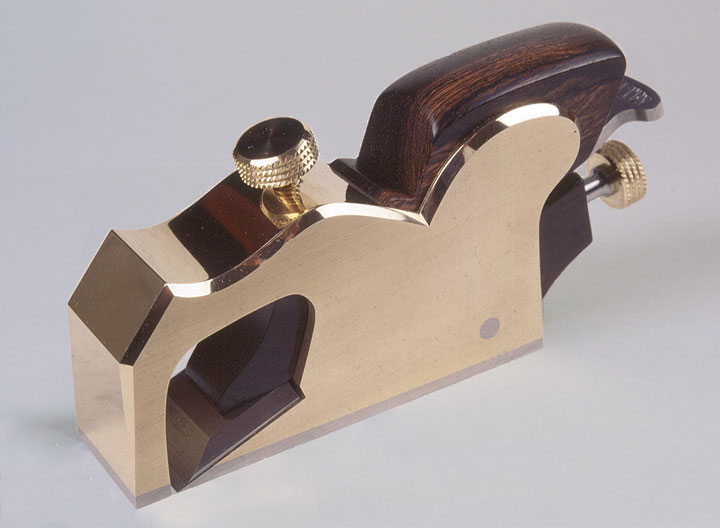
This is one of only six A27 Bullnose planes I made many years ago. This was made by casting as were the original Norris. There were one or two downsides to this method of production so for some time I have been contemplating making a fabricated version using traditional dovetails. Now that time has arrived. It will be a limited edition, and as you will have realised I am moving away from traditional infill planes so unlikely that I will make these again. This is the second plane in the set of three low angle planes I have been making for some of my customers – A27, A28 and A31.


A27 drawings

 
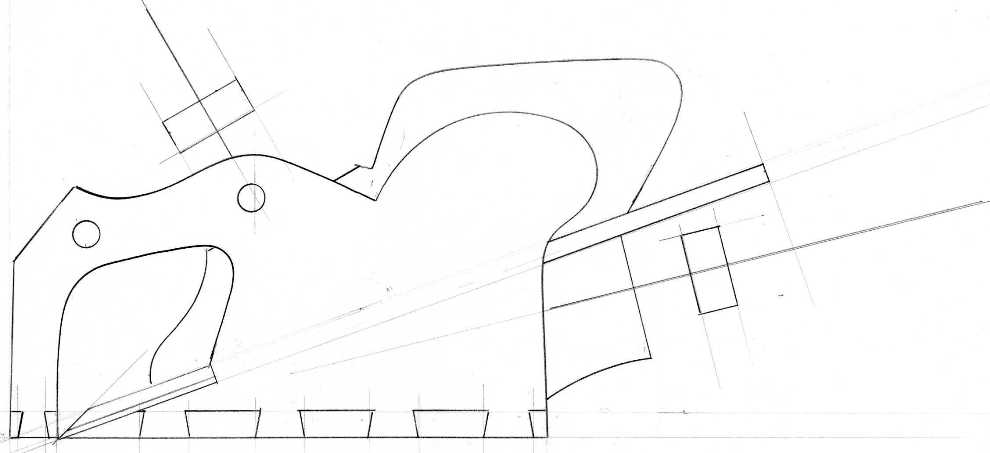
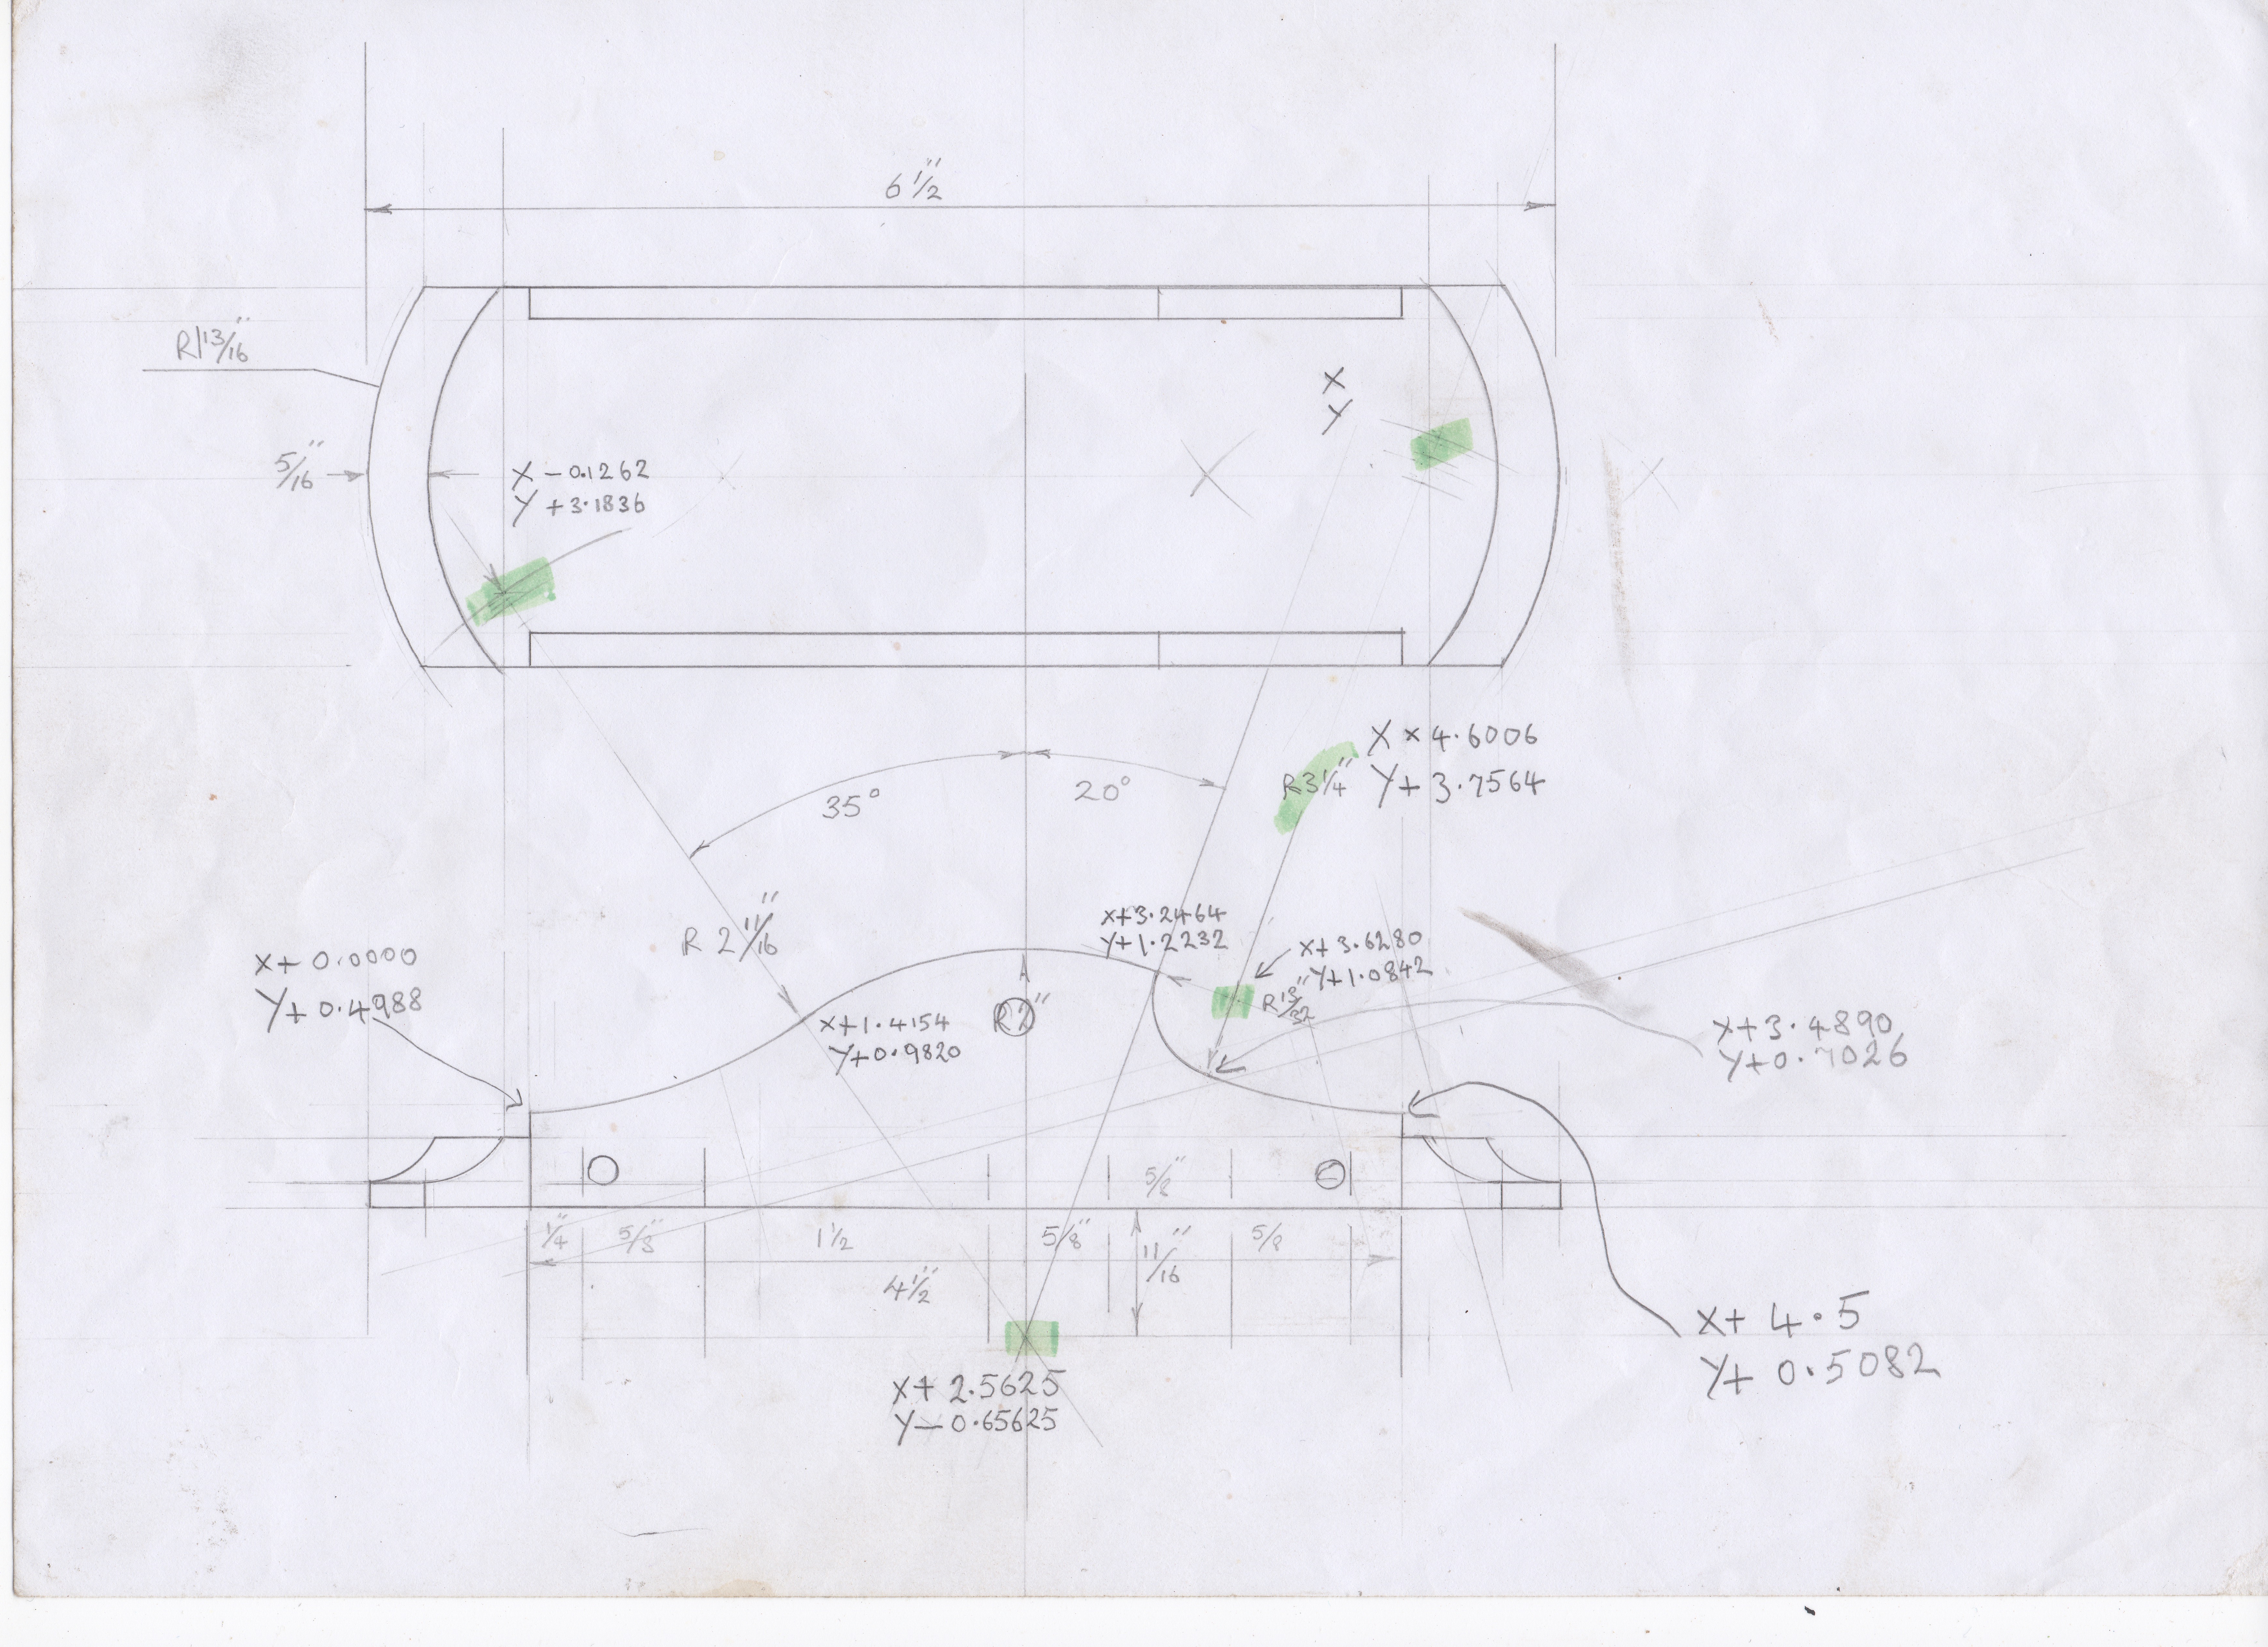
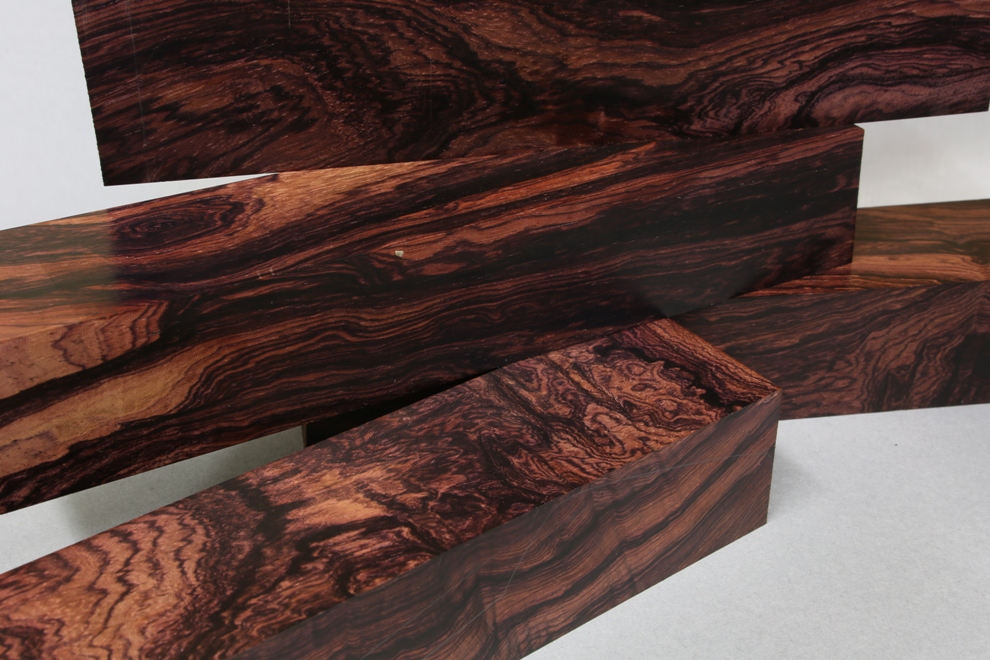
A quick line drawing of the proposed plane. This is being made with naval brass sides (CZ112) and malleable cast iron for the bottoms, fore-end and bridge sections. I will be using a traditional wooden wedge and the adjuster housing is also rosewood. To my knowledge a Bullnose plane has not been made since Norris’s time in the 1920s – when it cost 23/- (shillings). I shall have to charge a little more. I have also moved the goalposts in regards to quality and precision.
 
 
O
 
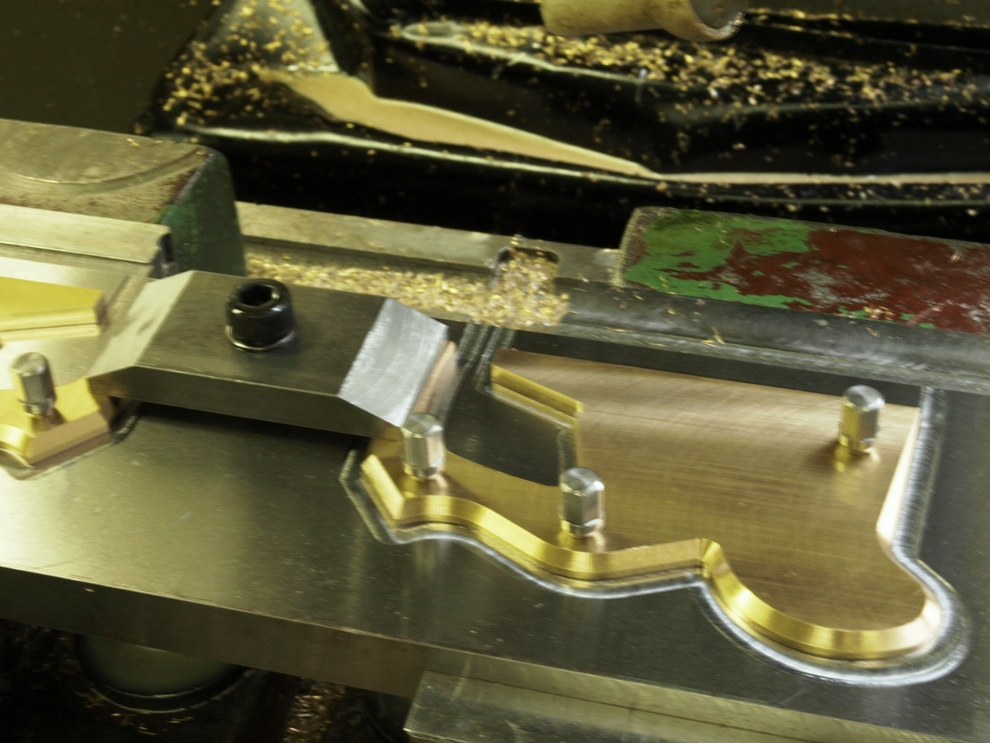
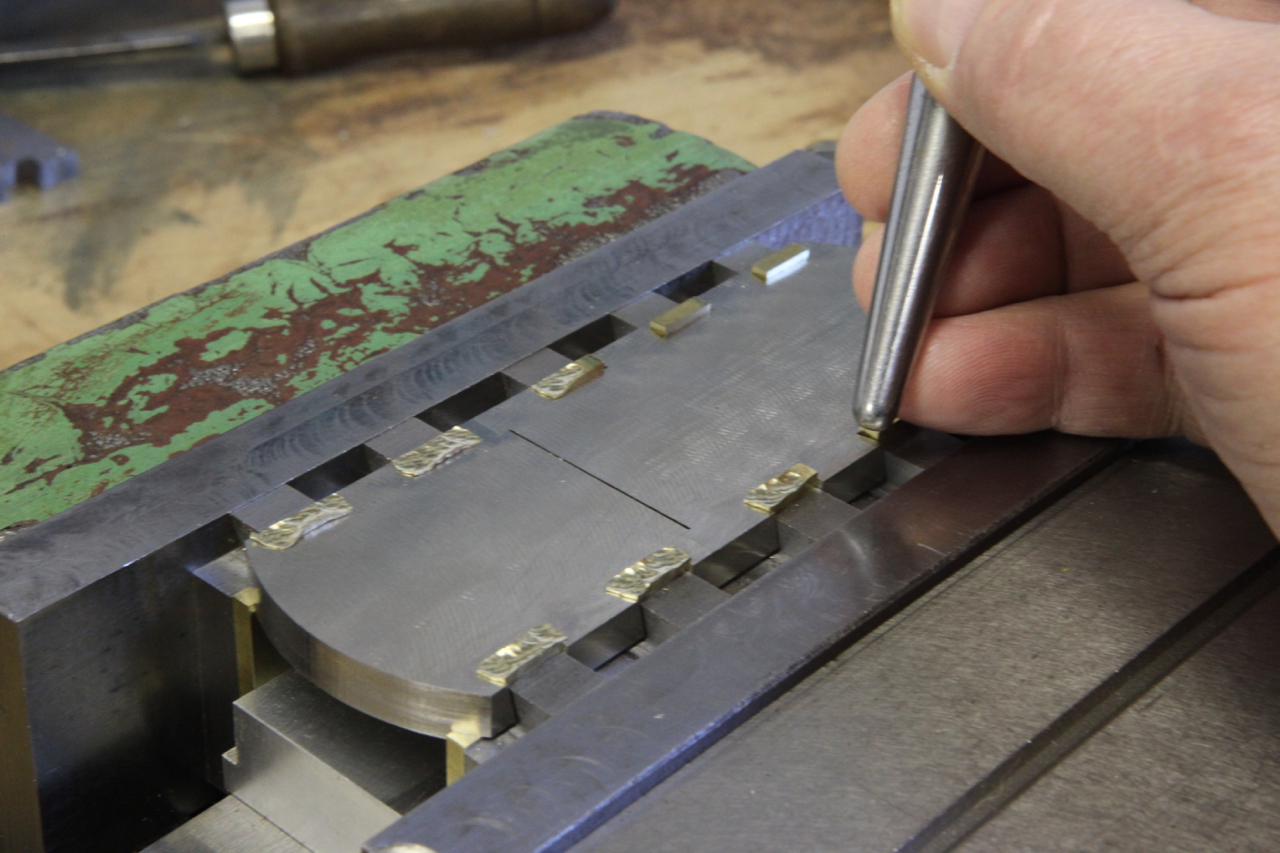
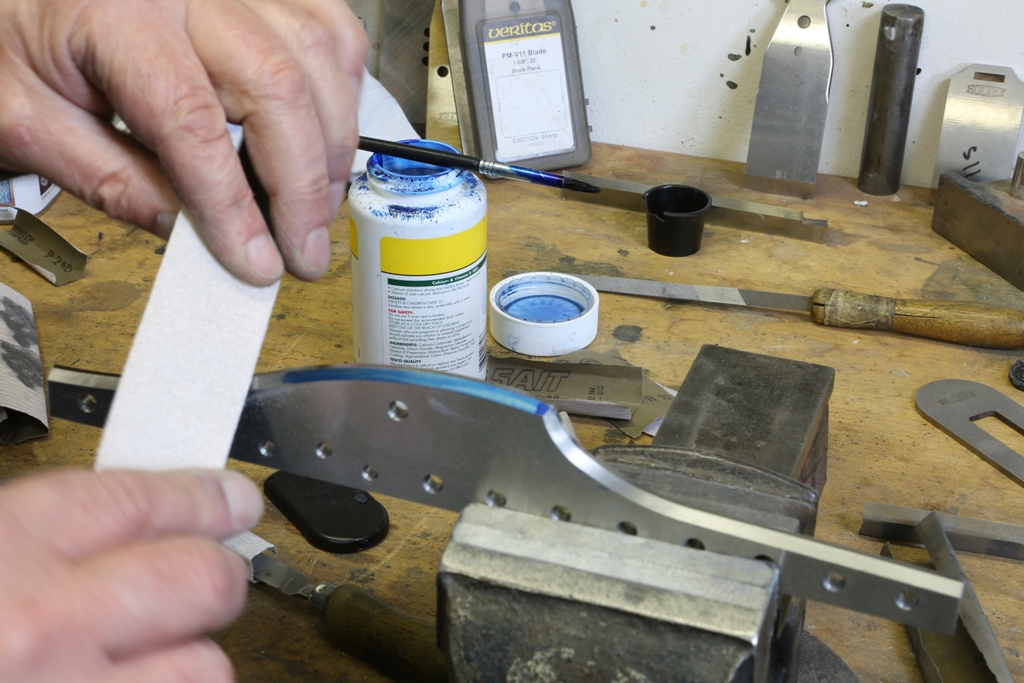
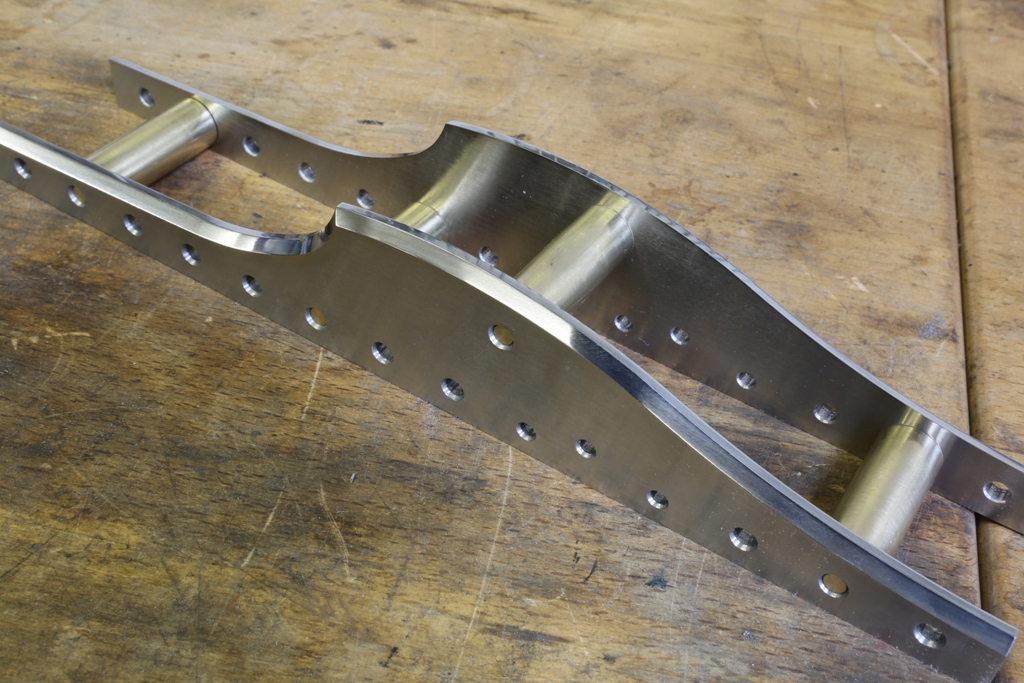
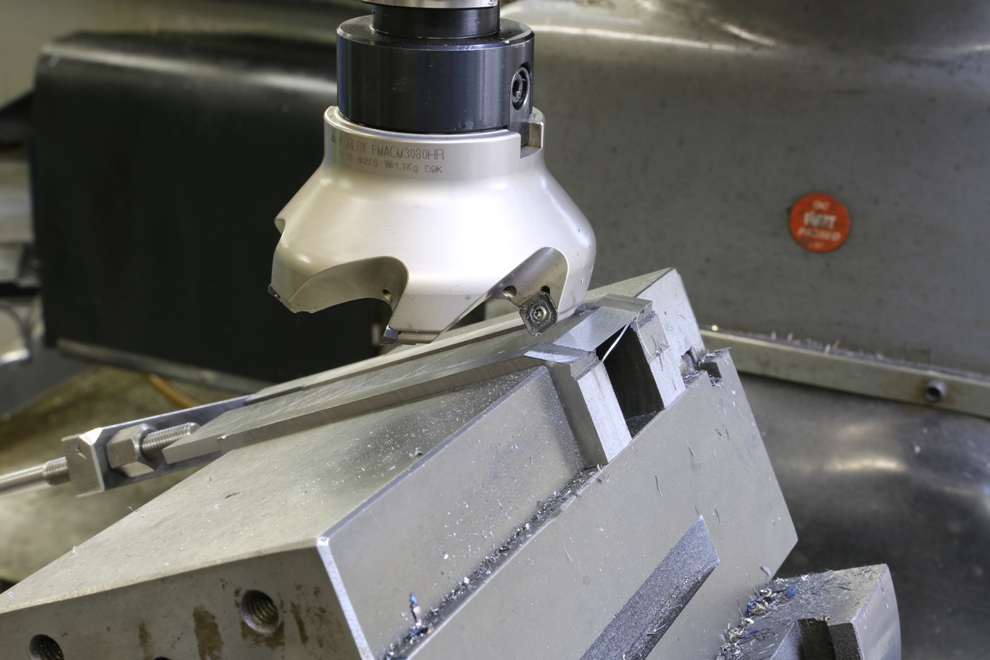
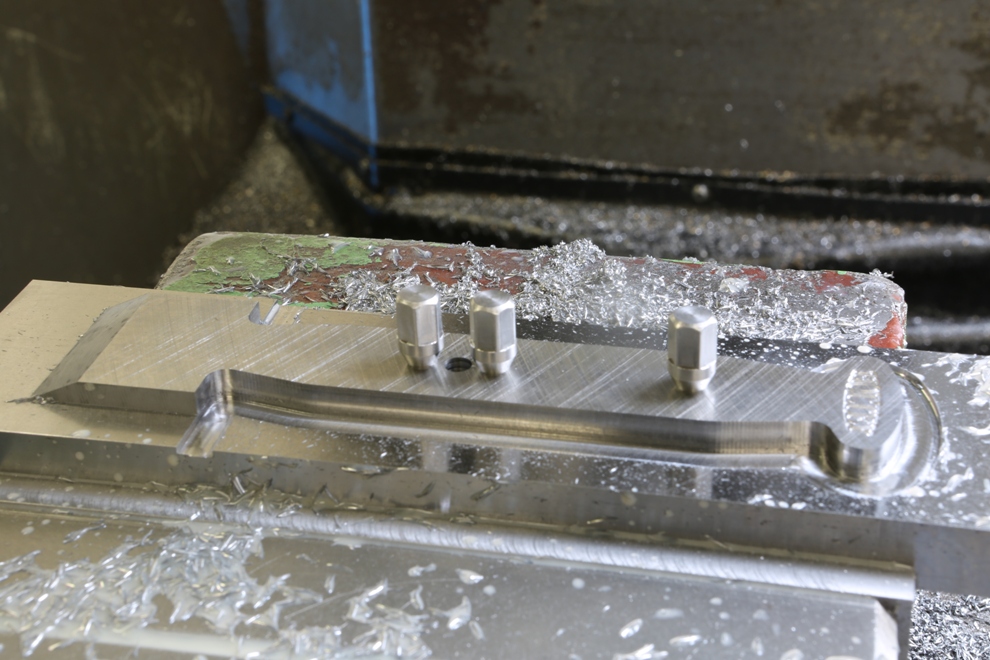
The sides being routed on the CNC mill. All the precision work holding tools and jigs I made myself before starting this. Every plane I make has individual jigs and work holding which are surface ground to a high precision. My tool room has been built up over many years and is, I believe, the only one of its kind. You will not find this standard of precision anywhere else.
 
 
O

 
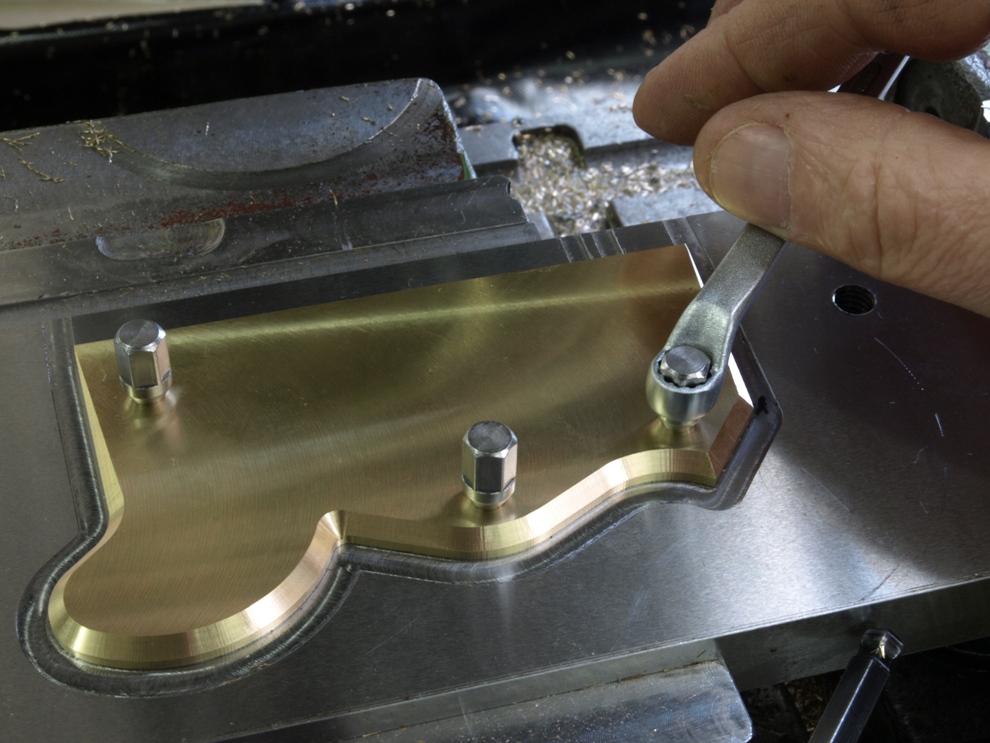
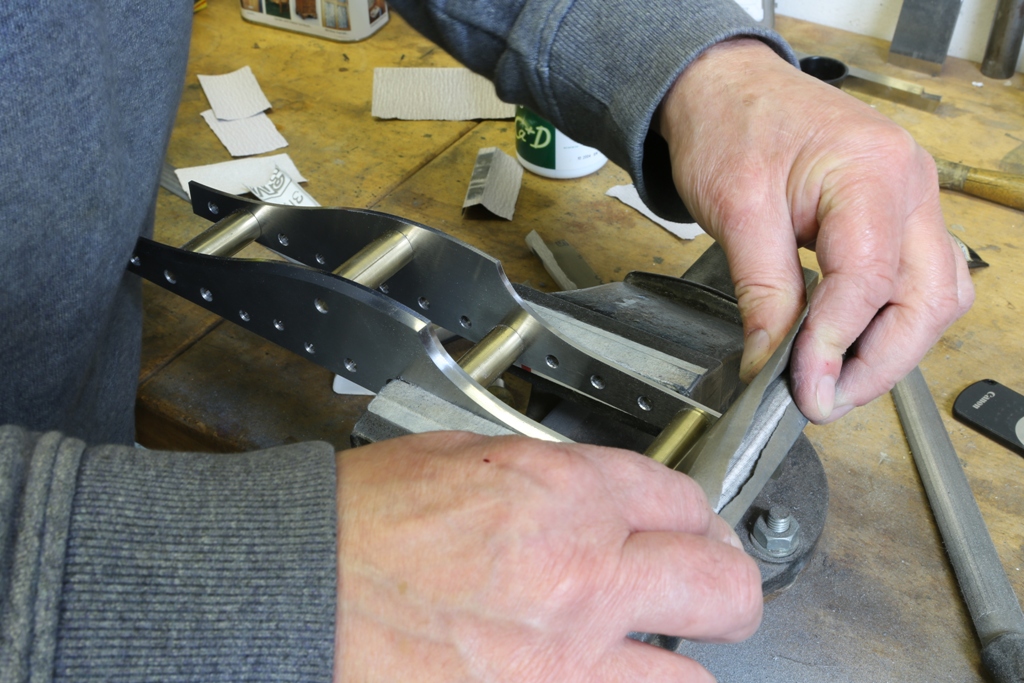
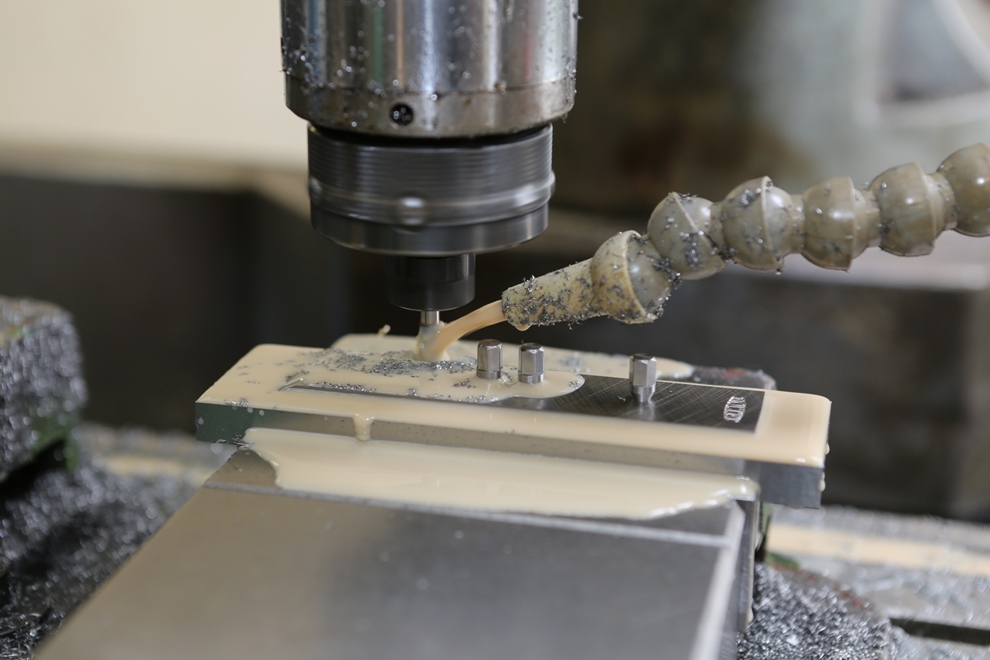
The riveting holes, include a 60 degree chamfer, which provides the jig fixing and positive location.
 
 
O
 
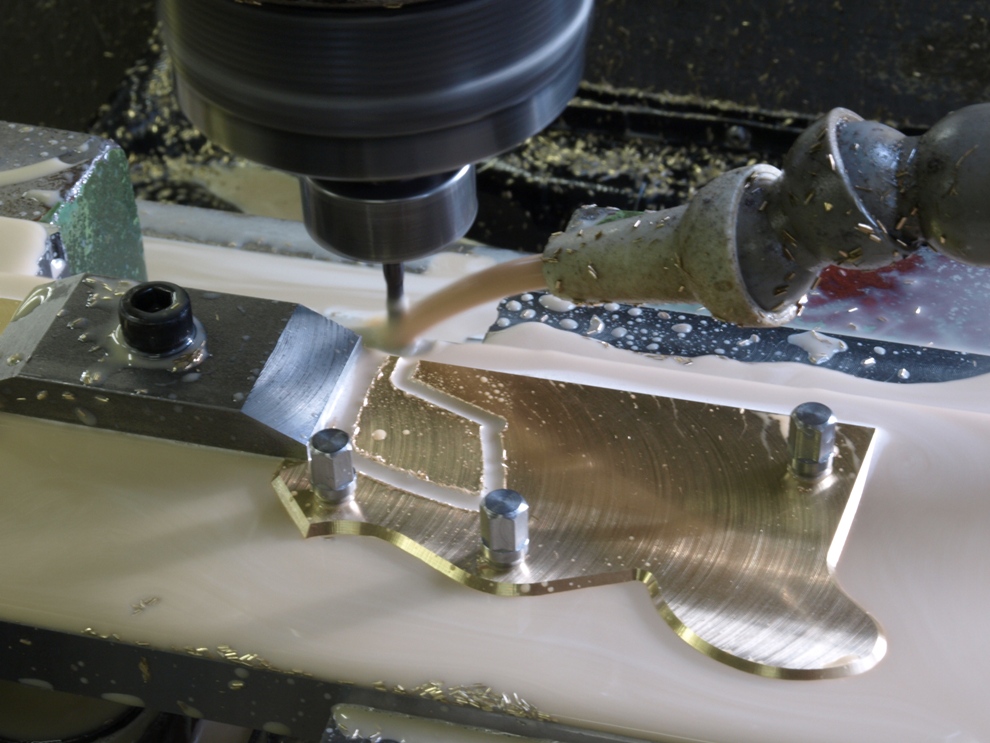
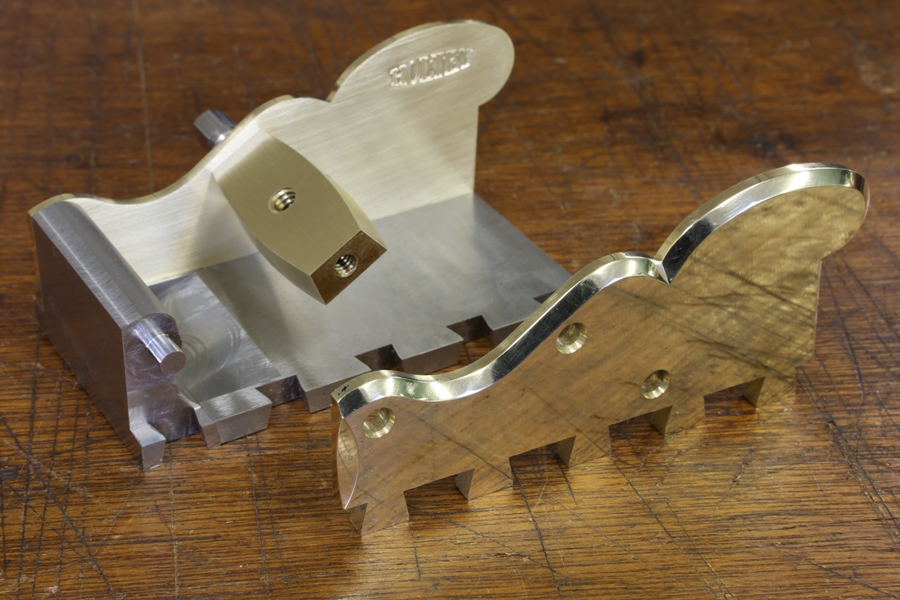
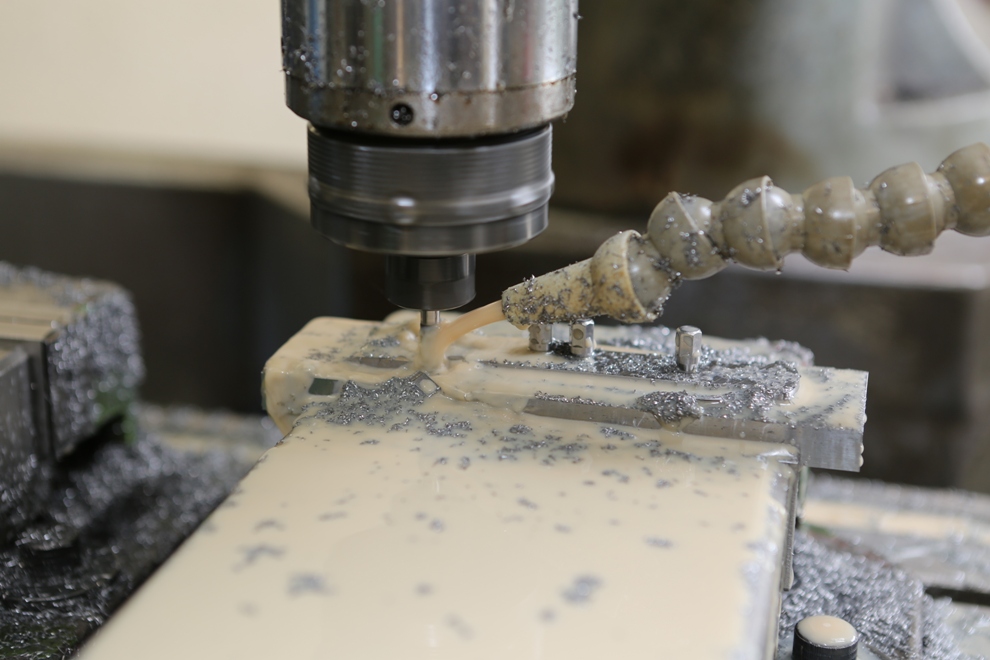
The mouth being cut out last as a separate job as it needs an additional clamping to support the front end – which can be seen to the left hand side of the picture.
 
 
O
 
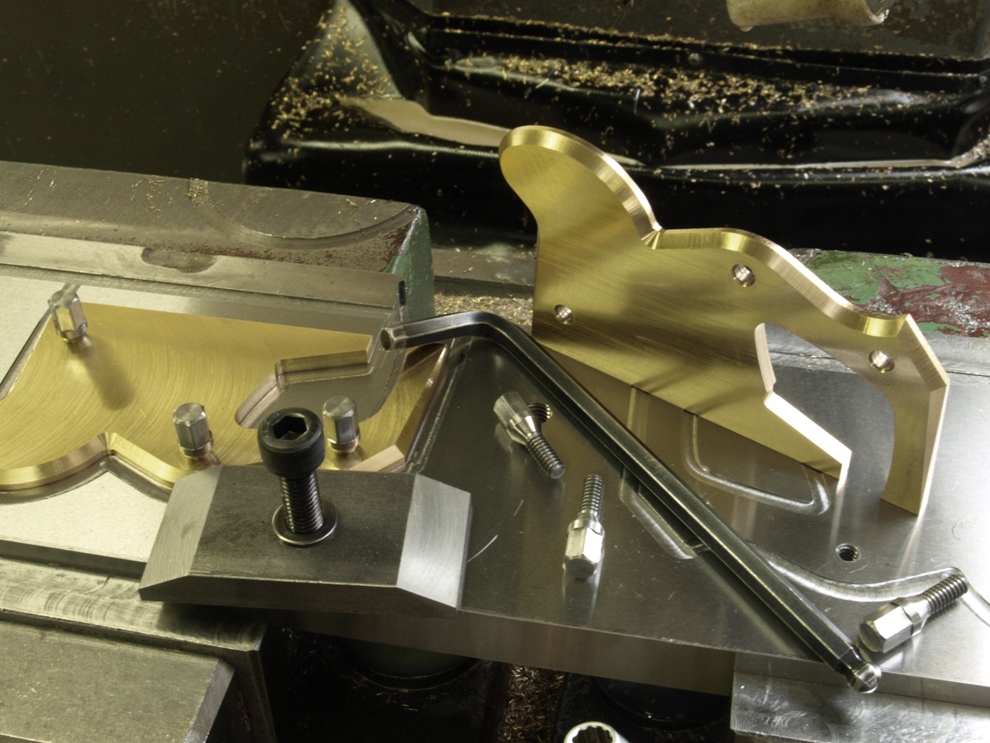
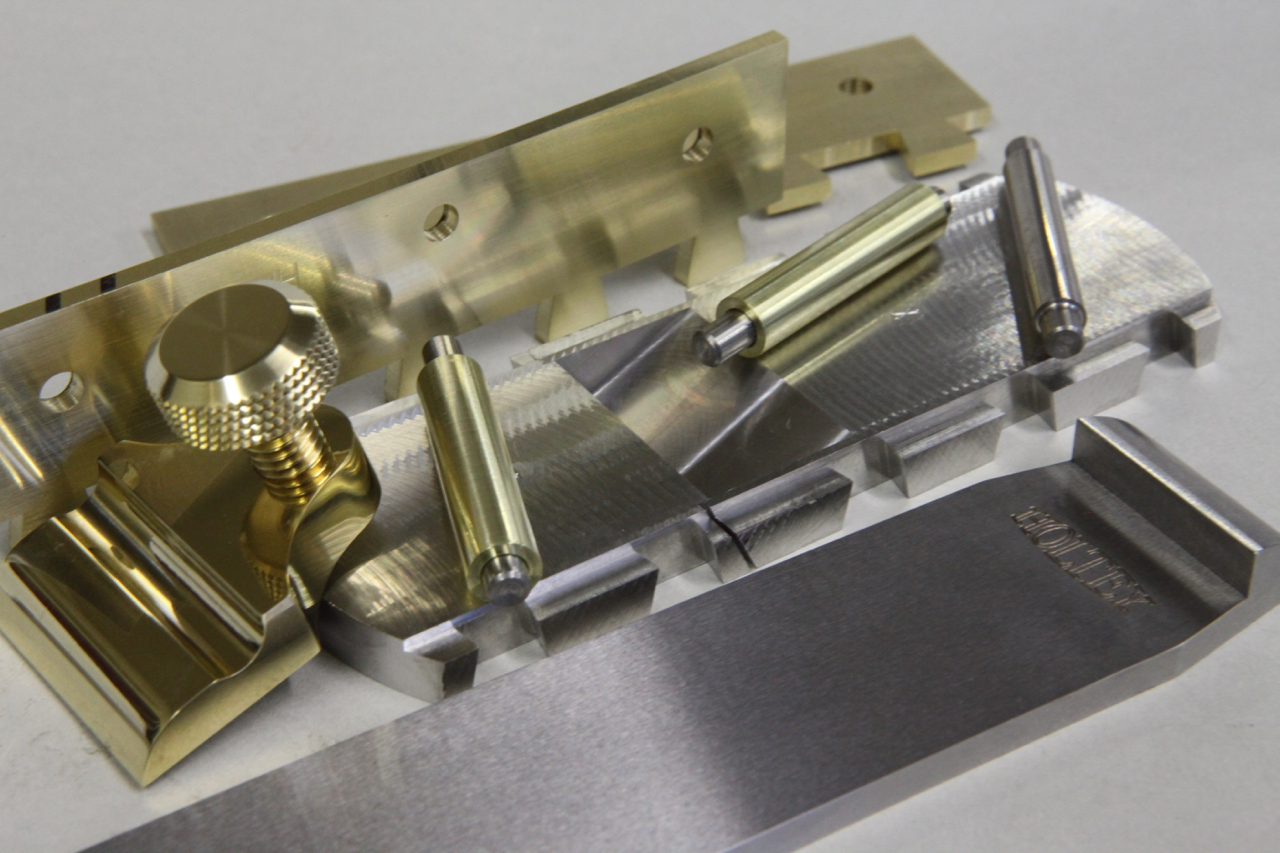
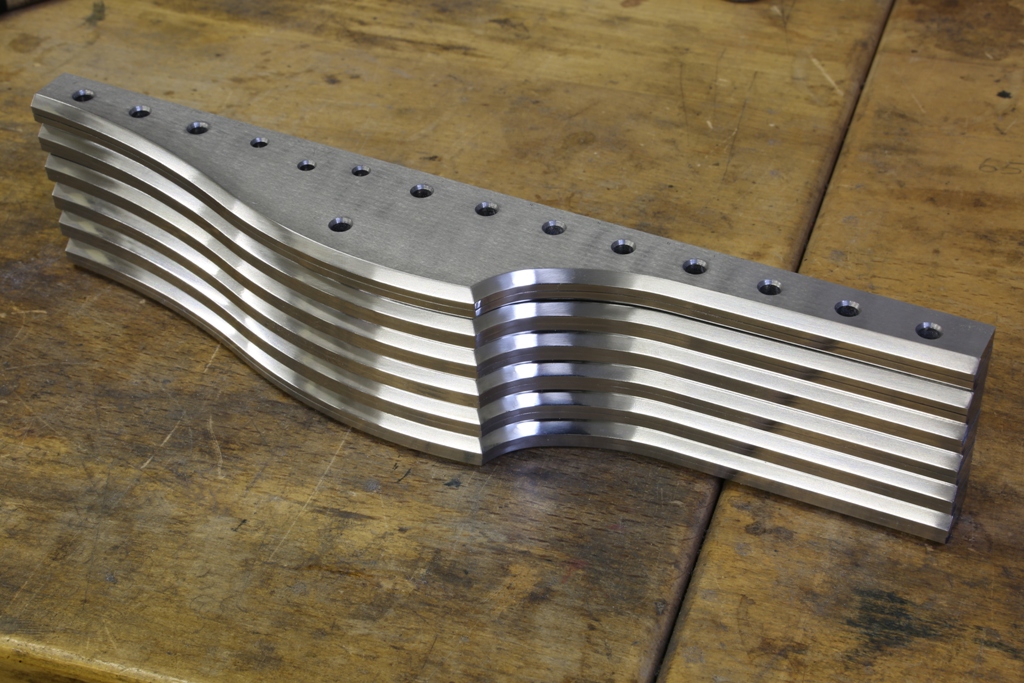
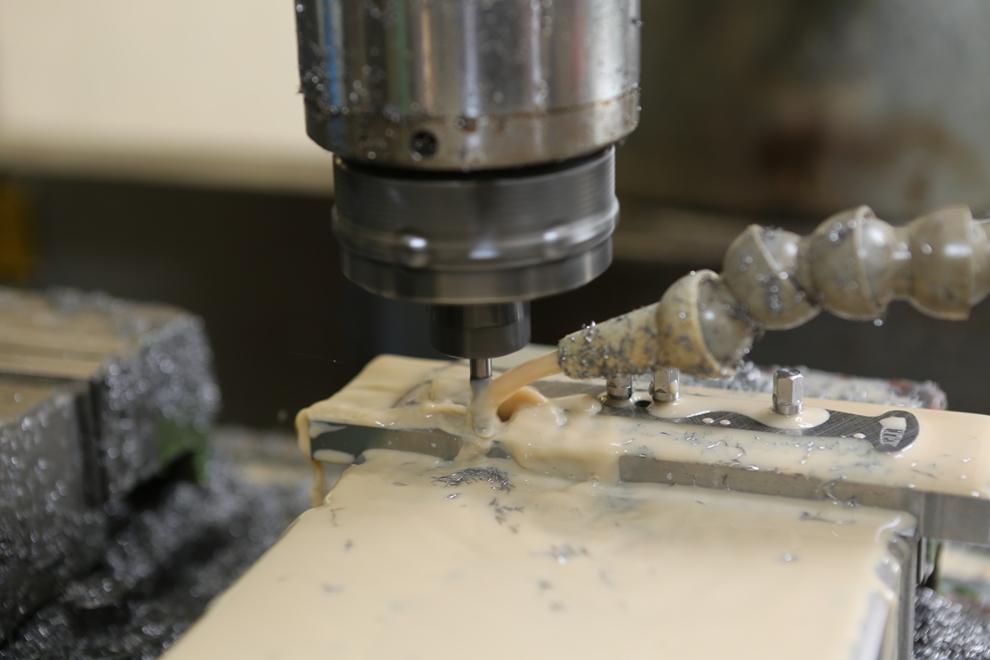
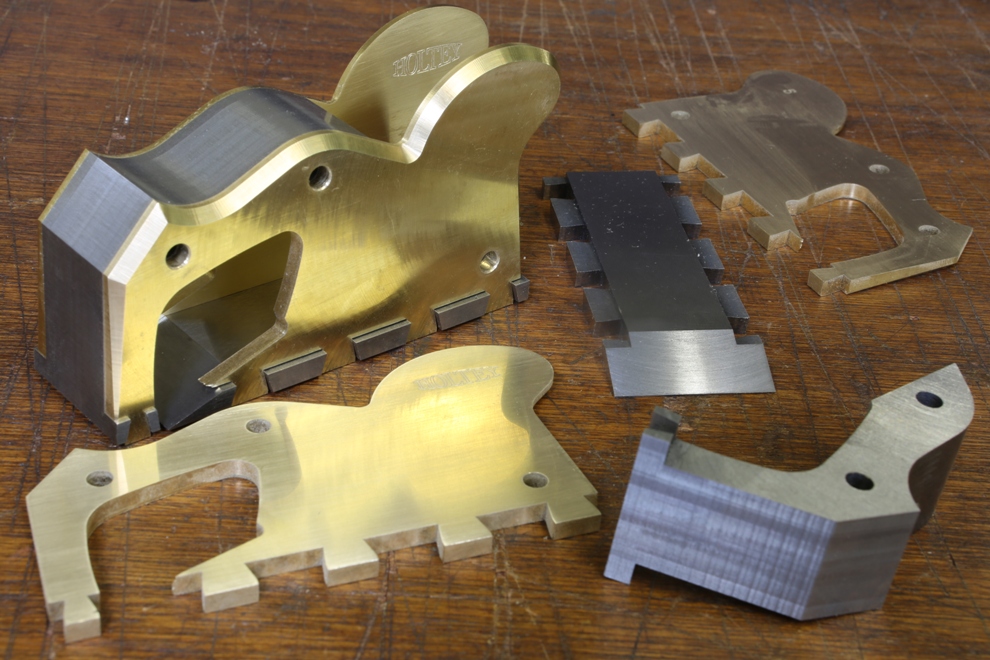
Here is the finished side except for the dovetailing. It includes its mirror partner completing the pair.
 
 
As usual to be continued when I next have an opportunity.

September 5, 2012

New Project – A31 Thumb plane

Filed under: New Projects,Window to my workshop — Tags: , , , — admin @ 4:01 pm


Selected wood for my next project – A31 thumb plane (probably the last batch)


Best part of the metal work well on the way

October 17, 2011

Window to my workshop 55

No 10 smoother/mitre

A very patient customer asked me to make a small mitre plane. He wanted a 11/4” wide blade to be bedded at 25 deg and bevel up with a short body. No adjuster was required.

I would classify this plane as a smoother/mitre. The small mitre plane has always seemed to be surprisingly scarce for its usefulness. Having got my simple sketch approved the first batch is now well on the way (the sketch can be seen on the website here http://www.holteyplanes.com/).

It is a combined stainless steel bottom with naval brass dovetailed sides and brass lever cap and thumb screw. The blade is in my A2 original specification and has a top sneck. The length of the plane is 43/4“.

Despite its apparent austerity there will be no lacking in specification and quality. The designation will be No.10. Delivery will be end of November 2011.

What better place to start than the blades.  Here are the A2 blanks being drilled and shaped.  These are now away being heat treated (the only work to be done out of house).


Brass sides have been cut from sheet and trued up into rectangular blanks. 
(more…)

Older Posts »

Powered by WordPress