I have been quite impressed about some of the comments on forums about my T21 plane and I would like to make my contribution to these discussions.
There was a reference made about the brass kicker pads being in the wrong position i.e. cutting through one of the dovetails. I have to assure everyone that I think long and hard about the positioning of everything. Sometimes I can ponder over these decisions for months. This kicker pad is there to assist in the lateral positioning of the blade, which works in conjunction with the adjuster. In the case of castings there was usually a pip in the pattern to do this job. The kicker only has to endure very light side pressure. However its positioning is important if it is to be effective.
An interesting comment, on my blog, was that someone noticed the positioning of the five pins in my spider hub and worked out the reasoning.
The most interesting point is discussion on the stability of wood. When it comes to wood stability we will always be losers. I have always had a fascination for transitional planes probably because I am more of a woodworker than engineer. Where possible I like to combine woodworking with metalworking. Engineering is not always all about metal. However, for stability and reliability metal will always win.
The reason I decided to laminate the sole is so I could chose a light weight wood for the body, something pretty like the quilted maple, and laminate it with a harder wearing wood. With laminating in this application straight forward bonding would not have been sufficient because of the oils in the wood I chose for the sole. This is the reason for using the jointing system like ECE have on their primus planes, except I chose to dovetail whereas ECE had a tongue and groove system.
The difference in movement in different materials would be cross grained and most of it will be tangential. Over a distance of 3 3/8” it should have a minimum effect. Whether these dovetails run at right angles, longitudinal or diagonal I would think would be irrelevant and it would seem that it hasn’t affected the ECE planes. The use of the dovetail joint is it is more positive than the tongue and groove and of course there is just that little bit of vanity.
I feel that I have made some inroads with the fittings that I designed, and I would like to make this plane again in smaller sizes and in a one piece stock i.e. without the laminated sole.
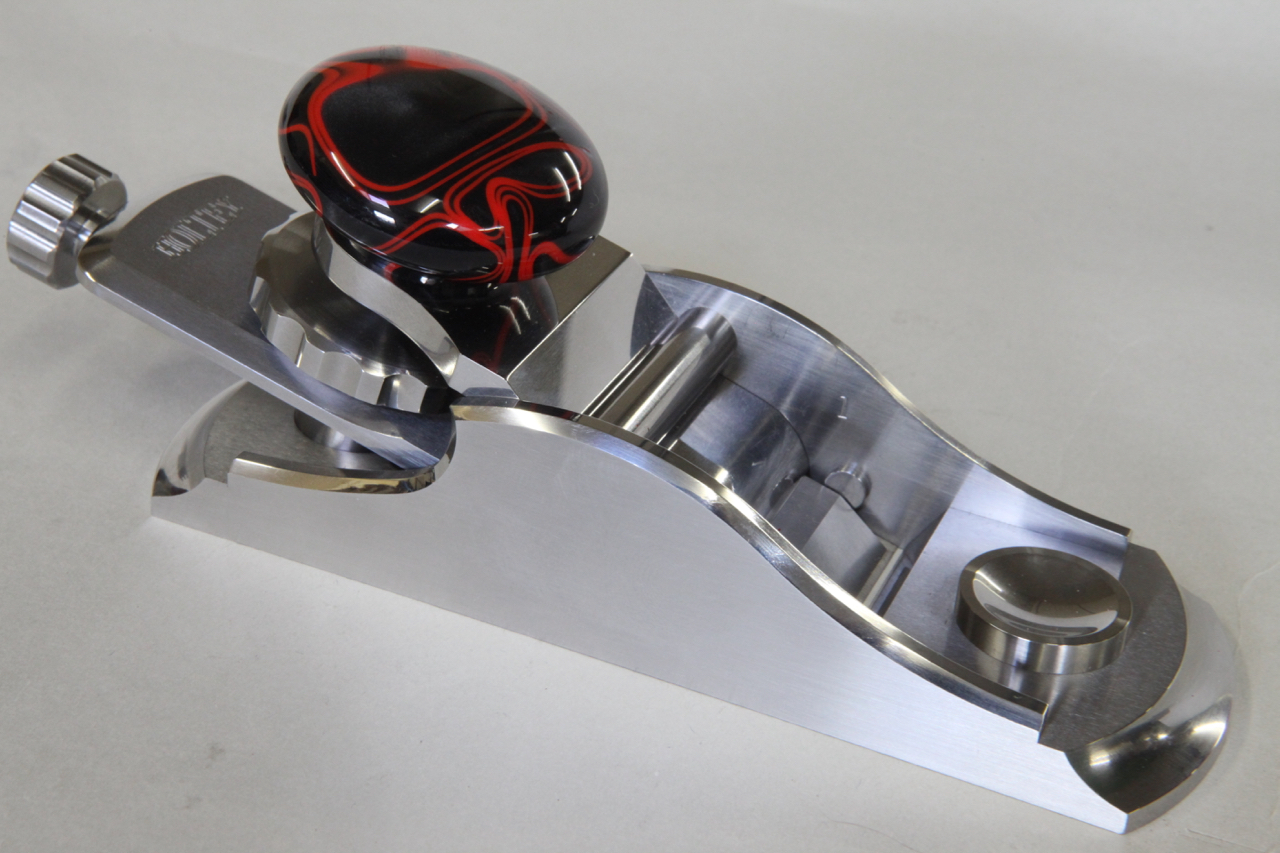
Dovetailing v peining v screwing v in situ doweling
Lets start with dovetailing. The effectiveness of a dovetail must be compounded so that you show a dovetail form on two sides. That means you are going to have a void on one side which will need filling. You will need a bit of extra material left on the ends of the pins and dovetails. This means you have to move the metal around by peining to fill the voids. You have already picked up on my pinch formers and the clamping plates which are made to fit inside the dovetails. All that peining is going to push a lot of things around. Another problem is that there is going to be pressure along the line of dovetails which will then convex the sole. If it doesn’t then you are not peining it hard enough, you want to stuff as much material as possible into those voids. There are good and bad dovetails around. Once everything is all snug and finished there will be a lot of material to flush away and the bottom needs to be flattened on the mill. Also the sides need to be treated in a similar way. I don’t know how far other people go with their dovetailing but this is how I do it. You will notice how true each tail is. All lines are straight and sharp. The former is kept parallel and is the same width as the pinch sides of the bottom. In my language this is a F******g load of work.
There are two other options. One of these is to form dowels in situ on the bottom which has to be a very accurate process to match with the corresponding holes on the sides. This process needs to be done on a CNC. All in all the work is probably equal to the dovetailing as the peining is a very boring process and has the same effect of causing a lot of pressure with the same problems as above. i.e. you are putting in a lot of stress.
Screwing – is probably a little more work as I am not going to buy a box of screws out of a DIY shop – they are purpose made by me. They have a counter sink angle of 40 deg unlike the 90 deg on a standard screw. Also the screw requires a plain shank as a positioning reference. The heads of the screws need to have a positive drive as they are going to be to a required torque. The angle of the countersink has to be tighter at the top than at the bottom. So as they tighten there will be some metal displacement so there will be no gaps or joints showing. Each screw is then thread locked. With this stage complete the heads can be cut off and the body is then milled true. There is more work in making each screw than one dovetail. But this process has a plus factor by not loading the chassis up with stress.