The pictures don’t do justice to the time spent on every little operation. Although I have taken many photographs along the way I don’t have time to document every little stage. The effort for every detail can seem a bit over the top, and I make little revisions all the time – the overall design will still be as the posted line drawing.
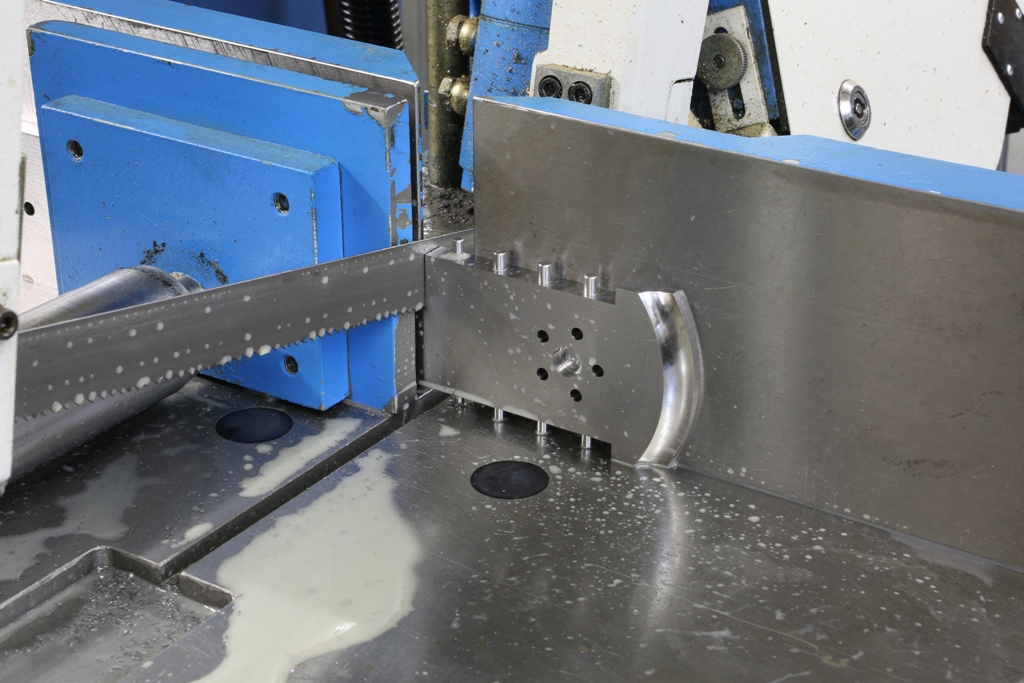
This is a nail biting moment, once I start cutting there is no going back. I can take hours double checking before I separate the toe from the the rest of the sole.
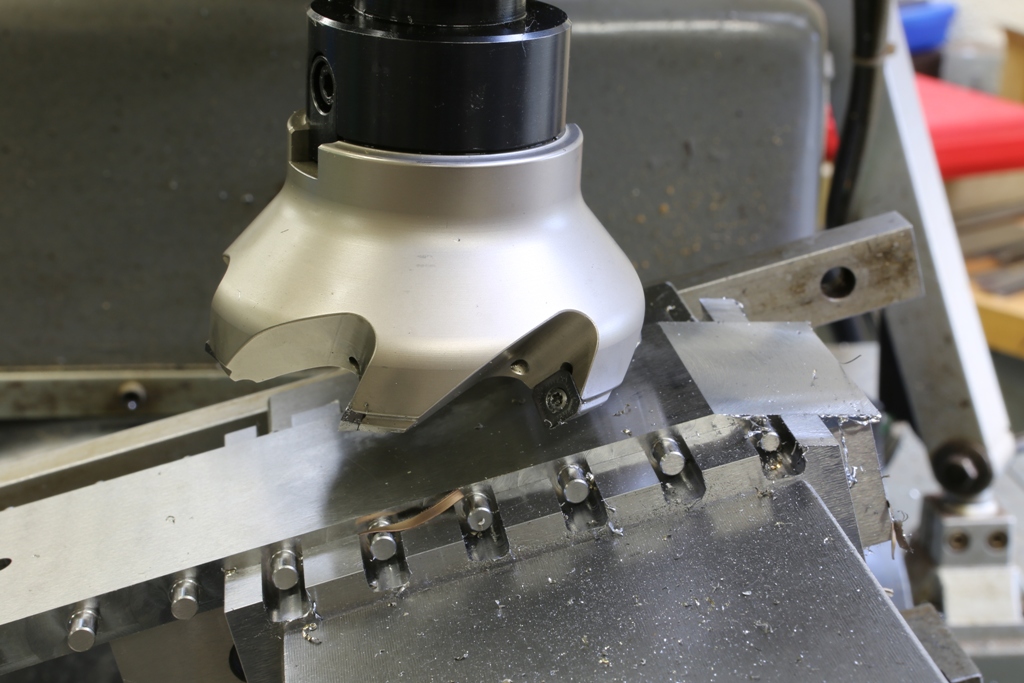
Here I am milling the blade bed. The rest of this operation hasn’t been photographed as I covered this in the No 983 blog and it is almost identical as are the adjuster recesses. You can see that the work holding vice jaws are purpose made just for this plane. This enables me to get a firm grip.
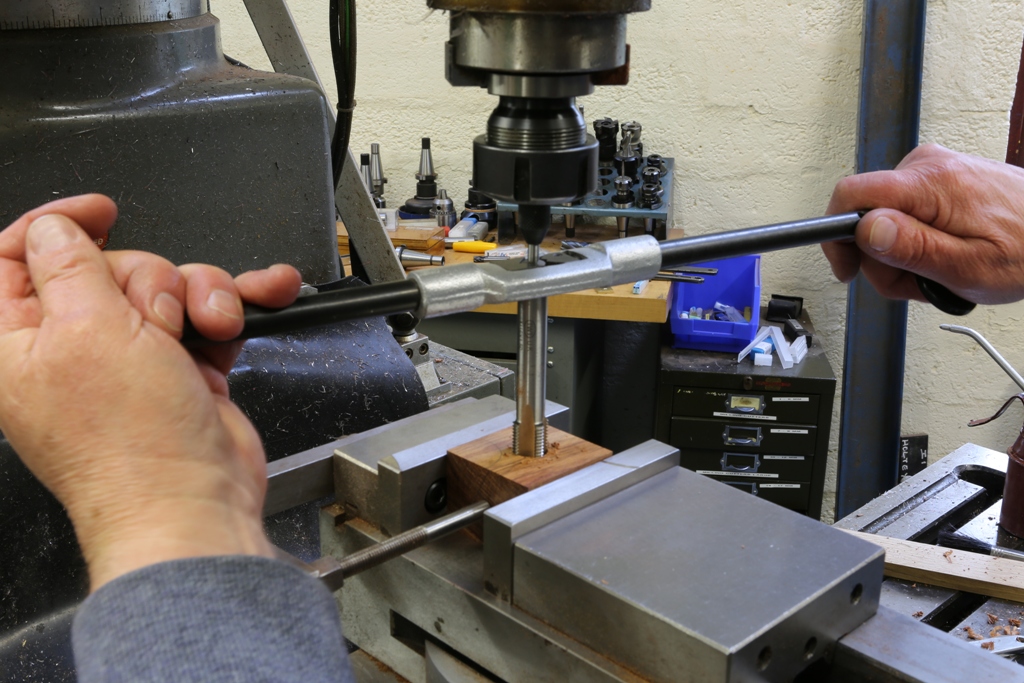
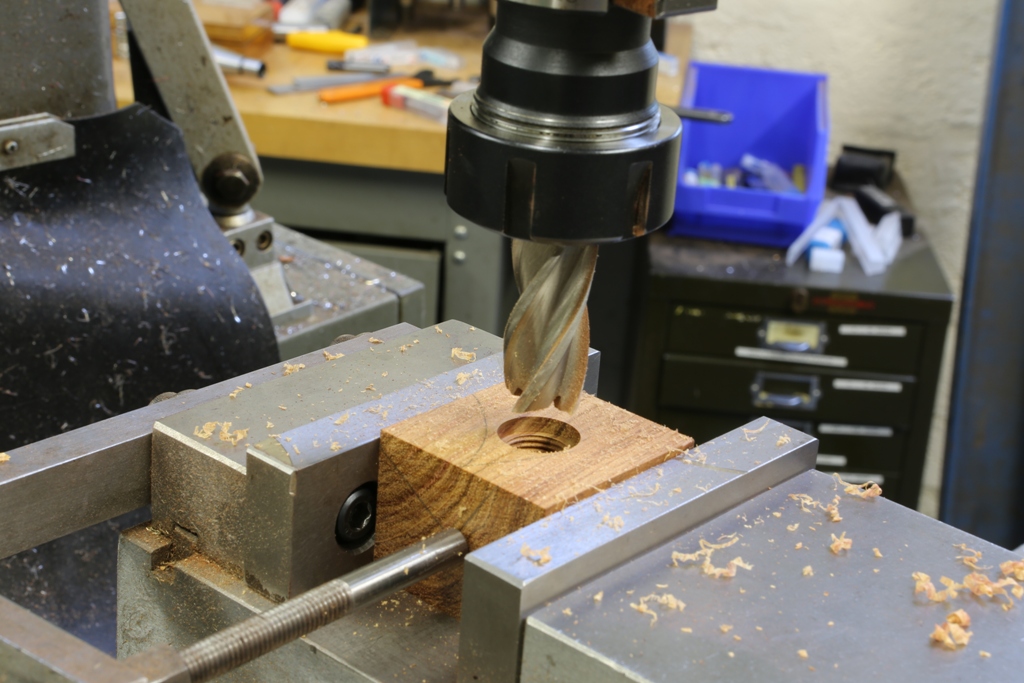
All my buns start off as a true square block. All drilling, tapping and recessing is carried out on the mill
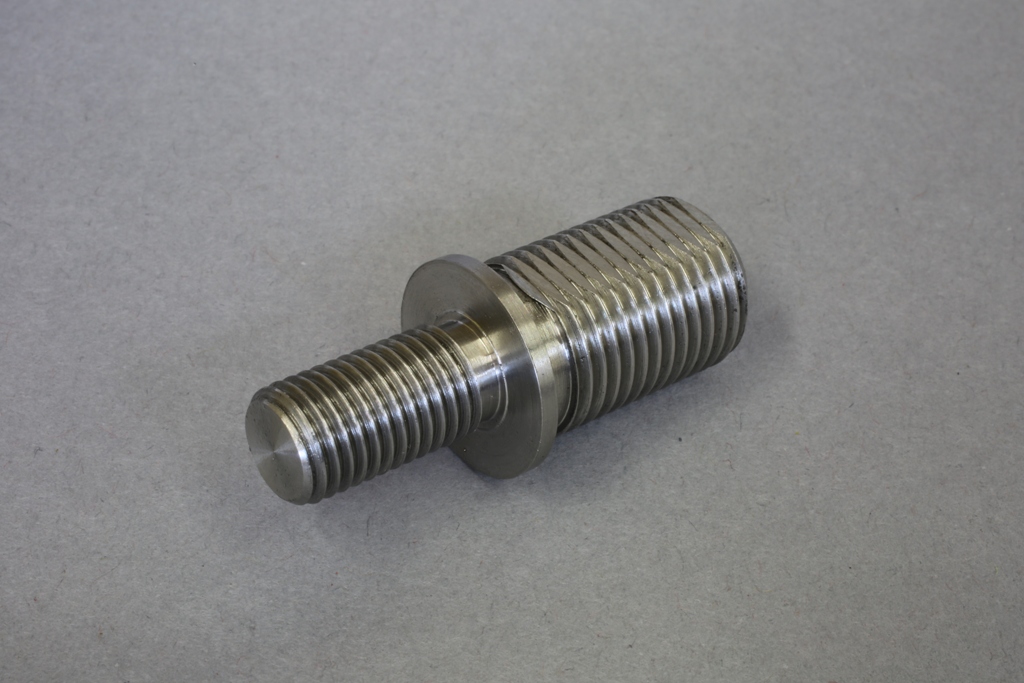
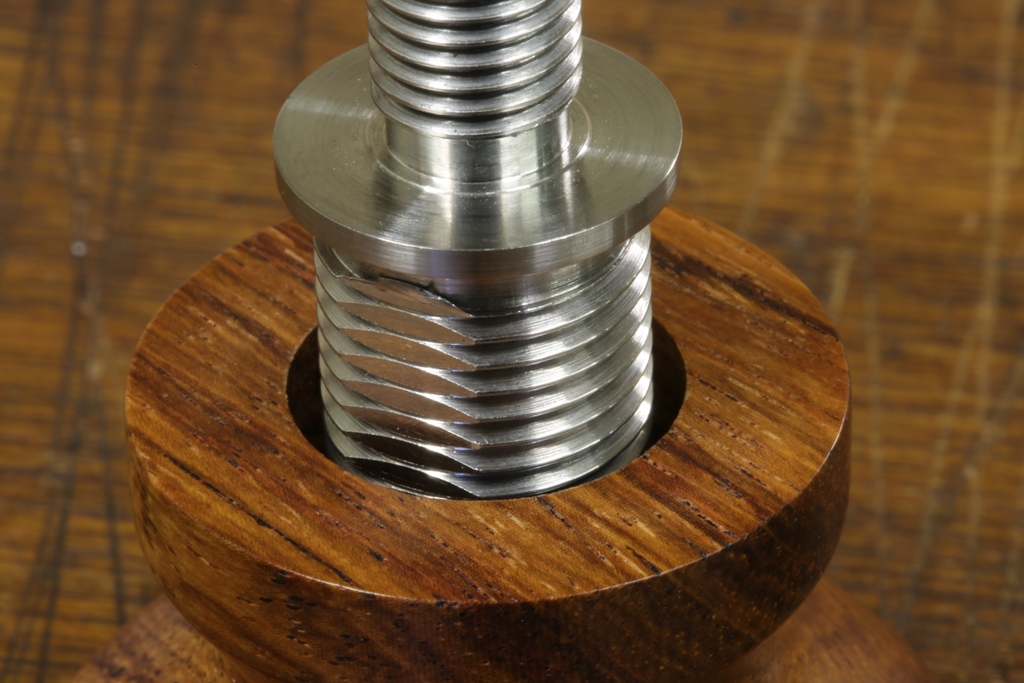
The bush shown here is to be epoxied into the front bun. You can use some imagination as to how I arrived here. The combined strength of the bush and its bun is considerable. Note there are two flats which make it impossible to remove the bush once the epoxy has cured.
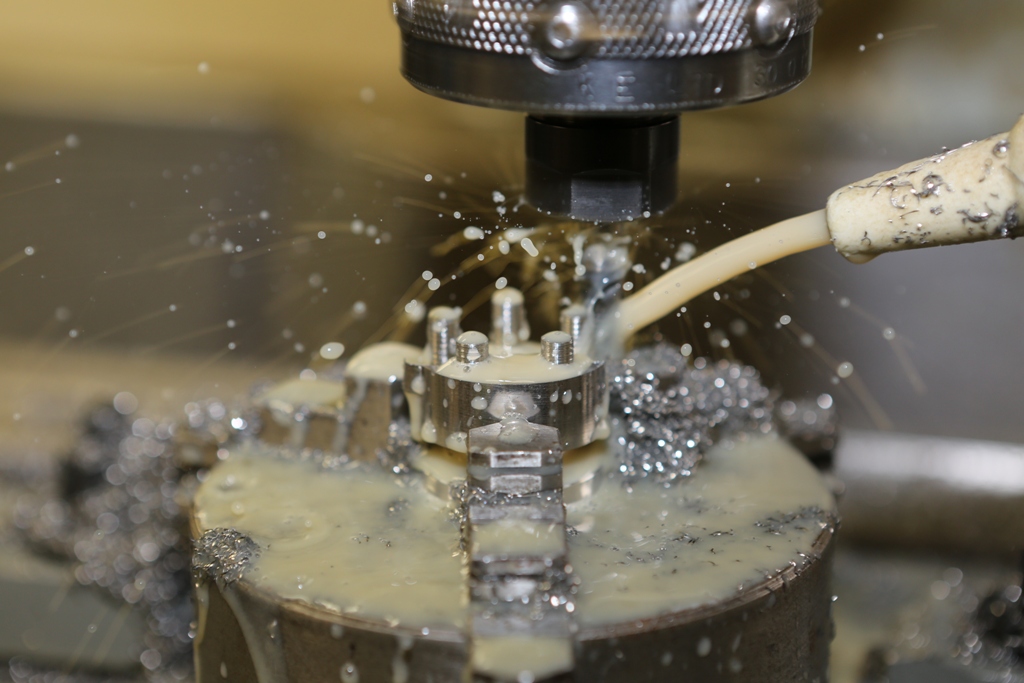
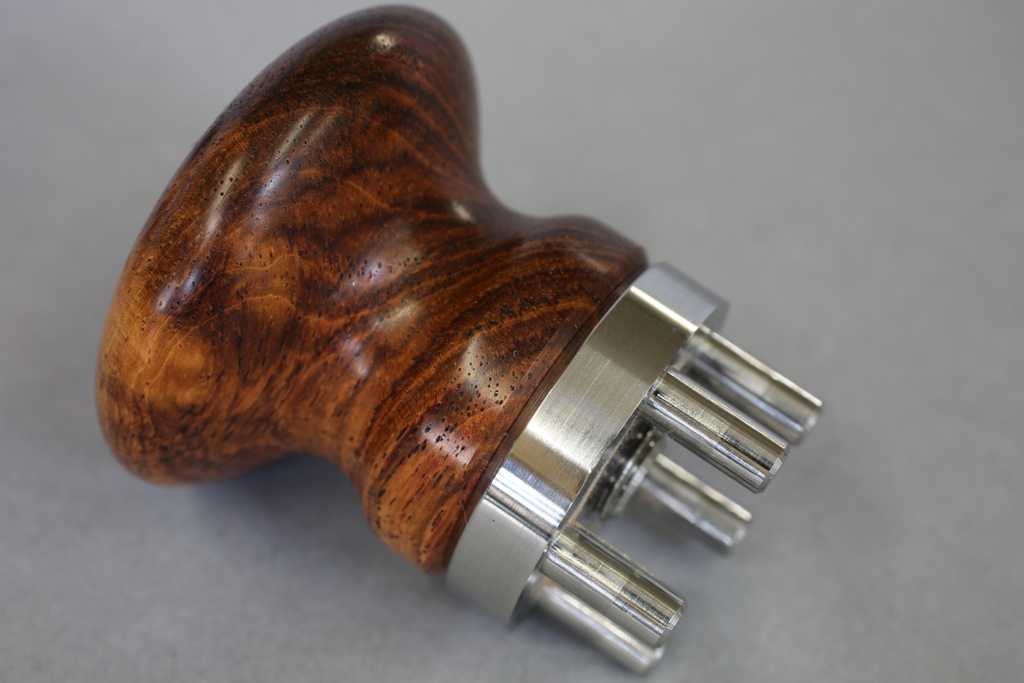
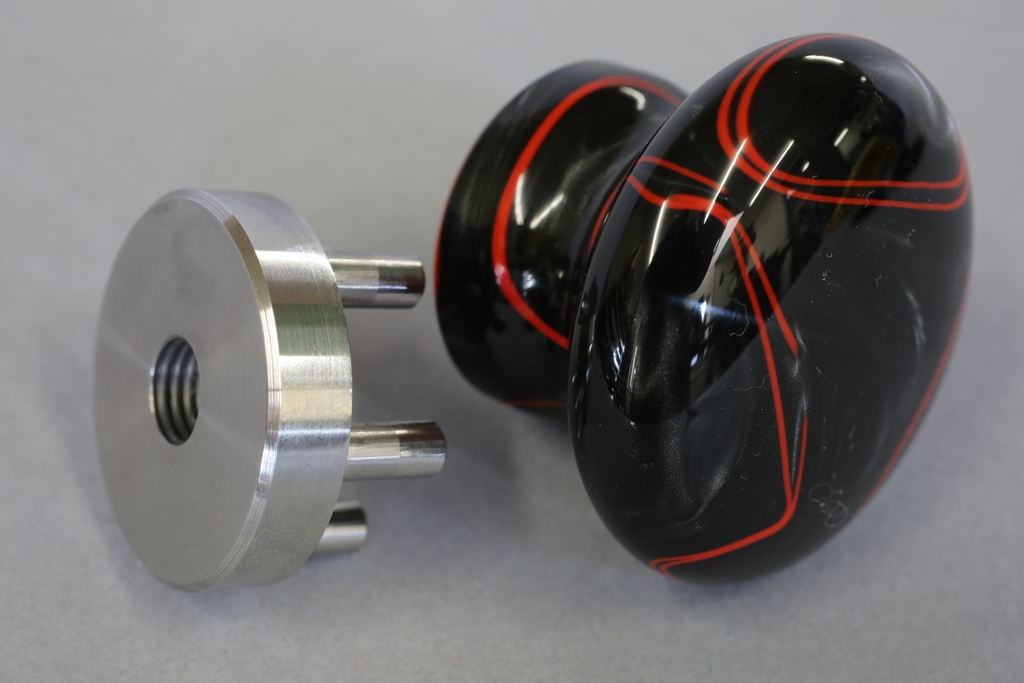
This is the milling operation for the five integral pins/rivets to the bun boss.
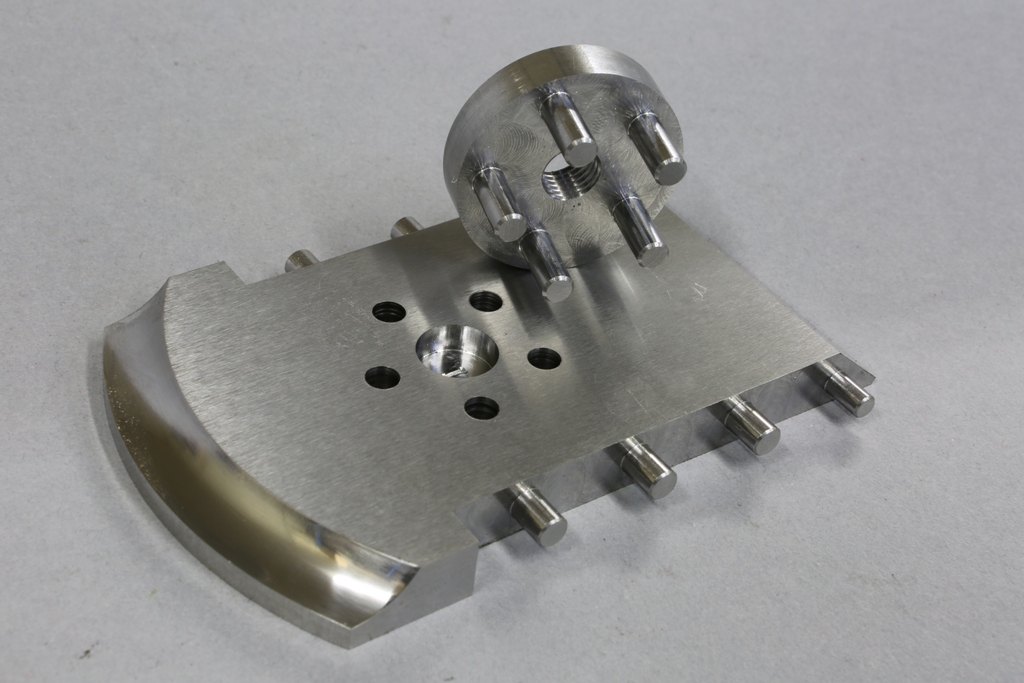
This is the finished boss for the front bun. I have chosen this method of fixing for its strength. I wasn’t happy about tapping blind holes. Who cares, it is not about cost ![]() It is going to be the only one of its kind.
It is going to be the only one of its kind.
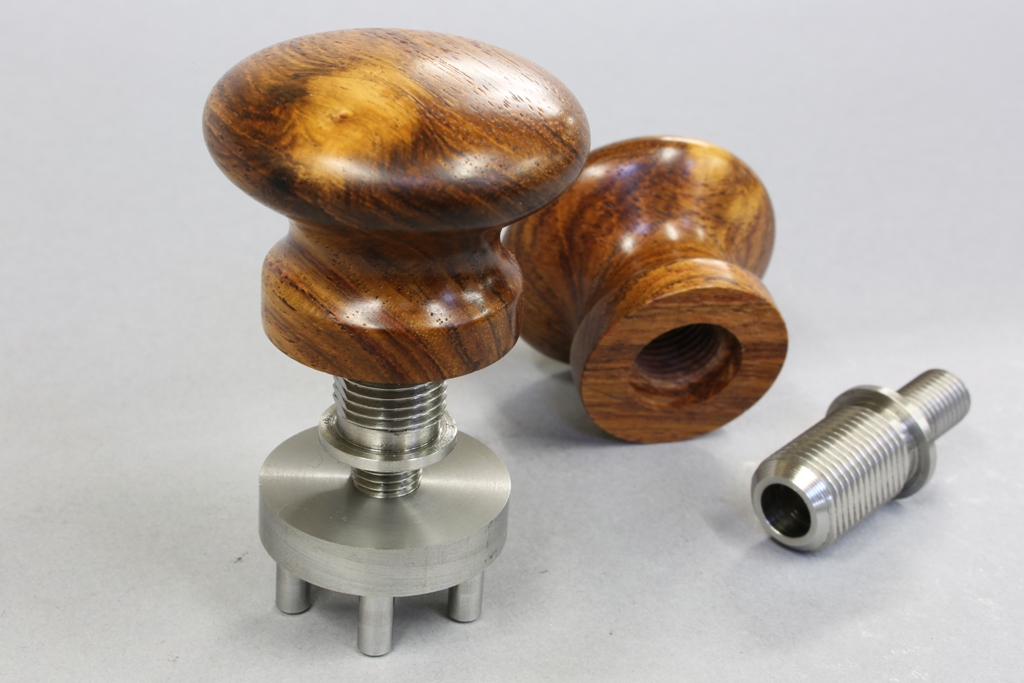
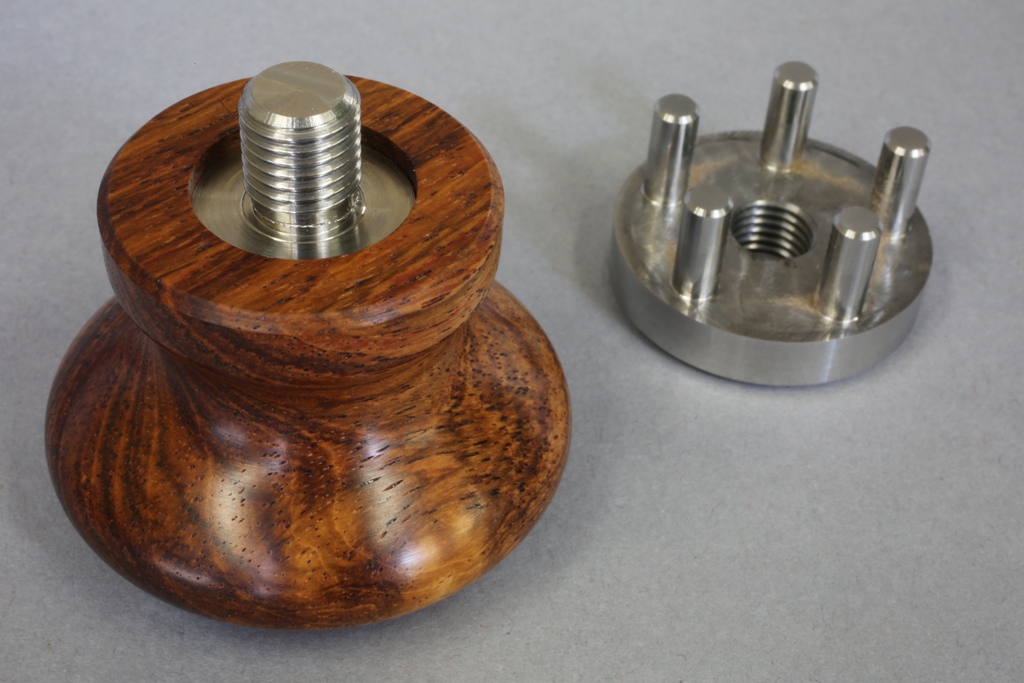
Illustrating the fitting of the bush to the bun and the threaded nose to fit the finished bun to its boss.
Once this is complete, the bun can be removed and the boss is ready to rivet in place. Note that I used a V joint between the boss and the knob base. The knobs will leave my workshop perfect but the rotary position of the knob can have a tendency to migrate and wood can lose its concentricity over time. Also when the knob is removed and refitted the sharp edges can be bumped, thus losing the desired effect. The V joint will hide any of these unsightly dinks.
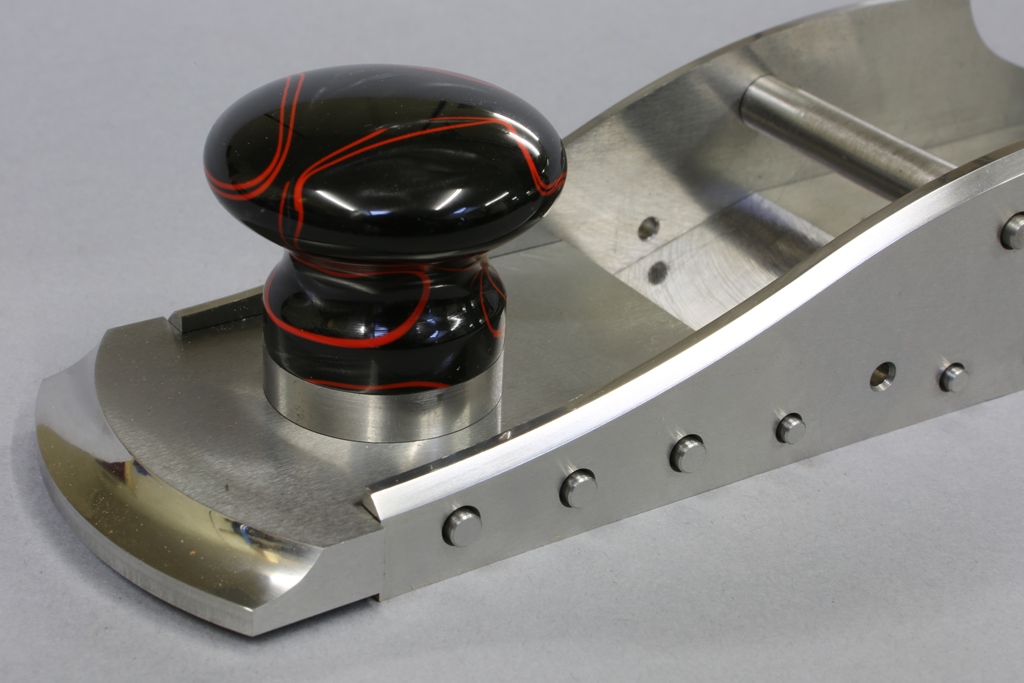
Temporarily assembled plane.
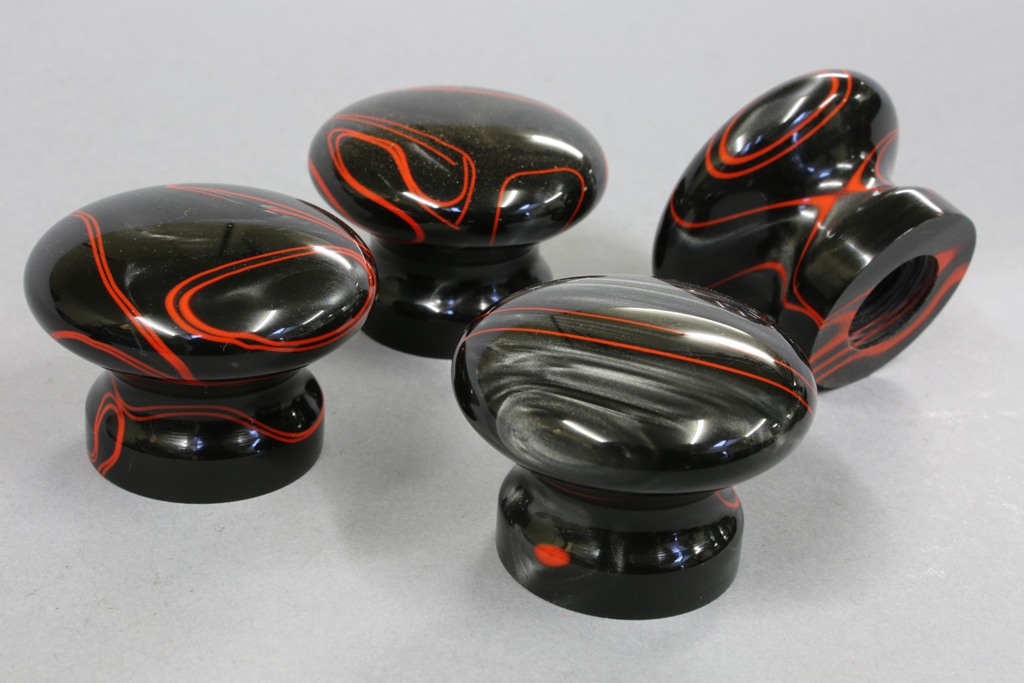
A general selection of knobs and parts.
Still a long way to go, sorry to those who have a plane on order.
Thought this was worth a picture and mention. The bushing here had been cemented with epoxy and I had started it with a few threads and then I was distracted ………
I discovered how strong this system is when I came back the next day. I will keep this as a reminder.
I have learned much just from this post. quite a brilliant way to attach the bun. I do wish i could purchase the No 984, but when I had planned to buy a Holtey plane, it was supposed to be well after my High School years. Shame I still have a year left as of now. Perhaps maybe I’ll be able to see one of your works in person, but until then, this blog will be my eye.
Many Thanks,
Vincent Tai
Comment by Vincent — November 4, 2015 @ 2:39 am