From the Workshop

April 26, 2012

Window to my Workshop 63

Filed under: No 982 Smoothing plane,Window to my workshop — Tags: , , , , — admin @ 12:16 pm


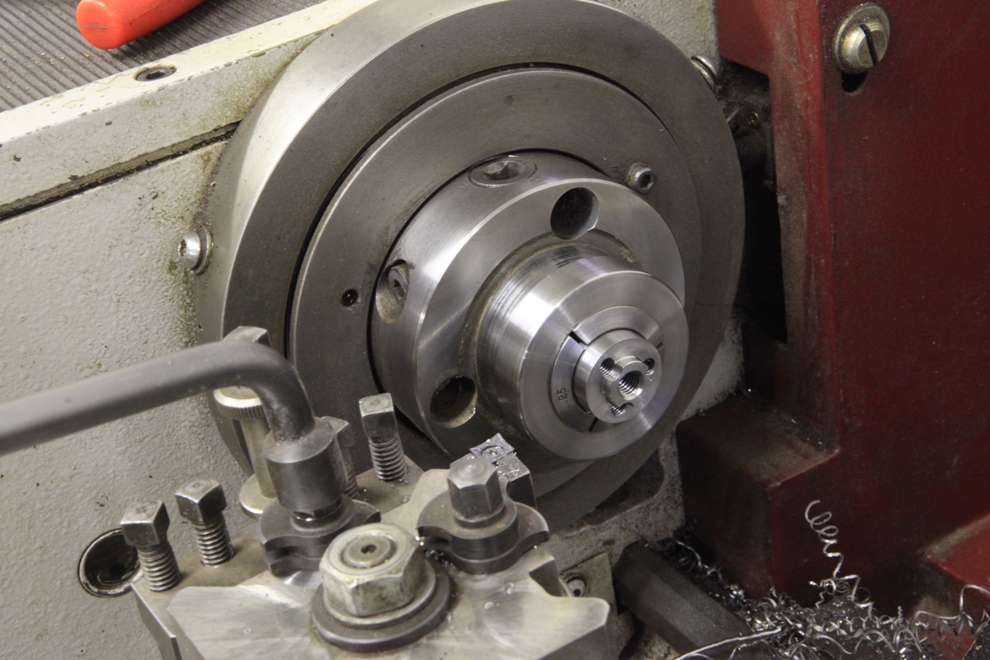
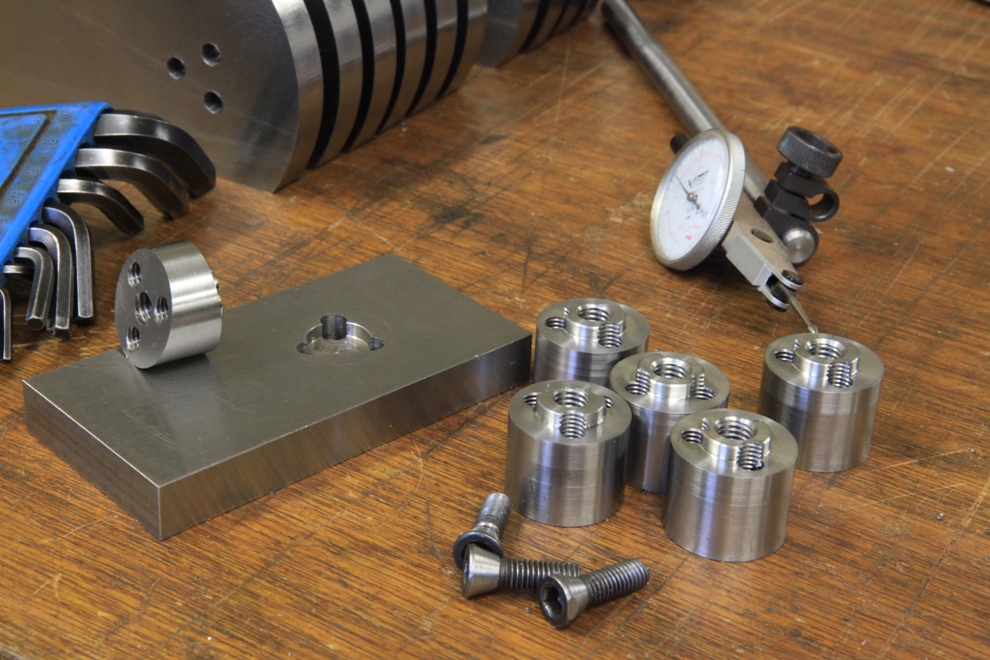
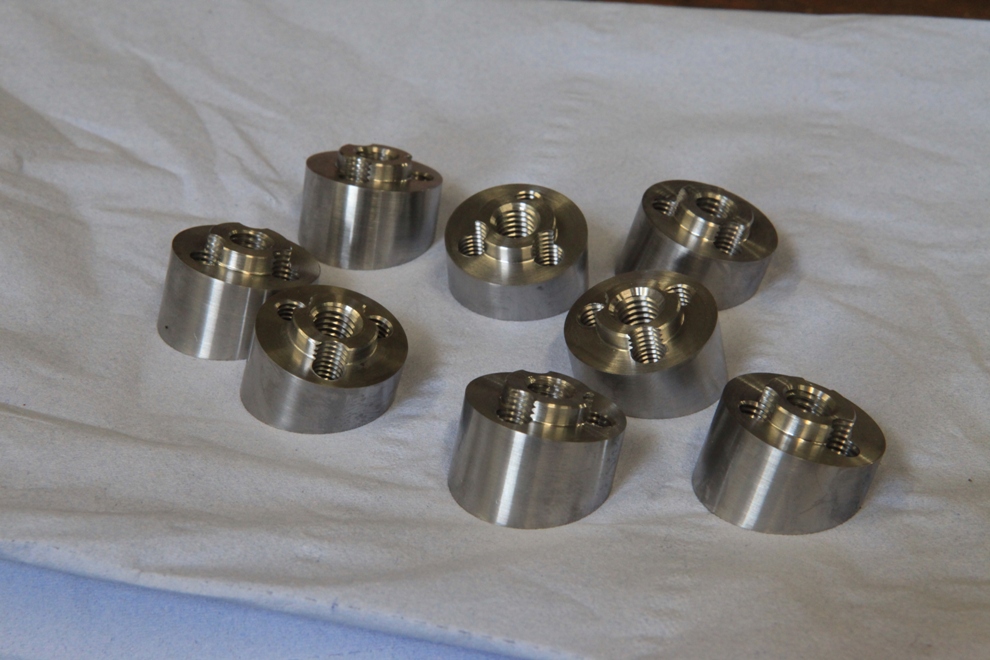
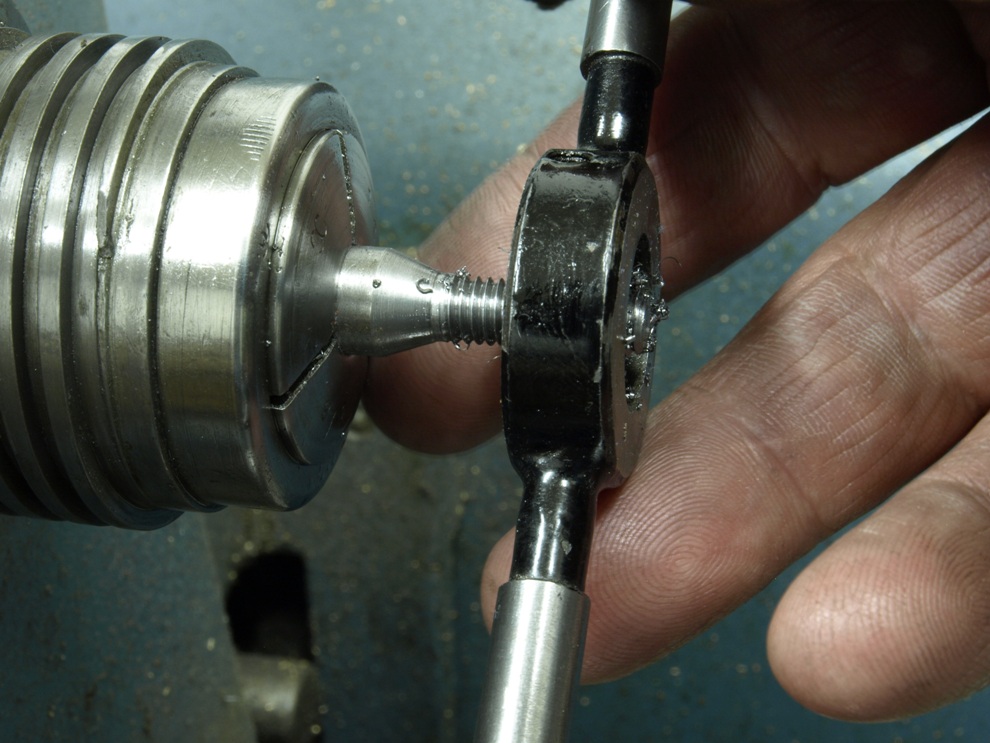
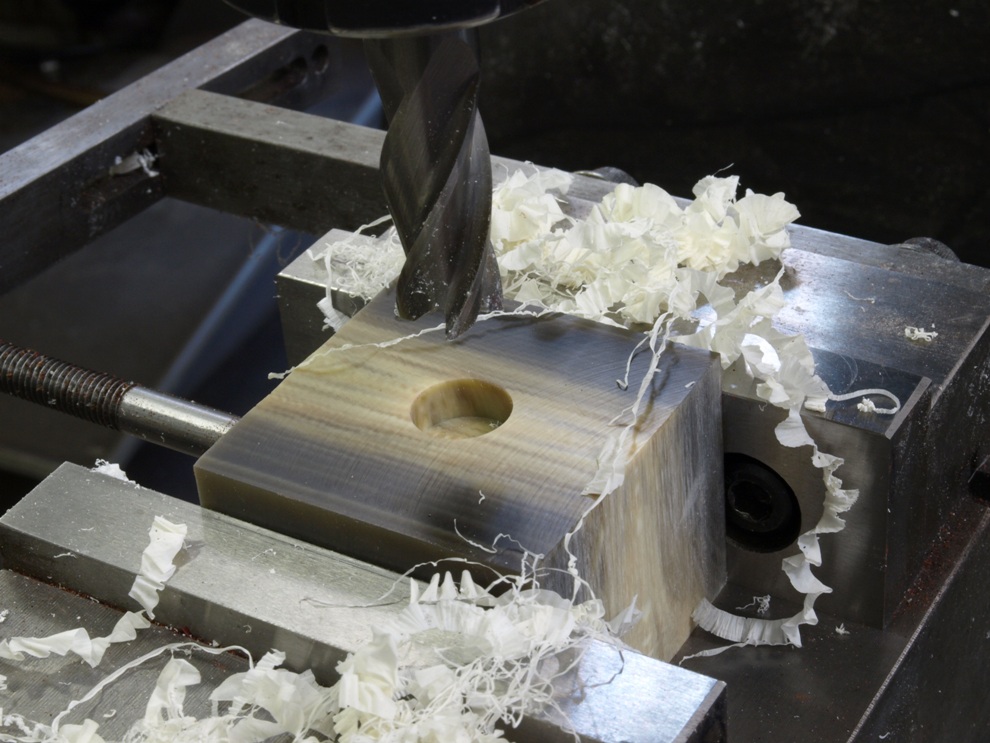
These are the front bun chairs and once the blanks have been cut and trimmed up true to uniformed size the central fixing hole is drilled whilst still in the lathe. They are then tapped with an 8 x 1.25mm thread; this is for the bun screw.

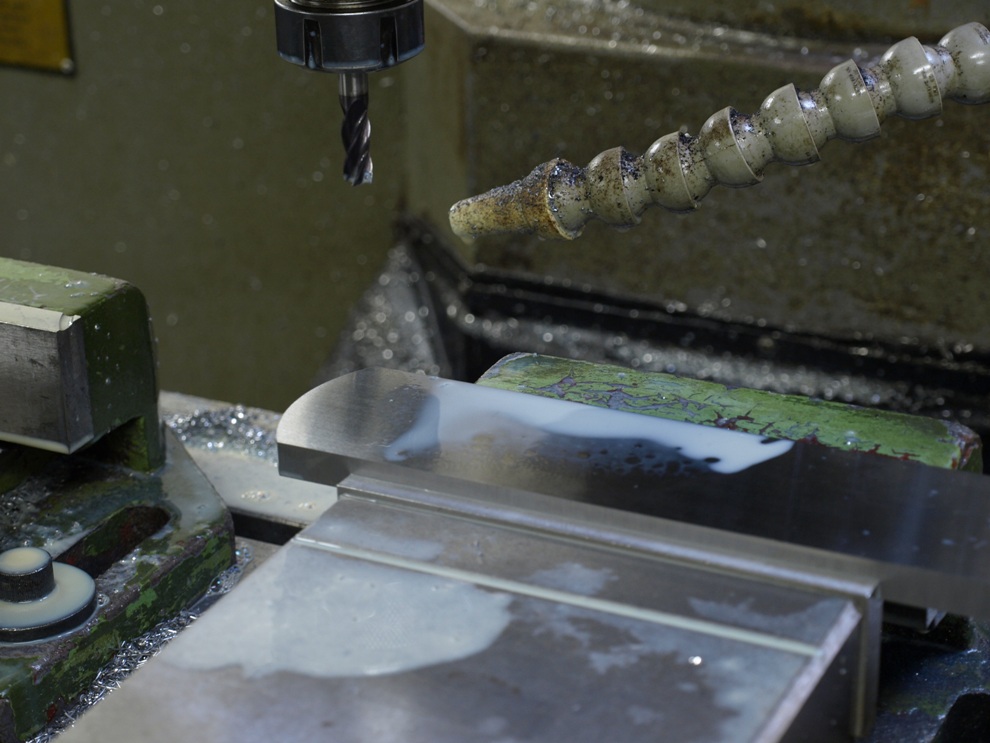
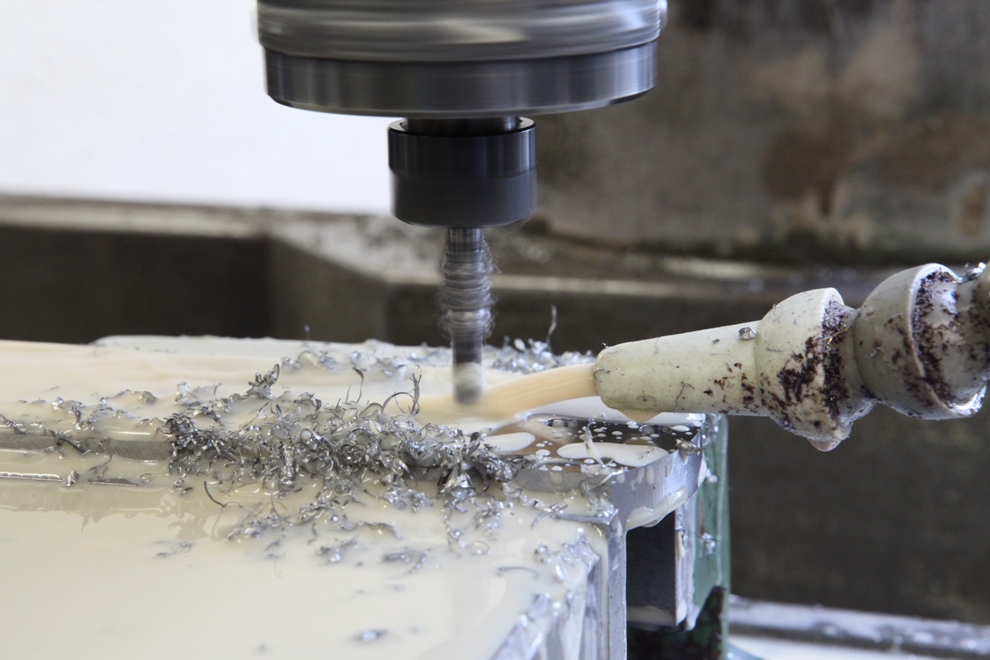
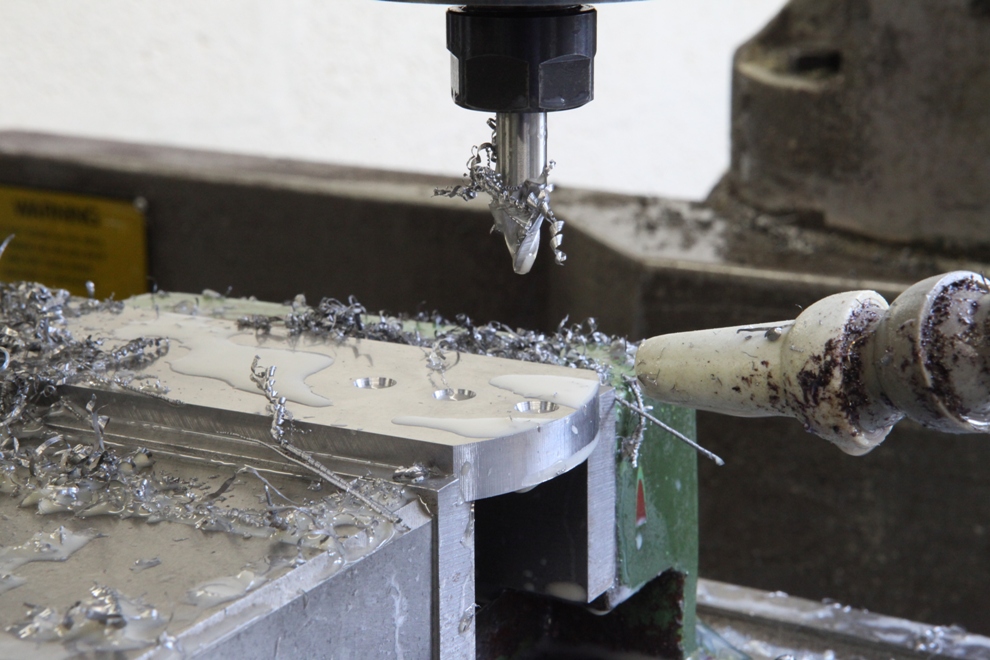
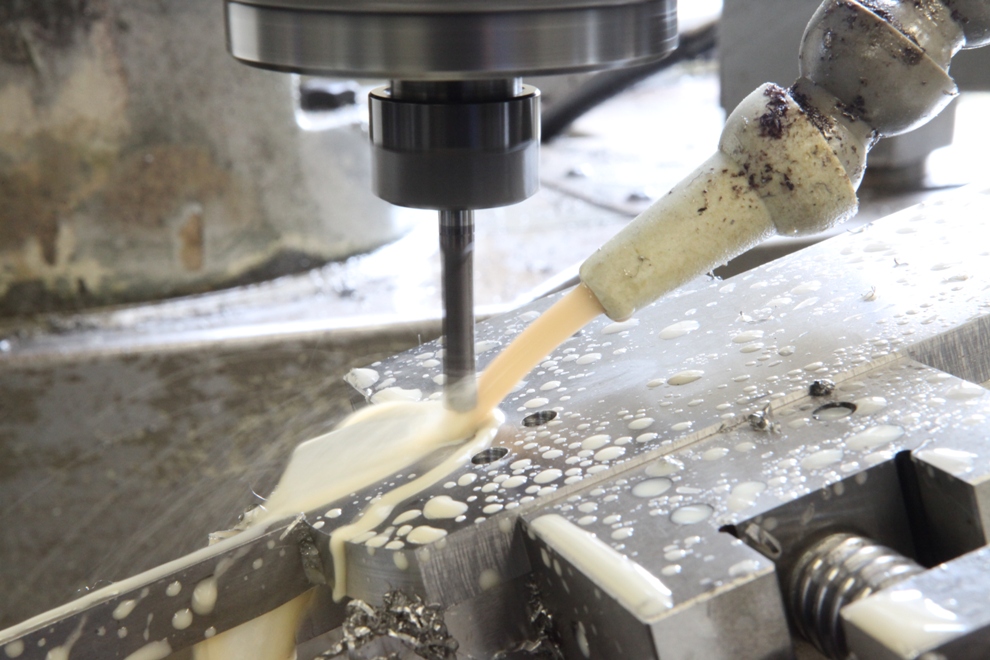
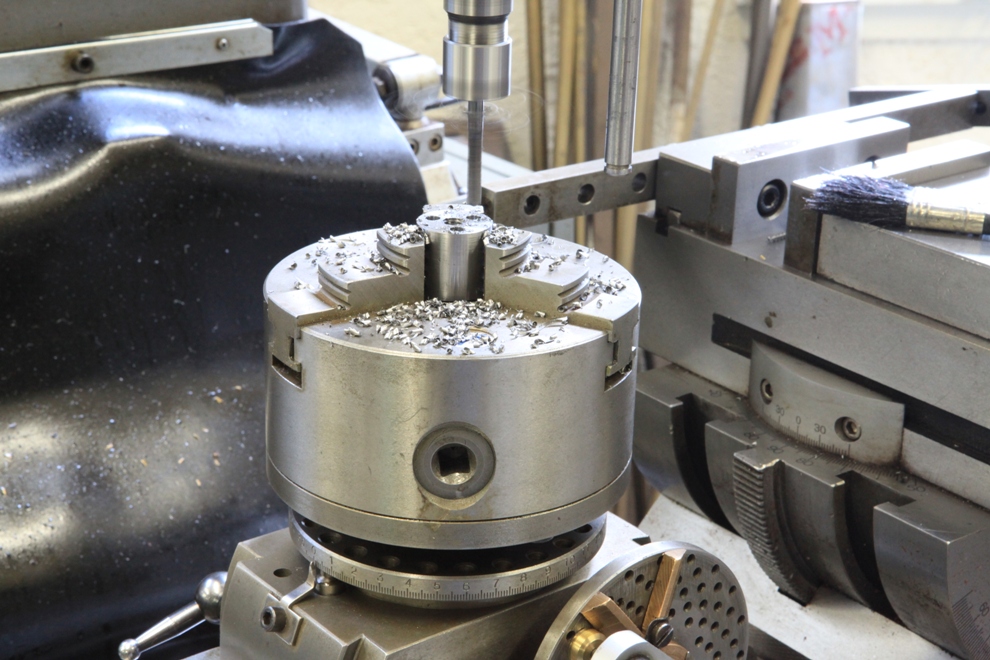
The 3 x 6mm fixings are drilled on a manual milling machine using an indexing head as shown.


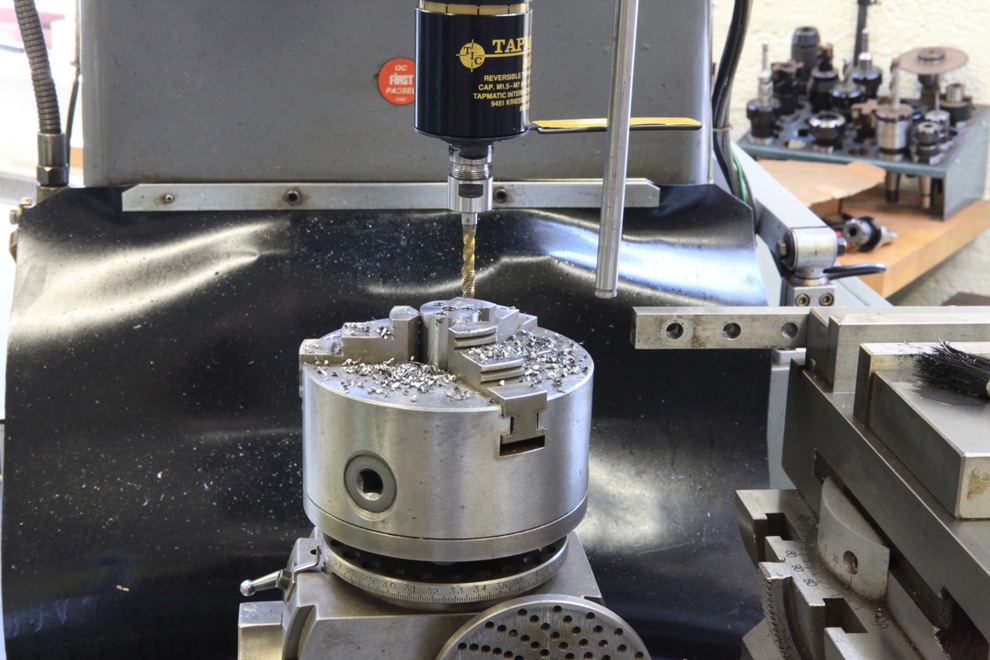
With the three index holes now drilled I only need a tool change to tap these three holes whilst still in the chuck.


Now that all my fixing holes are complete it is back to the lathe to form a small spigot where the bun in engaged.


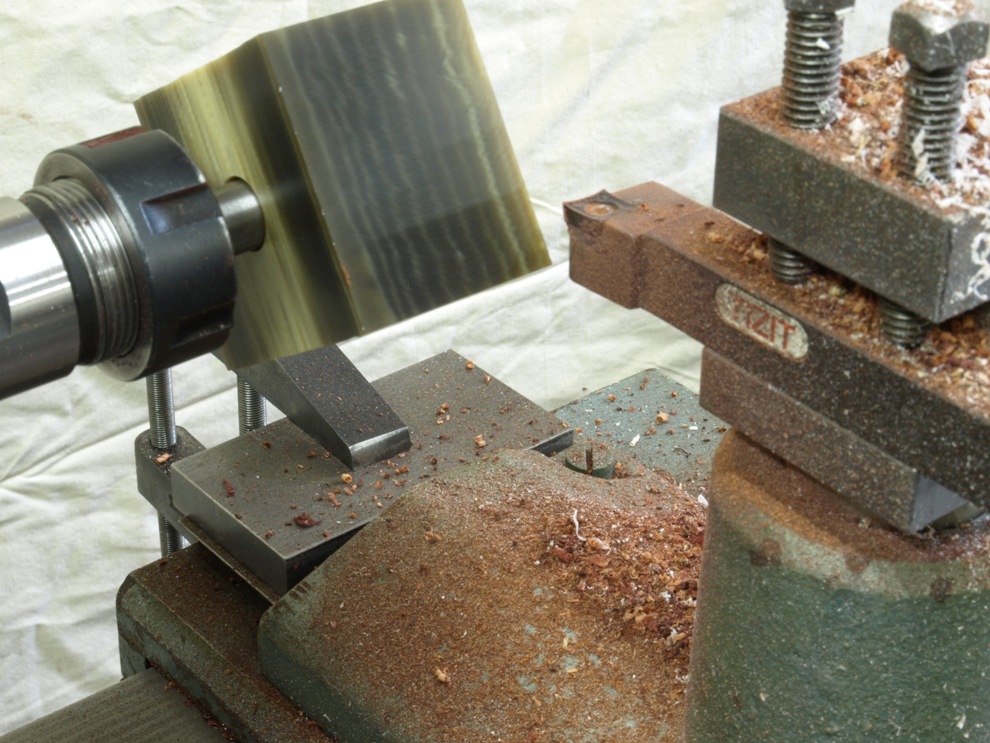
The last job on the chairs now is to finish the bottoms to the 15 deg offset to the front buns. A small fixture has been made for this purpose. The chairs are mounted with the three bolts.


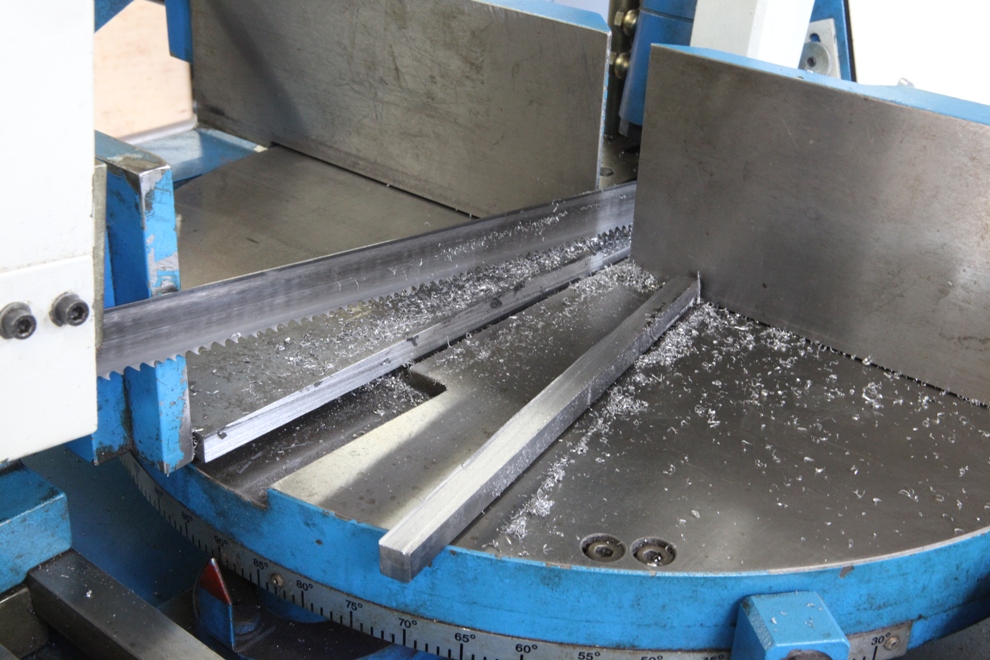
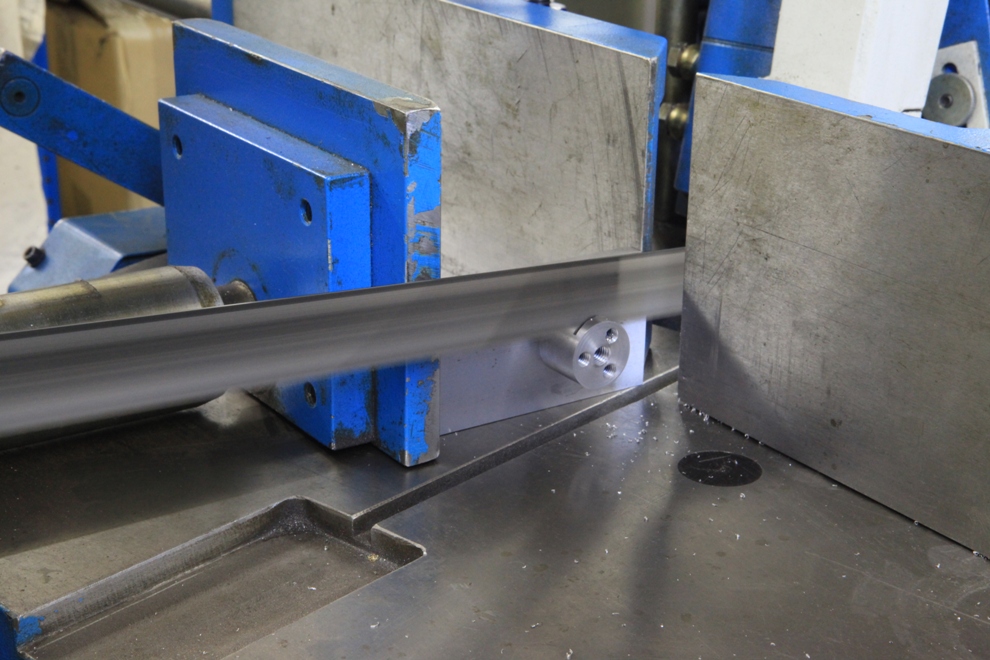
The chair is held in its fixture and secured on the saw for cutting


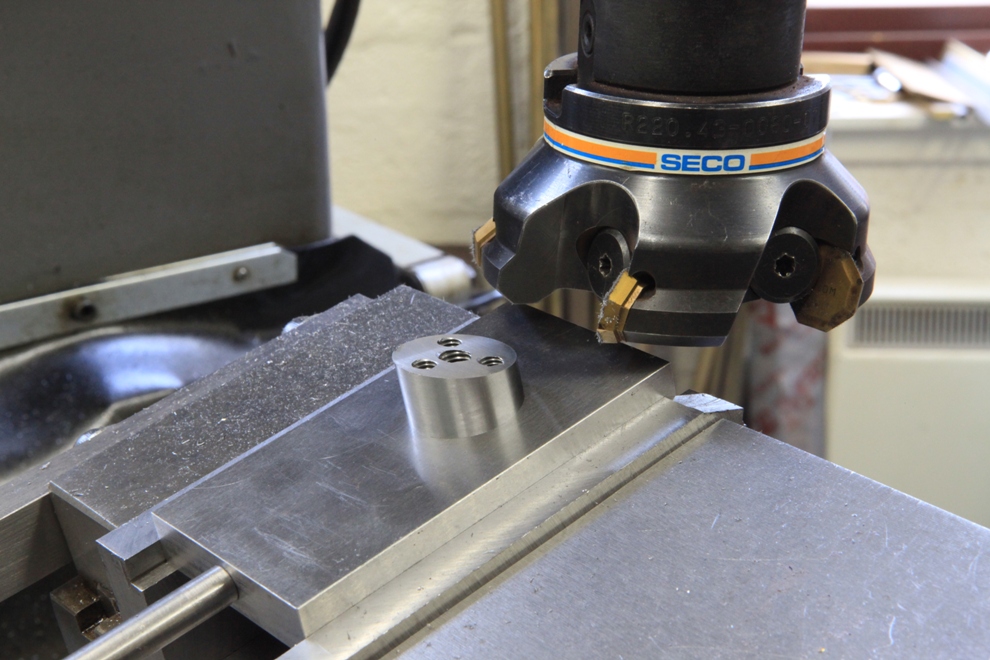
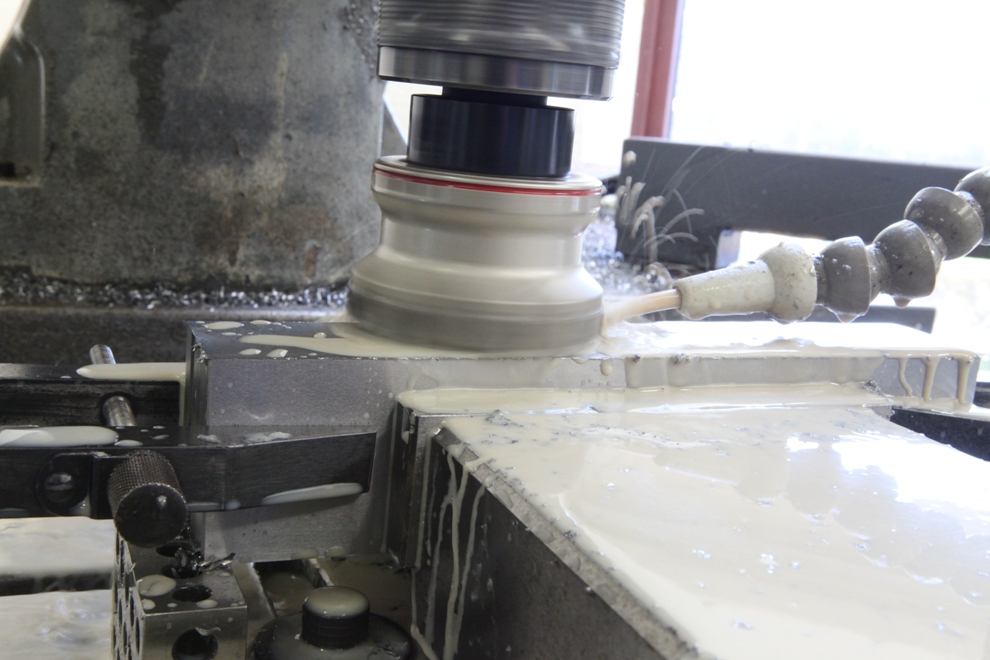
Whilst the chair is still attached to the fixture it is clamped onto the tilting milling vice for surfacing to the desired dimension.


April 25, 2012

Window to my Workshop 62

Filed under: Window to my workshop — Tags: , , , , — admin @ 12:30 pm

Continuation from Blog 61


Now I have two flat sides the edges can be milled bringing them to width, leaving a couple of thou for surface grinding. This means that the edges will be perfectly square and will form an invisible joint. It is important that when the plane body is assembled everything is flat and square – unlike dovetailing which incurs a lot of stress from peining.


The rounding on the ends, a task easily carried out on the CNC mill.


This is the drilling for the 3 x 6mm purpose made bolts to fix the rear handle chair. I need to make some more of the bolts so will document them later on.


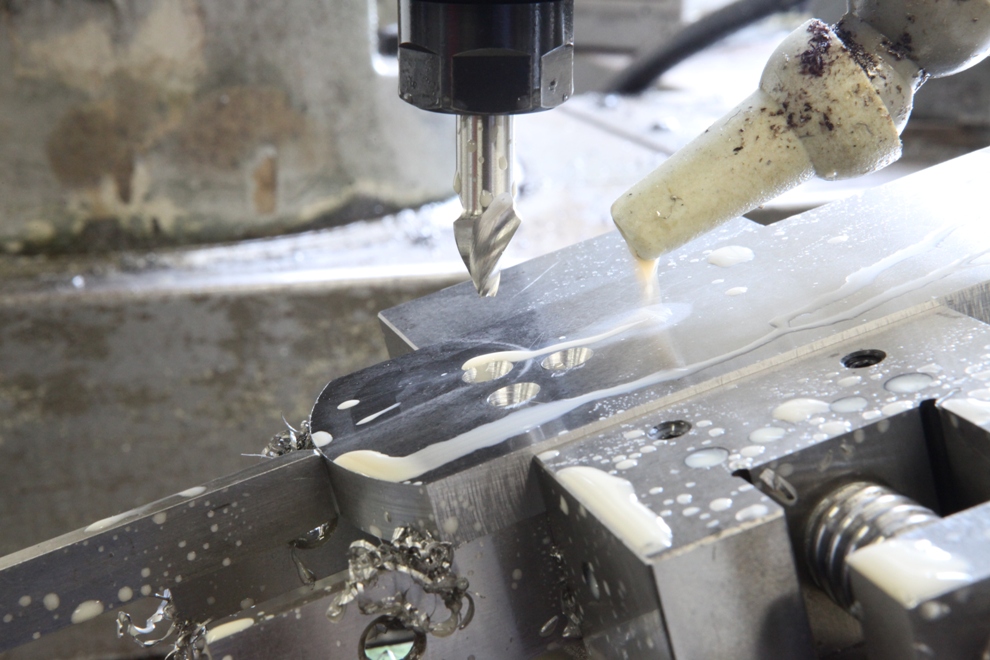
These three holes for the rear handle are then reamed (which I think is the correct word and not countersunk). This is done with a 40 deg tapered mill which will match the heads on the bolts. With this angle you get a good retention and pressure for some deformation, resulting in that invisible joint.


These are the fixing holes for the front bun using the same drilling and reaming operation as previously described. This time these holes are drilled at a 15 deg angle and indexed with 120 deg spacing. The CNC mill is particularly useful for indexing and convenient as I am drilling on a gradient.


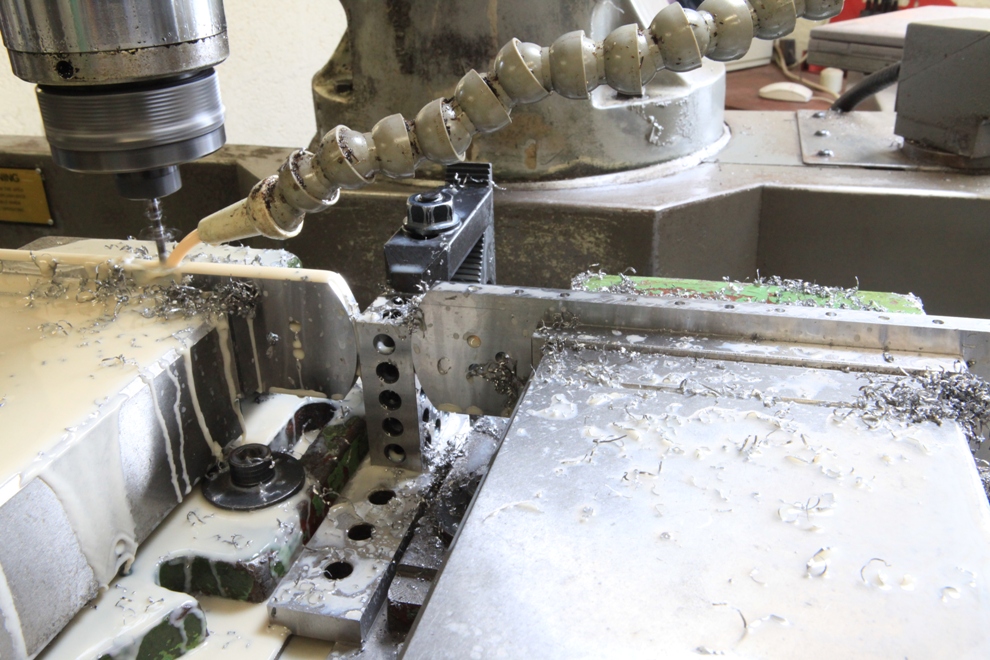
The fixing holes for the sides. There are a total of 11 x 5mm holes per edge. As the holes are not drilled on the centre line they need to be mirrored. The picture shows my set up using a second vice for the mirror holes. To achieve this many holes without a CNC mill would be very stressful and time


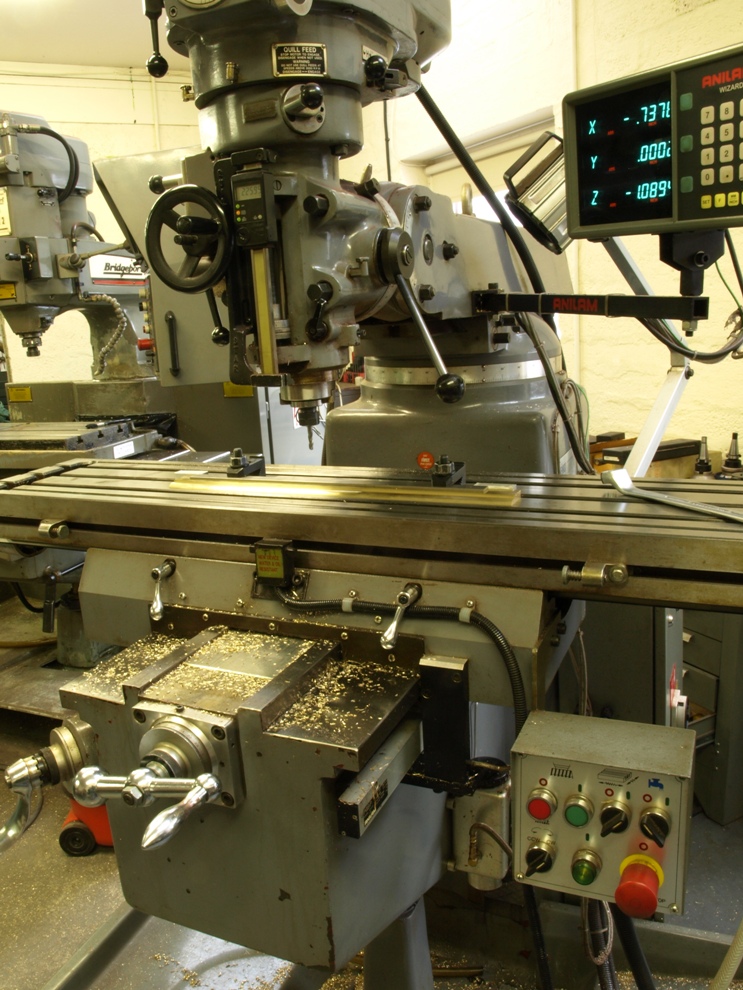
My Semco vertical milling machine which is an exact Chinese copy of a Bridgeport. It is fitted with an Anilam Wizard 211 DRO. I have had it a for quite some years now and it serves me well.


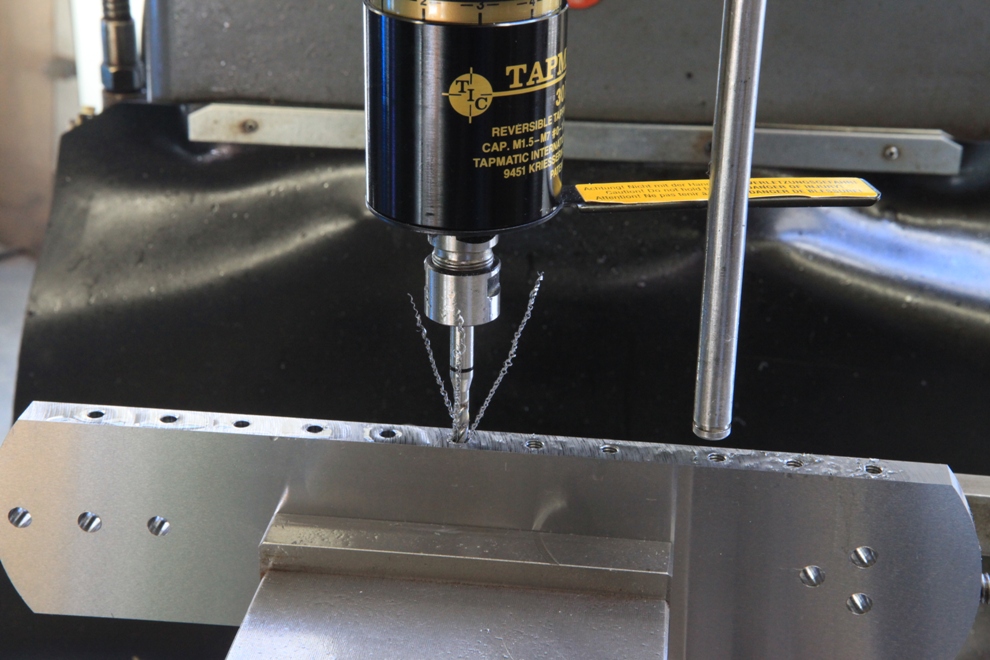
It is a pity that my CNC mill does not do tapping. So the plane bottoms had to be set up on the manual mill. However, with the aid of the DRO and an automatic tapping head the tapping of the holes is carried out to standard and in a timely manner. There are a few cheap tapping heads on the market but I would go for a Tapmatic every time, worth its money.

April 17, 2012

Window to my workshop 61

What is a plane maker’s workshop?

When I first started making planes and was putting together a workshop with a very small budget, I had no idea what form the workshop was going to take – and I still don’t. I started with just a small Tom Senior milling machine, a 5” Raglan screw cutting lathe and a Fobco drill press. Looking back I can see that not only have I come a long way in improving my workshop but also in build and quality of my work. From the start I have always striven to make each plane better than the last. Although I have already covered the subject of my No 982 smoother plane elsewhere on the blog I thought that since I am currently working on the last batch (this plane is limited to 16 of each type, with and without brass cones) I would take the opportunity to described my workshop and some of the machines in it.
 
 
Jaespa W220DG Saw
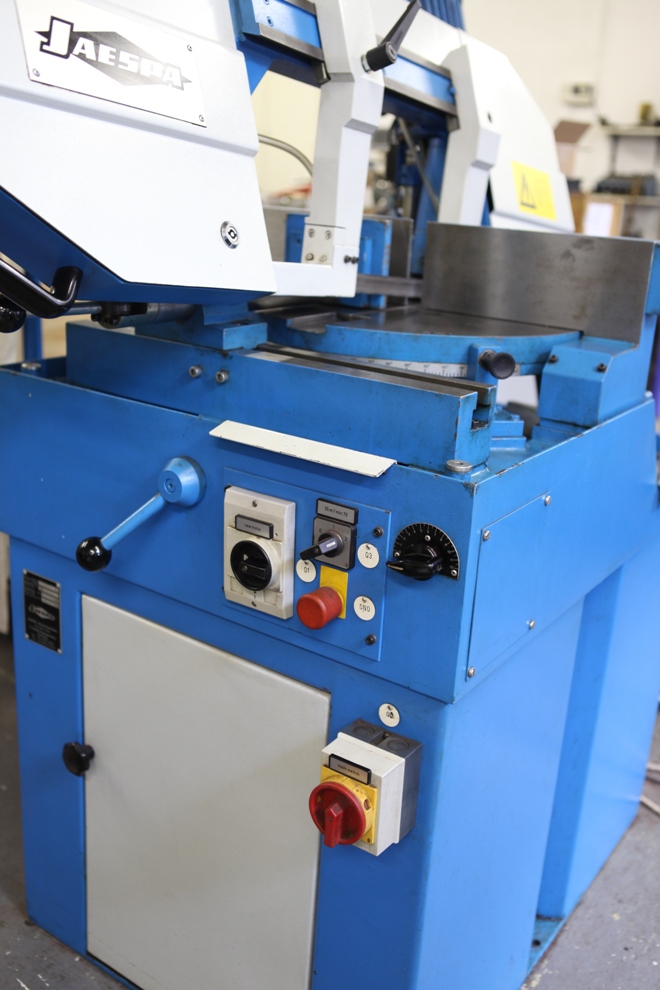


In the beginning I was cutting everything by hand and didn’t even have a wood machine. It was a quantum leap just to get an ordinary band saw. After buying a pull down saw I found it unsuitable as it meant I had to be in attendance full time with the machine to pull down on the handle. I replaced it very rapidly with this Jaespa bow saw. It is the best friend any workshop could have. Very little gets passed this machine.
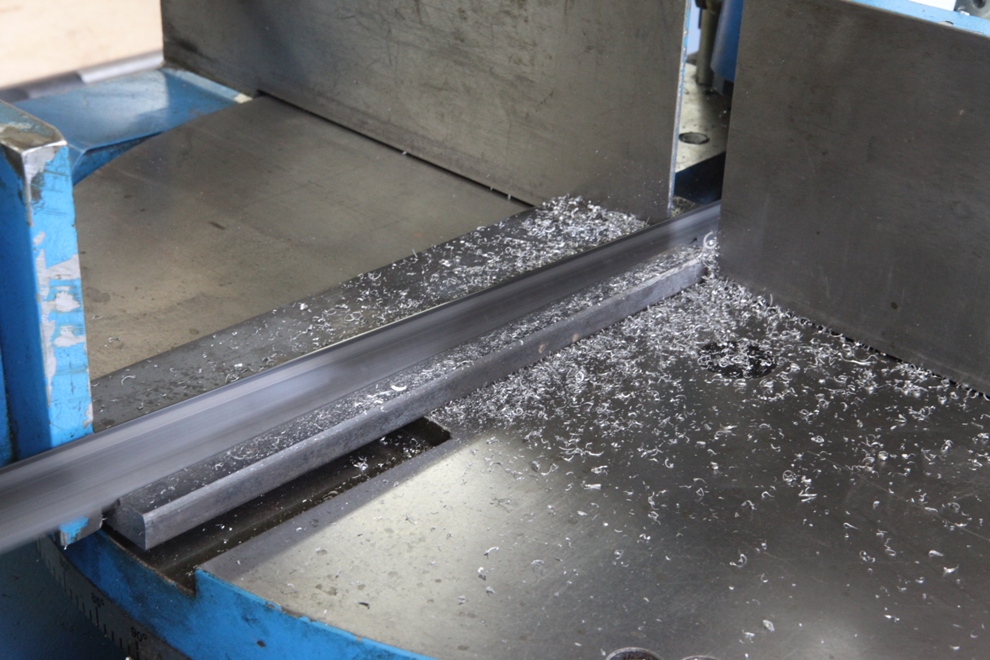


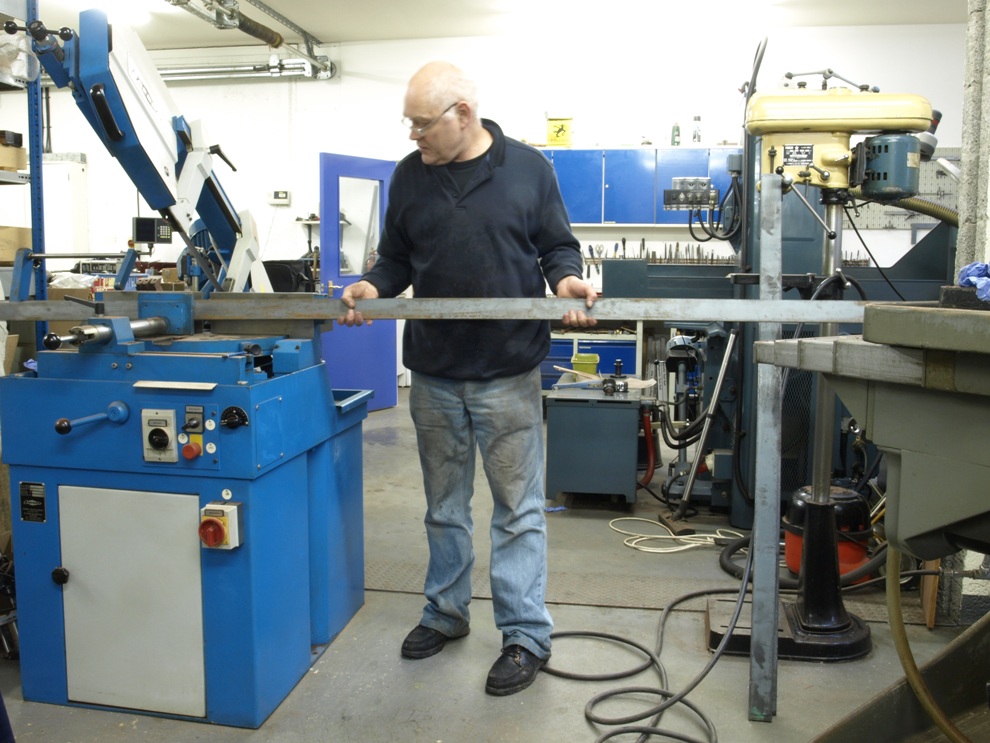
Here I am taking advantage of the 10 x 10” capacity to reduce the width of a pre-cut bar from my stock for the No 982 bottoms. This machine has a gravity feed controlled by a hydraulic valve which means that in the case of heavy workloads I don’t need to stand with the machine. This allows me to run more than one machine at a time (on occasions several machines).
 
 
The Milling
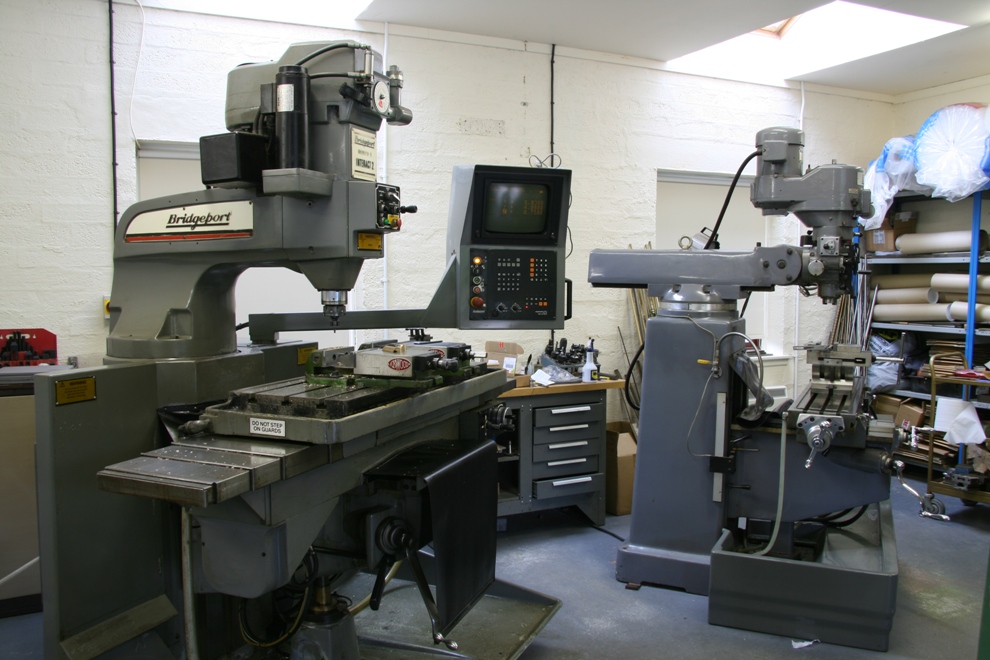


In the foreground is my workhorse. A Bridgeport Series II Interact 2, which must be 20 years old and like me, is showing its age. This was one of the early CNC mills controlled by an Heidenhain TNC 151 (by today’s standard it is an abacus). A replacement for this machine would cost a very nice new car.
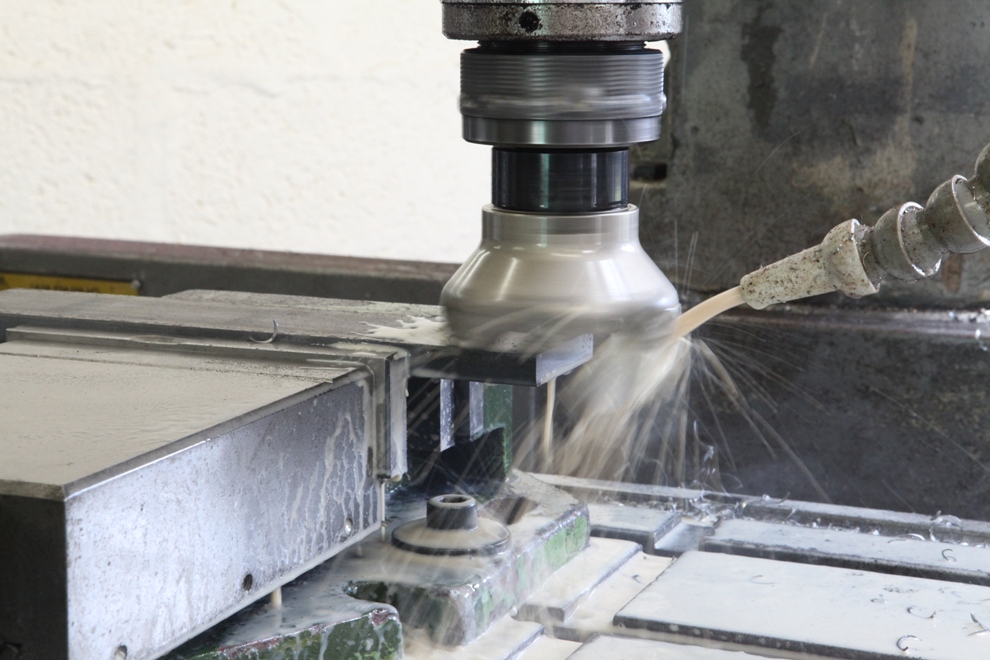


As you will see throughout all my blogs I use it for many operations and here I am using it to mill and de-scale this hot rolled bar which is to be used for the No 982 bottoms.
 
This machine is my only experience in programming and it has taken me a long time to reach some proficiency. I wouldn’t want to replace this machine with a VMC but I would like a nice open style bed mill with an Heidenhain control (in my dreams).
 
Although my current machine performs many tasks it is still limited (in scope but not in work quality) and I sometimes find things easier to do on my manual mill. I have also become very dependent on DROs and no longer trust vernier readings.
 
It is such a wide range of work that this CNC mill does I no longer want to do my work without it. As much as I might want a CNC lathe I would sooner update my current mill first.
 
 
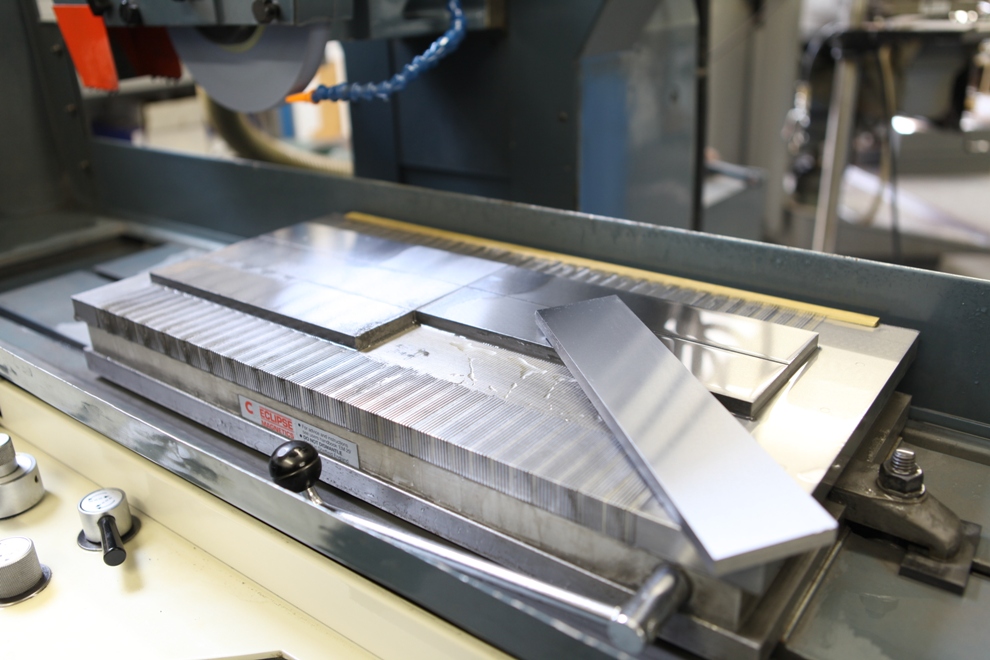
Jones and Shipman 1430 semi automatic surface grinder
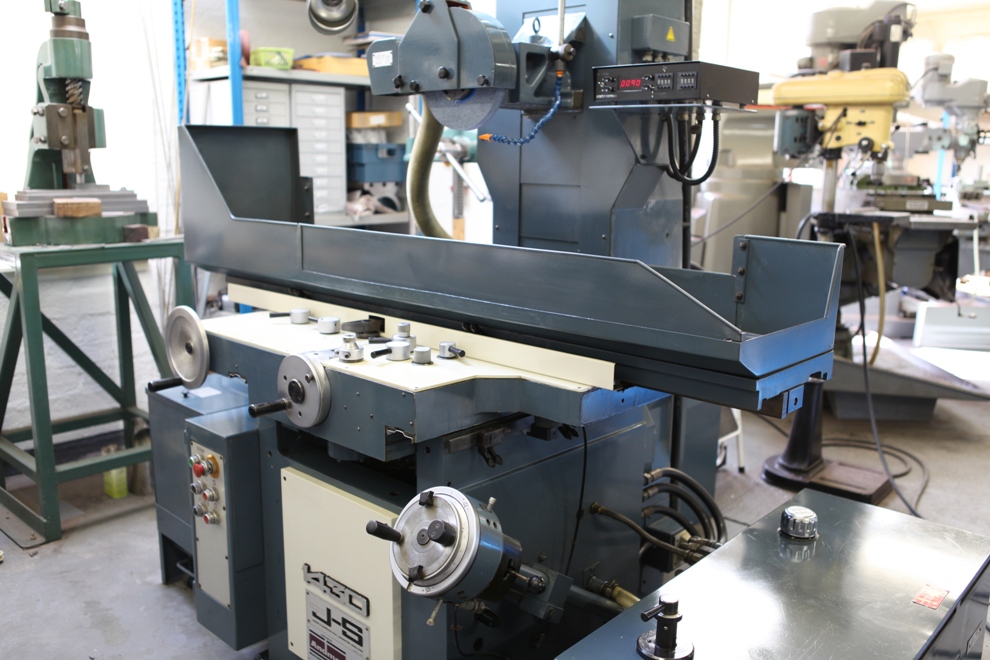


Up until 9 years ago I outsourced the grinding for my blades and it was my experience that outsourcing is fraught with problems. I was extremely fortunate to find a machine of this quality which allowed me to do the grinding myself and enabling me to keep everything in house. The machine was originally made in the 1960’s but had just been rebuilt by Andmar (who work very closely with Jones and Shipman to achieve the good build quality). This machine has a good 2’ x 1’ chuck and it has proved very useful for much more than just blades. I have also become very dependent on it for tool making, as I make all my own tools and work holding jigs. In short, this machine has improved the standard of accuracy to everything that is made in my workshop.
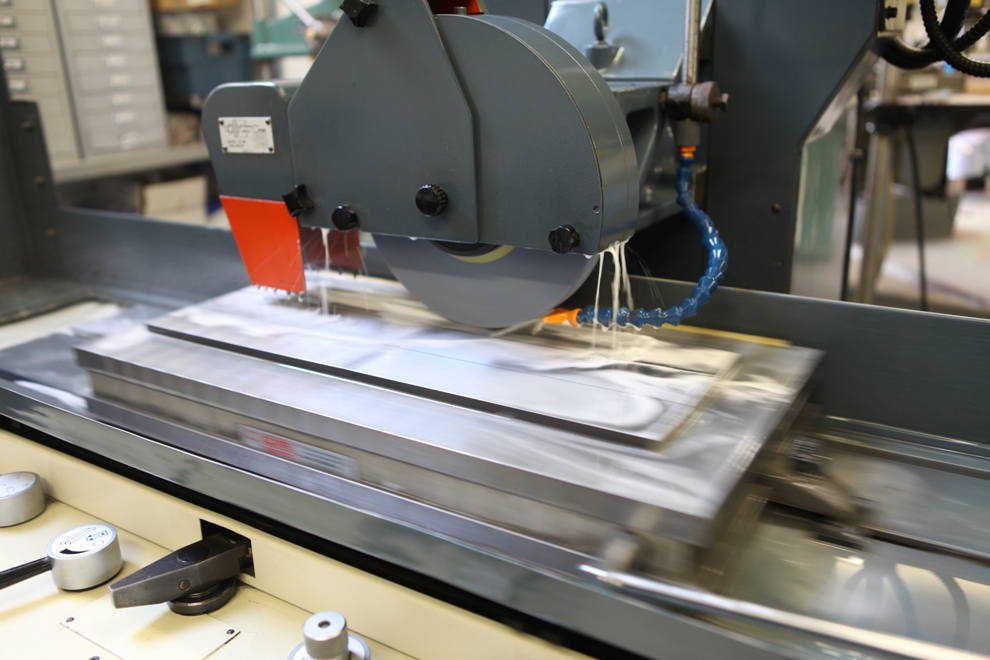


All the bottoms and sides of my No 98 series planes are ground on all sides and again after assembly for the final finish.
February 13, 2011

Window to my workshop 50

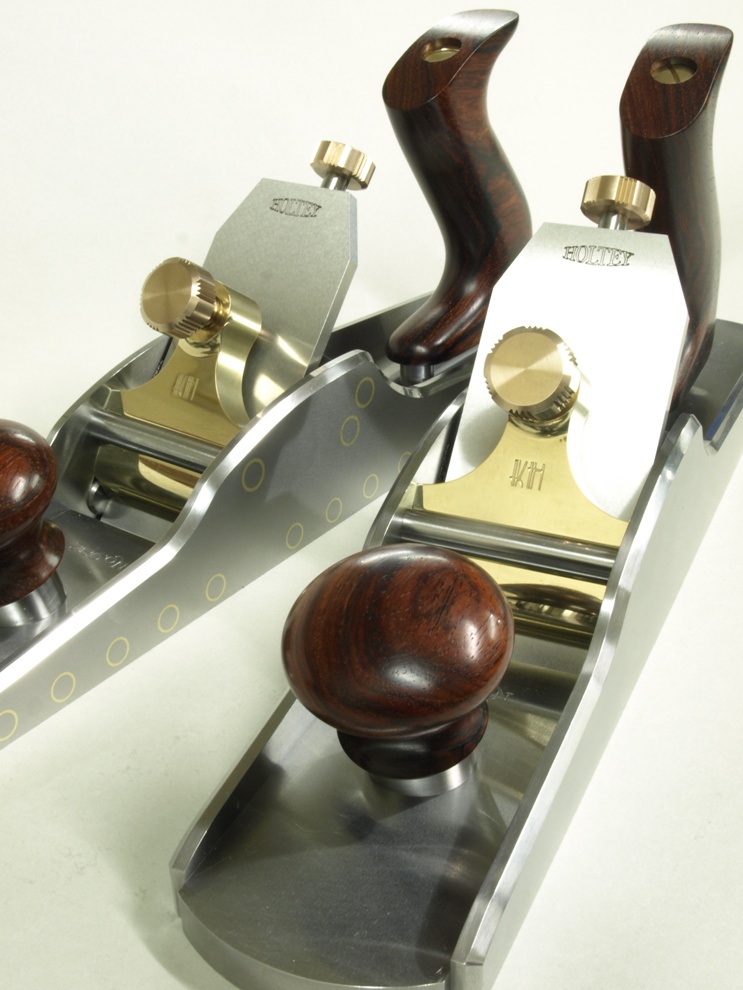
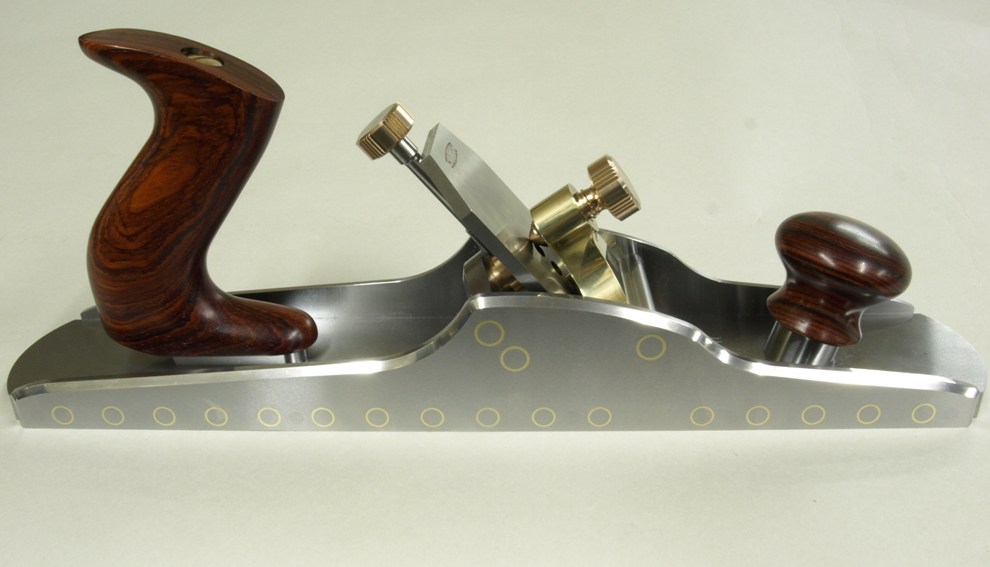
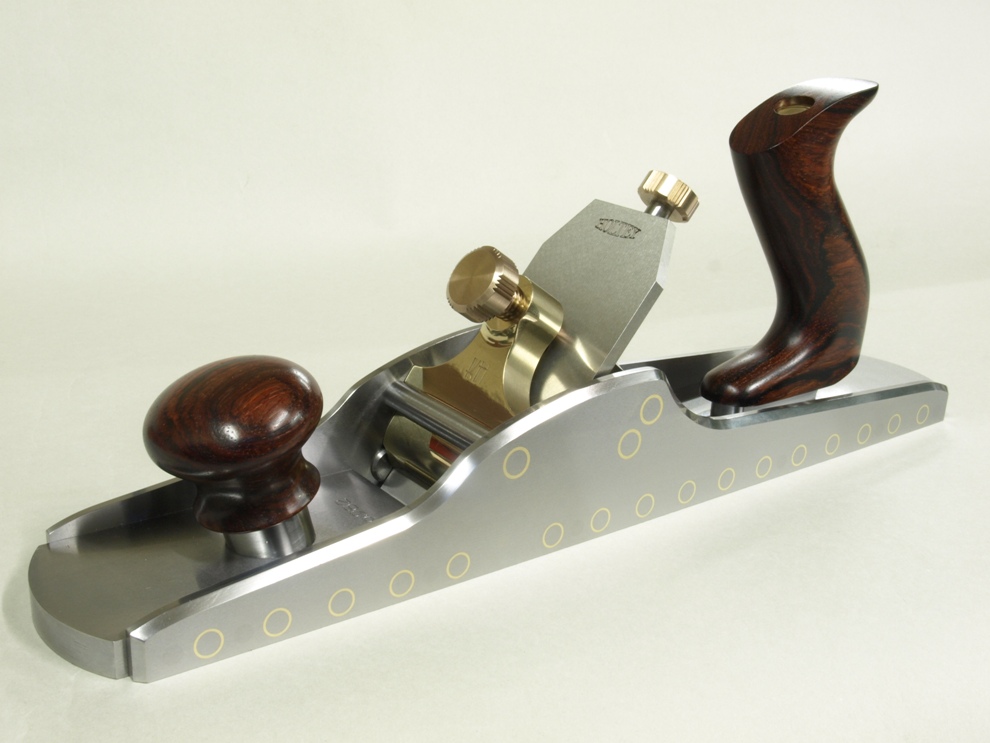
Some pictures of the completed No 982 panel planes (14 1/2″).  I made a limited edition of 8 of these planes, a few were made with the brass cones. 


(more…)

December 26, 2010

Window to my workshop 48


Now that the No 982 lever caps are 99% complete I shall move on.


The beginning.  Cutting up bottoms and sides from hot rolled black mild steel.  This is a very malleable material with no stresses.
(more…)

November 21, 2010

Window to my workshop 47

After the completion of the No 982 smoothing planes it was not long before I was pressed into making a larger version in the form of a panel plane.  Because of the enormity of work on this plane I have decided to make only 8 for this batch. 

 For the benefit of those who have bought this plane I would like to blog the making.  Hopefully it will show up some areas I did not cover on the smoothing plane blog.

 You will notice that I do change my techniques from time to time.

 I will start this blog by documenting the work on the lever cap.  I would like to emphasise the work that goes into this one component.  Though I have used castings in the past for my lever caps I feel more in control by making them from a solid bar and I produce a far better product.  I  now understand why some of the Rolls Royce cameras bodies are made from solid billets.

Starting with a bar of naval brass I go round and machine all the sides true, just like you would with a piece of wood.

If this was a piece of wood the next stage would be to machine a form i.e. either with a spindle or a router.  In the case of metals I have to concentrate more on work holding so this picture shows me setting up three vices in a line.  The bars I am working are 18 inches long and cut 8 lever caps each.
(more…)

October 18, 2010

Window to my workshop 49

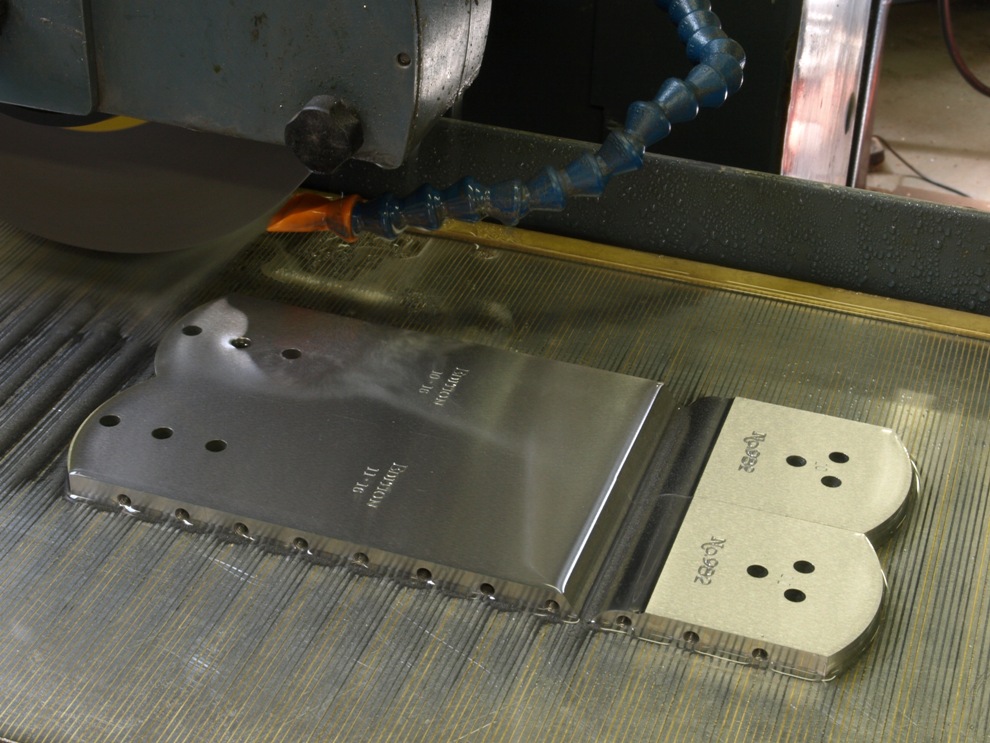
I have just found this blog entry for No 982 smoother that I forgot to finish.  As it is very similar to the blog entry for the No 982  panel plane 14 1/2″  I have already done this week I thought I would just publish the pictures with no comments.
(more…)

September 20, 2010

Window to my workshop 44


A few more pictures to conclude the subject of polymer.  Feel free to comment on whether it is worth it when you have seen the finished product. 

Hopefully this plane will be on exhibition at the WIA conference next month with The Best Things.

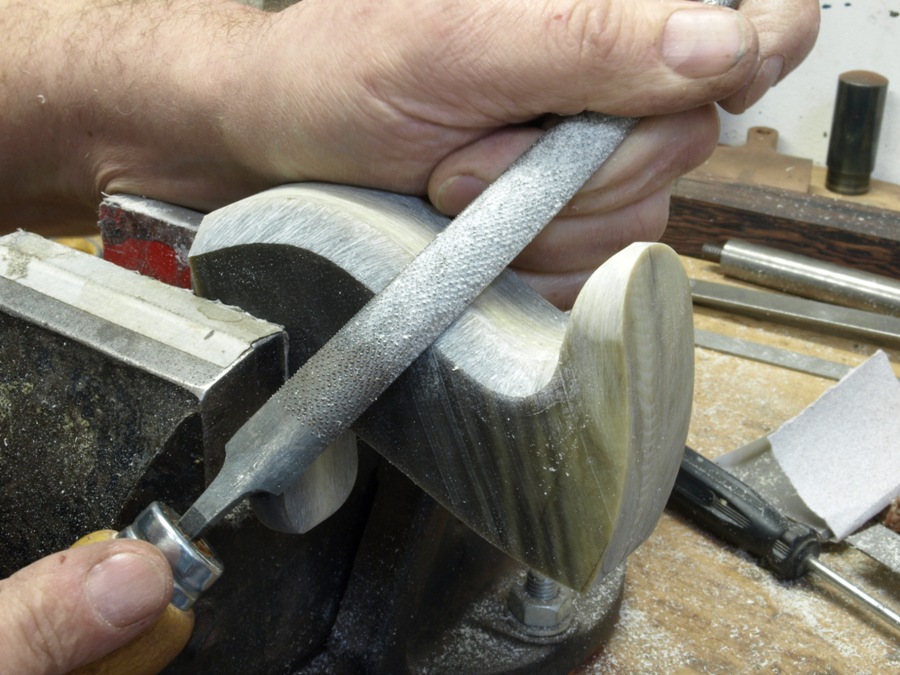
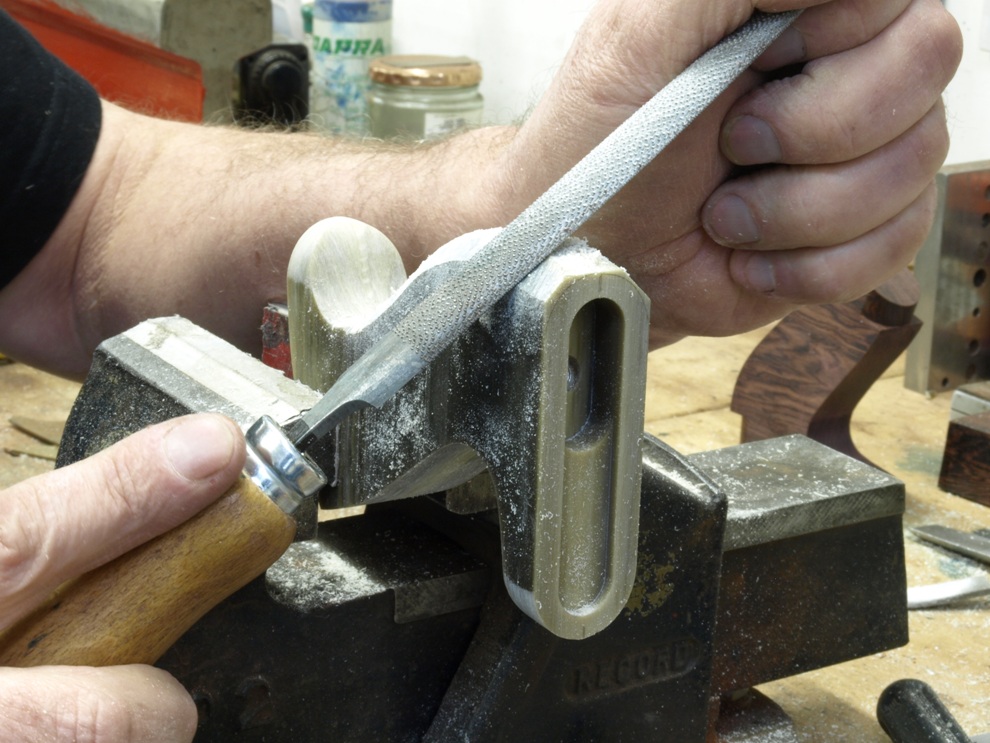
As you can see the polymer is worked in the same way as wood and the shaping is all done by hand.

Another view showing the fixing recess.
(more…)

September 15, 2010

Window to my workshop 43

What about polymer?


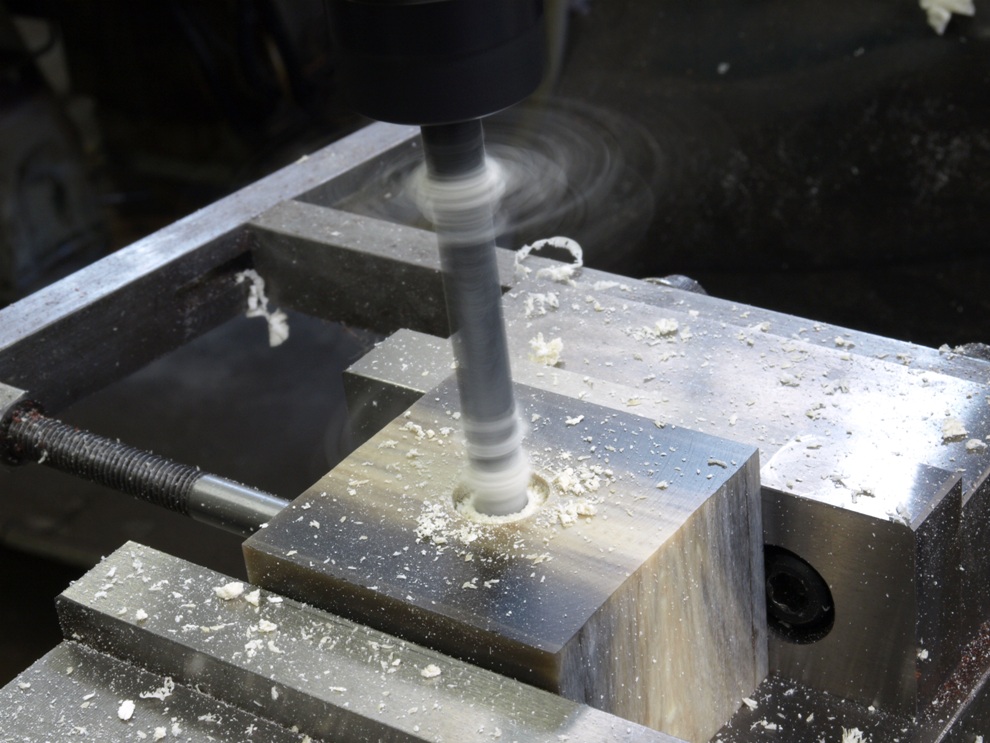
It is workable.
(more…)

November 22, 2009

Window to my workshop 29

No 982 smoothing plane in the making – 7

Just a few pictures of the wip of the adjuster mechanism for the No 982.  I seem to miss a lot of photo opportunities but I will use the few I have got.


Pictures showing some of the milling operations for the main adjuster body.  The making of this component also includes some lathe work which is not shown.

59 No 98 smoothing plane


60 No 98 smoothing plane

  (more…)

Powered by WordPress