Now that the No 982 lever caps are 99% complete I shall move on.
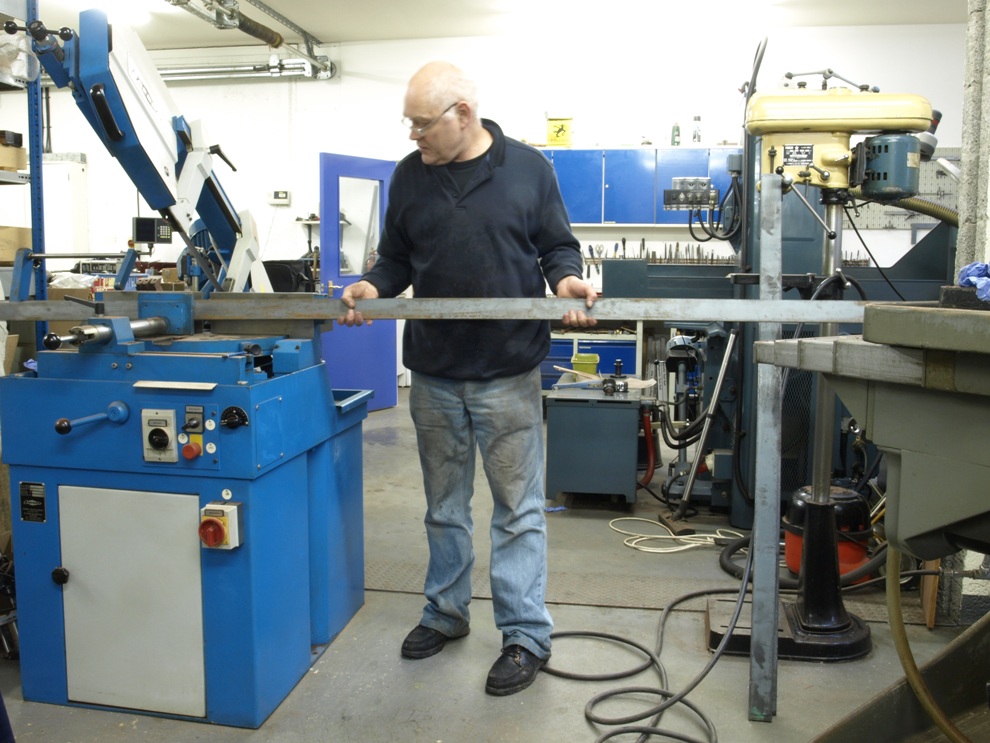
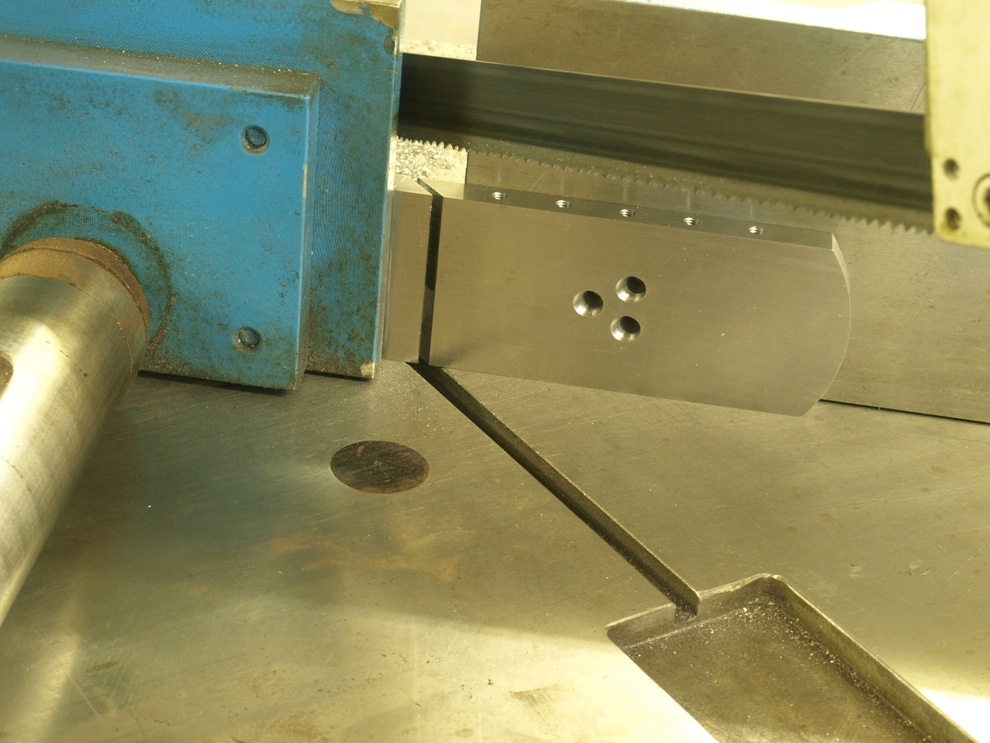
The beginning. Cutting up bottoms and sides from hot rolled black mild steel. This is a very malleable material with no stresses.
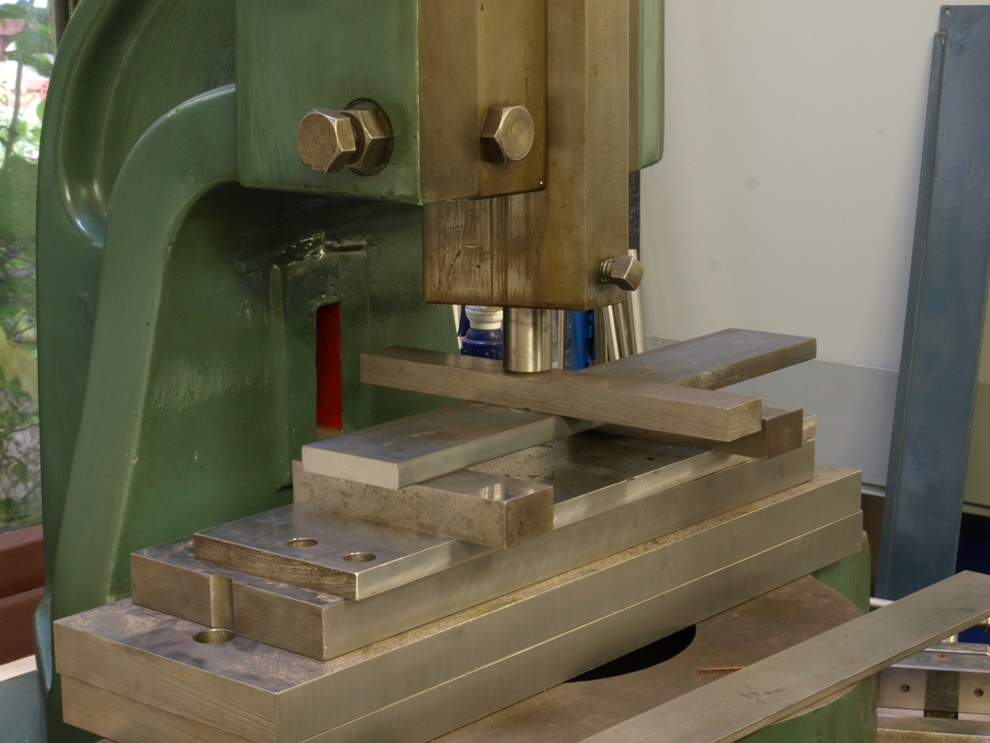
This material usually has the odd bend or two in it which then need to be flattened. I find that my fly press is handy for this.
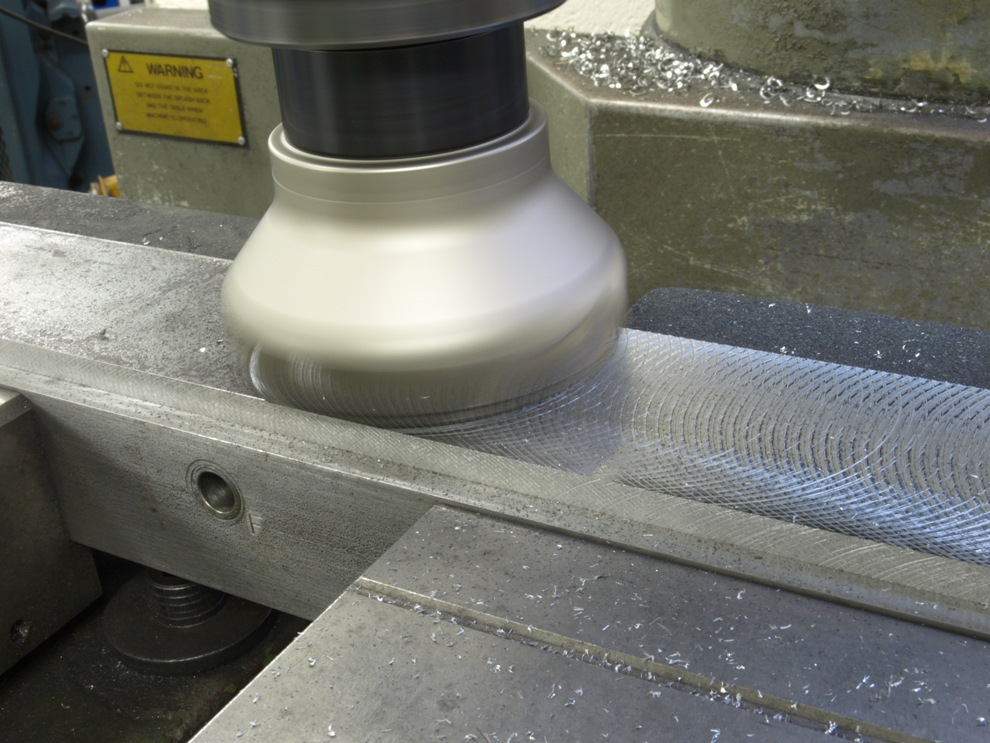
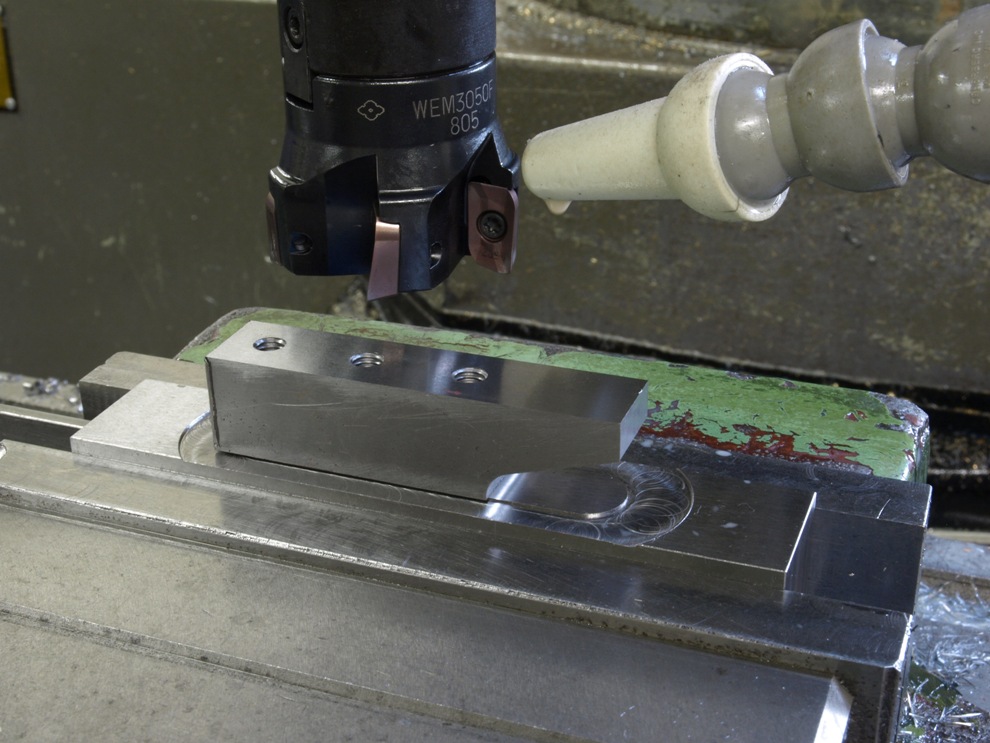
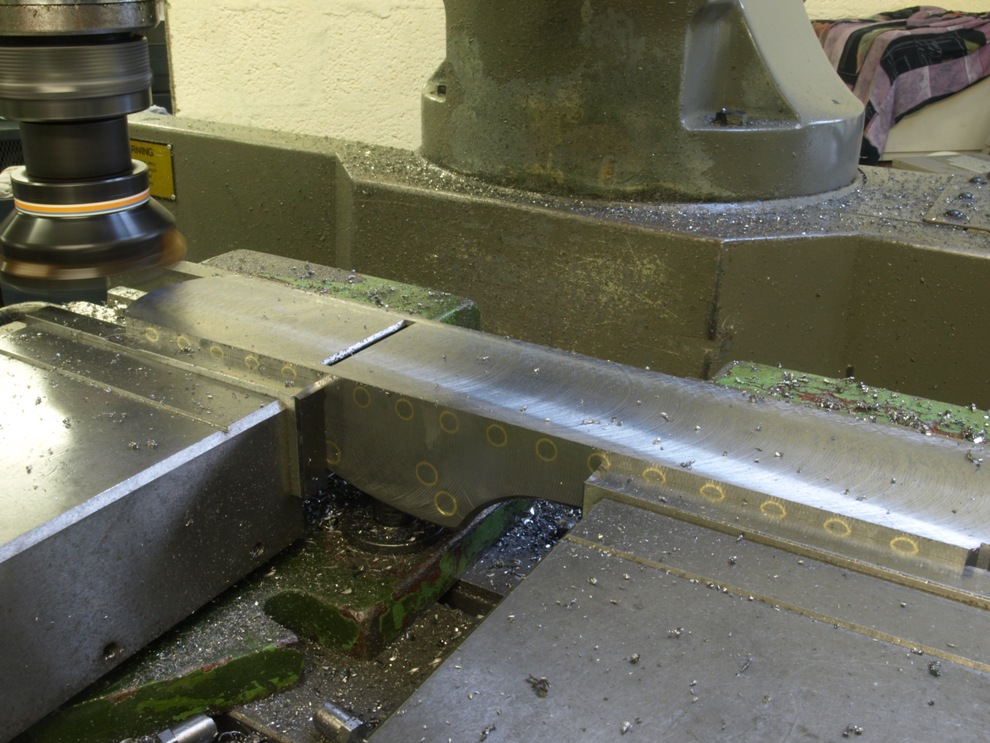
With a rough facing cutter I can de-scale and true the sections up.
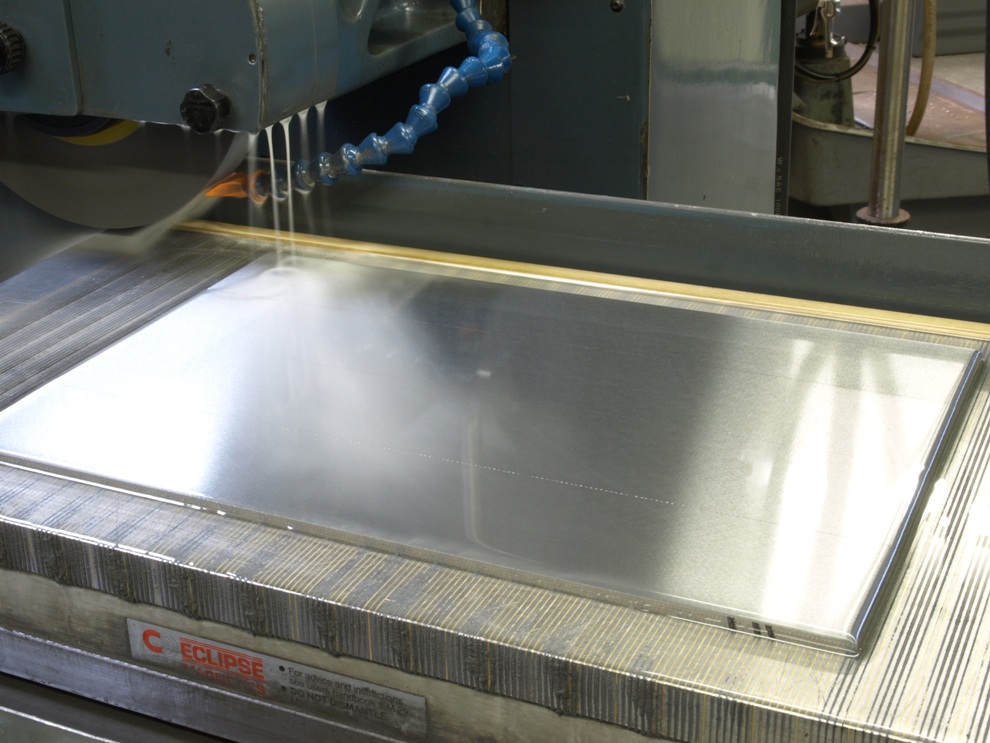
All my sections are surface ground on all faces including edges before any other work.
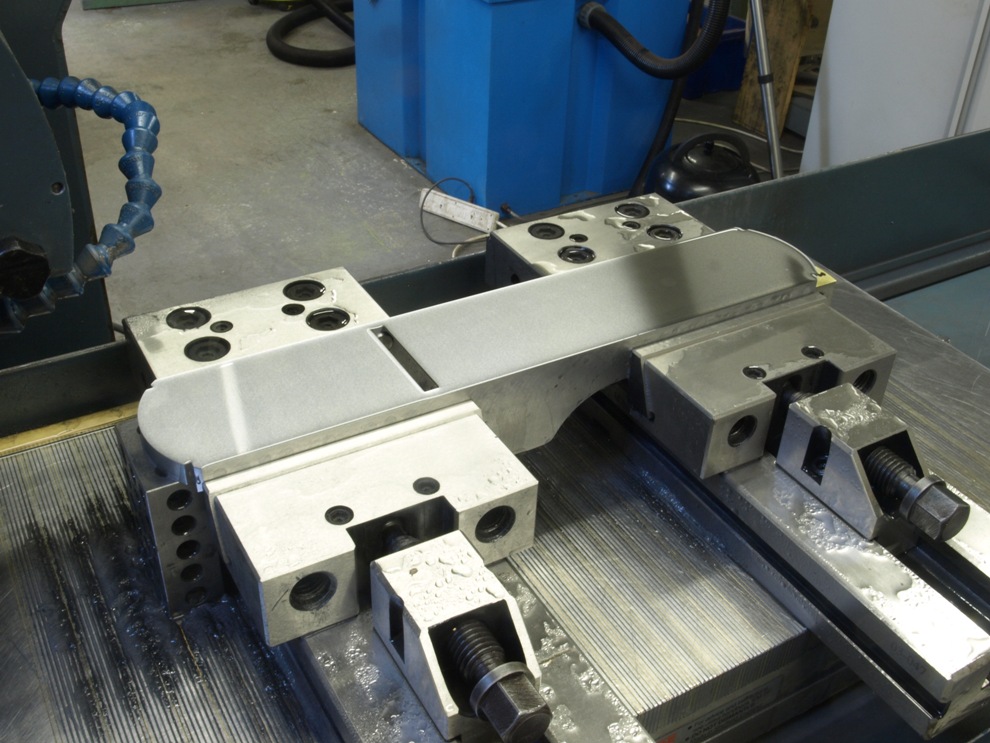
With the drilling and countersinks/bores done on the sides then I move onto the profiling and chamfering. The picture shows one pair of sides. All my work holding equipment and tooling is also precision ground and drilled for true reference.
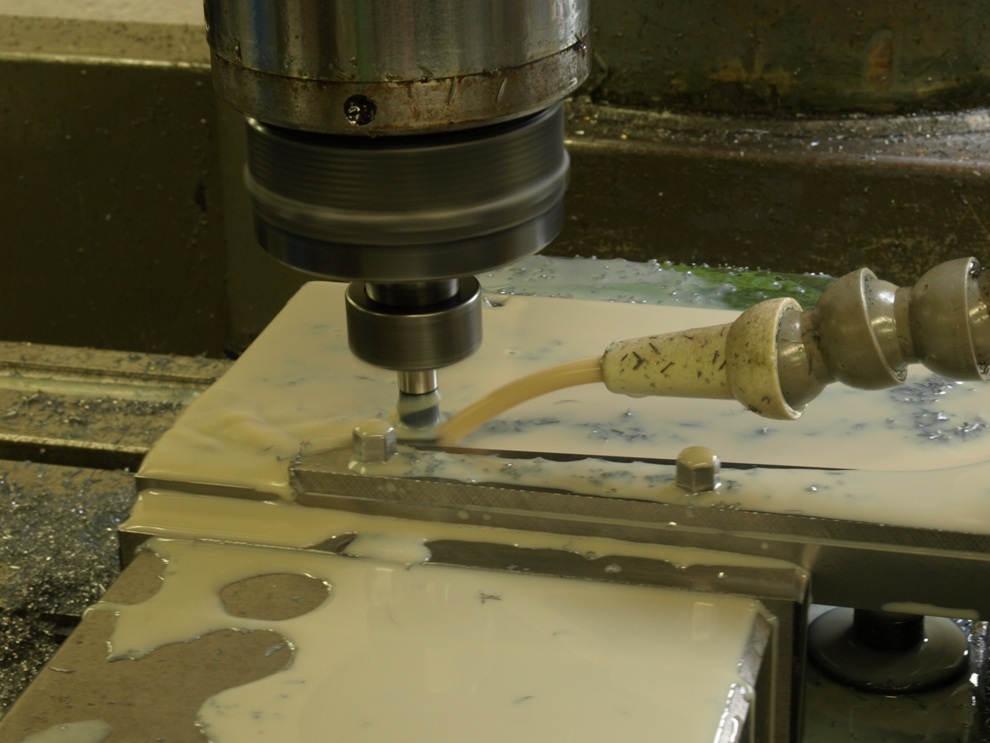
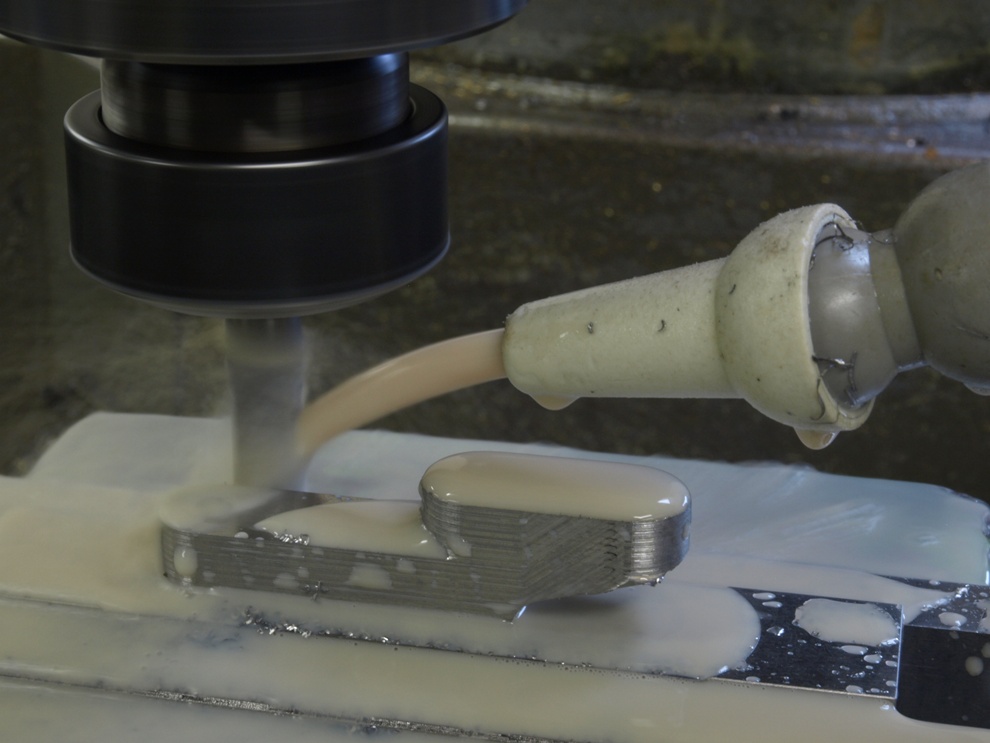
Completing the profile cutting.
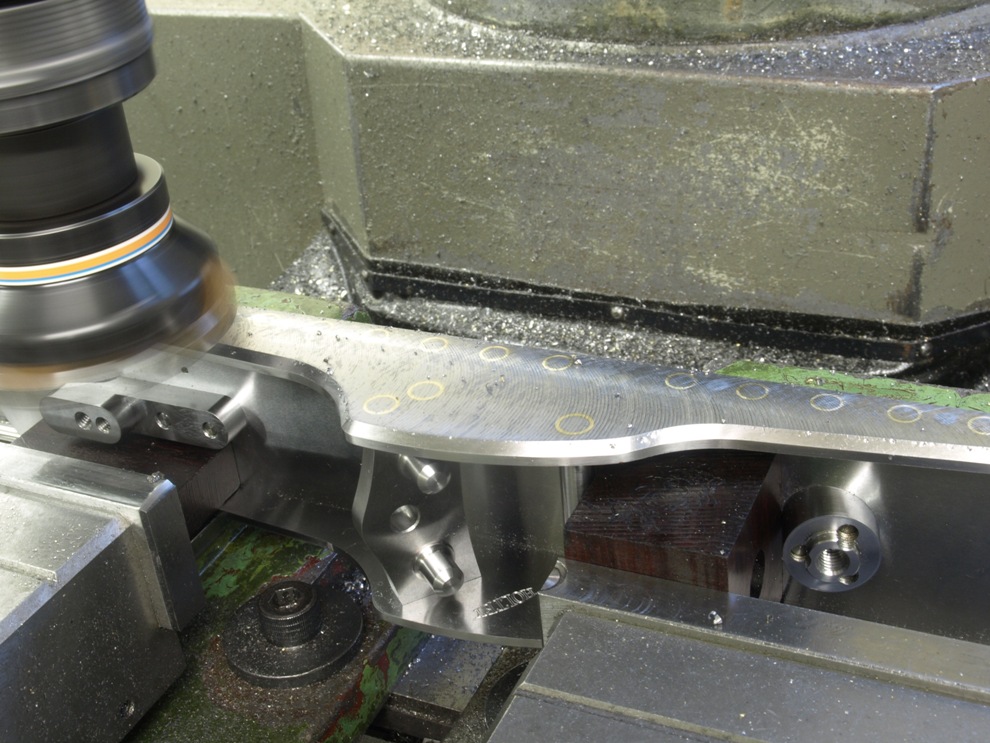
The rear handle mounting boss approximately 50% complete with further shaping to come as in the next pictures.
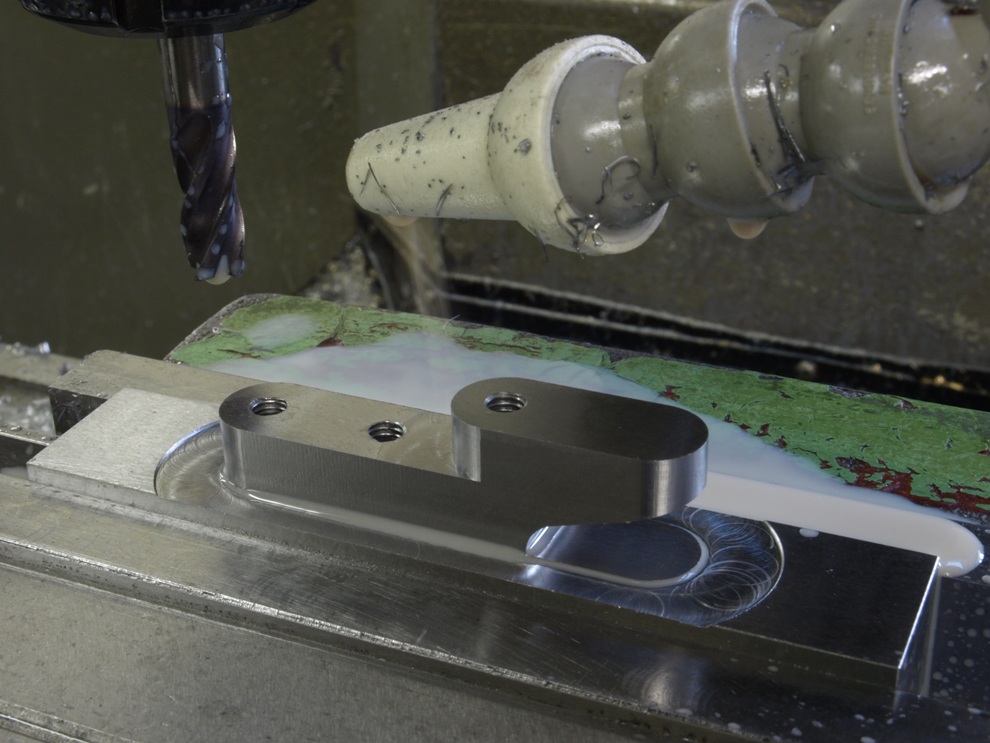
The rear handle mounting boss after finishing cut.
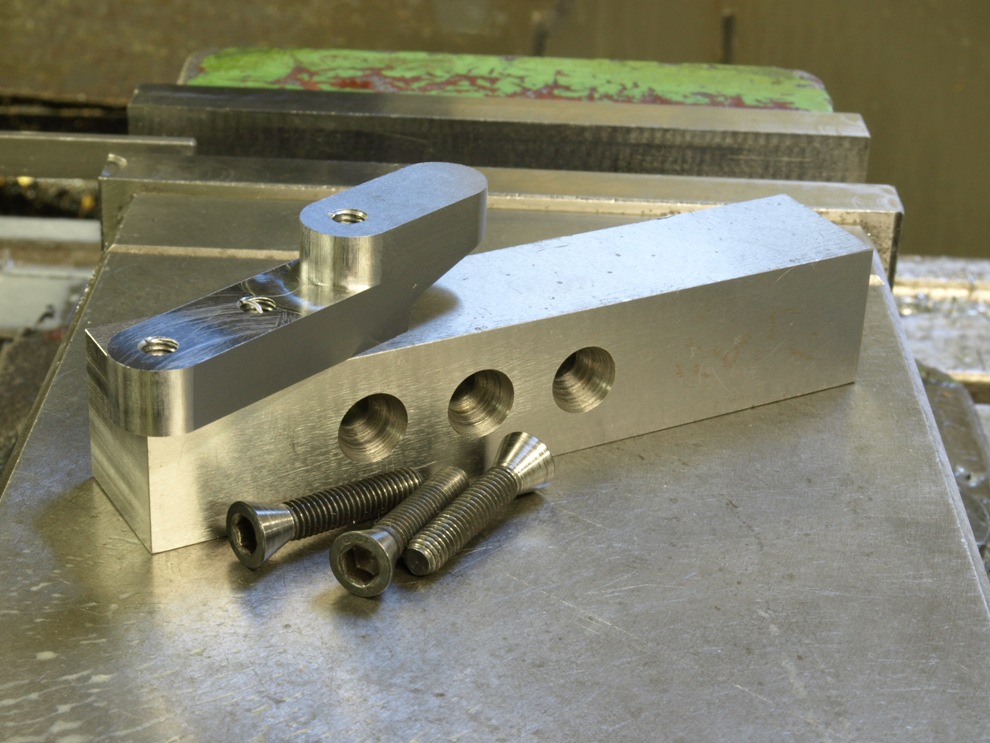
The boss removed showing the work holding block.
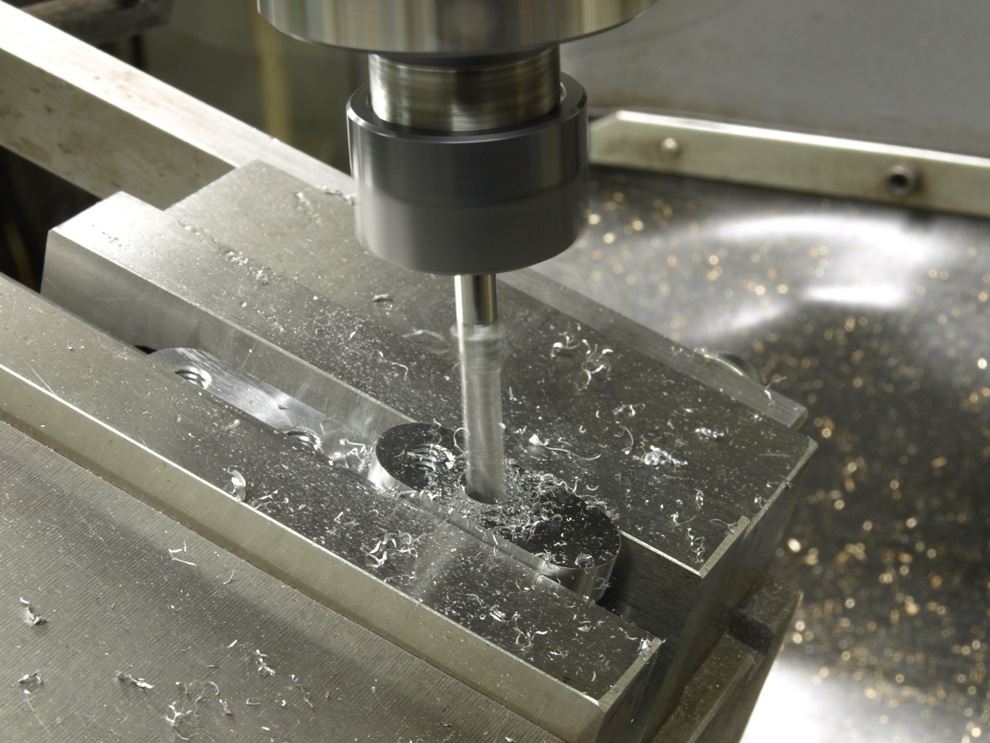
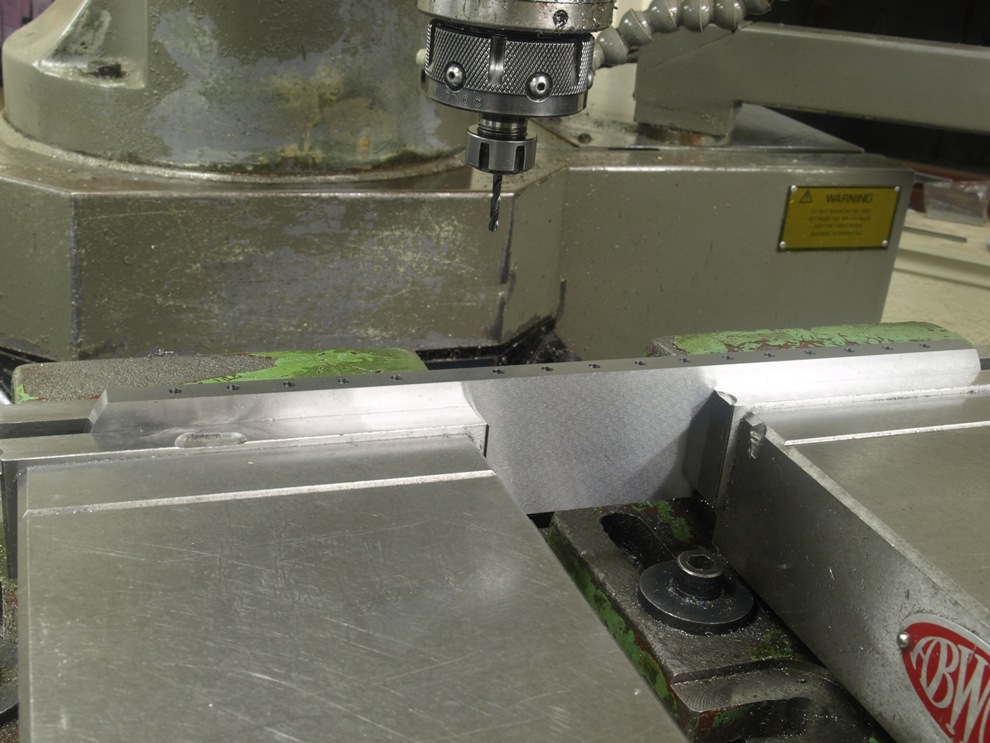
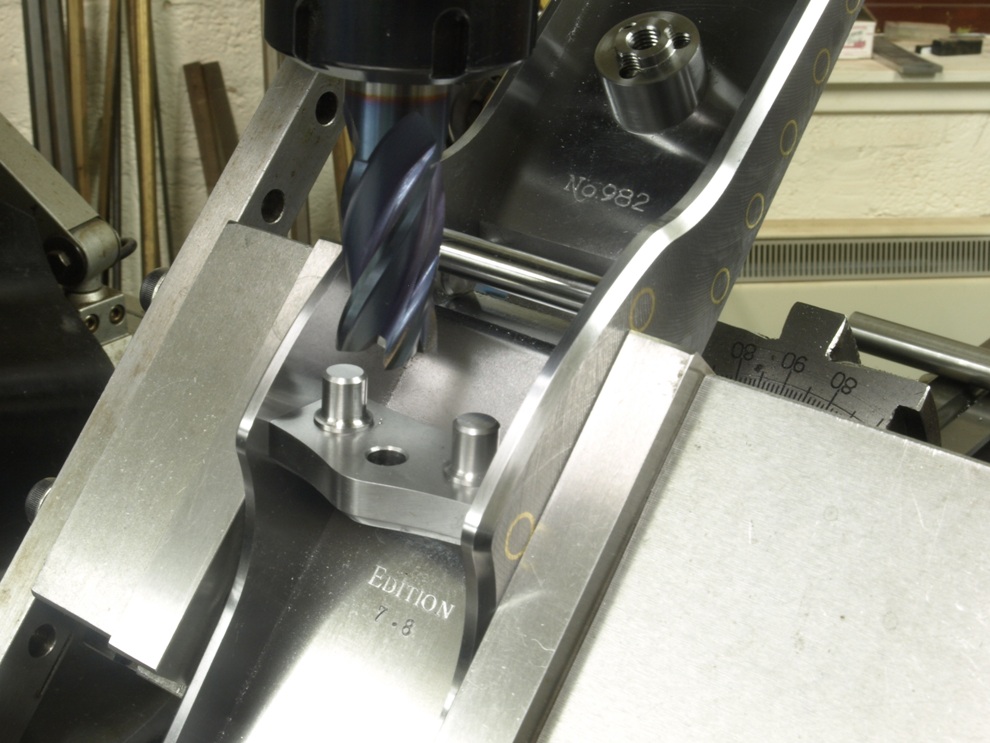
In the No 982 panel plane there is a difference in the handle fixing from the smoothers which means the fixing has to be made from the top of the handle. These two pictures show drilling and tapping to match the angle and position of the handle.
Drilling for the side fixing.
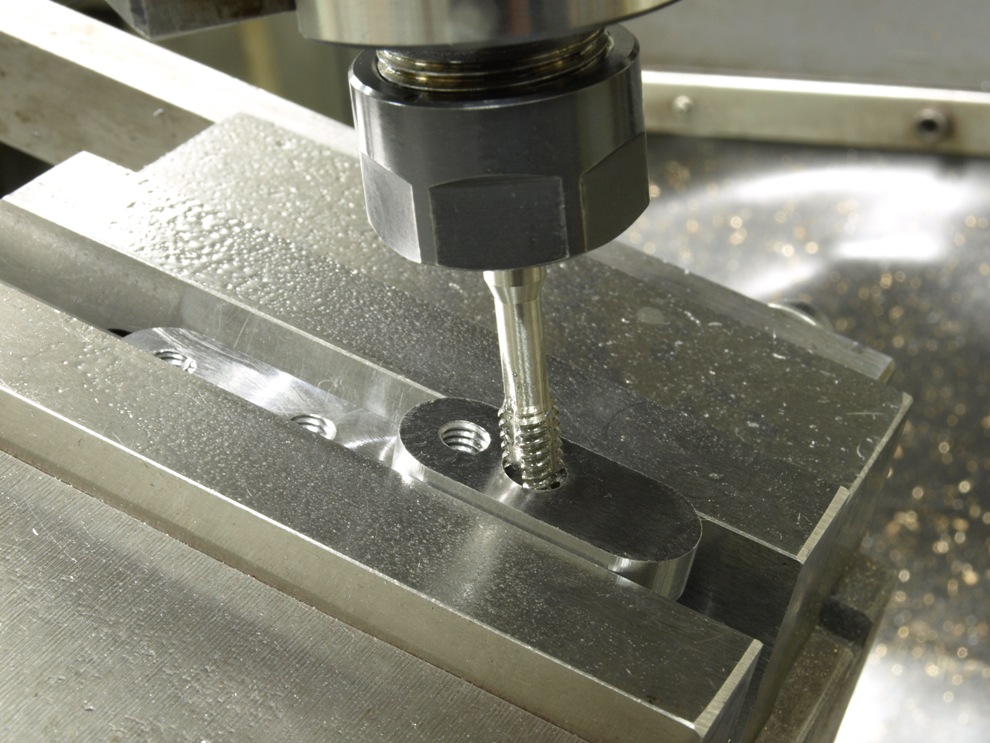
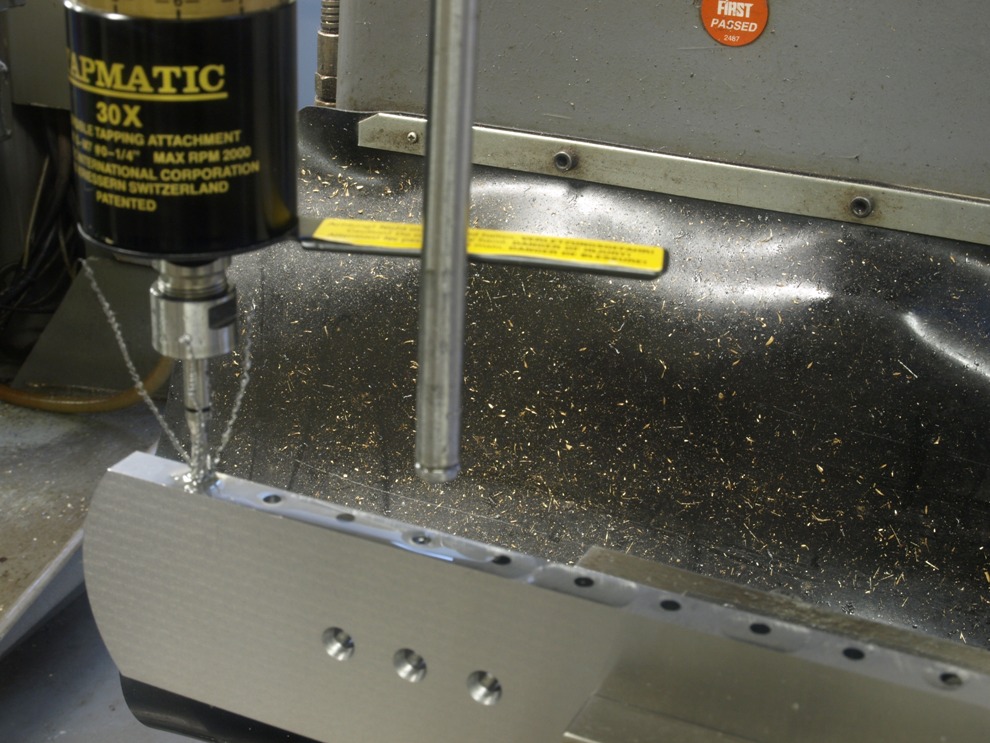
With all the boring work done the tapping can be equally as monotonous. It is a lot easier with the right tools.
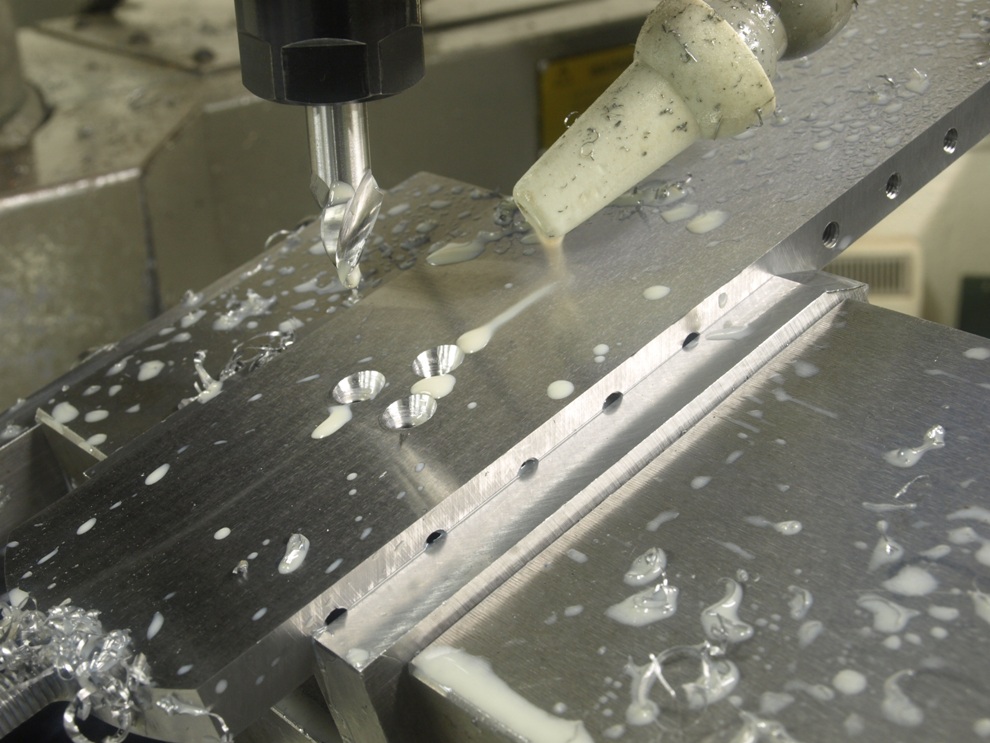
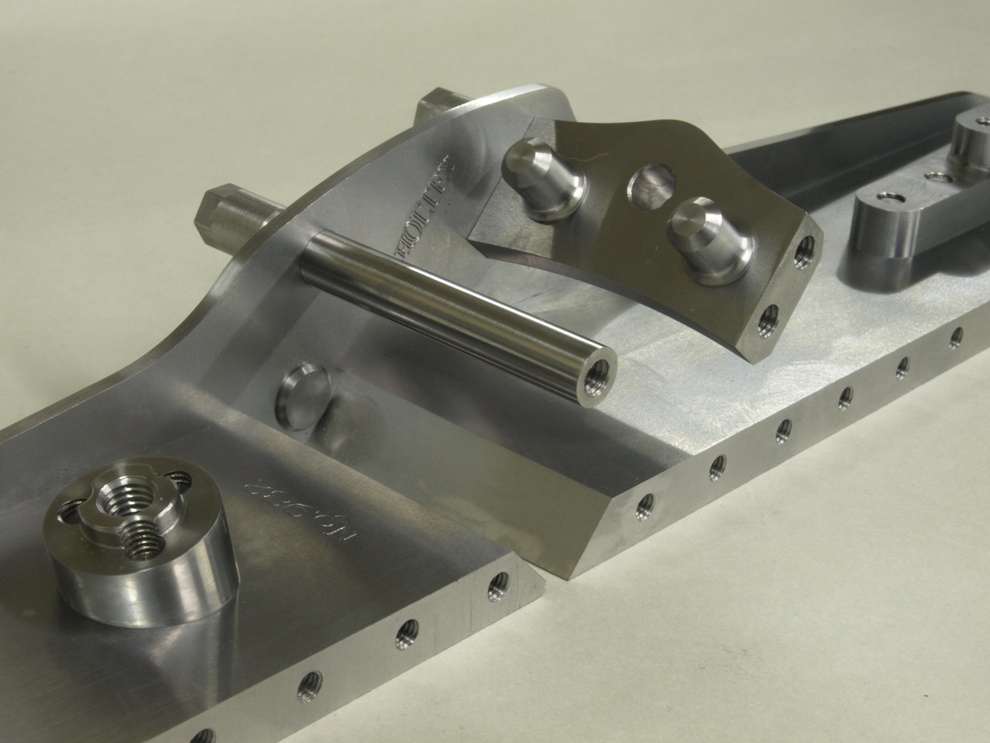
Drilling and countersinking the front bun fixing, as you can see it has a 15 deg forward tilt.
With all the drilling, countersinking and threading completed I can now separate the front end from the back end.
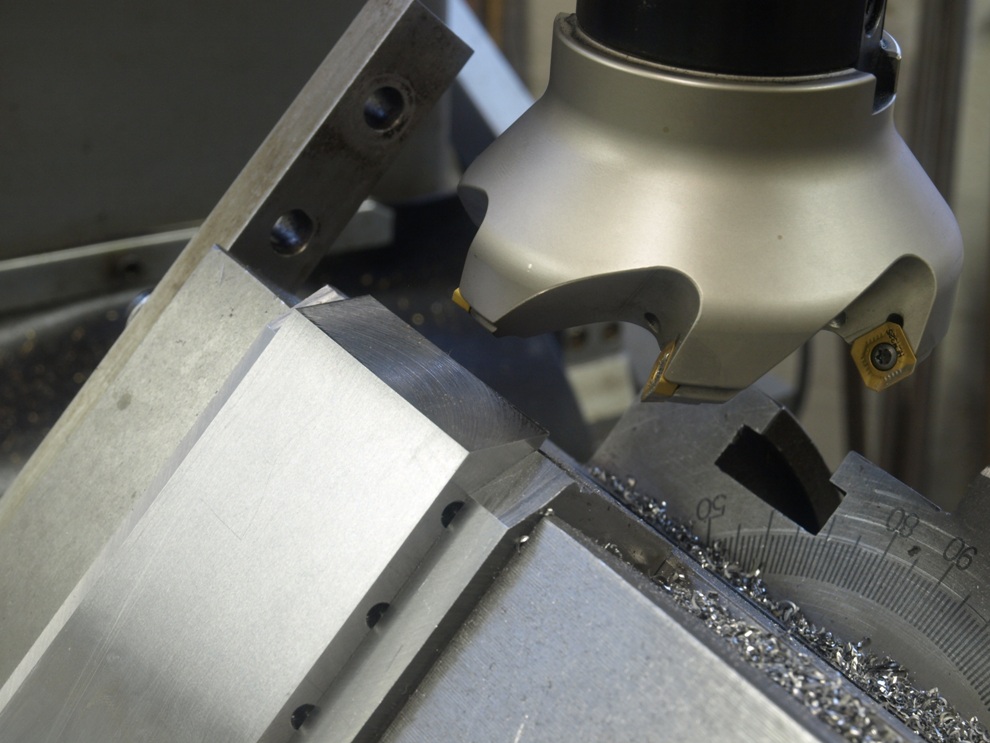
All angles on the mouth and frog are milled and then ground. As always where possible my work is carried out to a precision which is better than +/- 0.002”, assuming that my measuring instruments are correct.
Arty!
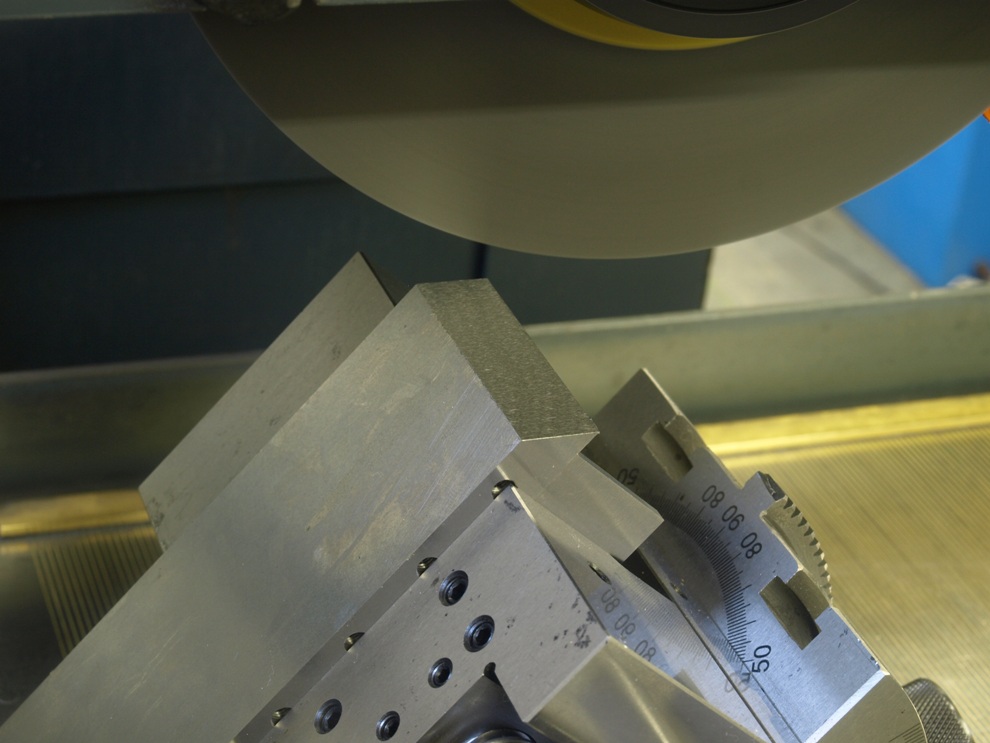
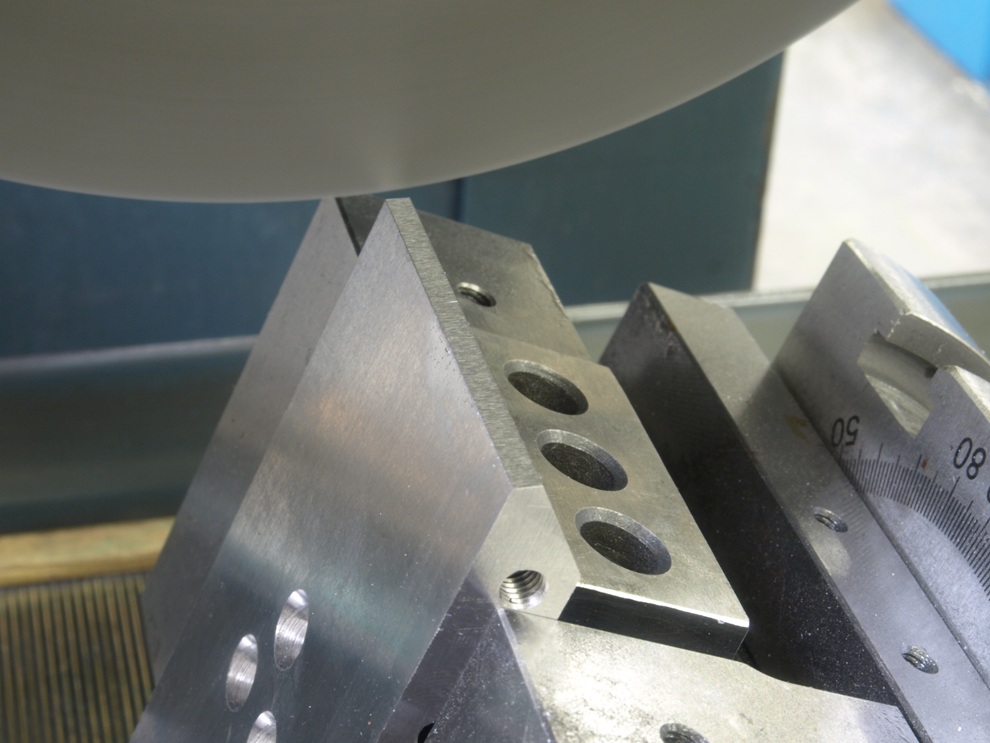
Grinding a secondary bevel to the forward section of the mouth.
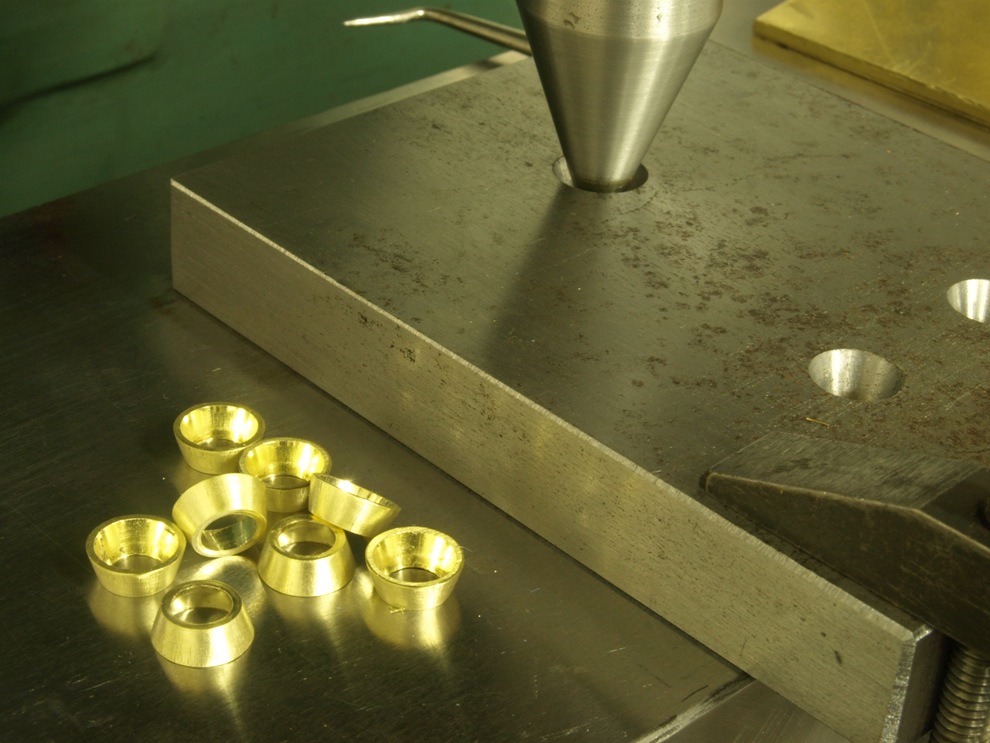
Some of my planes have the sides bolted through brass cones. Other than aesthetics the brass cones can provide a softer bedding. Picture showing some cones after forming.
When the parts are ready for final assembly I take another visit to the surface grinder to resurface for final finish to the inside surface which will be inaccessible after assembly. Though everything was surface ground to start with it is impossible to come this far without picking up the odd mark or two.
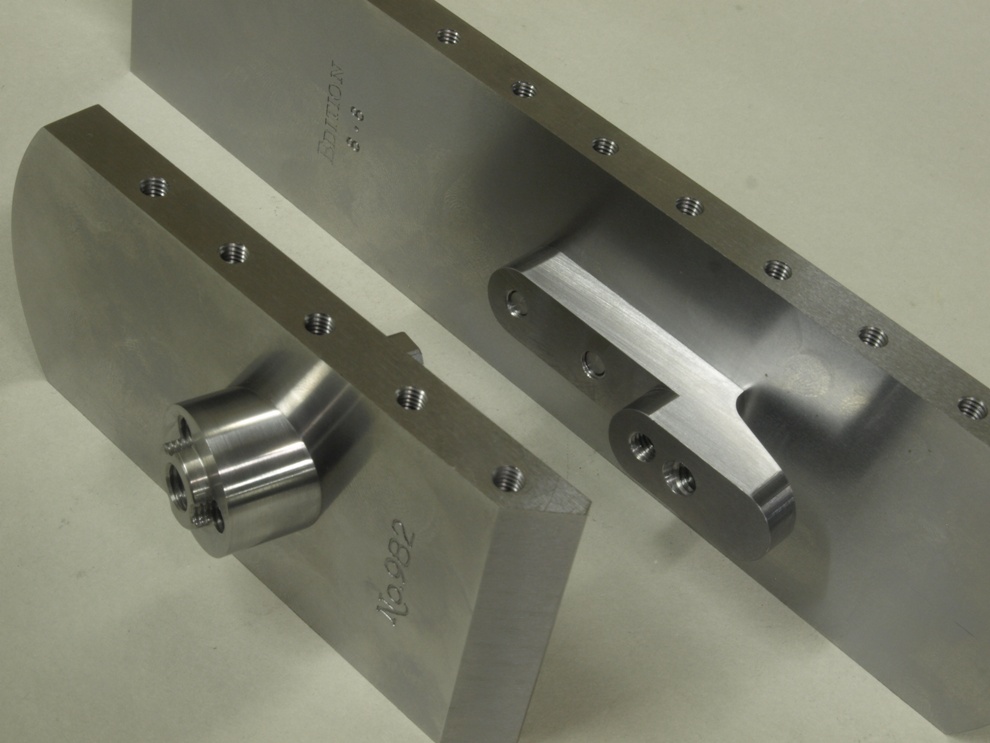
The bottom with all its handle fixings.
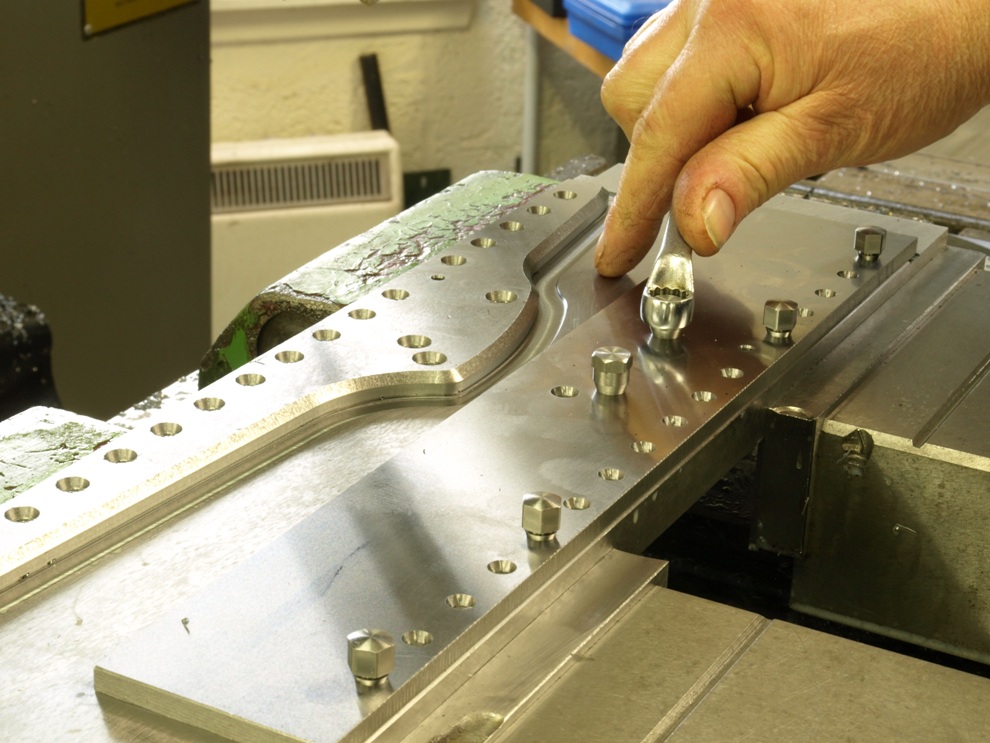
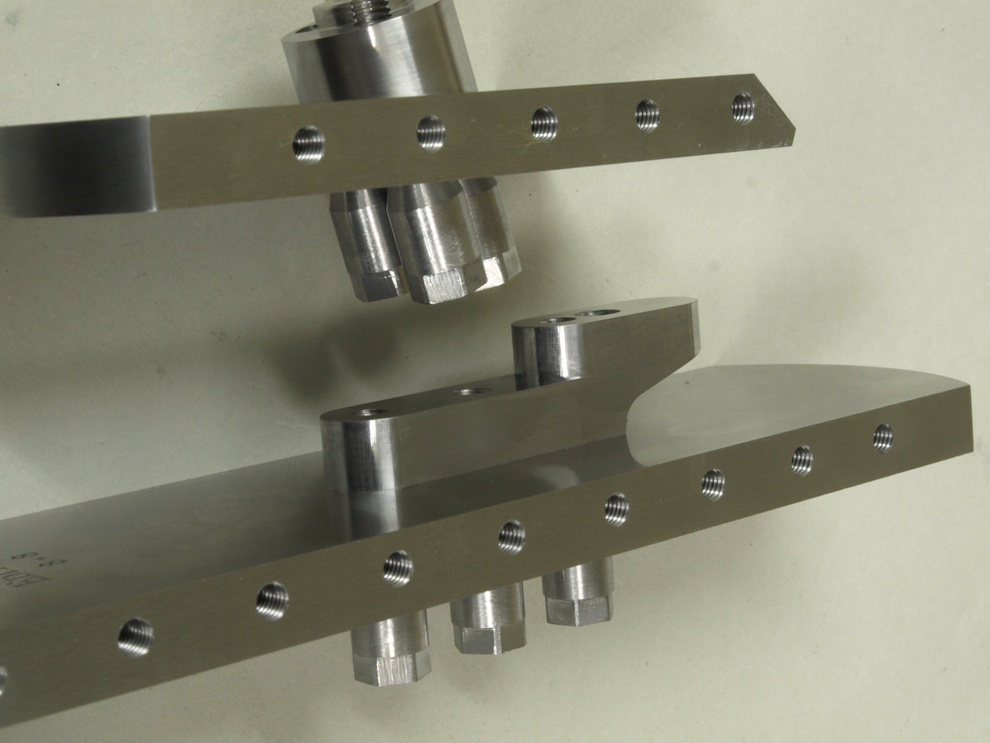
Views of the front and rear handle bosses finally screwed into place using a thread locking compound.
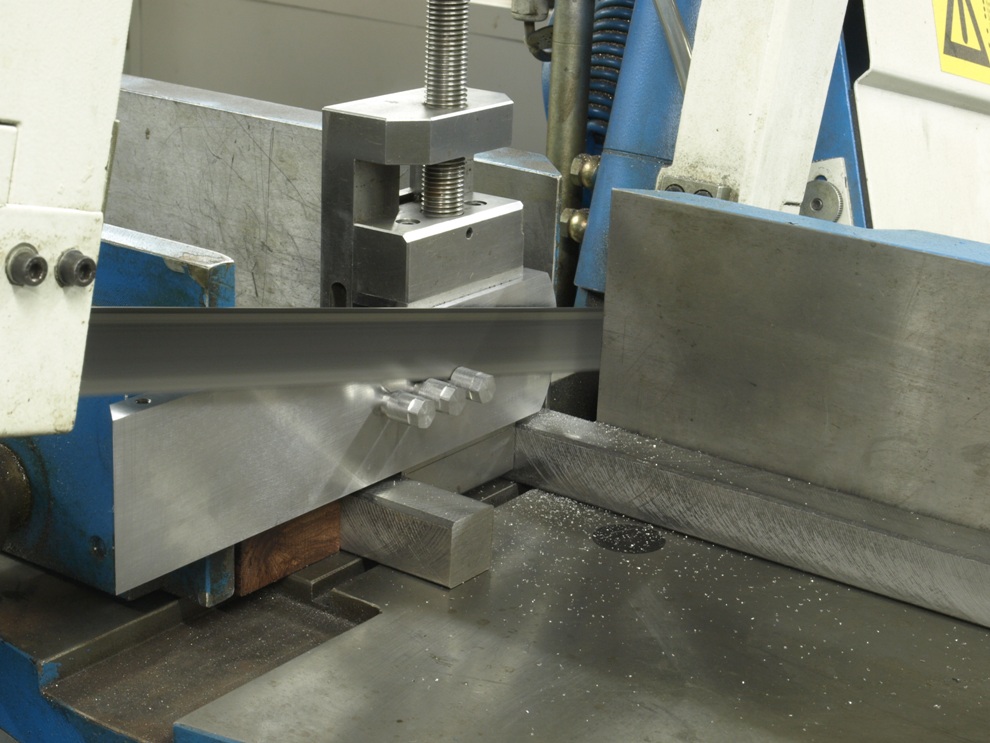
Trimming off all the bolt ends with the bow saw.
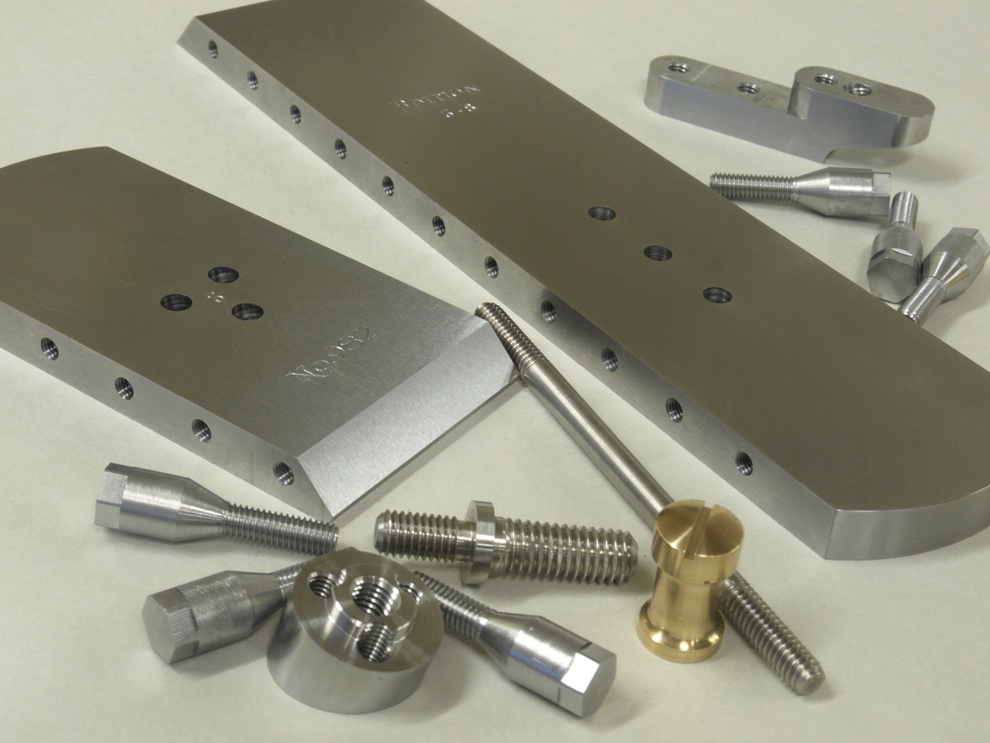
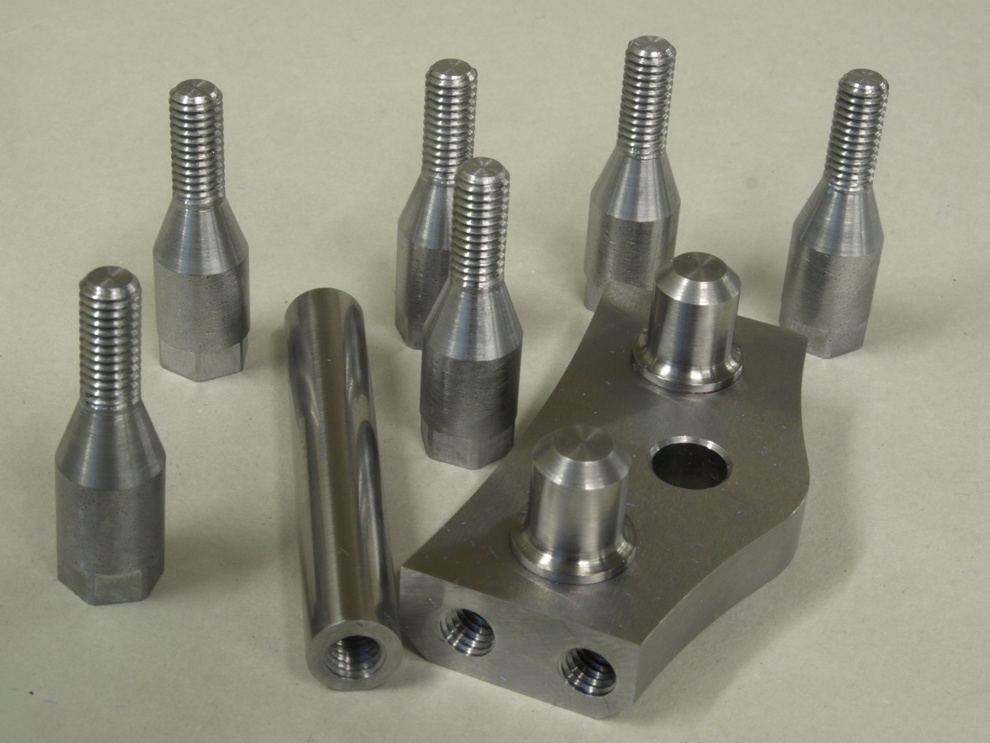
Adjuster and lever cap bridge. Showing the fixing bolts and the blade bed risers (already fitted).
Inside picture with one side off.
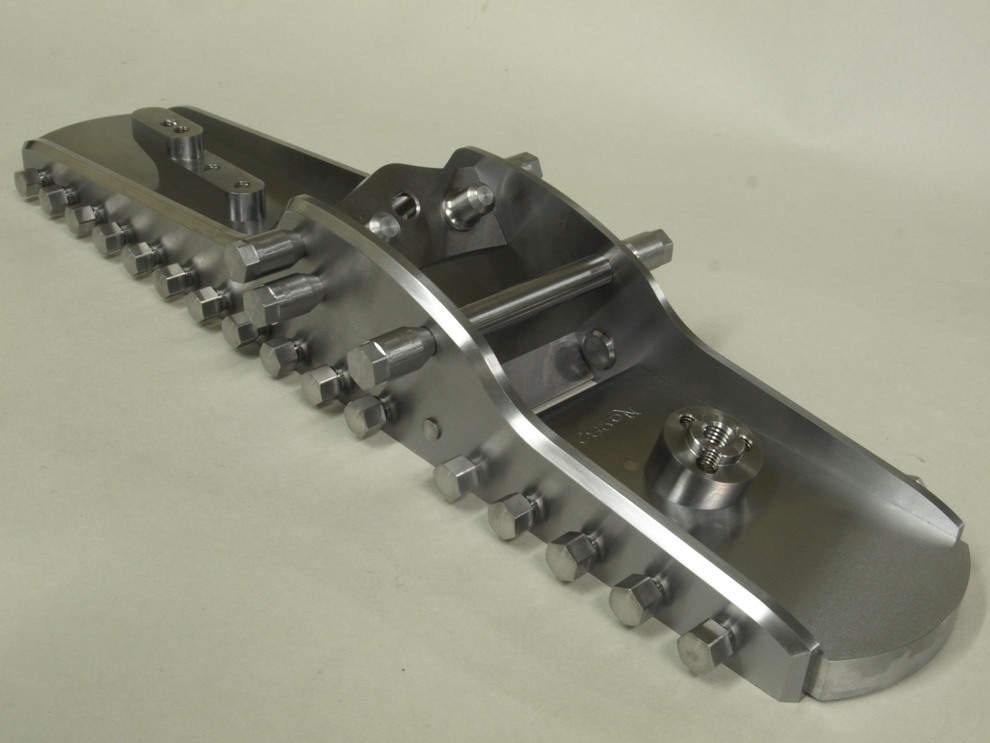
Plane with all the bolts in place. You may see a slight gap round some of the bolts as they are only finger tight, they are yet to have locking compound applied and tightened with the torque wrench (you can see this on the blog of the No 982 smoother).
Chopping off the driving heads of the fixing bolts. The picture shows plane with brass cones.
When making the sides I allow 1/16” for extra strength around the fixing holes to reduce the risk of deformation when tightening up on the fixing bolts. When it comes to flushing the bottom I remove this excess material before skimming the whole bottom. One of the things I like about this fixing method in fabricating planes is that there is very little deflection in the plane body. In fact on these 14 ½” planes there was less than 2 thou deflection – in my opinion this is pretty damned good. You cannot achieve anything like this with dovetailing or riveting.
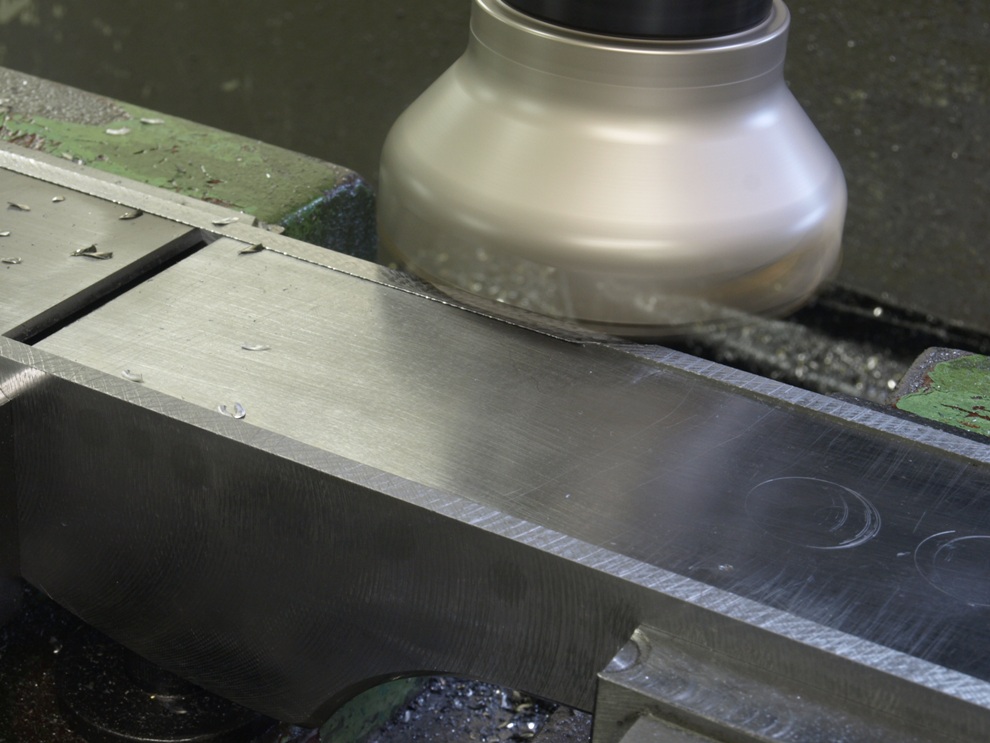
Final skim of bottom before grinding.
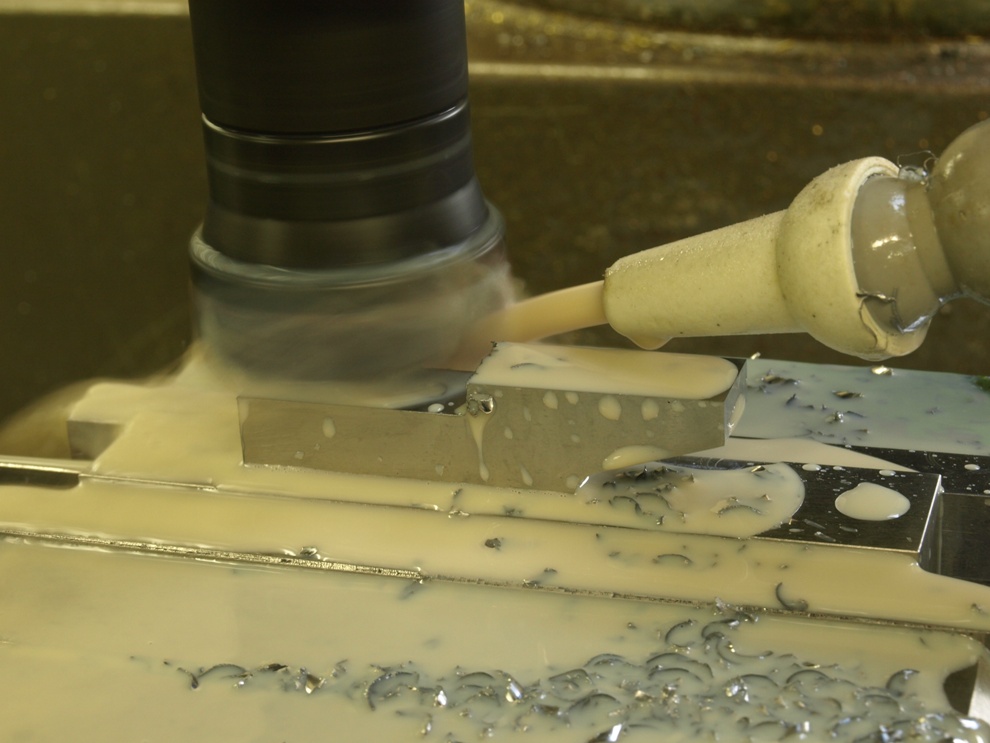
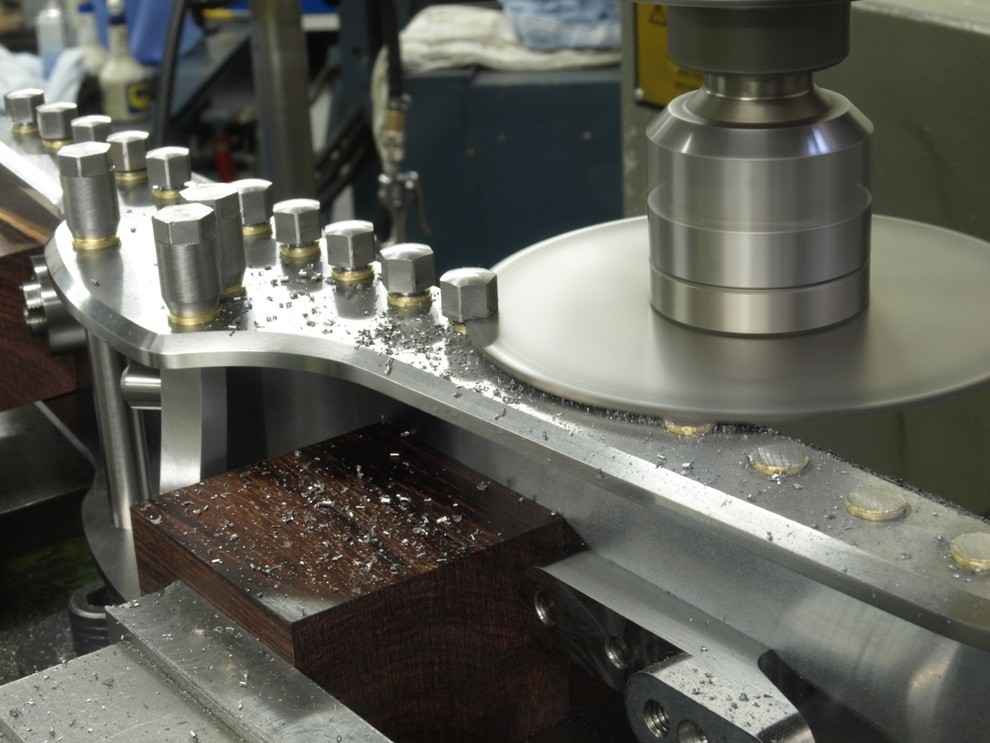
Final skim on sides before grinding.
The final trimming of the blade bed risers is taken after the sides and bottoms have been milled true. The tops of the risers are referenced from the precisionally ground frog to ensure a true plane.
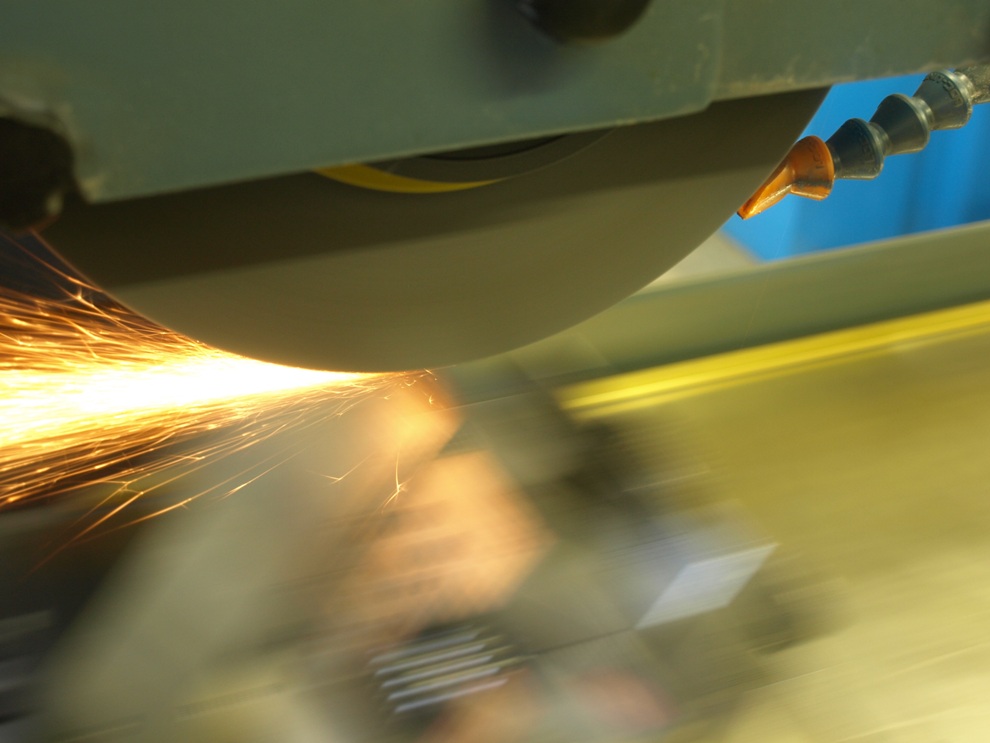
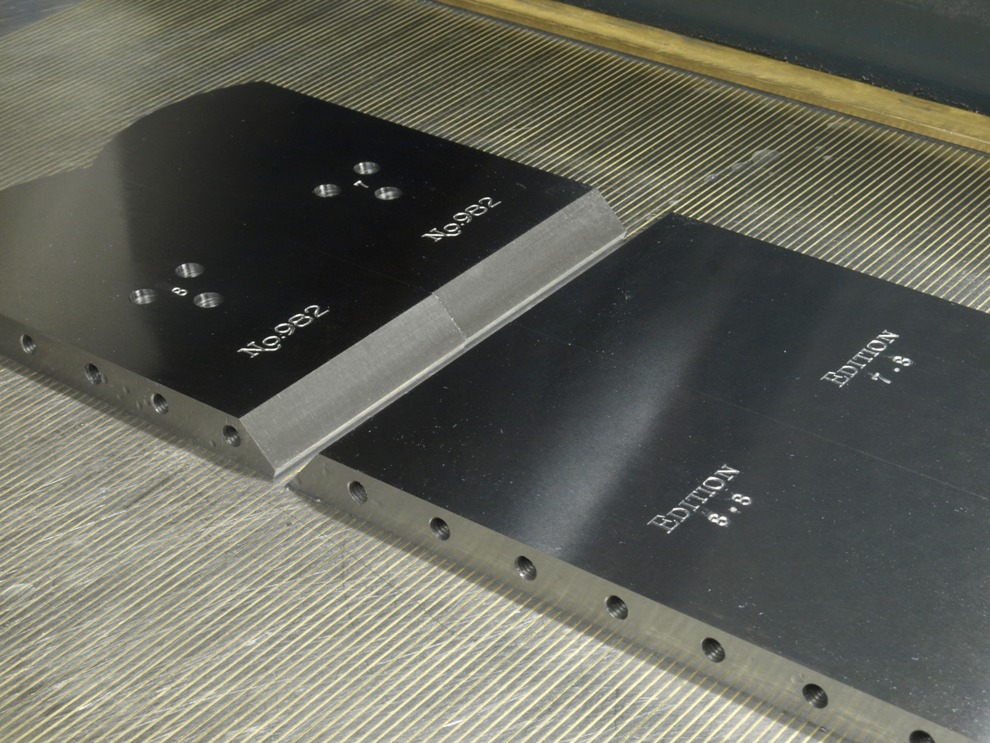
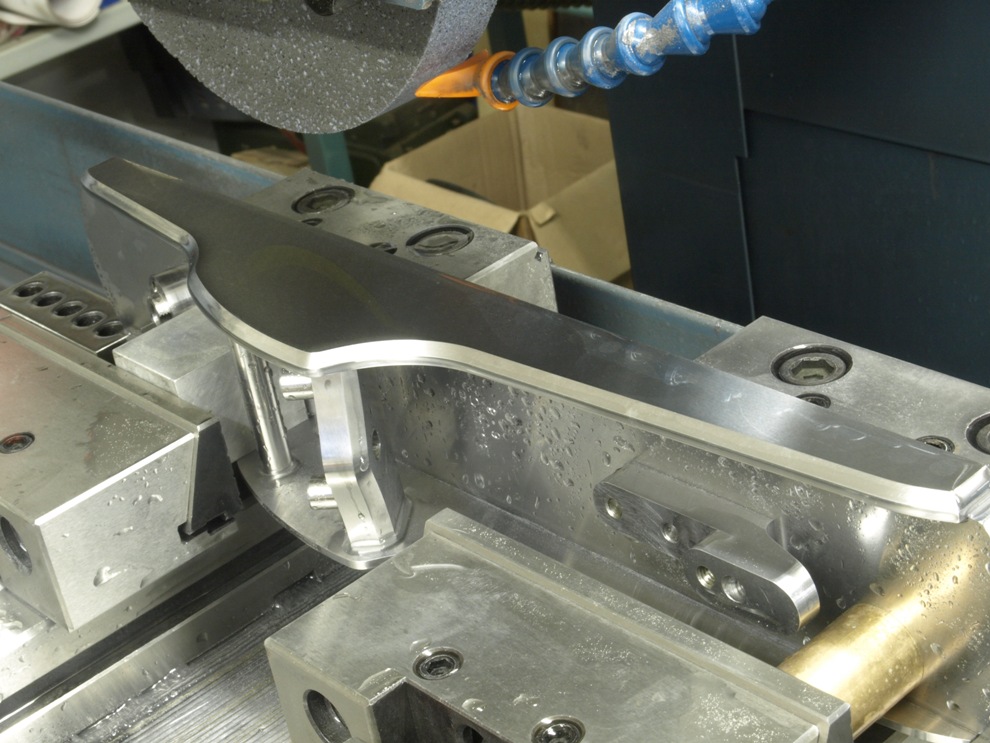
The final surface grinding to the bottom.
The final surface grinding to the sides
Return to main page

Wow, I’m allways blown away!! It is absolutly amazing! Can you tell me how long it takes you to build one of these frome start to finish? Thank you again to take the time to share all your work!!
Cheers
David
Comment by david gendron — December 28, 2010 @ 2:09 am
Hi David
Thanks for your comments. Your question is always a difficult one, as it is difficult keeping records on everything. If I worked it out methodically I think the prices would be even higher! I can only take a guess of in excess of 250 hours. In the case of these 8 x 14 1/2″ No 982 planes they just seem to have dragged on for months even though I am using some components made when I made the smoothing planes. It is frightening to think what the real cost should be.
k
Comment by admin — December 28, 2010 @ 12:41 pm
These are excellent high quality pictures. You can tell you take care of every detail and everything is so clean and neat which we know is important when you are working with power tools. It is just amazing to be able to see the process. I will visit your blog more often.
Comment by Cordless Power Tools — January 11, 2011 @ 5:03 pm
Your work just screams “first class”. You should be Knighted by the Queen of England.
Comment by craig — January 13, 2011 @ 9:31 pm
Excellent work, as always. It’s scary to imagine what you’d have to charge if you had an hourly rate! I’d also be interested to see what you’d have to charge by the pound; these 14 1/2″ models look massive! Any guess what the final weight of one of these would be?
Cheers,
Cory
Comment by Cory — February 3, 2011 @ 9:46 pm
Hi Cory
The 14 1/2″ No 982 panel plane is very close to 3 kilos (6 1/2 lbs), so this makes it well over £1,000 a 1lb. Looking at it in this light I suppose a bag of potatoes is very good value. If I was to set a proper hourly rate the price would become a little more frightening.
There were only 8 of these planes made and I hope to do a final blog with some pictures of the finished planes this weekend.
Thank you for your interest.
k
Comment by admin — February 4, 2011 @ 9:37 am
Bit of a noob question but what is it exactly, I have just started doing metal fabrication in a job and am looking to start a engineering course ASAP. were did you get your skills from?
Comment by Industrial Fasteners — October 10, 2011 @ 1:39 pm
I think the picture you are referring to is me using a press to knock out some of the kinks and bends on the steel used for the No 982 plane bottoms.
k
Comment by admin — October 17, 2011 @ 10:46 am