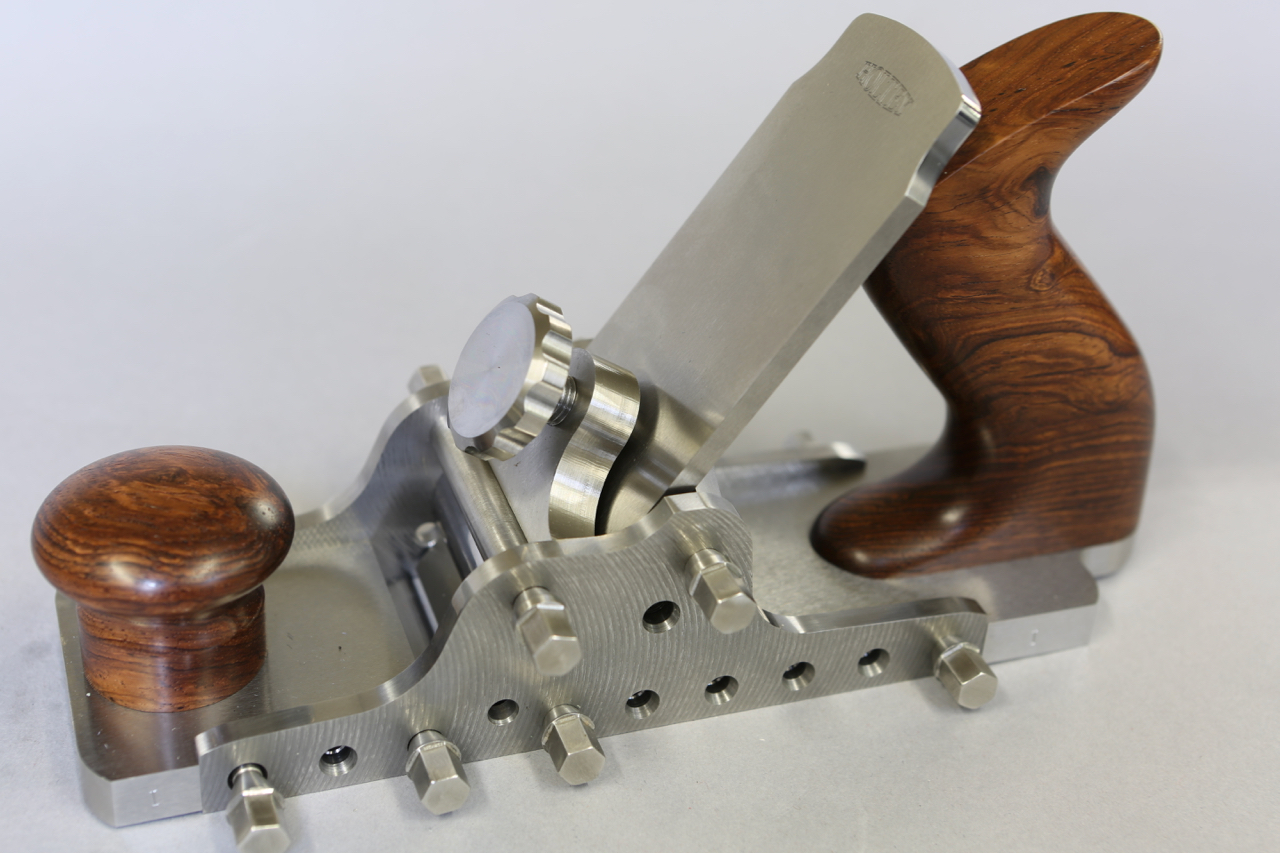
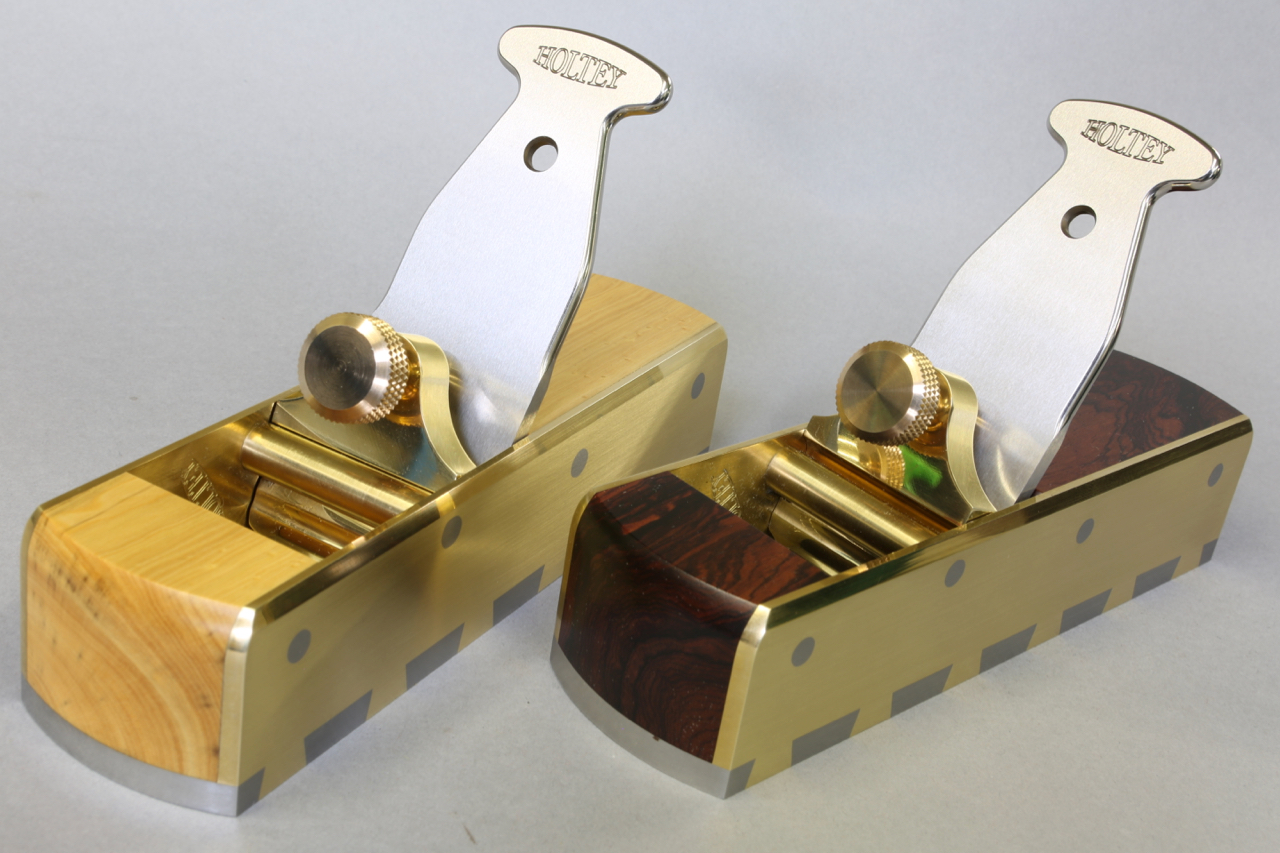
Just thought I would put this picture up of the No 985 smoother in its chrysalis form, still some work to go but on course to be completed for the end of the month.
Just thought I would put this picture up of the No 985 smoother in its chrysalis form, still some work to go but on course to be completed for the end of the month.
I was hoping to get my handles underway this week, but decided to complete the chassis first as the handles will need tweaking when I have an assembled plane.
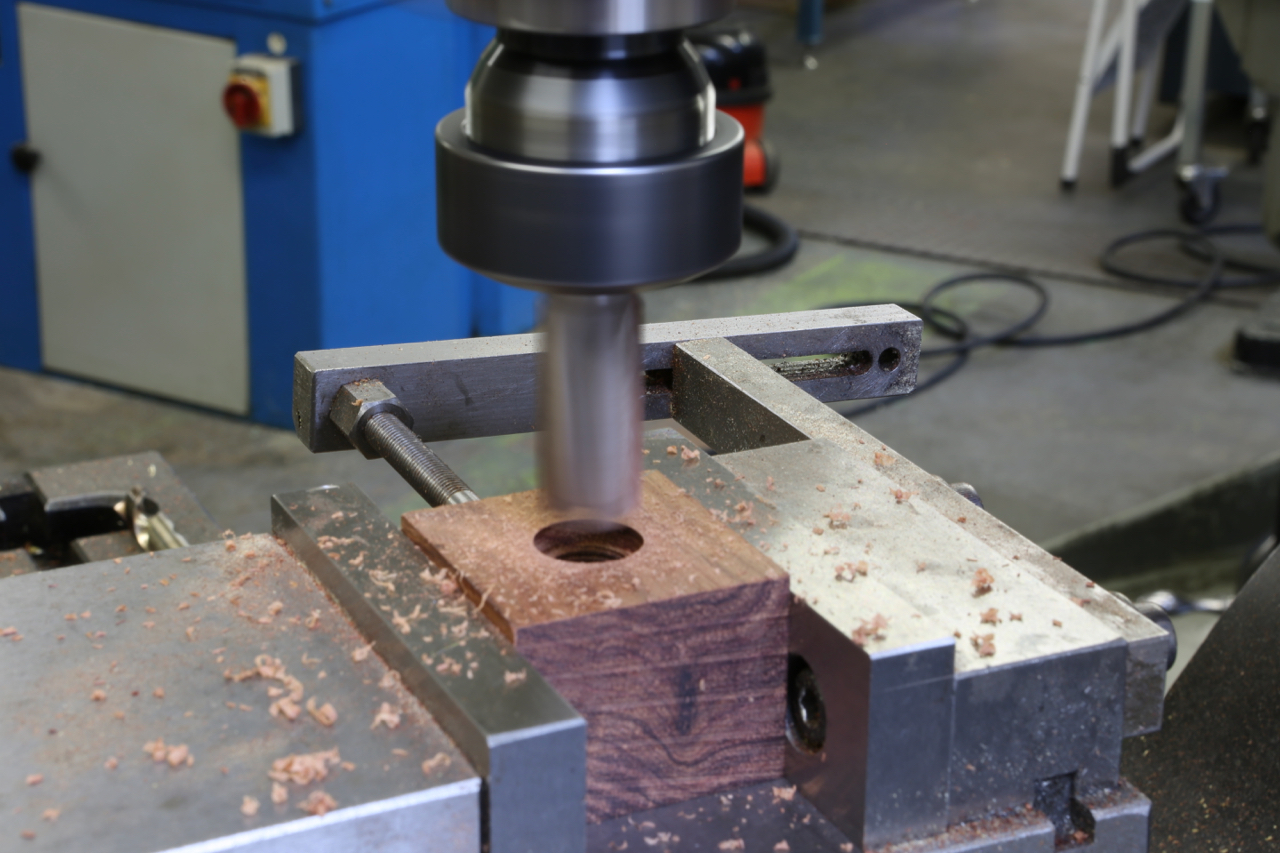
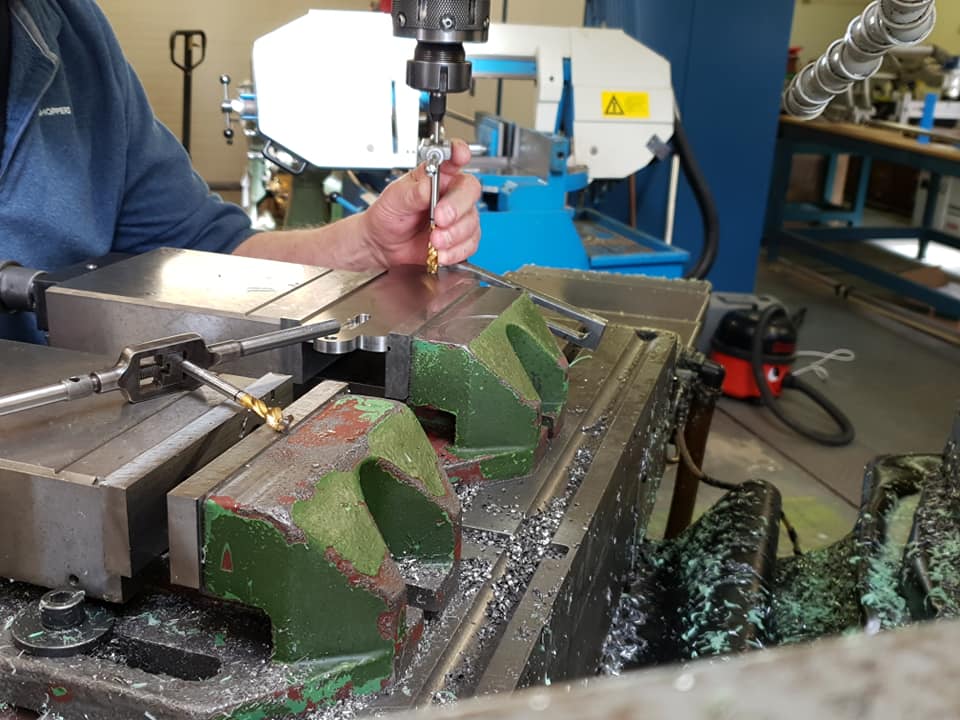
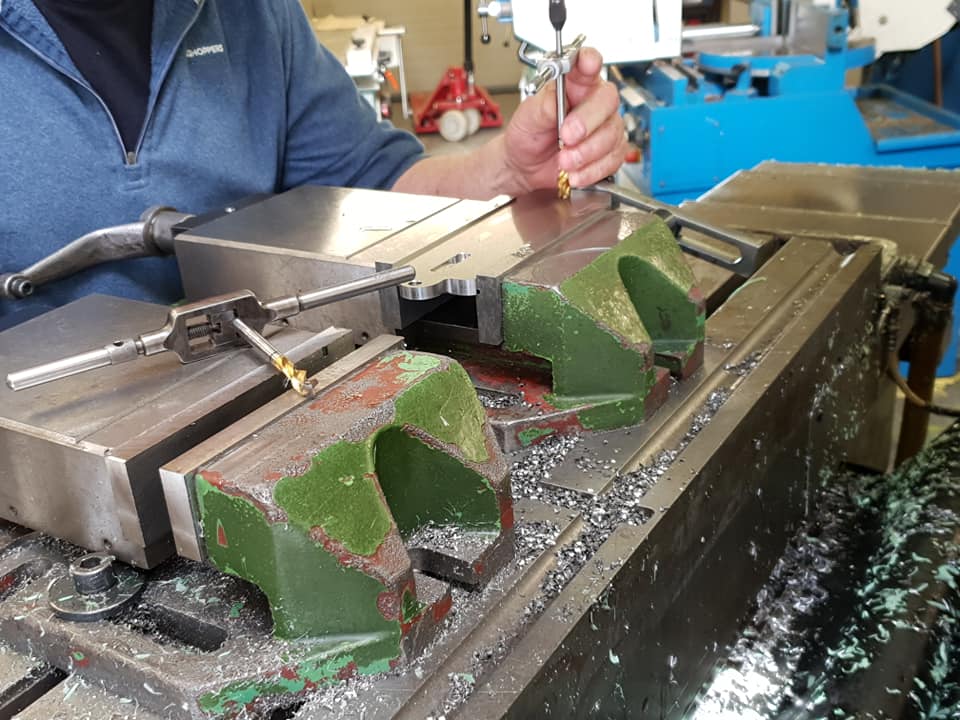
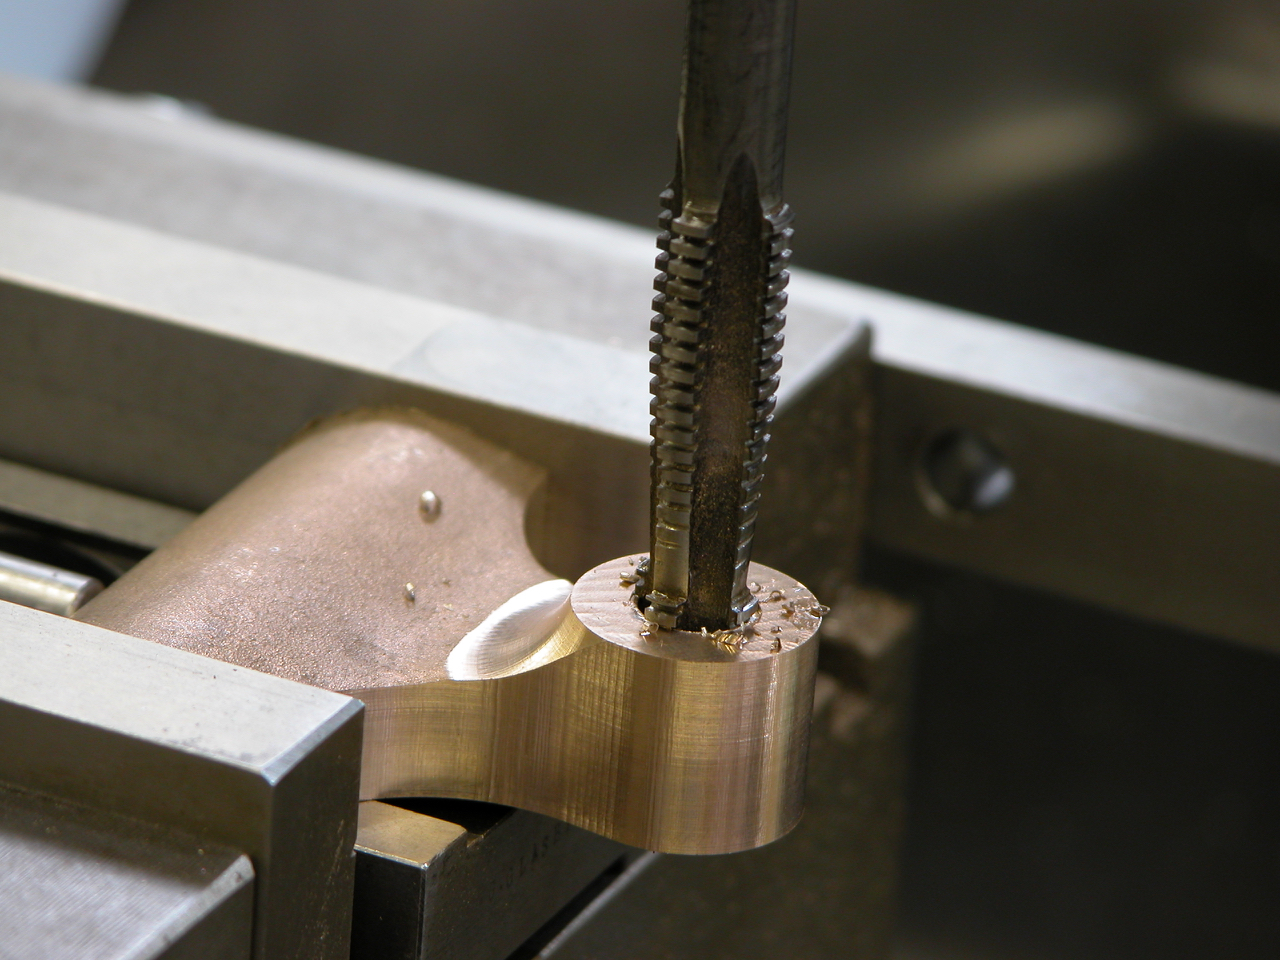
The start of the front bun, drilling, tapping and counter bore ready to go on to the turning abor. This is the same fit as the fixing bush. Which is another hidden job.
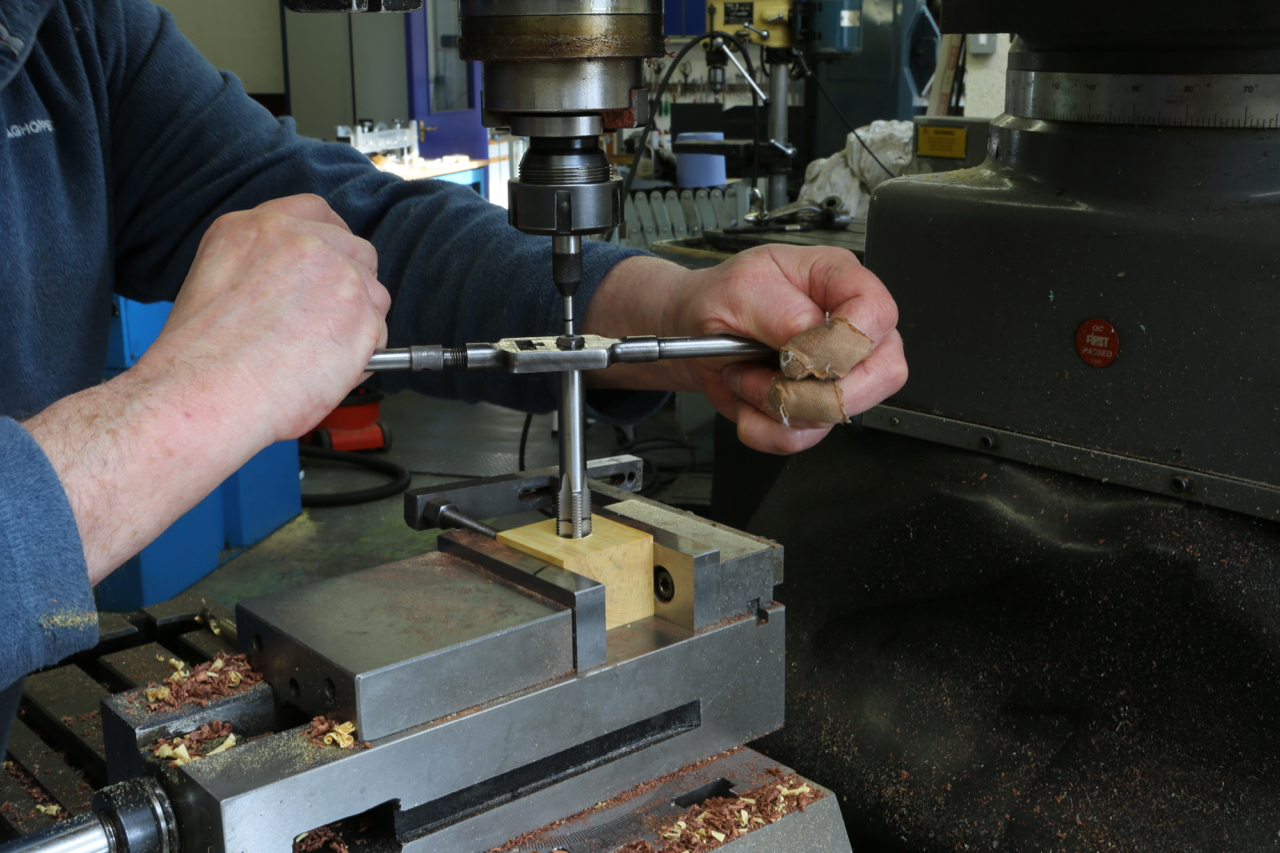
This operation is usually done on the manual mill as the thread cutting is best done by hand for better sensitivity and ensuring sharp and clean threads. More on this later.
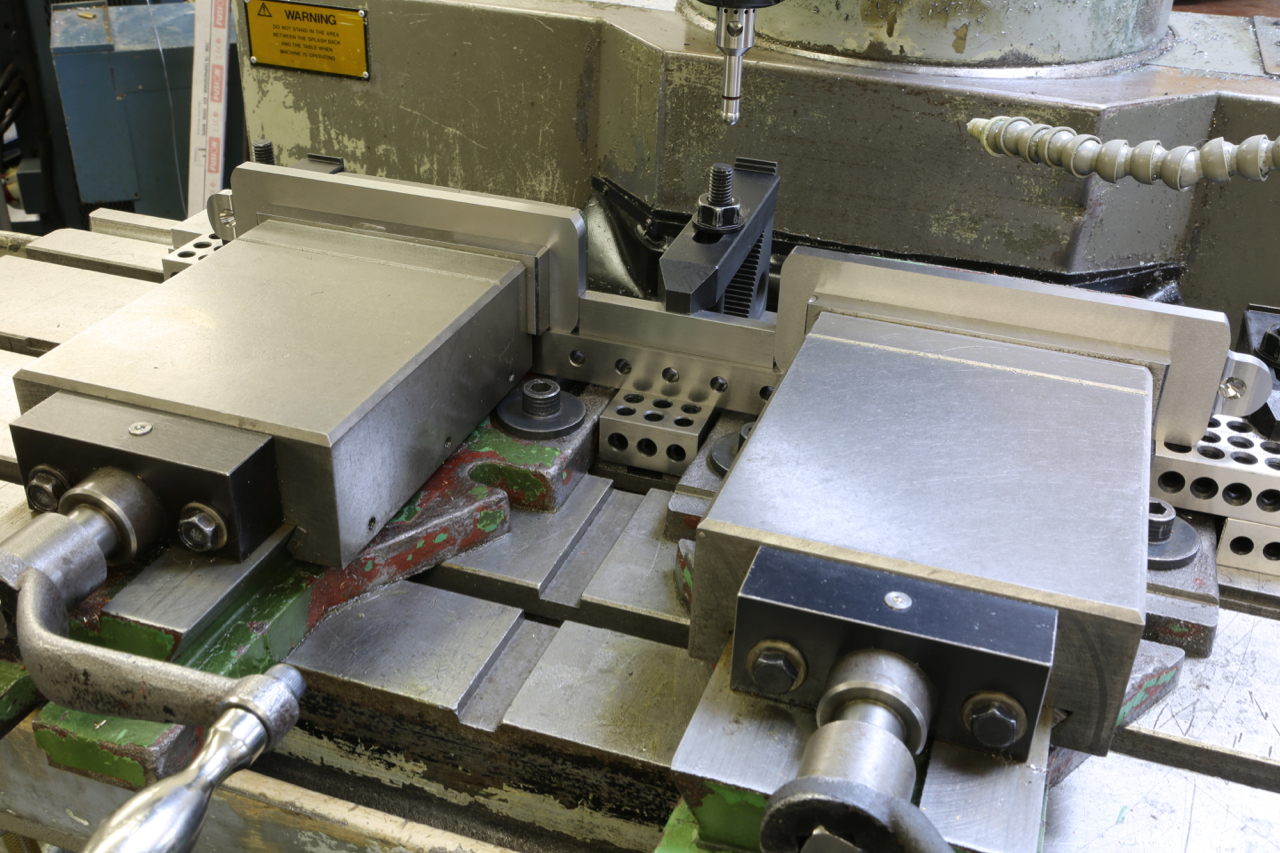
With reluctance I have put the wood working on hold and moved the chassis forward. Here is the holding fixture awaiting programming and tooling.
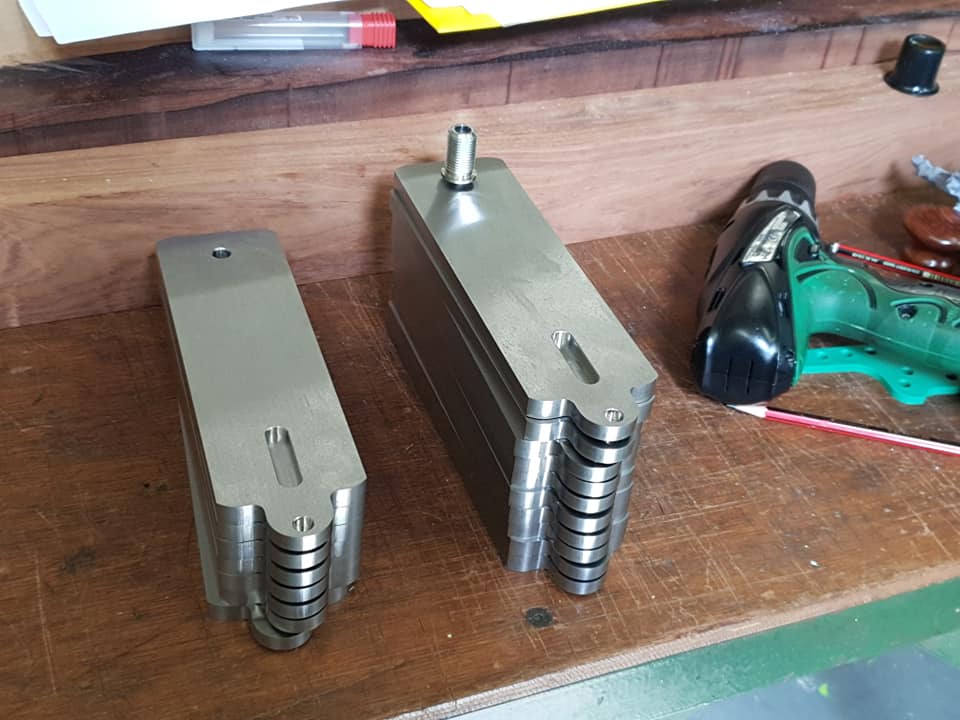
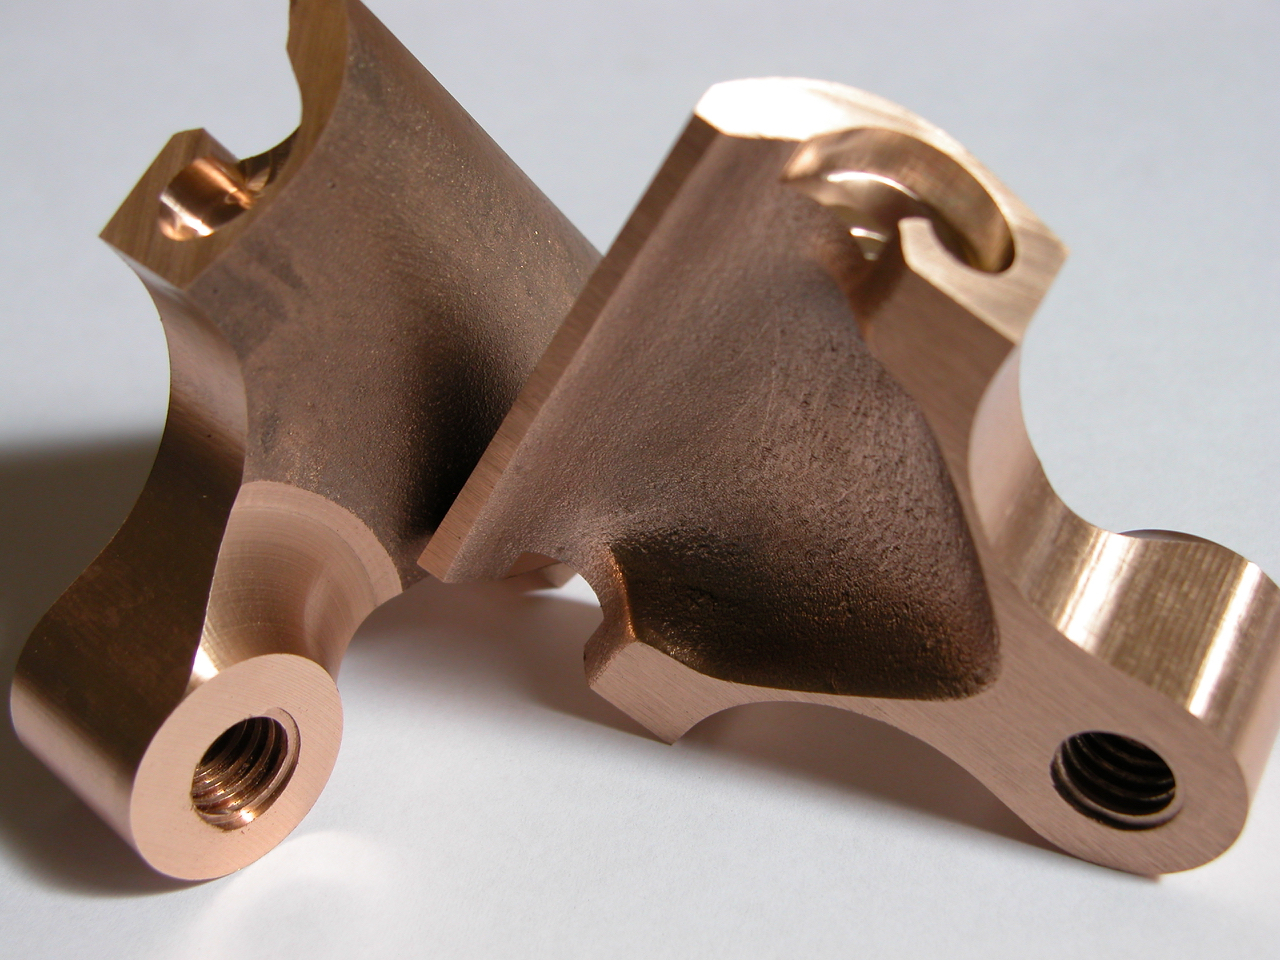
After a lot of deliberation I have made a decision to screw the front bun directly to the sole which allows me to achieve the design aspect I was looking for.
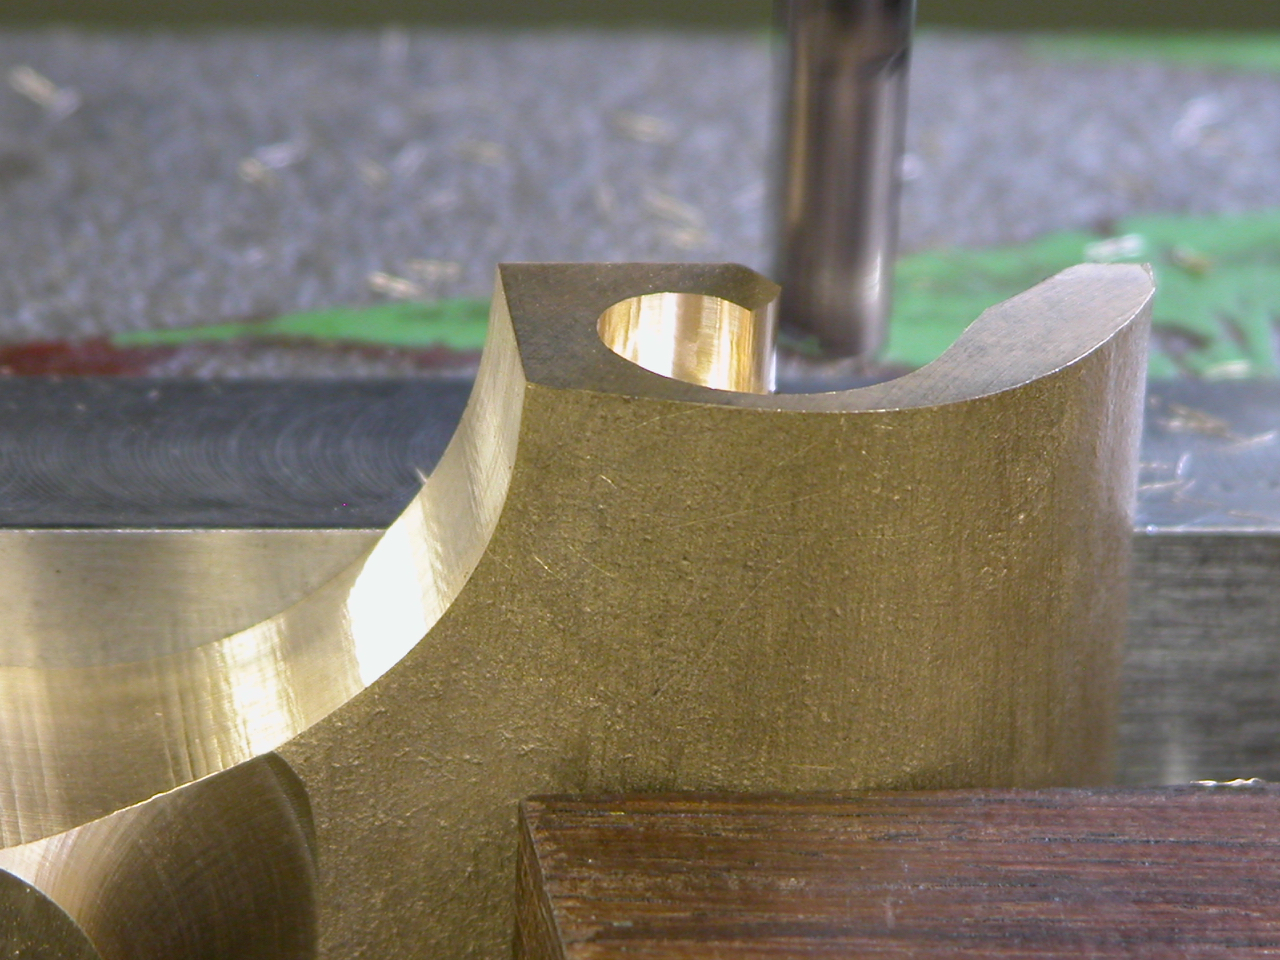
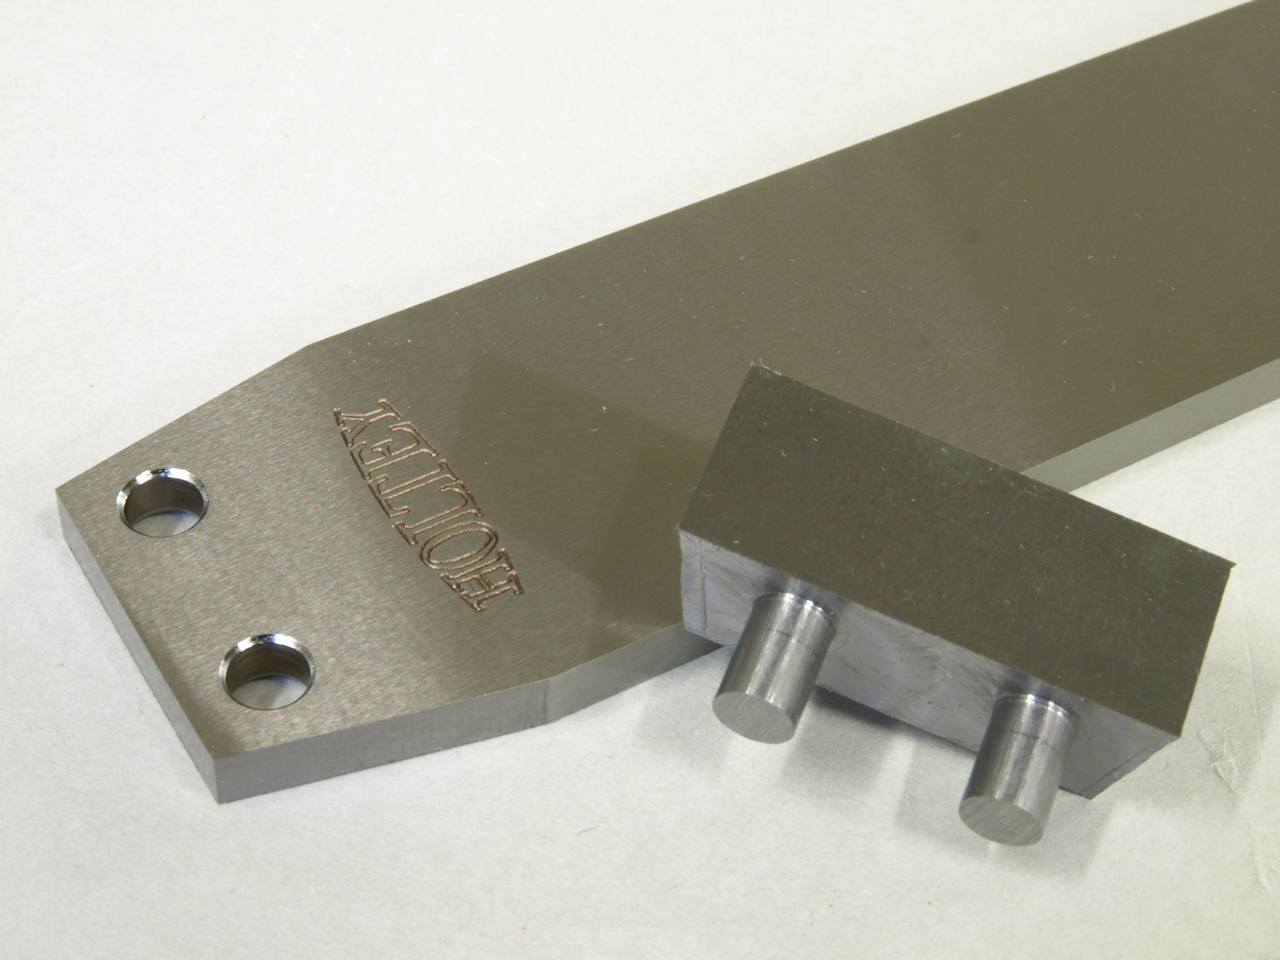
You will notice that the profile has been cut showing recesses for the handle tenons. Still a lot of work here as everything is complex just to achieve a simple line. The handle will be secured by one 6mm screw. All my dimensions are critical so precision is the key word. I am longing to get this bottom finished and get on with the rest of the plane. On all my planes the bottom is the mainstay of my work.
I was hoping to have some more pictures on the No 985 but I had a lot of other work to be done. Here is the same method of fixing on the No 982 plane. Showing the final torque on the screws after applying thread locking compound
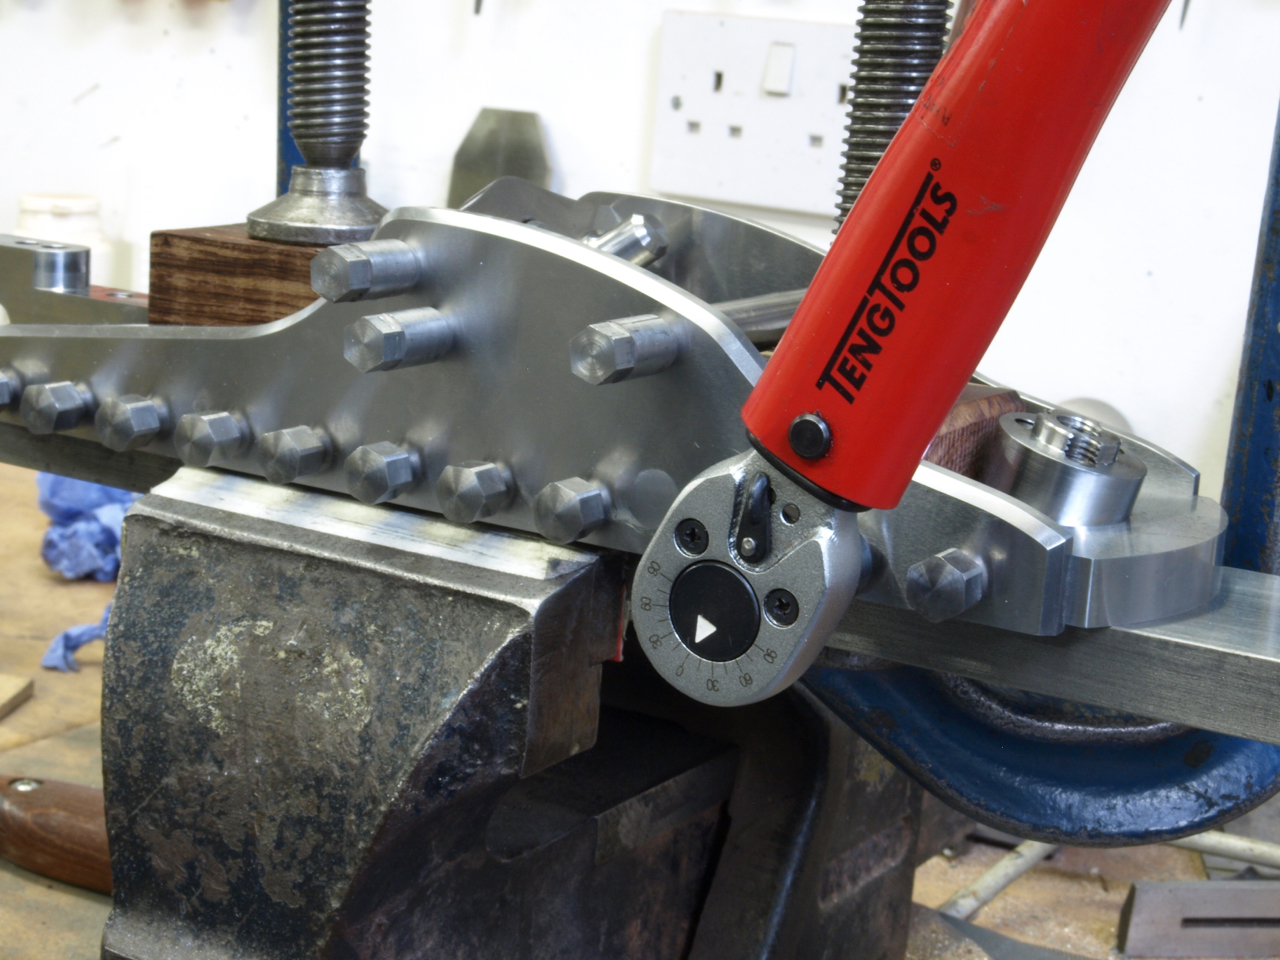
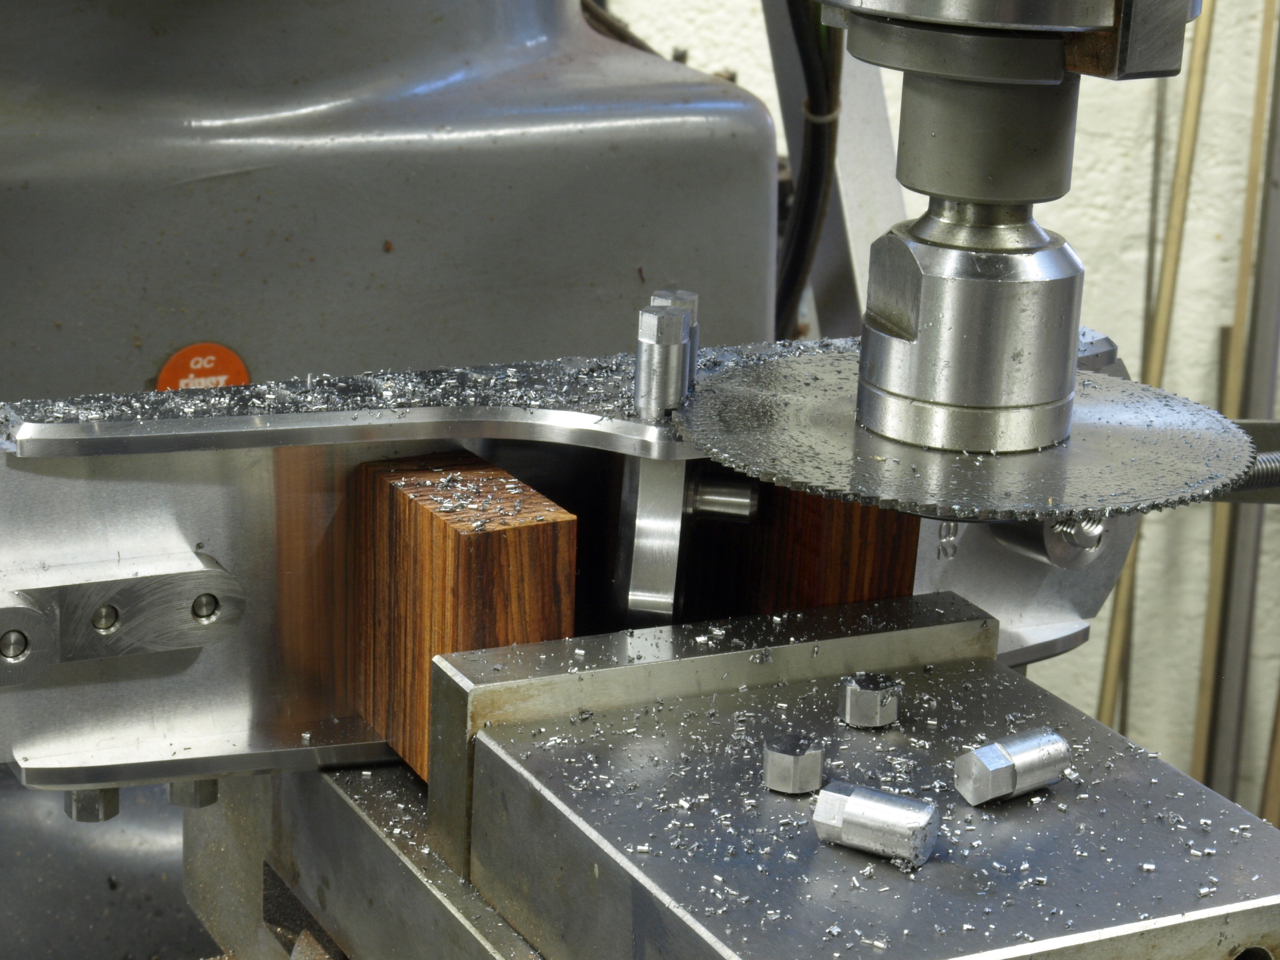
The bolts being trimmed off. This is how I will be doing the No 985 soon!!
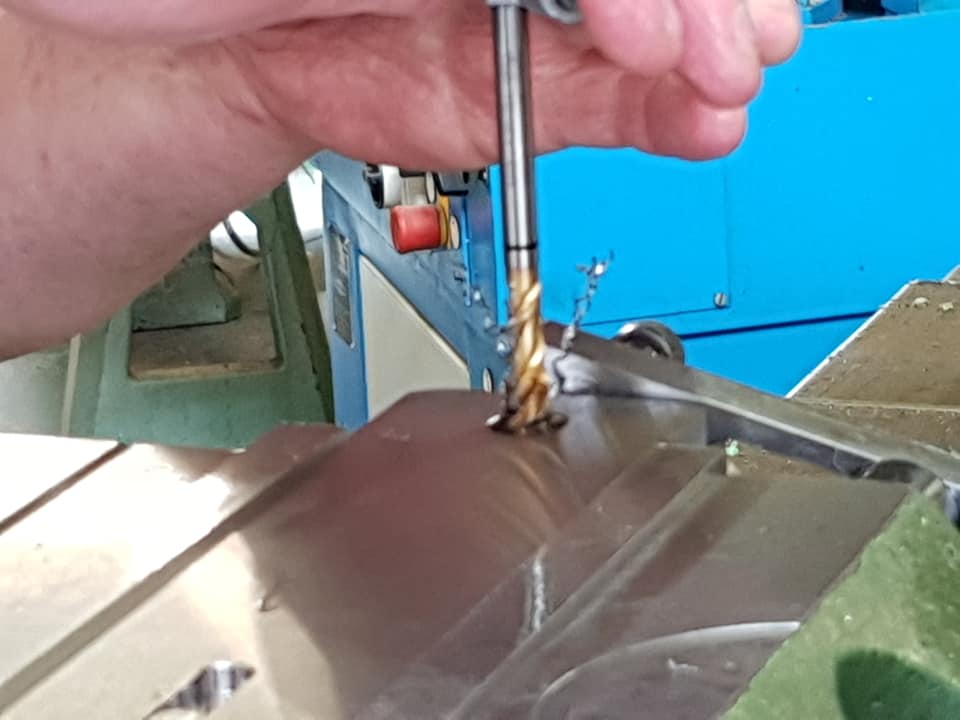
Just starting to drill the No 985 sides and as usual I start off with test samples.
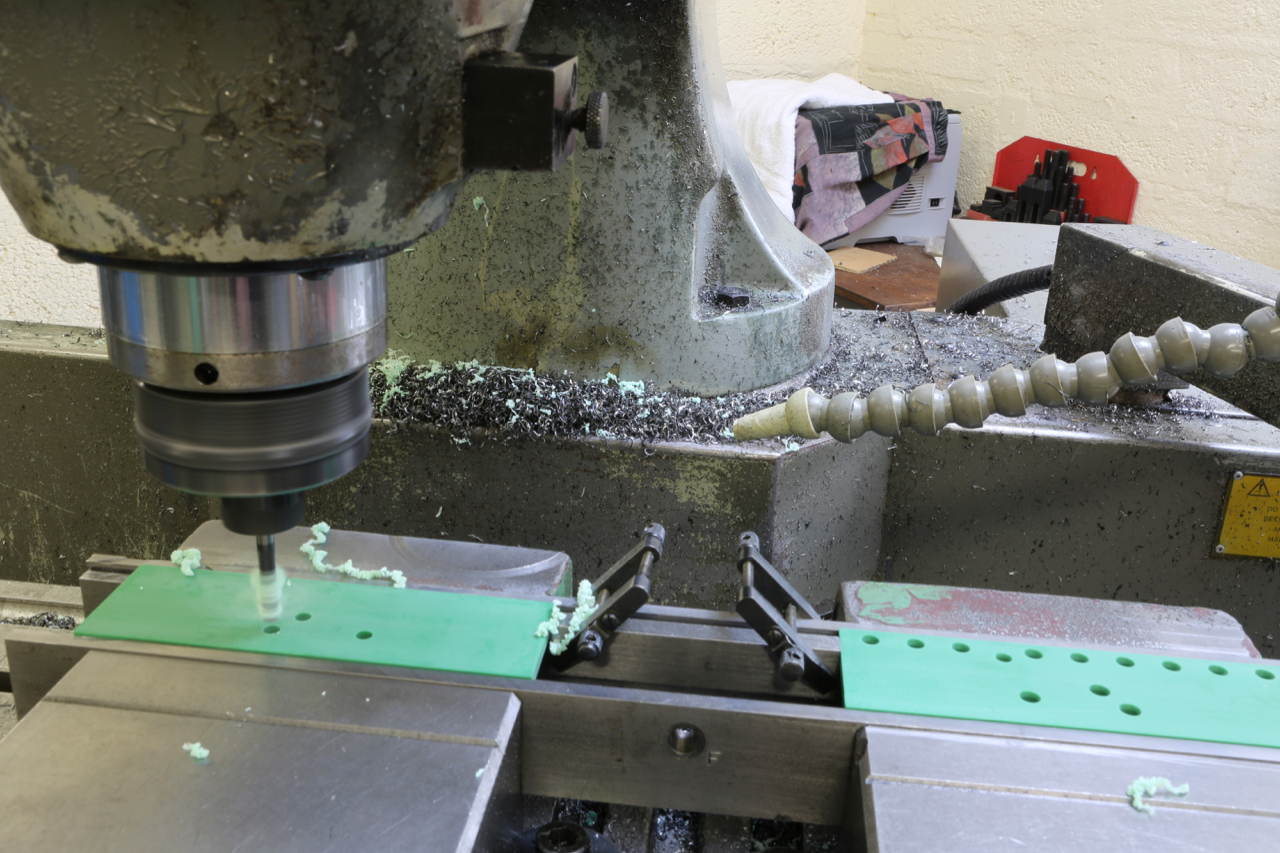
The fixture holes for the plane sides, looks like an awful lot of holes! All holes are tapered for retention.

I couldn’t find this picture earlier on, but it has now appeared
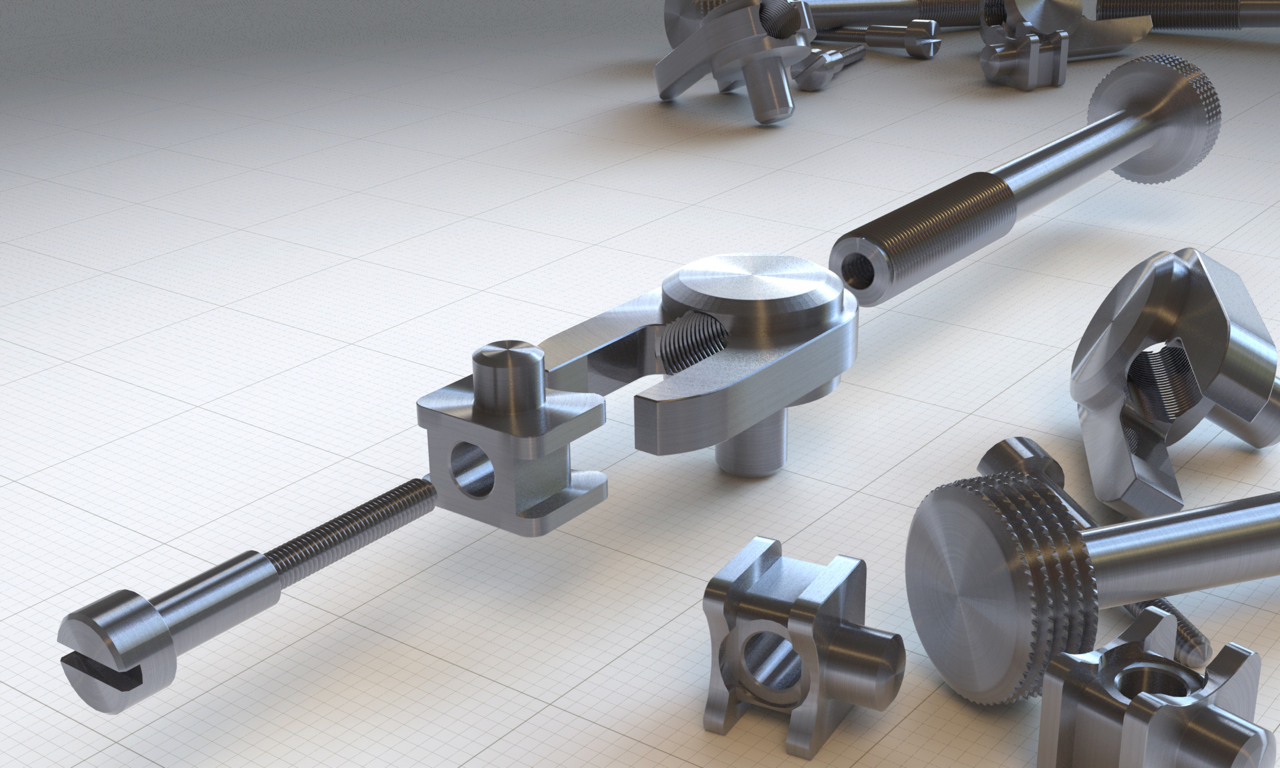
This is one of the best adjuster I have ever made, and I hope to revisit this but it is only suitable for a bevel down plane
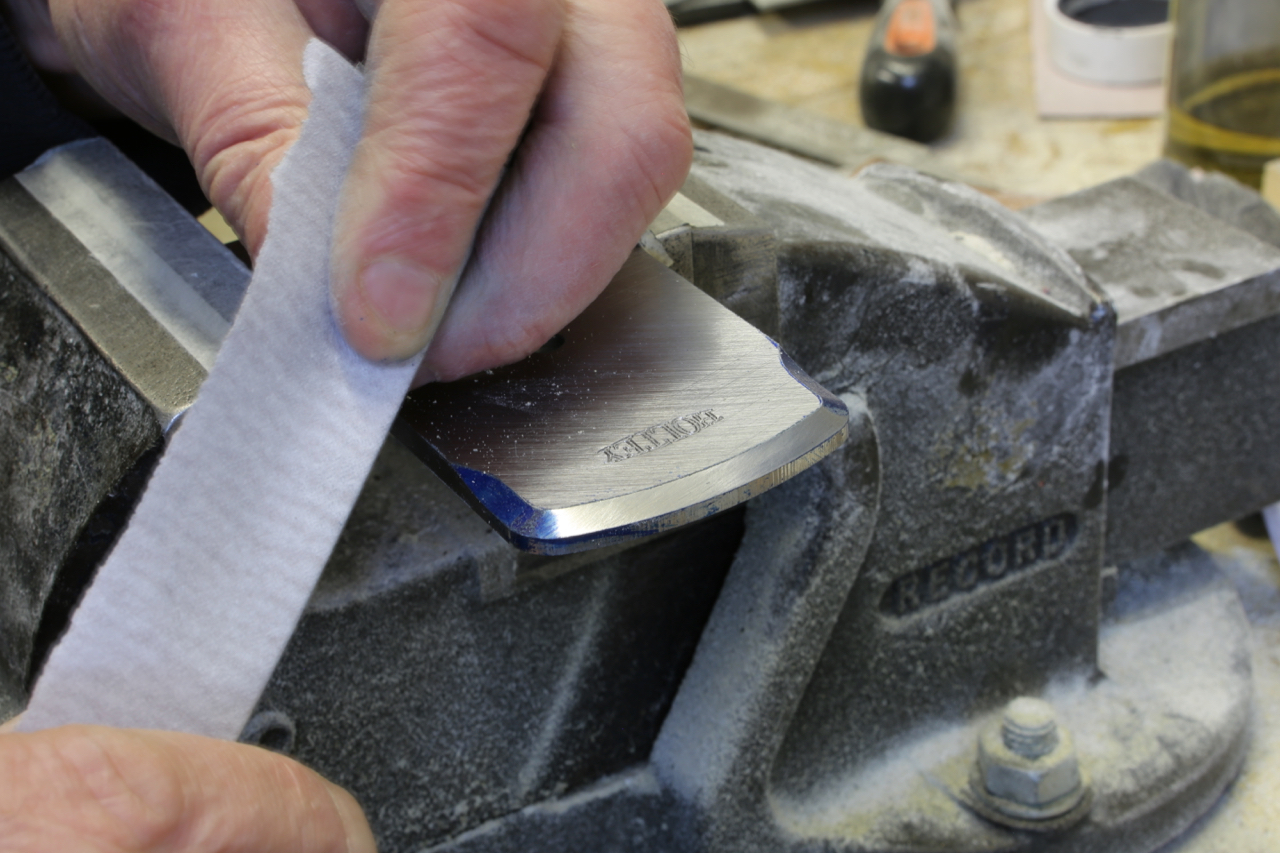
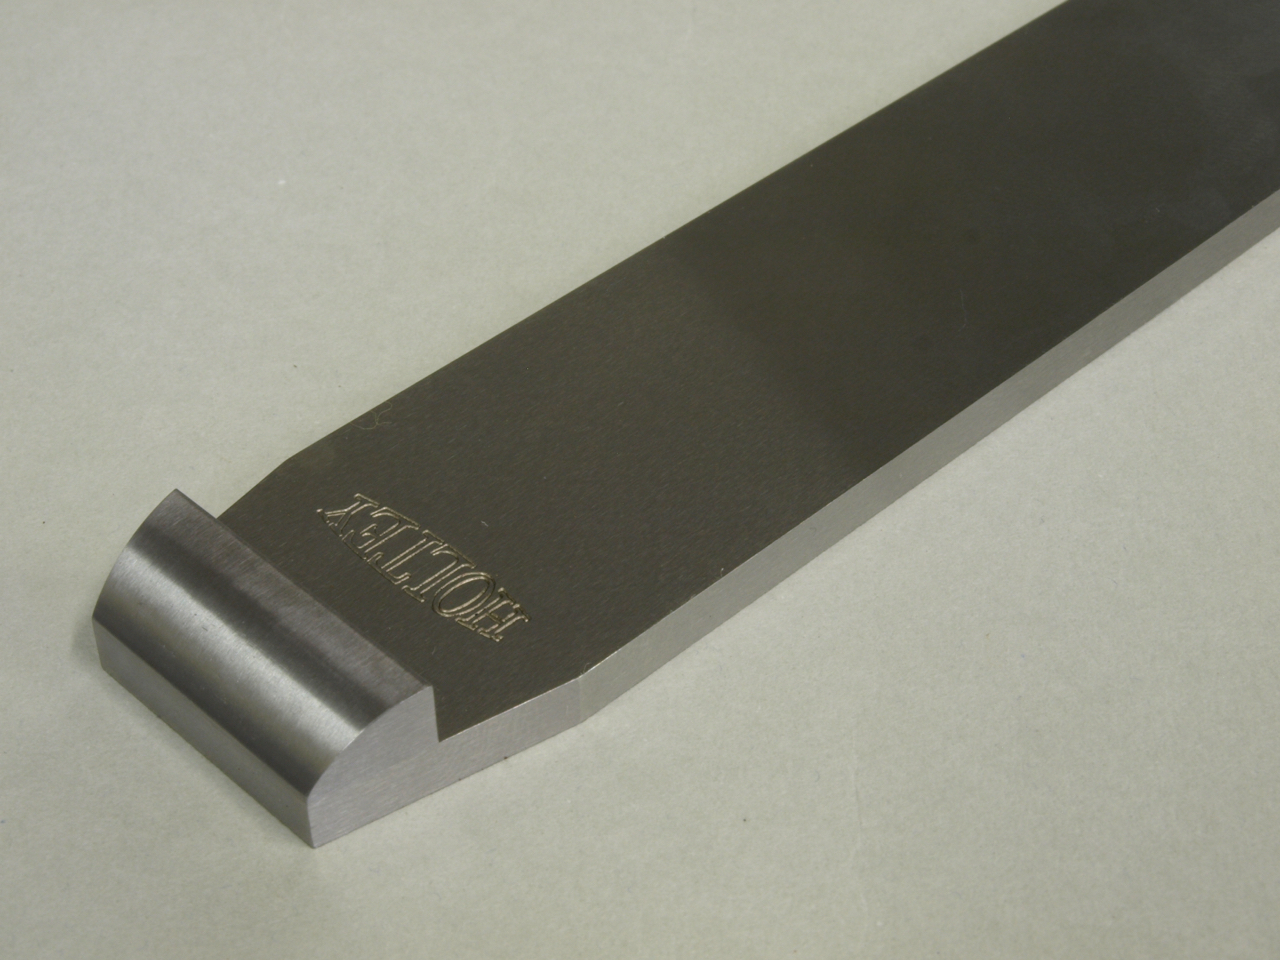
I have decided to put my blade chamfering onto the No 98 blade, it does set off a low angle plane – ergonomic and aesthetically. It is a lot of work, especially finding 30 deg chamfering tools (a 45 deg just doesn’t look right). The polishing is very time consuming. I have to do the polishing before I send them off to heat treatment, then I only need to buff the edges and surface grind when they come back.
No 98 bronze lever caps
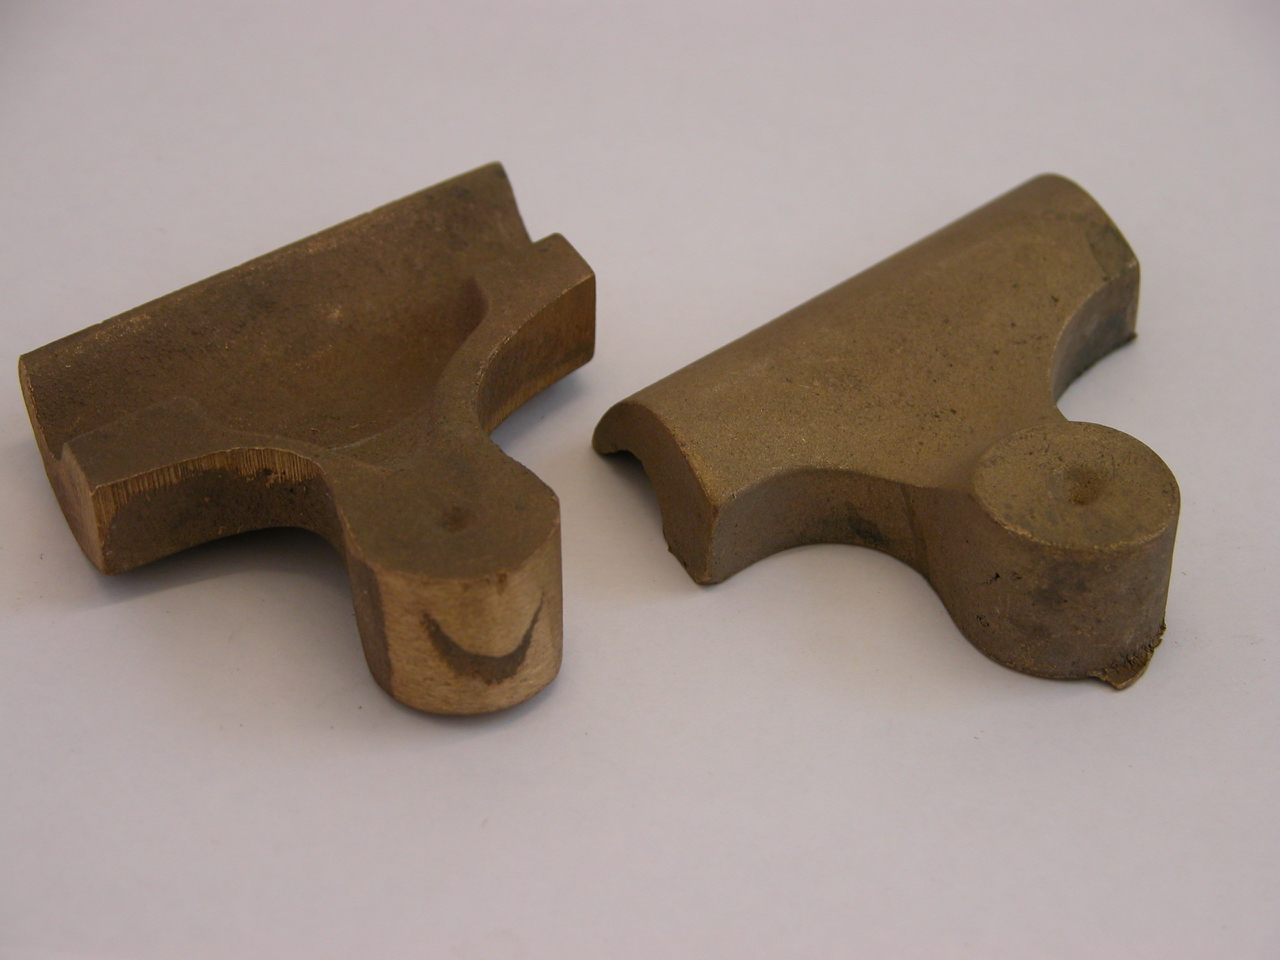
These are the last lever caps of this type. I also used them on my mitre planes. Gone forever as the foundry closed down and my patterns are lost.
After preparation including flattening, squaring etc, the profile is cut out.
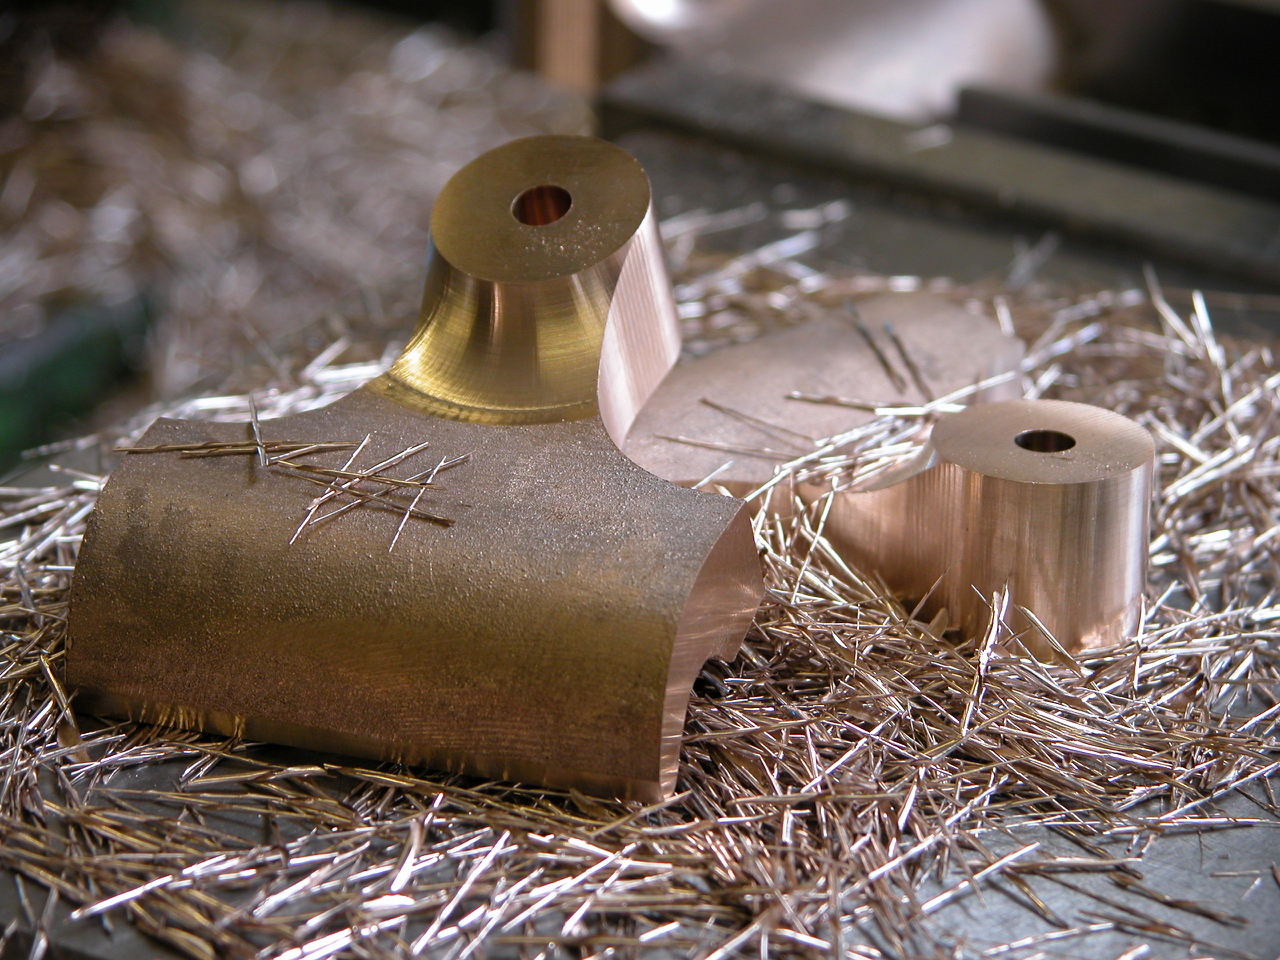
The lever caps after profiling also showing centering hole to be bored to make ready for tapping
Tapping after the boring
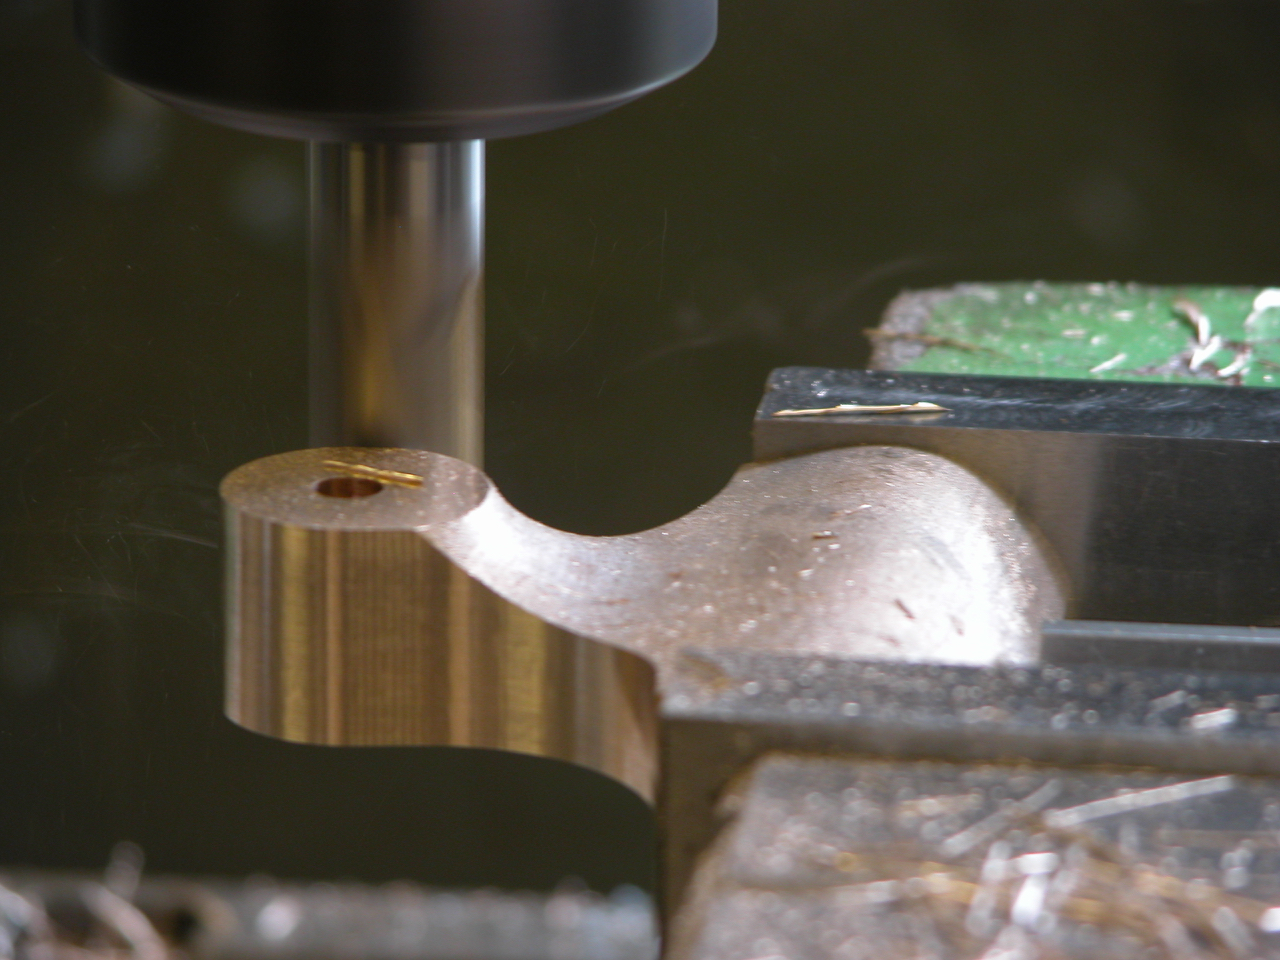
The machining for the keep recesses so the lever cap can be released after 2-3 turns on the thumb screw
Ready for final shaping and polishing
I am hoping to get some feedback here, so please register if you haven’t already and comments will be appreciated.
Snecked Blades
In the course of my research I have found that the only planes that were made with snecked irons were shoulder planes, and the occasional thumb and chariot planes – these were side snecked as in my 11-s smoothing plane here (double sided sneck).
Mitre planes usually have top snecked irons, as in my No 10 shown here.
I can’t understand why smoothers and panel planes etc did not have snecked irons. Of course top snecking would require a longer blade as lever cap or wedge would restrict their use. A side sneck should still work on these planes.
Is it possible that the use of chip breakers had something to do with this?
I am working on a development plane at the moment and planning to make it a non-adjuster plane. I feel that having a snecked iron will make a considerable difference in setting up the blade. I am also wondering if users choose to use a non-adjuster plane because it is better or is it an elitist thing?
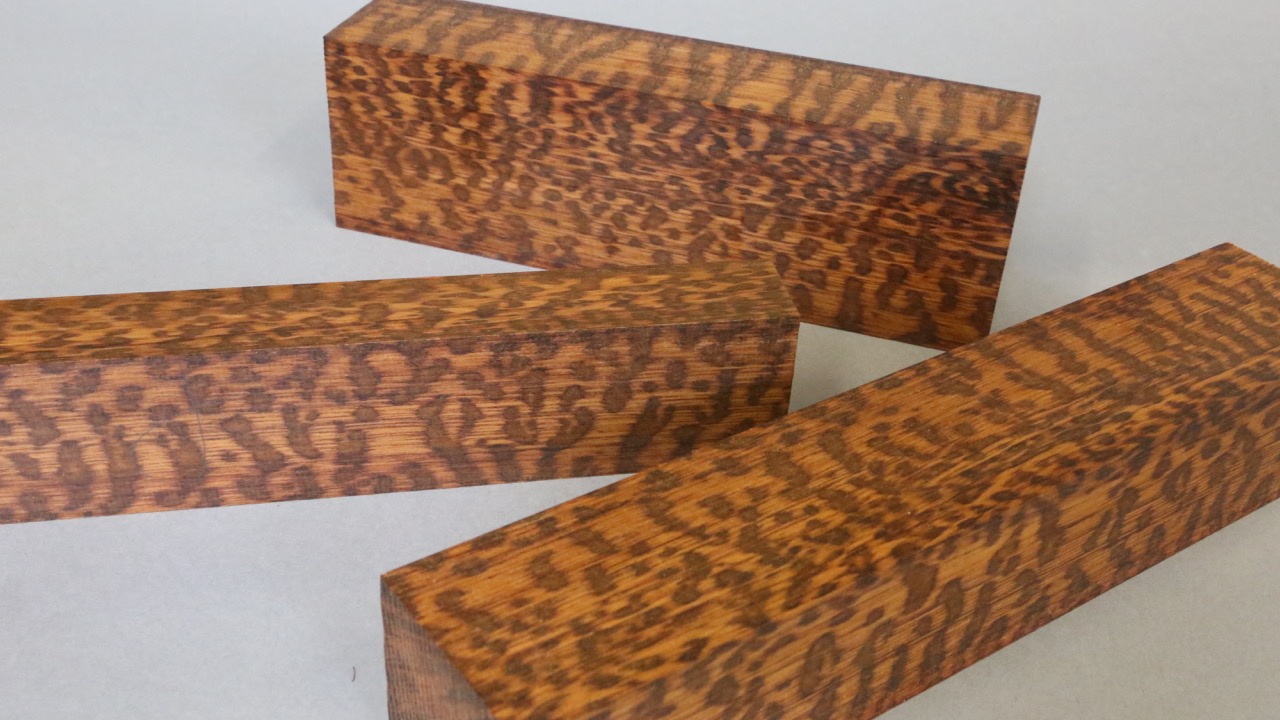
I have been wondering what to with my stock of snake wood, as you can only use it in small pieces. It seemed fitting to use it on these last A31 Thumb planes. This picture shows the nature of the wood after preparation, it will darken down to a nice brown. It has always been a favourite for knife makers and for pistol handle scales.
Powered by WordPress