The final part of the A6 construction.
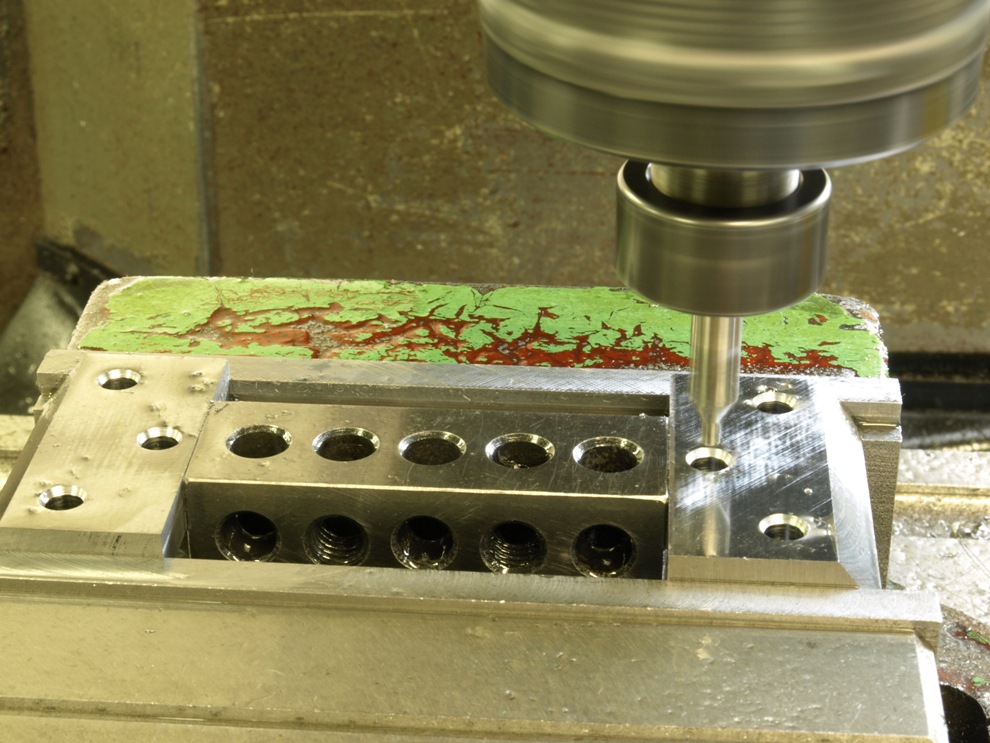
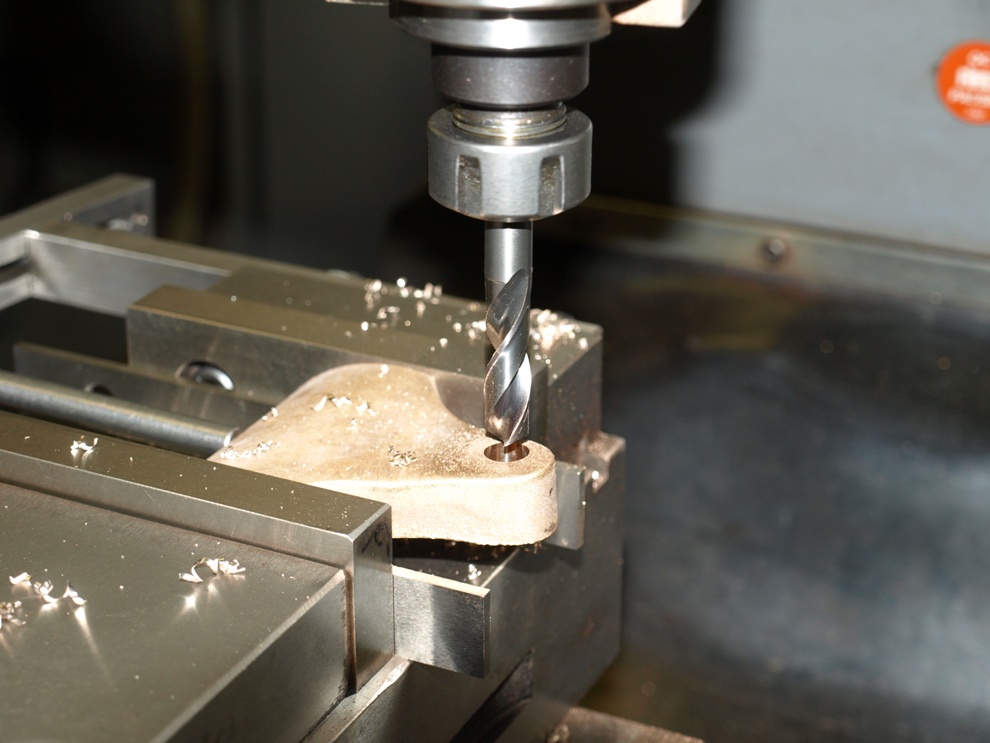
Drilling and countersinking frogs for the rivets.
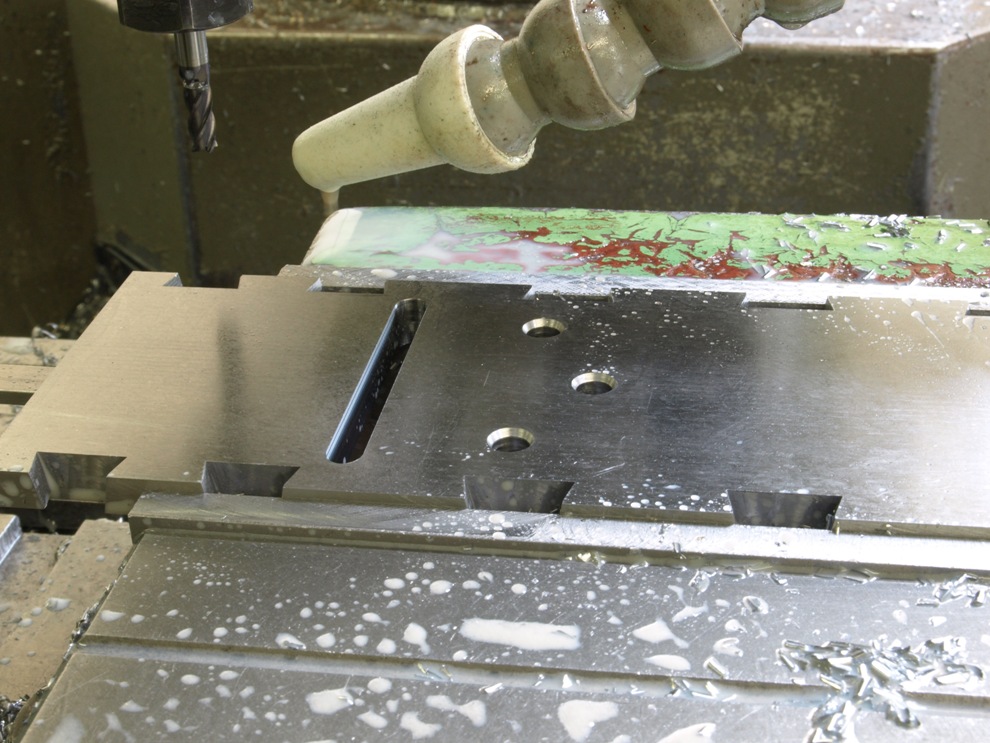
The bottom has been slotted out for mouth and drilling for the corresponding frog rivets.
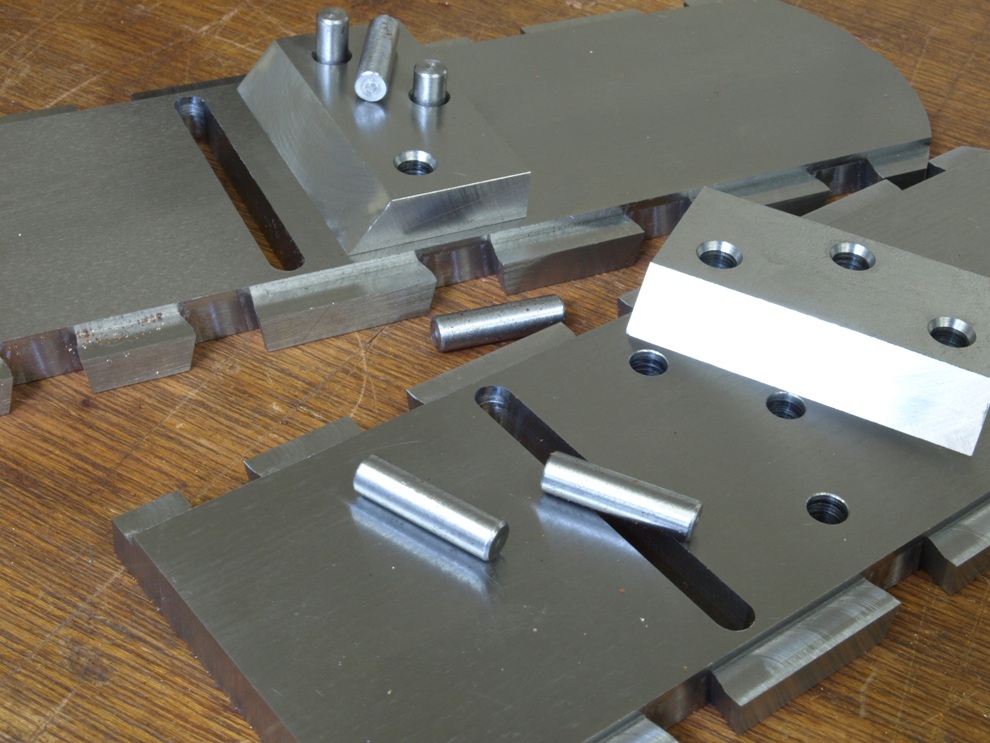
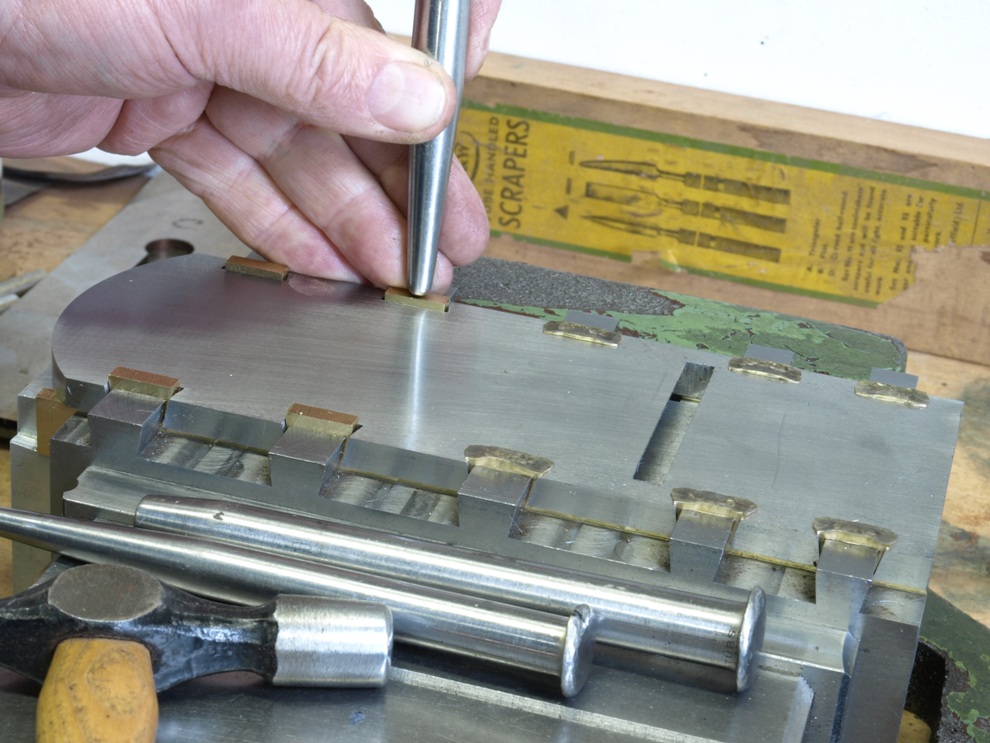
Bottoms, frogs and rivets.
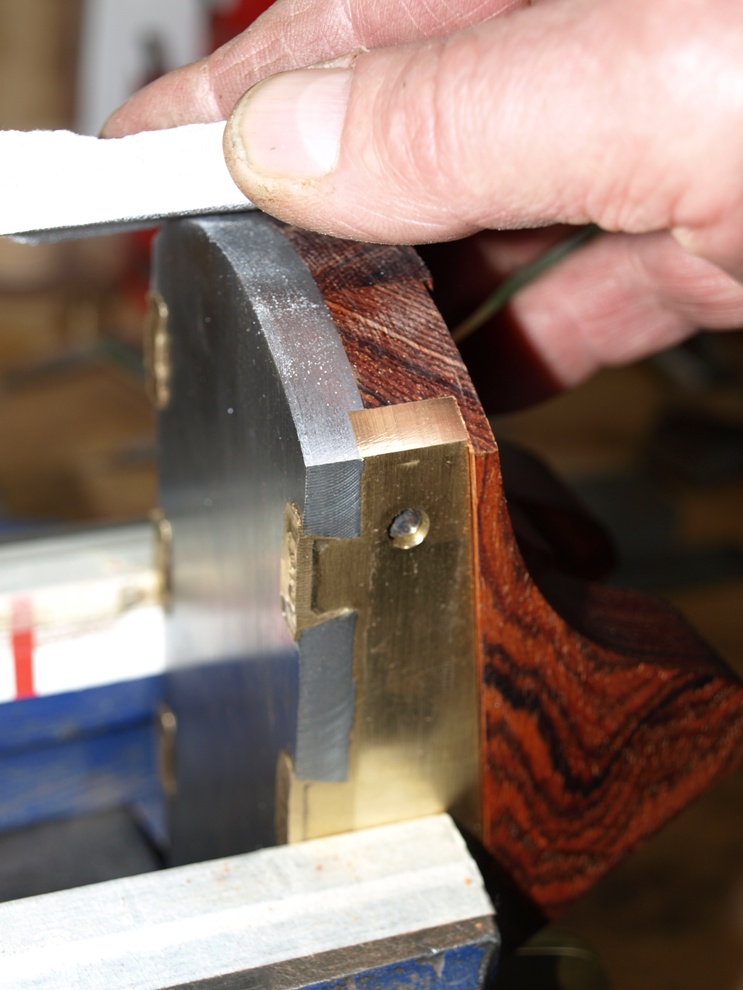
Flushing off after riveting
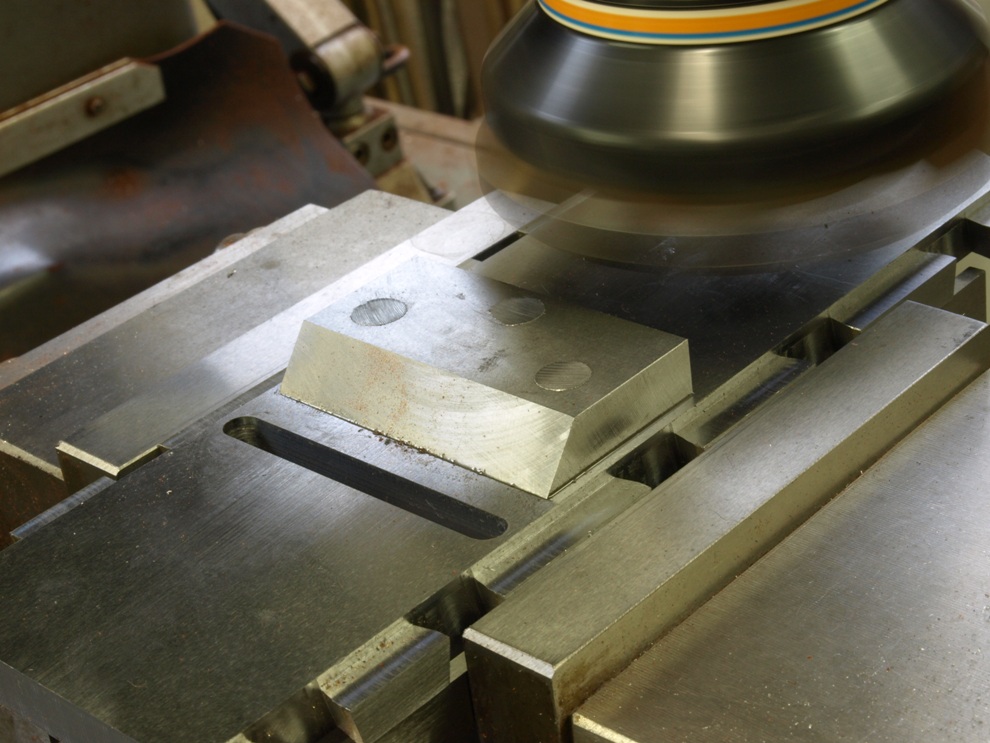
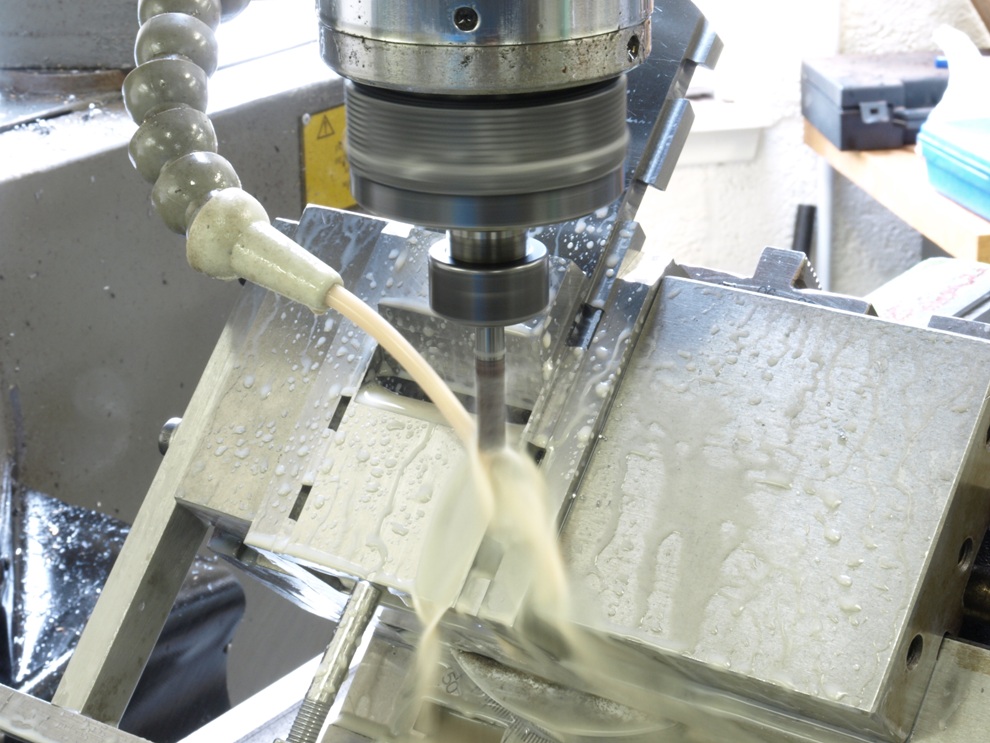
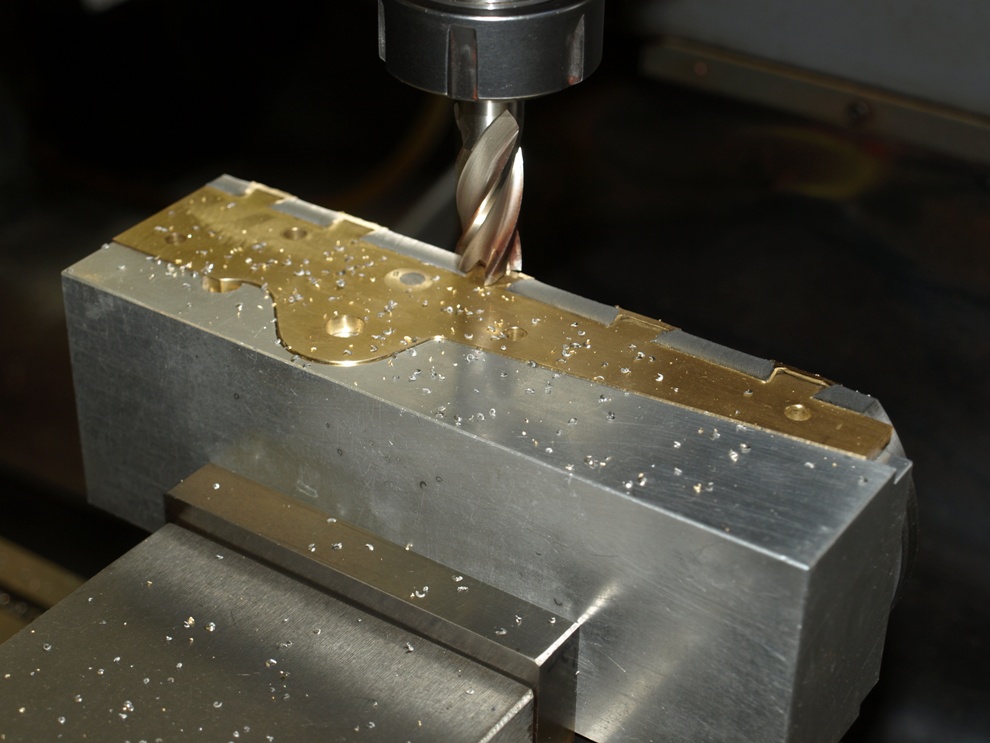
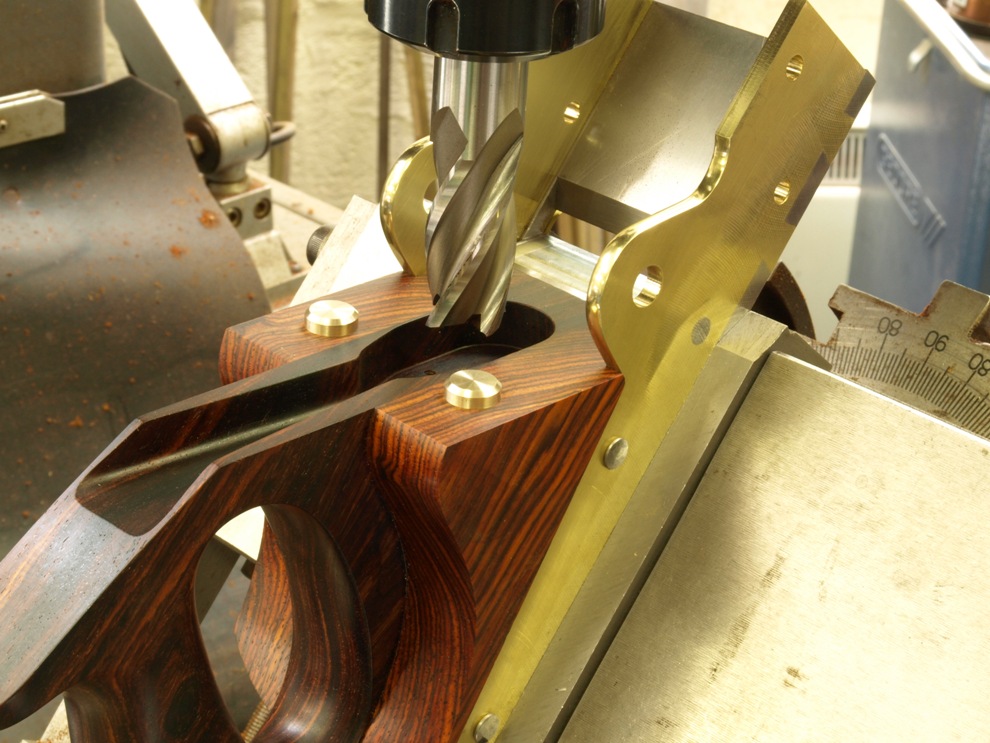
Further milling work to blade bed and mouth area, after the frog has been riveted permanently in place.
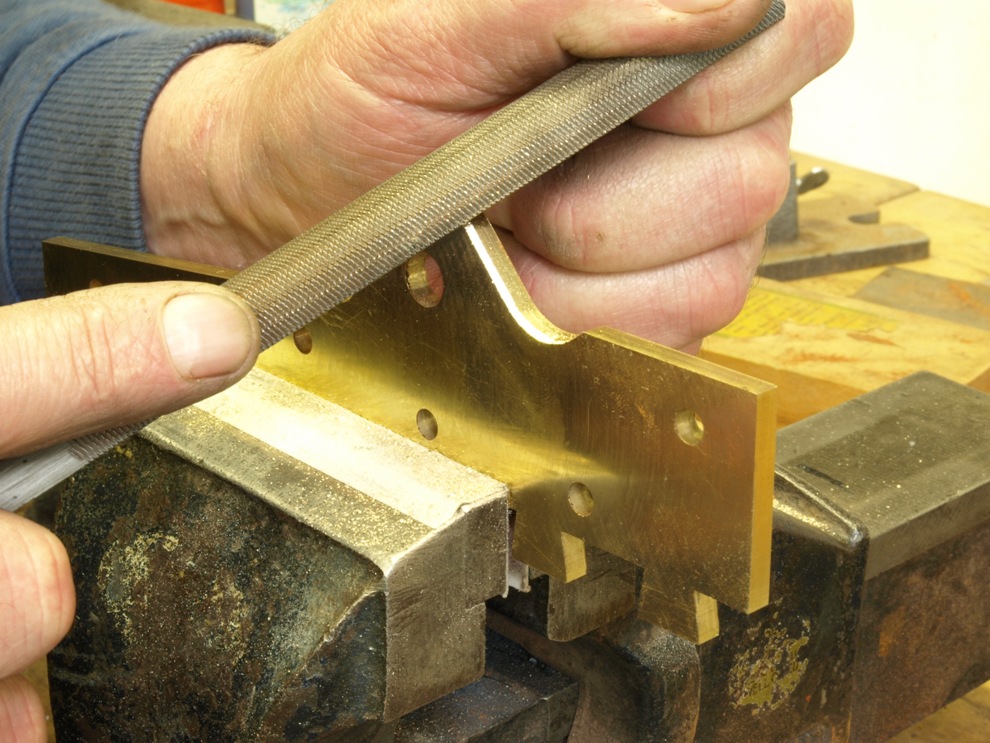
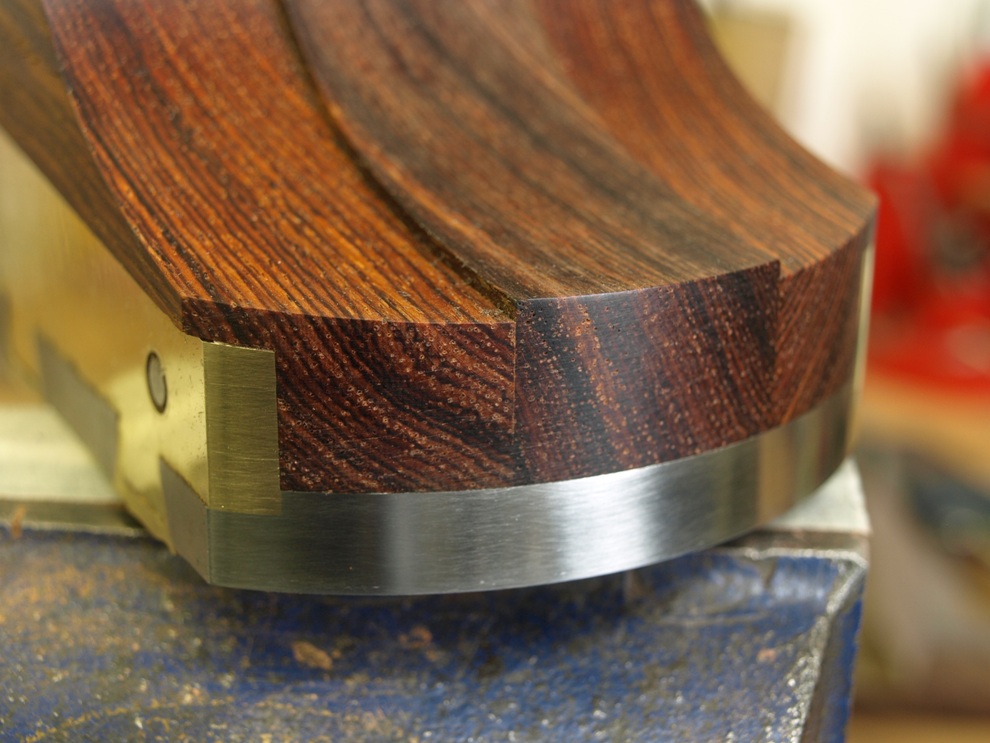
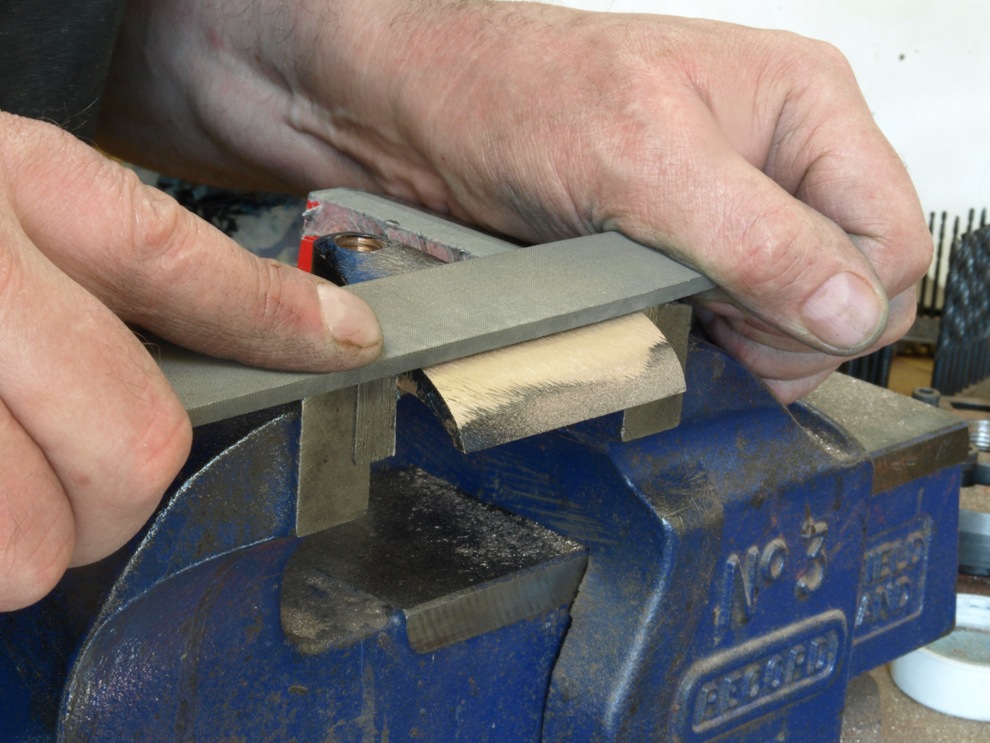
Filing light camber to the sides.
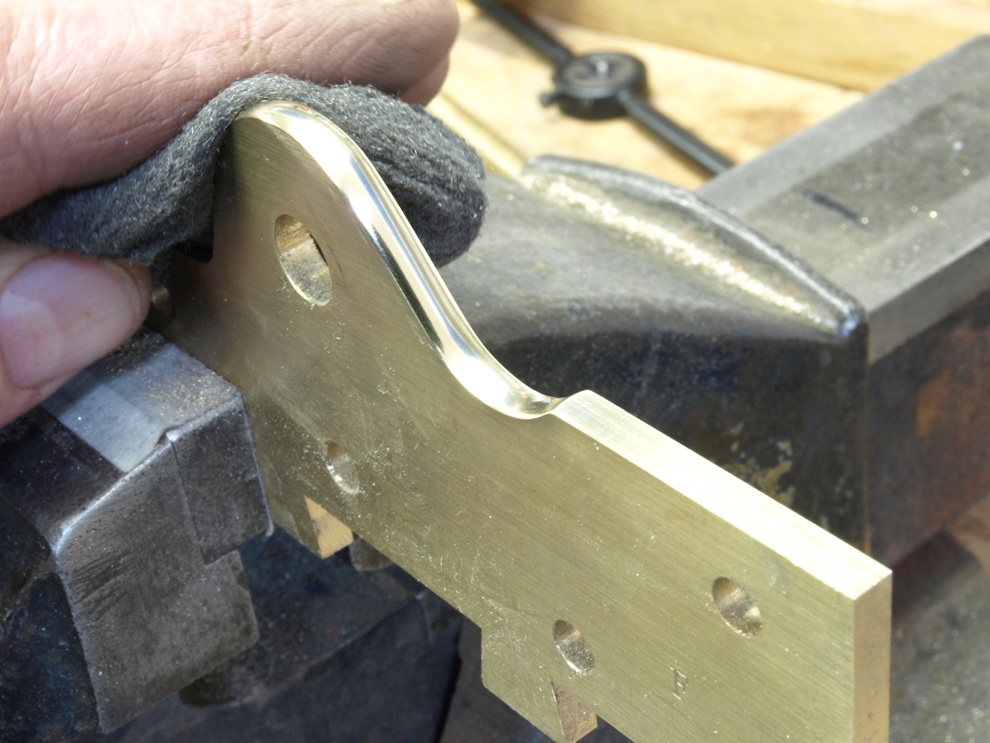
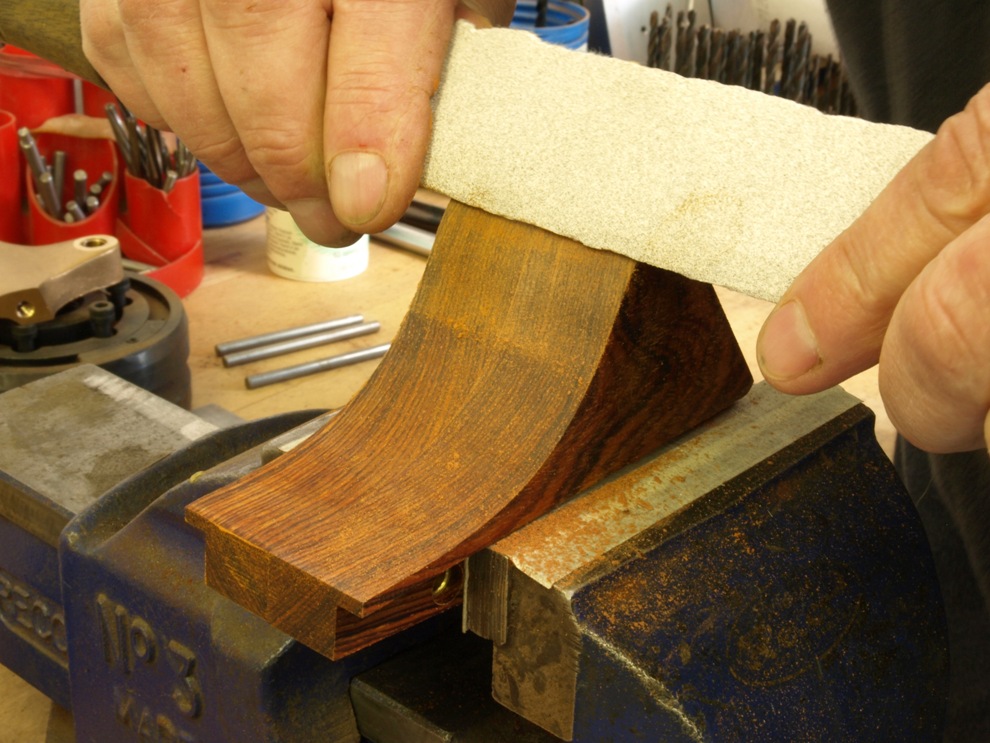
Final polishing to the cambered portion of the sides.
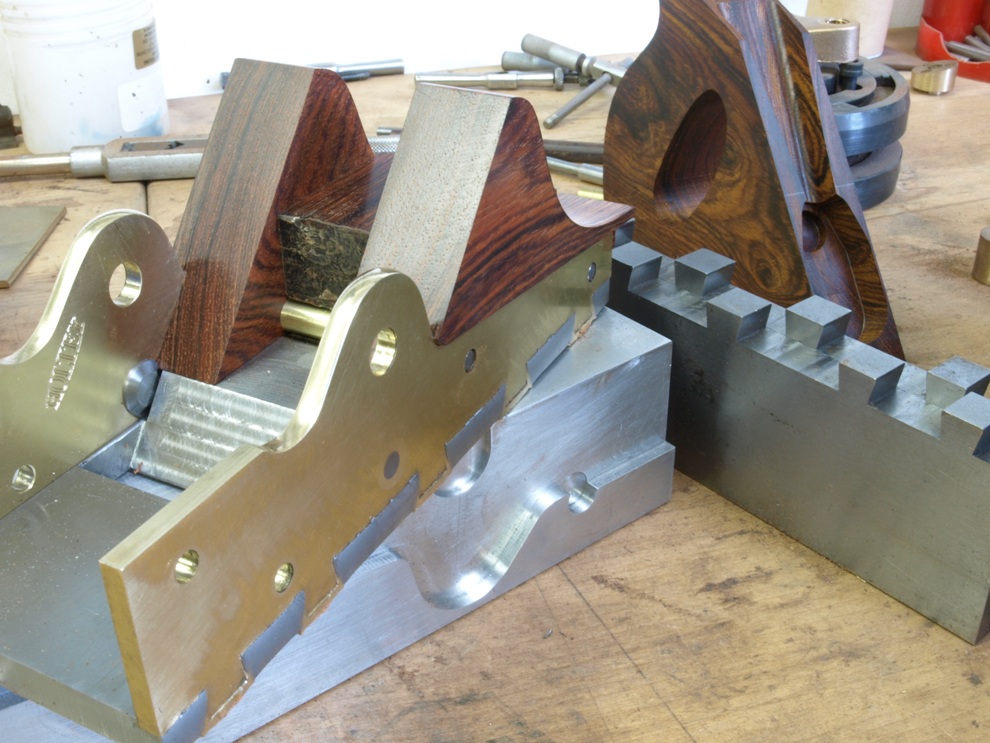
Having come a long way in making the components, the sides and bottoms can at last be peined together. Note the pressure plates also cover the dovetails so that they cannot spread the sides apart.
The former and clamping tools for peining.
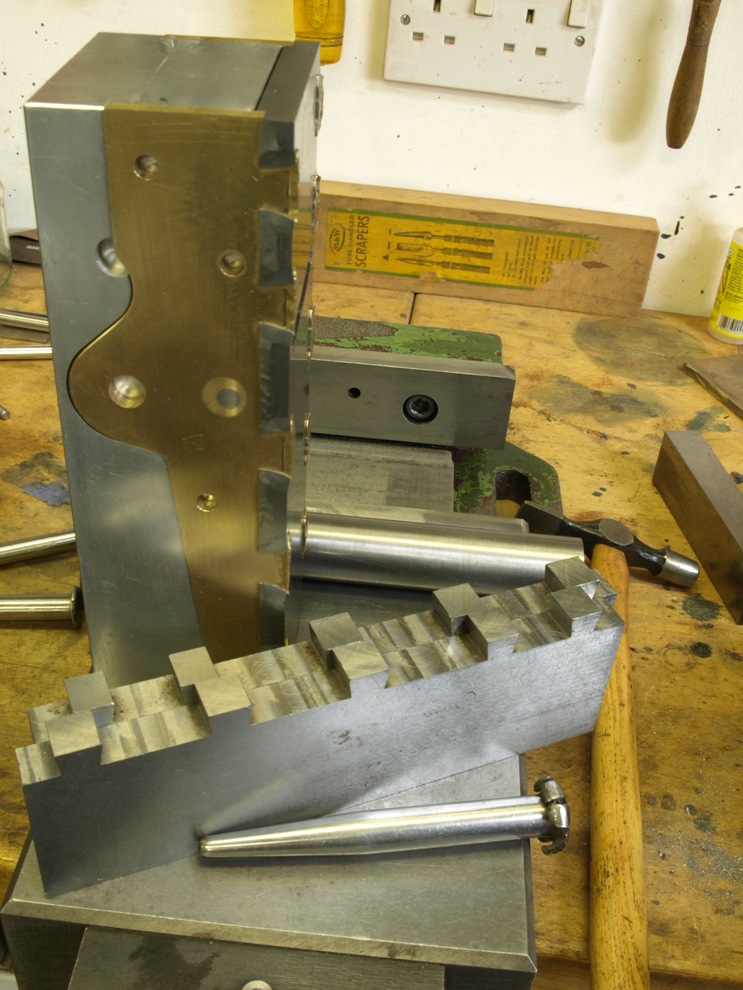
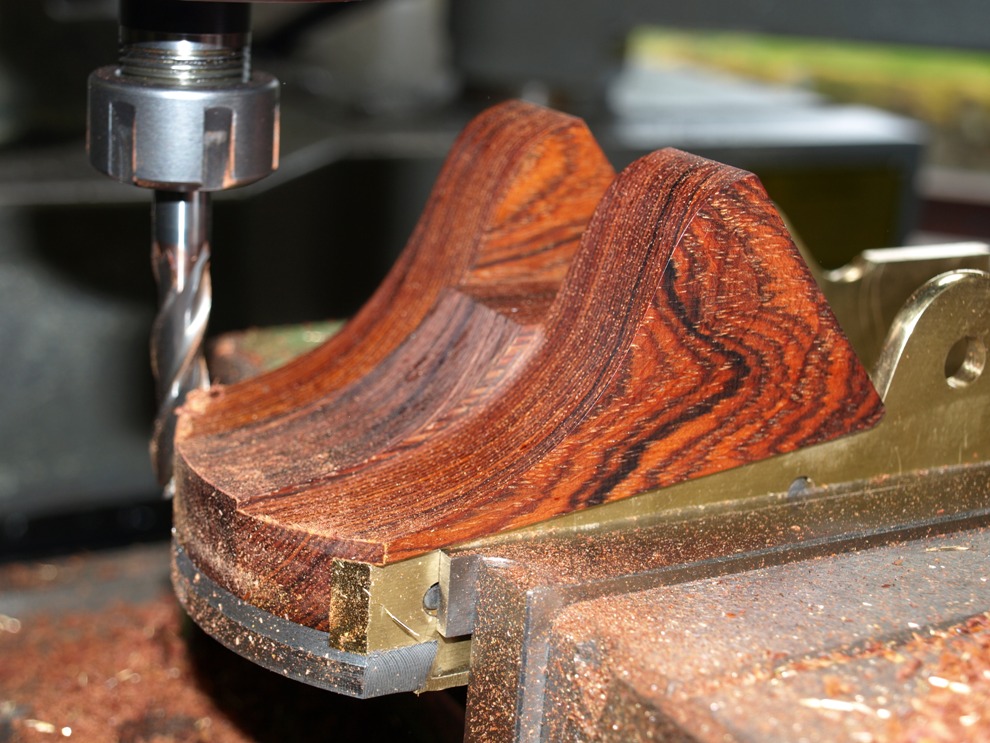
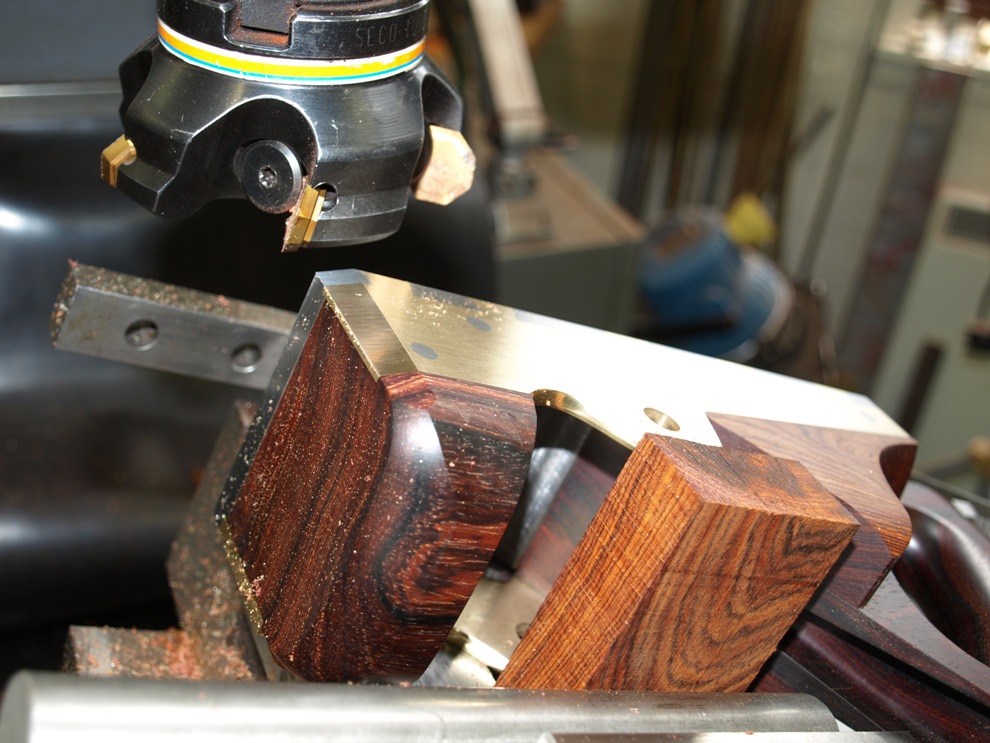
Milling down some of the excessive material after peining. It is only a partial levelling as the final levelling is done after all the components are in place and riveted together.
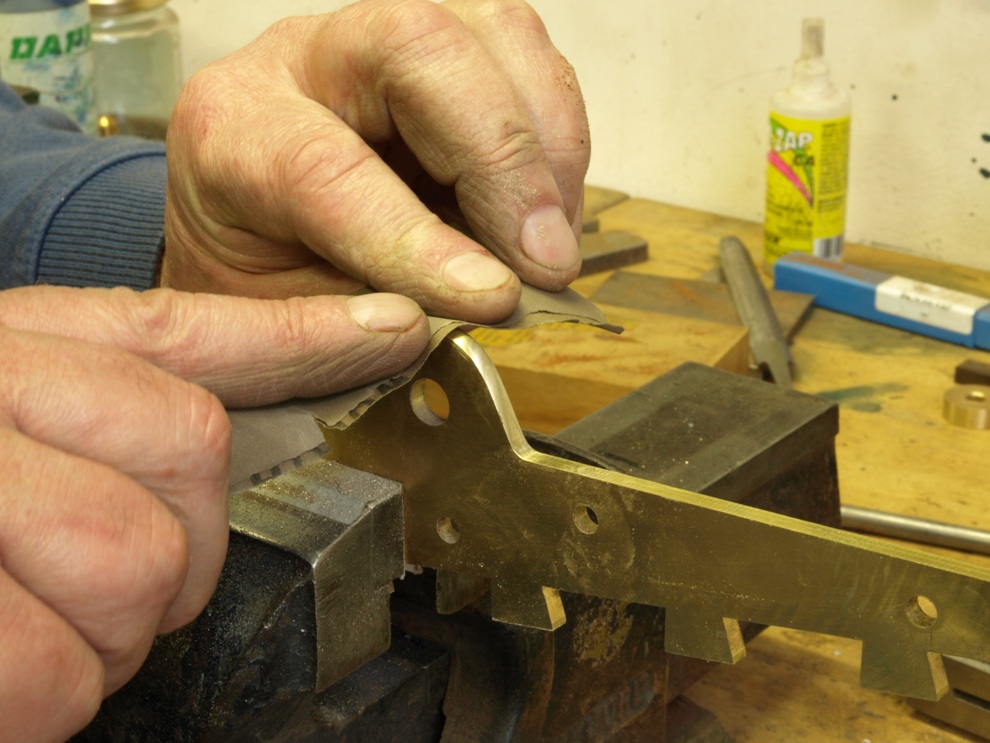
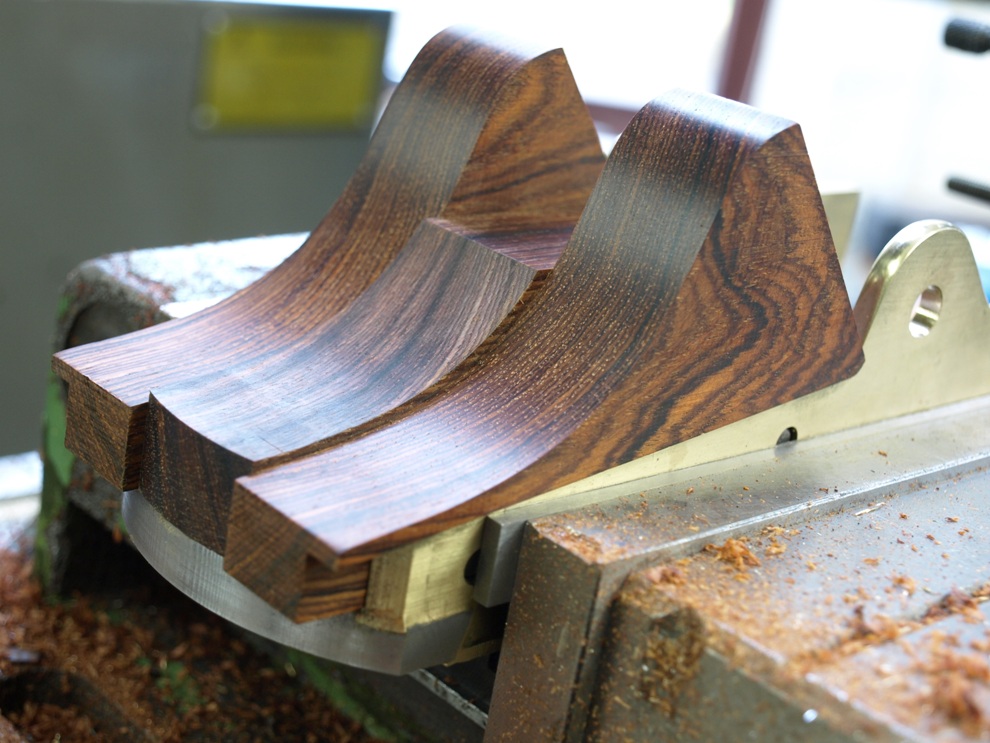
Polishing contour in the right sequence makes for a much better finish when it all comes together.
The rear infill in position for further trimming and shaping
With the infill in place and a temporary spacer to represent the handle I am ready to trim the rear radius. It would be impossible with the handle in place.
Trimming the perfect radius with the CNC mill.
I used the flash on this picture and you can see the difference in colour compared to the previous picture.
With everything still in place it makes sense to put the finish on the radius of the back infill and bottom.
The rear end almost finished. It is now ready for its handle.
Wish I could find a machine for this job. Once the shape is all roughed out things get very dirty and dusty. This Cocobolo dust is hazardous and it takes me a week to recover. I haven’t taken any pictures of the sanding and polishing because all you will see is dust.
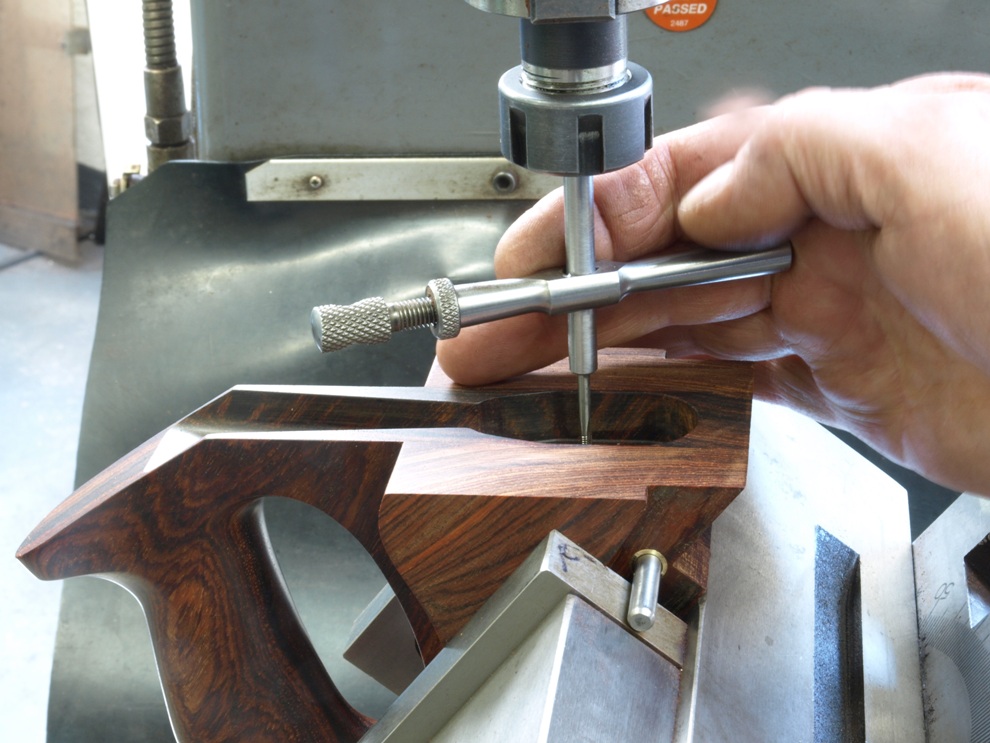
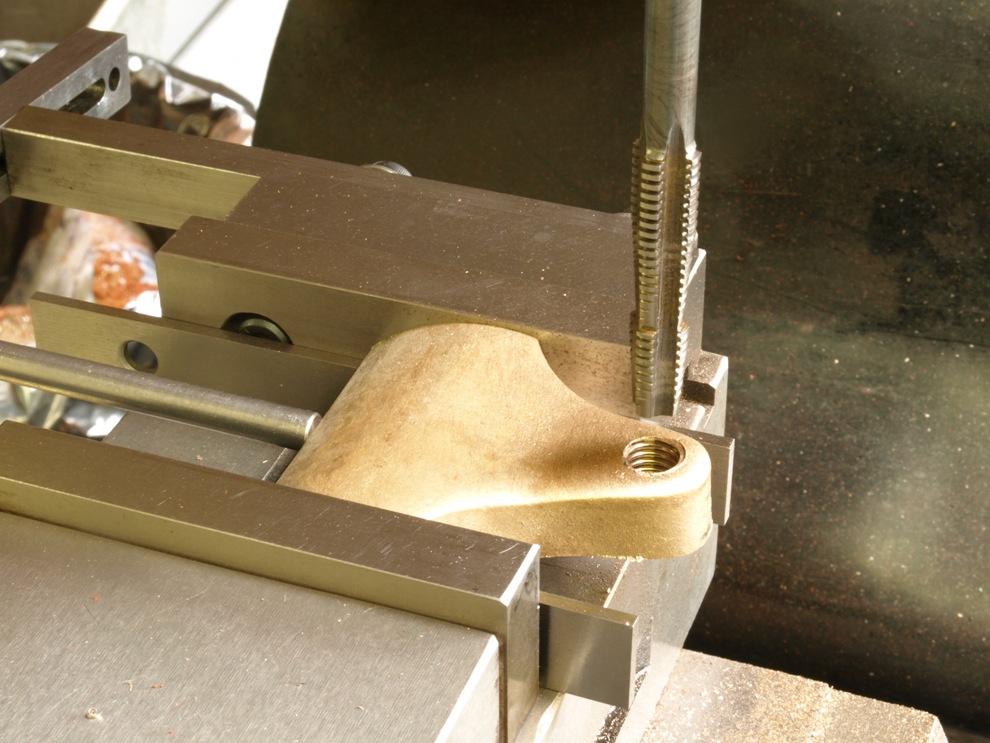
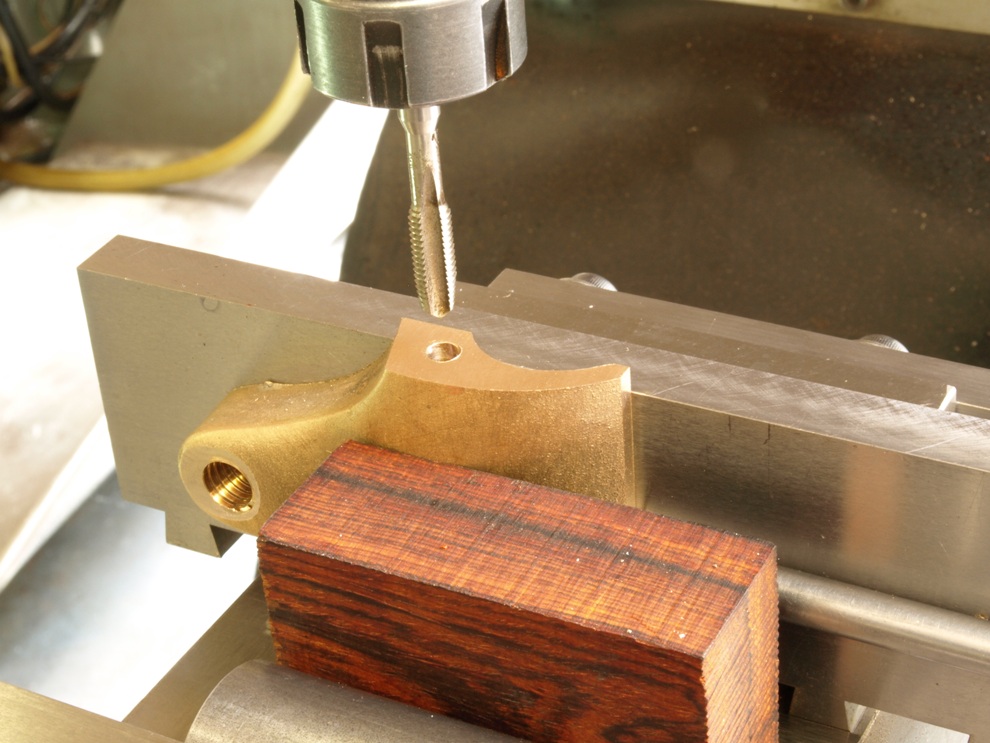
Drilling and tapping the brass dowel inside the woodwork for the adjuster fixing in the mill it is very useful using a DRO.
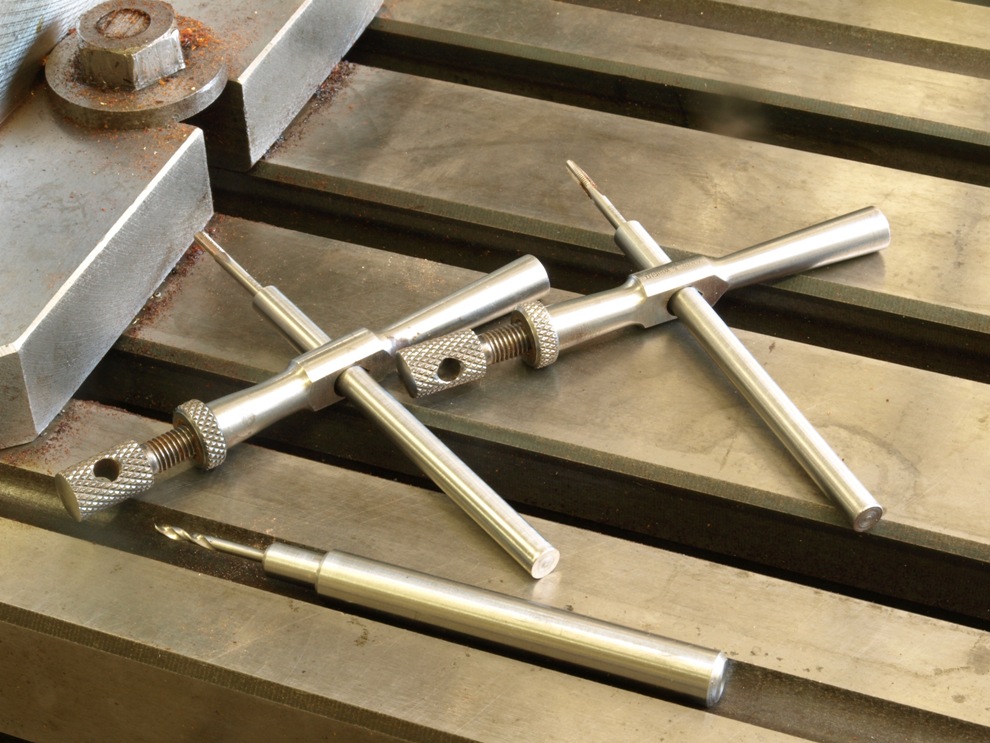
Drill and taps used for the work photographed above.
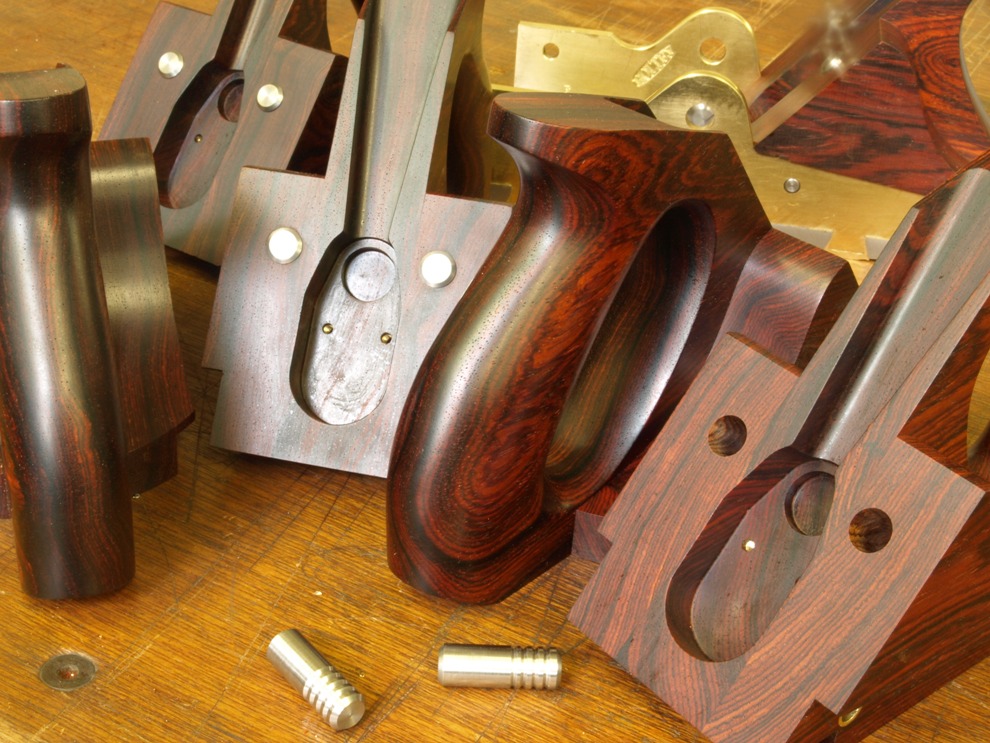
Drilling for blade bed piles.
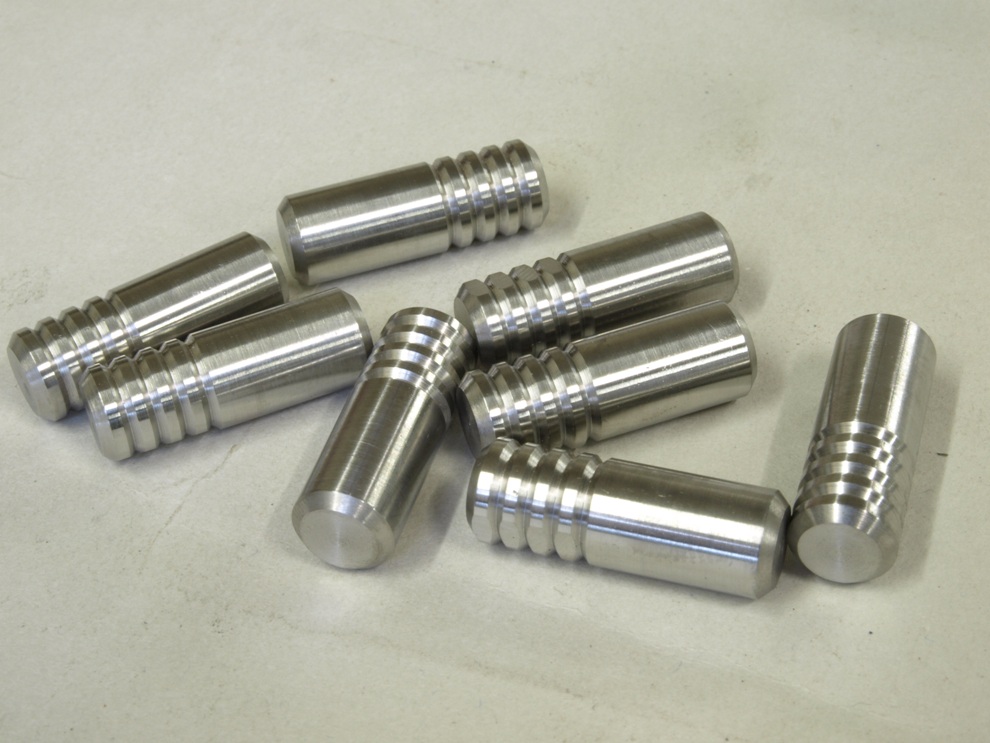
Stainless steel piles for blade bed.
Looking back on work done so far.
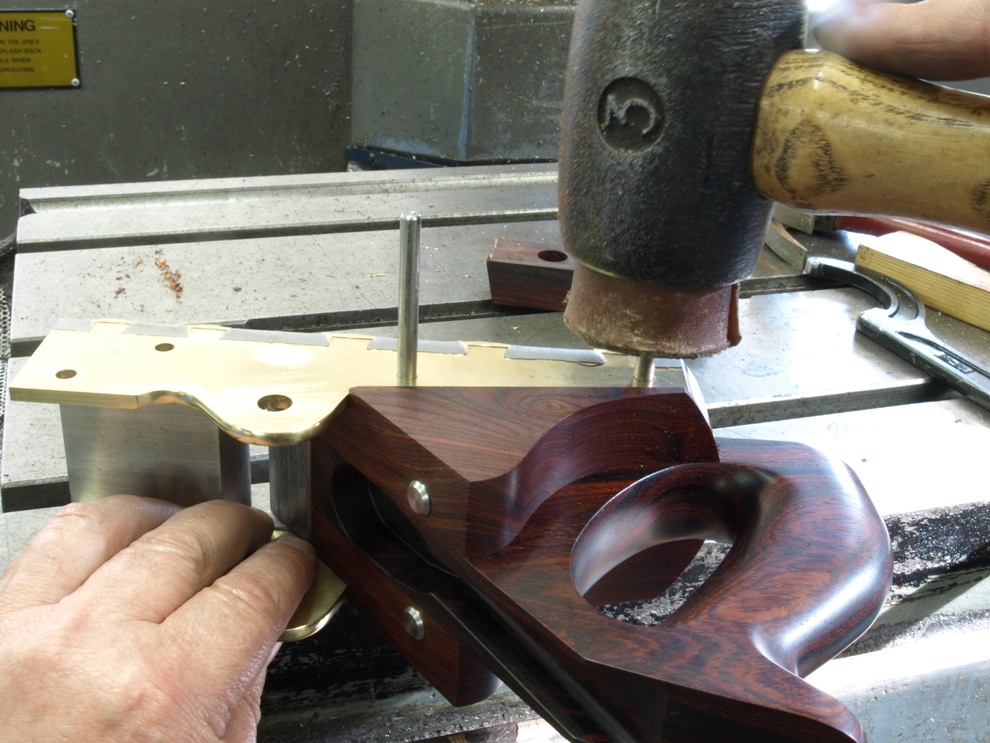
With the biggest hammer I can find I gently knock in the rivets ![]()
Assembly well on the way. The wood here is exceptionally bright red due to the flash being used.
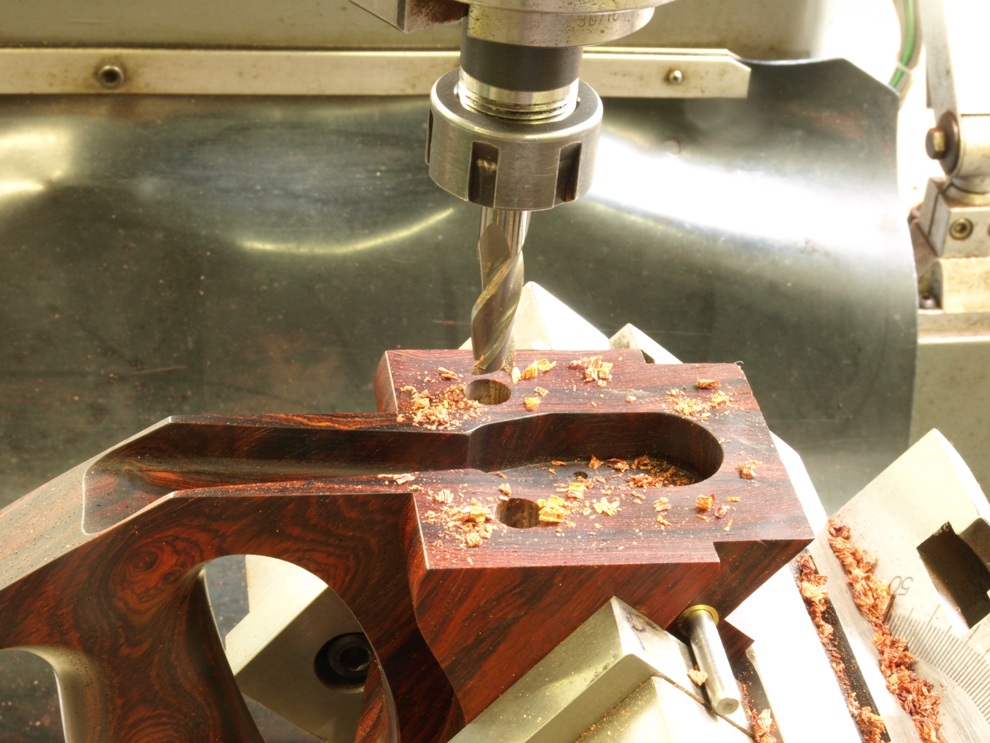
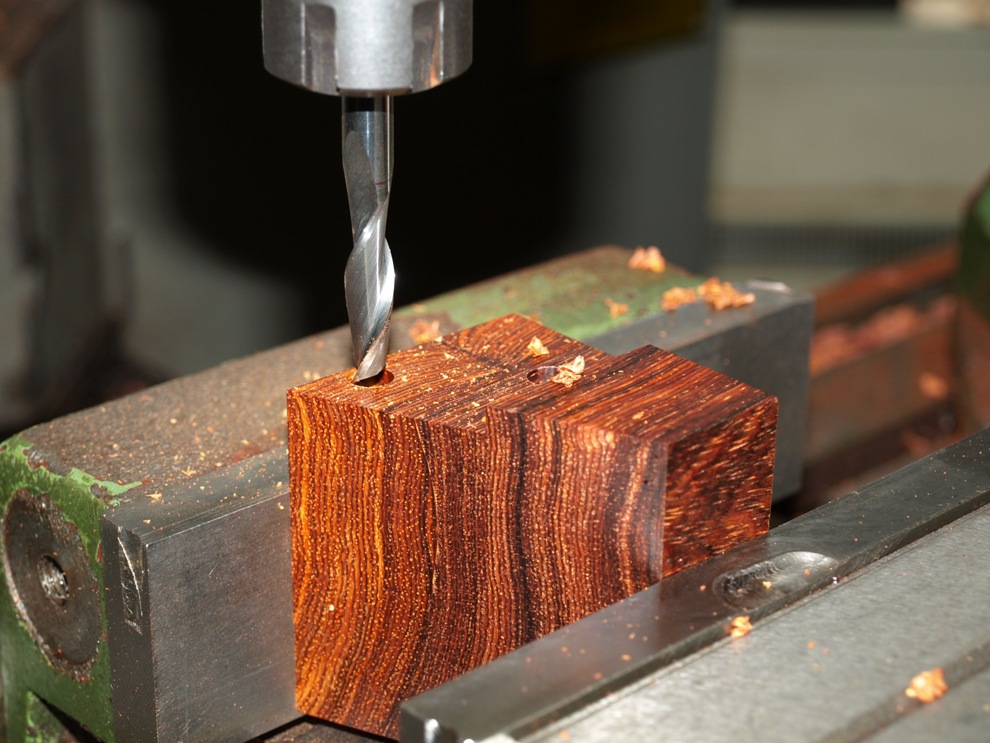
One of the many jobs that don’t seem to get described. Drilling for the rivet spacers on the front bun.
Blade bed levelling. There is a lot going on here as this is extremely critical.
Cutting the form to the top part of the infill.
Living dangerously. Forming the bevel in the mill is a lot better than filing. Trust me I know what I am doing!
Stopping to look back again.
Drilling and tapping lever cap for thumb screw.
Drilling and tapping for pivot screw on lever cap.
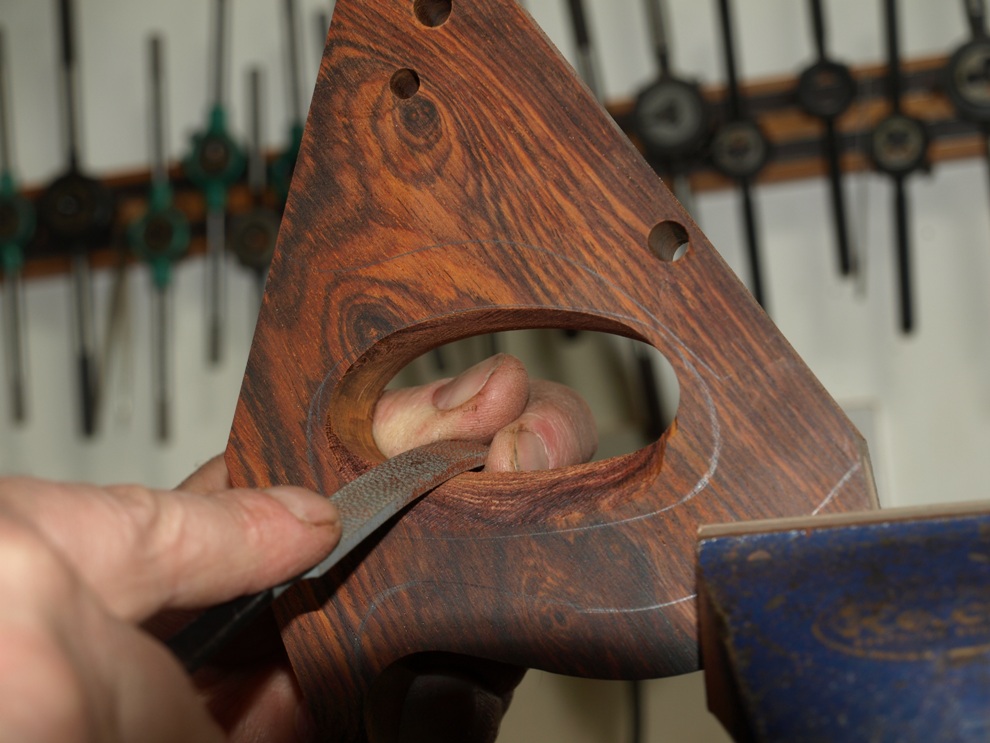
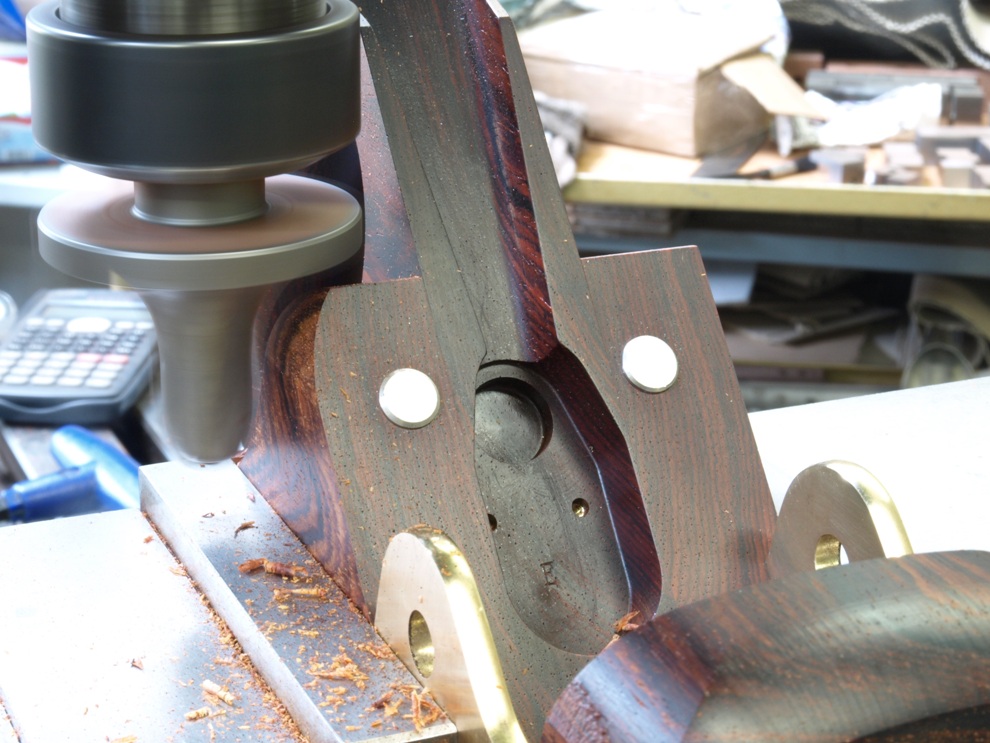
Truing up the contours on lever cap before polishing.
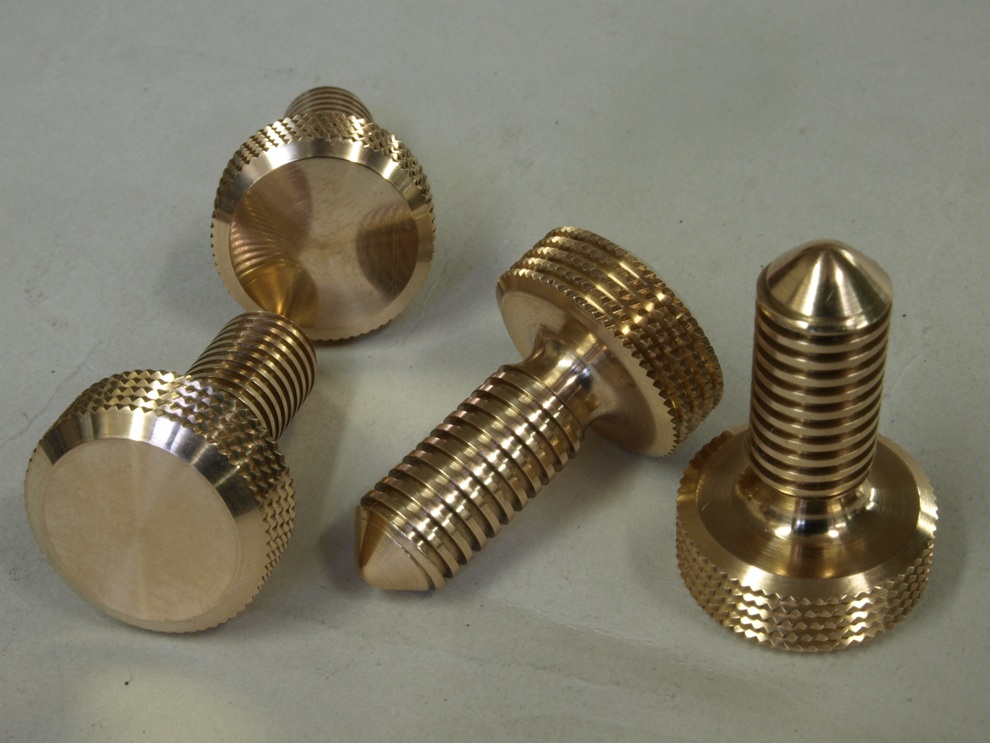
Lever cap thumb screws.
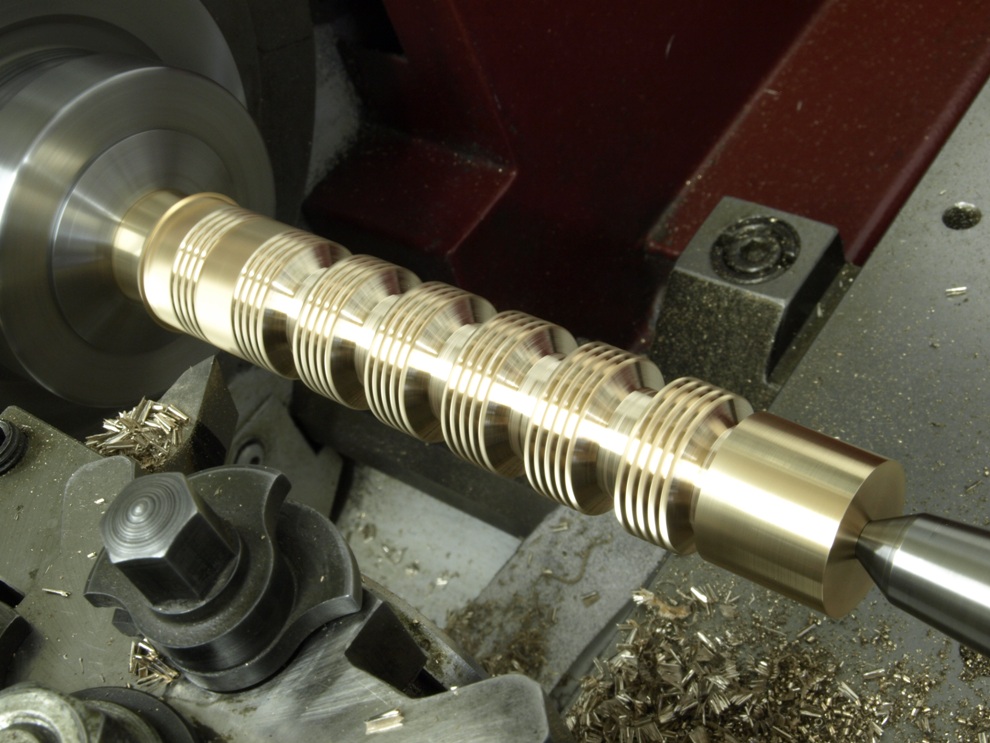
Heads for adjuster stems. Cutting hoops and chamfers to the thumb wheels.
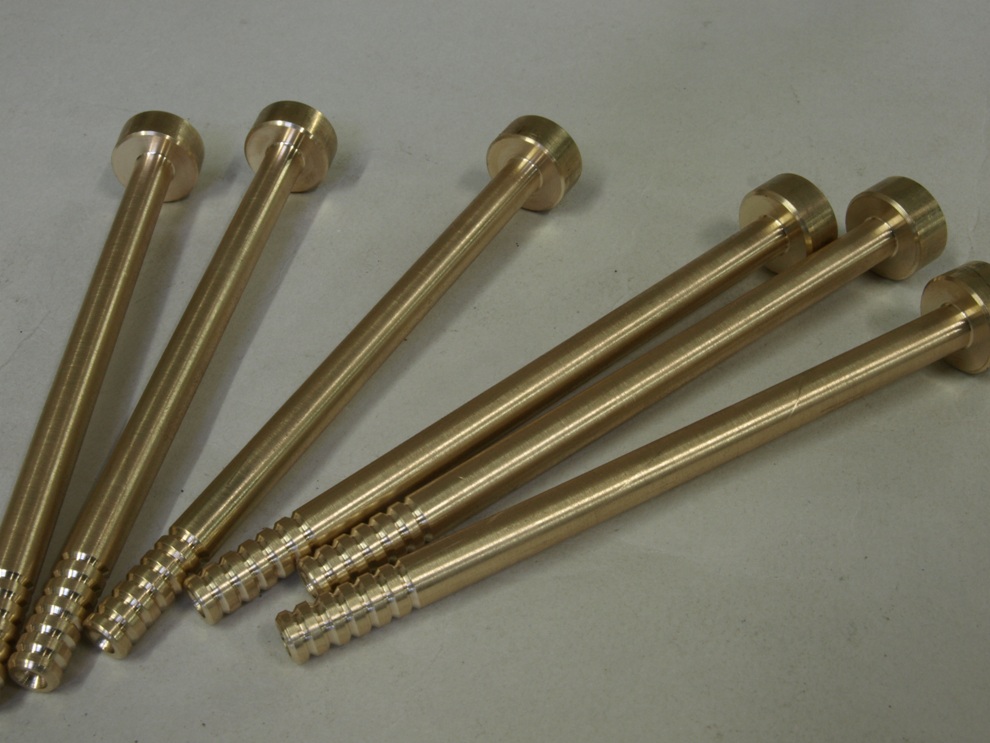
Spines for the rear handle.
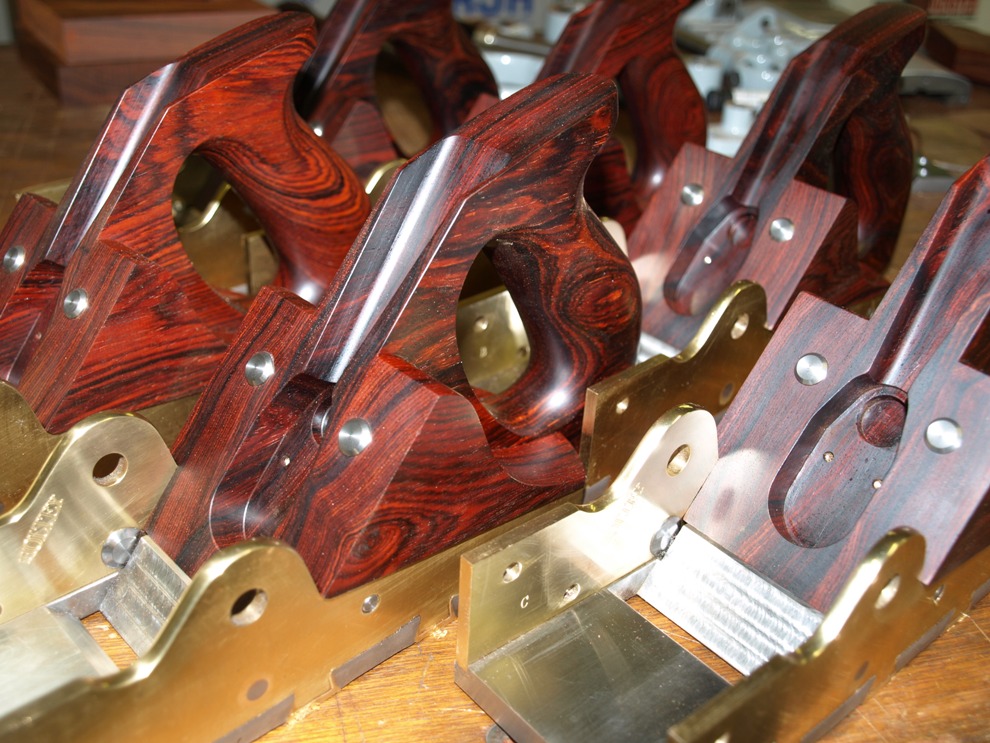
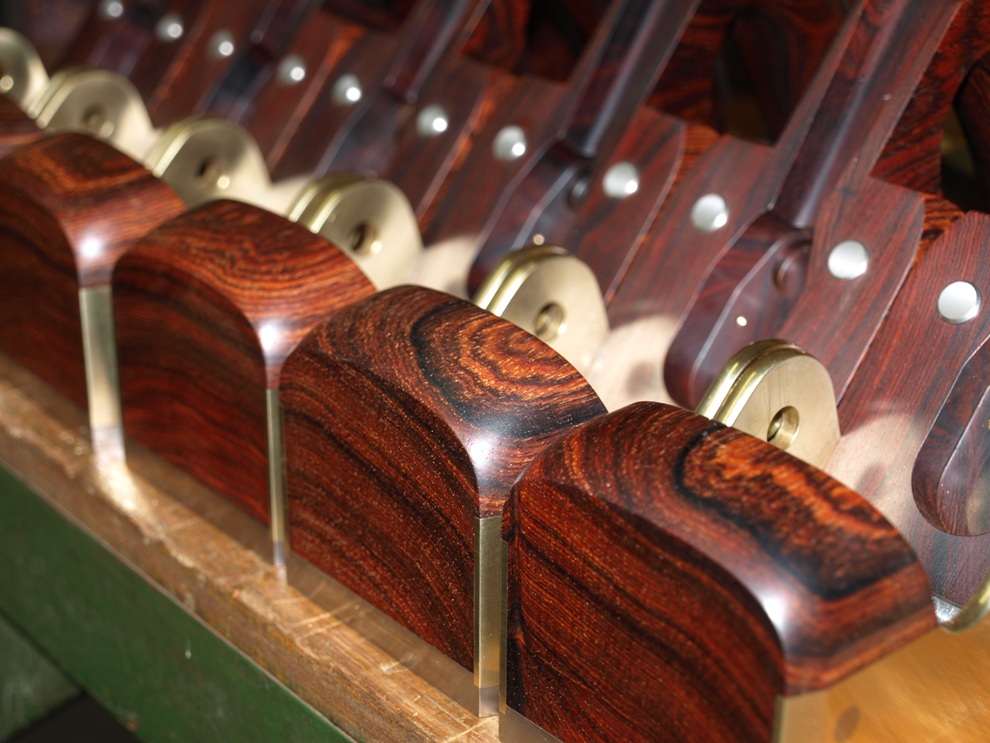
Nearly there
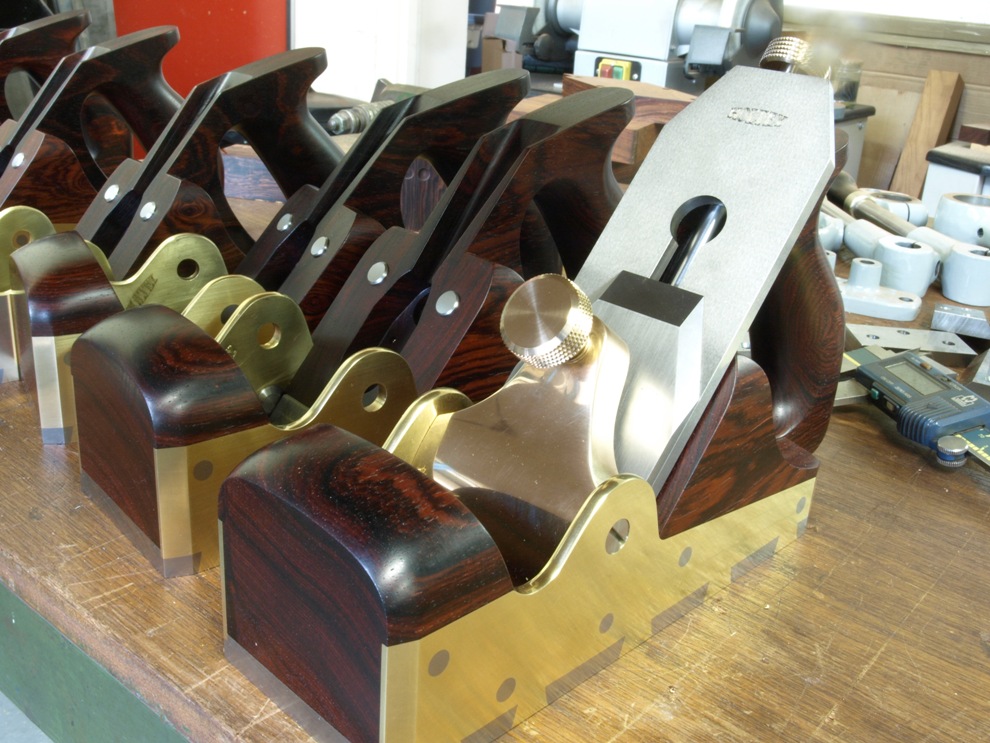
There you go again, you show off!
So, what’s in the pipeline now, another addition to the 98 range or something completely different?
Comment by Adrian Baird Ba Than — September 7, 2011 @ 8:10 pm
Beautiful. Those or gorgeous planes and I enjoyed looking at all the process photos.
Comment by Chris Wong — September 7, 2011 @ 9:28 pm
Hi Black
Where have you been? Missed your comments!
A No 983 is in the pipeline and also a different plane on its way. Will publish details soon.
k
Comment by admin — September 9, 2011 @ 8:38 am