From the Workshop

July 31, 2011

Window to my workshop 51

The last batch of A6 planes part 1

After receiving a commission for an A6 smoother I decided to make a batch of six. The A6 is probably the most time consuming of the infill planes (well perhaps the A7 is worse!). When using the designation A6 one should realise that my A6 is not to be compared with the Norris or any other plane of this type – it is made to a higher precision and has some innovations not seen in the original. This standard is beyond the scope of those without a tool room; I am not aware of any comparison. I work from a reasonably equipped tool room; not a production line. All work is done in house with the exception of heat treatment for the blades.

Although this model has been blogged before I am running it through again as this A6 is just that little bit more special. I always try to make the current plane better than the preceding one. Also these will be the very last Holtey A6 planes. For all my innovations and upgrades my work is veiled by the Norris history and I feel it is time to move on.

************************

The first part of starting the plane is to get the timber chosen and prepared so giving the wood some time to settle whilst making a start on the metal work.
 

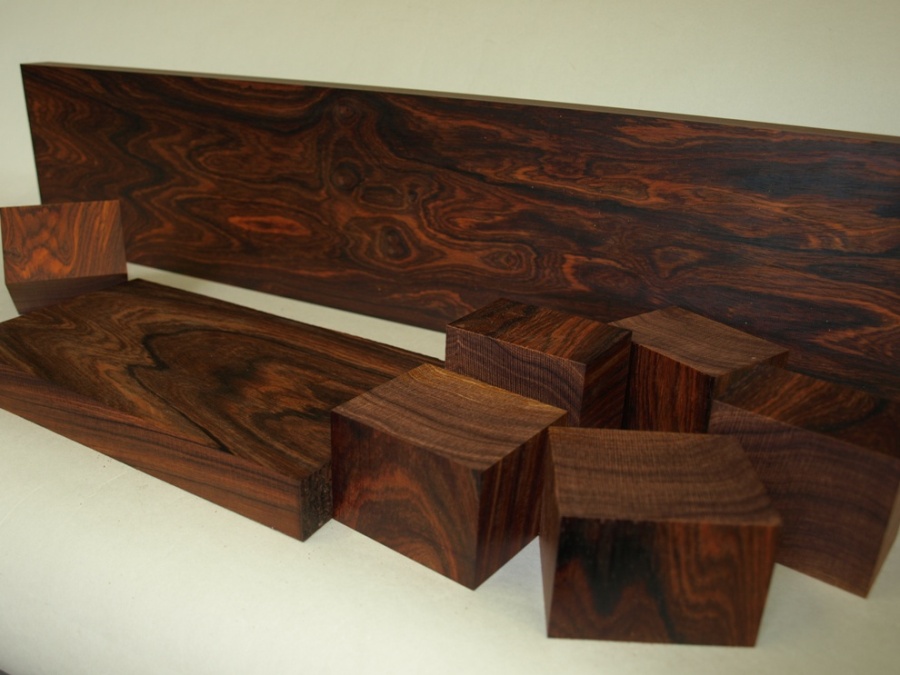
Here is a stunning piece of Cocobolo (Dalbergia Retusa) which was cut from a very nice log that I acquired from Timber Line a couple of years ago – thanks to a friend who spotted it on a visit there. This is the basic roughing out for the infill components.


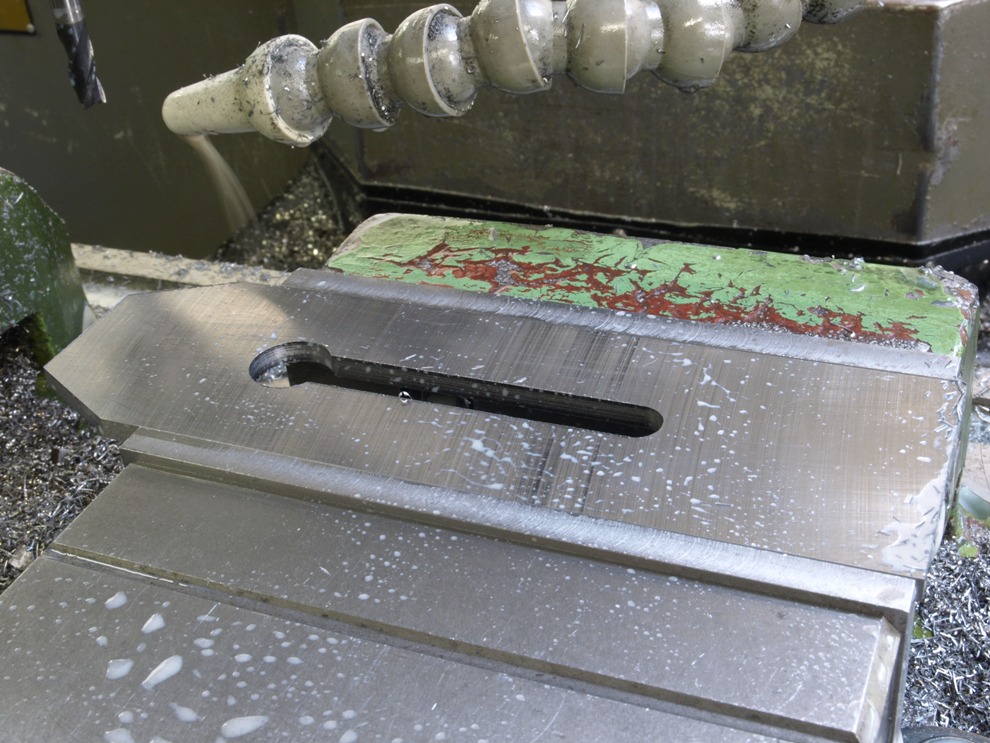
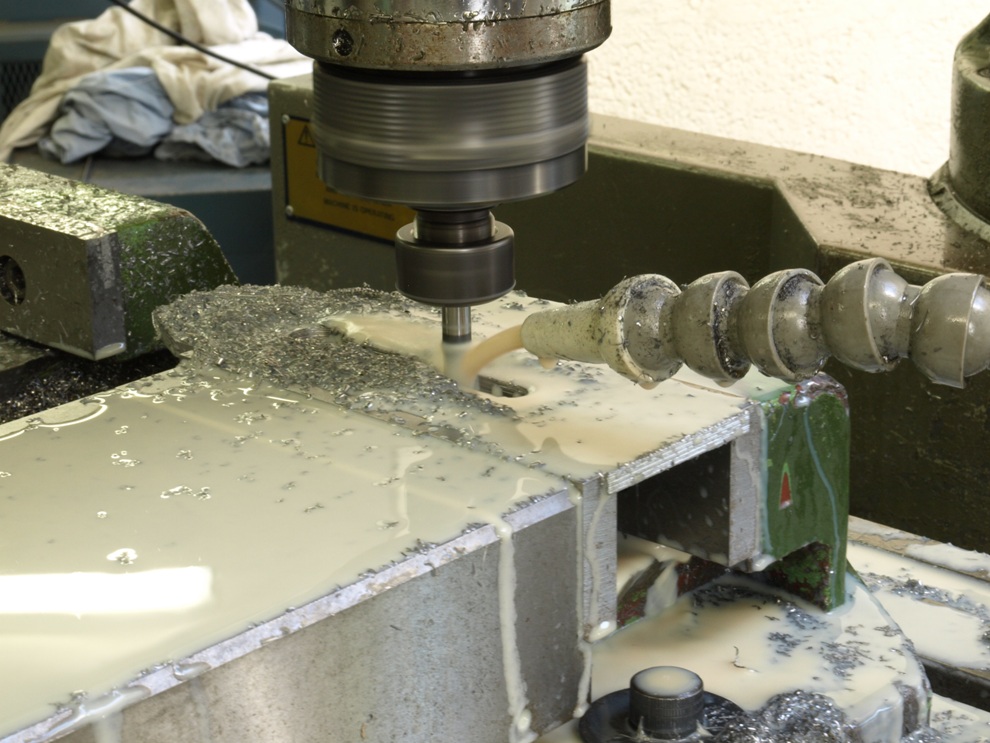
With the wood put aside to rest, a good starting point is the blades as they need to be sent away for the heat treatment. This shows the milling of the faceted end and slot.
(more…)
August 22, 2010

Window to my Workshop 42

A6 dovetail infill smoother

It was always my intention with this blog to show how much work goes into my planes and I hope that the format I have chosen has been successful as I don’t have much time to talk about my minutiae of everyday life and just stay focused on the work in hand.  I am sorry that my postings are so random but as they are time consuming I cannot afford to put them before my work.  I hope that you can see that my workshop is a serious workplace.  I have difficulty finding time for travelling to tool events.  I know this makes me seem a recluse but I can assure you that plane making to me is more than a full time occupation.

Sorry there has been such a gap since the last posting (and the time before), but any spare time I have had lately has been taken up with visitors and I have had to make some effort in my social life.   If anyone is thinking of visiting you must be prepared to climb a mountain as this is my relaxation.

———————————-

The prefix on the smoothing plane is almost irrelevant as the techniques are the same.  I feel that there are a lot of pieces missed out and this post is to try and fill the gaps.  I will also try and fill in any gaps on the No 982 next.  Then I will move on to new projects. 

The A6 is the only overstuffed plane in my range and is one of the main difference to the A13.

Sometimes it is nice to photograph components at this stage as it is an insight into some of the work.  Once everything is assembled it is gone forever.

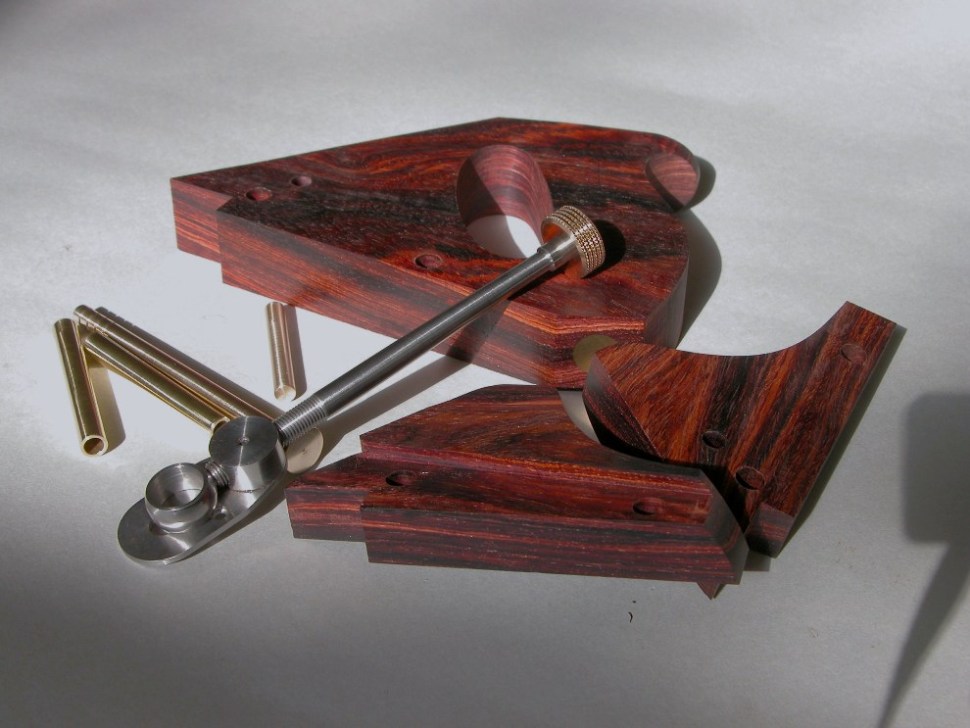
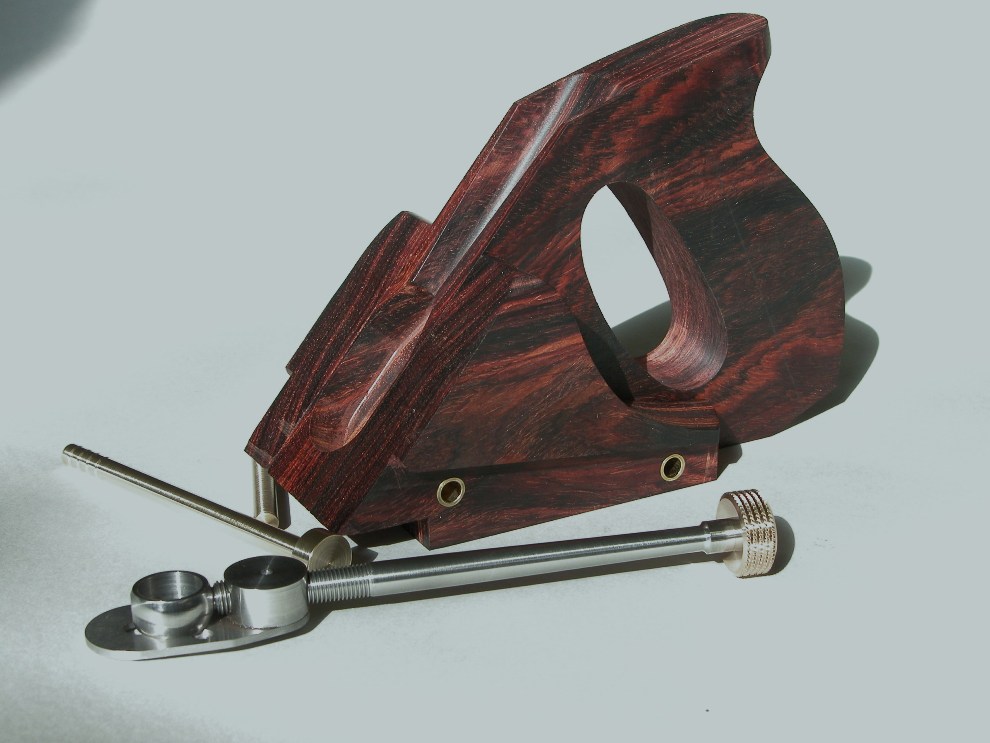
As you can see here that the rear infill is made up in three parts.  In the second picture you can see the three parts assembled showing the brass rivet spacers/sleeves and the recessing for the sides and adjuster.  Also the adjuster fixing bar and the handle spine.

(more…)

April 3, 2010

Window to my Workshop 40

Just a couple of pictures that got left off Post no 38 on the A6

A6 dovetailed smoothing plane with brass sides 15


A6 dovetailed smoothing plane with brass sides 16


A6 dovetailed smoothing plane with brass sides 17

March 6, 2010

A13 Boxwood pictures

Just a few quick pictures of this Boxwood A13 I have just finished

A13 boxwood smoother plane 1


A13 boxwood smoother plane 2


A13 boxwood smoother plane 3

February 7, 2010

Window to my workshop – 38

A6 Smoothing Plane

At last I have managed to find a little bit more time  for another entry in my blog.  For this entry I have decided use some old pictures of an A6 in the making as I have come across some pictures which could be useful.  As usual there are a lot of gaps in the picture diary and so I will start with the project already under way.  I feel sure that it will still provide some interest.

This A6 is one of the least copied planes around but is one of my personal favourites.  This is the real smoother as this plane is never much more than 7-7 .5 inches in length as its only job was for surface finishing.  This pattern is one of the most traditional, a fully handled infill plane.

I have been congratulated by many for introducing this informative blog as it shows how different my work is from other plane makers either historic or contemporary.  There are good plane makers but I feel that my methods set me apart. 

 “The nicest things about standards is that there are so many of them to choose from “ Andres S Tannenbaum.


 A6 dovetailed smoothing plane with brass sides 1

 After all the profiling and dovetailing has been completed (this is the same process as with my other infill planes and has been documented elsewhere in these blogs), I can concentrate on the mouth and the frog.  As you will see from the picture the mouth is slotted and the holes drilled in preparation for the frog riveting.

  (more…)

January 3, 2010

Window to my workshop – 37

74 T21 Transitional dovetailed jointer

 95 T21 Transitional dovetailed jointer

I thought I would put this picture up for the benefit of the customer who is buying it. I plane all round for truing up.  As you will notice I have chosen to do all my planing on the milling machine as it will plane true without any tearing when it comes to the more difficult grains.  I achieve more accuracy this way than I would do on an ordinary planer/thicknesser.

  (more…)

January 1, 2010

Window to my workshop – 36

T21 Transitional Dovetailed Jointer Plane

 63 T21 Transitional dovetailed jointer


64 T21 Transitional dovetailed jointer

Boring and counter boring the hole in the bun blank for the fixing stud.

  (more…)

Window to my workshop 35

T21 Transitional Plane

I will be working to finish the blog on the T21 today, so I thought I would leave you with these pictures in the meantime.

60 T21 transitional dovetailed jointer


61 T21 transitional dovetailed jointer


62 T21 transitional dovetailed jointer

December 27, 2009

Window to my workshop -34

 T21 Transitional Plane – Bushing


There are 2 single bushes and 1 pair in this plane.  The bun and the rear handle have one each and a small pair for the adjuster.  Following are a few illustrations to give you an idea of how they are made – once fitted they are invisible though vital.

 53 T21 transitional dovetailed jointer bush

The purpose of these bushes is that they spread the load into a greater contact area.  I use a coarse thread on these which is cut on to both the male metal portion and the female wooden counterpart. These bushes are permanently cemented into position with an epoxy resin.   


51 T21 transitional dovetailed jointer bush

It is possible to break the bond on the metal parts.  When the bushes are cemented in position they are less likely to rotate due to the mechanical properties of the flats you will have noticed in the photographs (in the above photo I am about to cut the flats on to the stud for the front bun, not one of the bushes – but the principle is the same).   However, as during the fixing process the epoxy resin is forced in the fibrous texture of the wood providing an additional mechanical key these will not break down.

(more…)

December 26, 2009

Window to my workshop – 33

T21 adjuster


The adjuster for this plane is of the well known Norris type. As with all my Norris style adjusters they have some revisions.


 20 T21 transitional jointer plane adjuster


21 T21 transitional jointer plane adjuster

In these pictures you can see two small holes which are used to secure the adjuster body.  One of the larger holes is for the rotating nut and the other is an extra hole to assist in work holding when machining (as in the second picture).

  (more…)

« Newer PostsOlder Posts »

Powered by WordPress