A6 dovetail infill smoother
It was always my intention with this blog to show how much work goes into my planes and I hope that the format I have chosen has been successful as I don’t have much time to talk about my minutiae of everyday life and just stay focused on the work in hand. I am sorry that my postings are so random but as they are time consuming I cannot afford to put them before my work. I hope that you can see that my workshop is a serious workplace. I have difficulty finding time for travelling to tool events. I know this makes me seem a recluse but I can assure you that plane making to me is more than a full time occupation.
Sorry there has been such a gap since the last posting (and the time before), but any spare time I have had lately has been taken up with visitors and I have had to make some effort in my social life. If anyone is thinking of visiting you must be prepared to climb a mountain as this is my relaxation.
———————————-
The prefix on the smoothing plane is almost irrelevant as the techniques are the same. I feel that there are a lot of pieces missed out and this post is to try and fill the gaps. I will also try and fill in any gaps on the No 982 next. Then I will move on to new projects.
The A6 is the only overstuffed plane in my range and is one of the main difference to the A13.
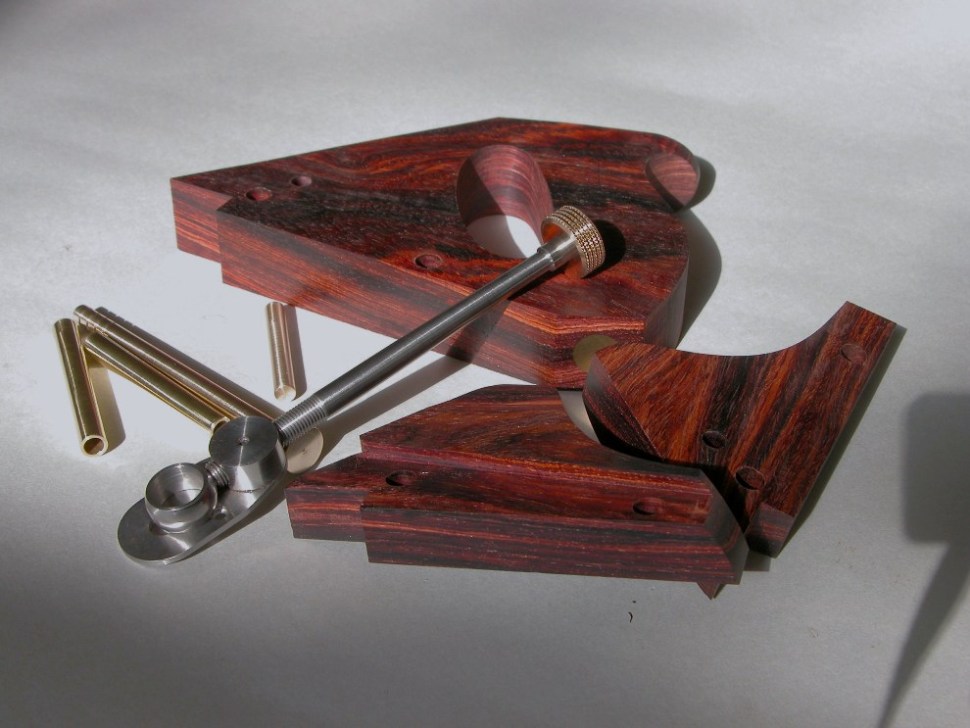
Sometimes it is nice to photograph components at this stage as it is an insight into some of the work. Once everything is assembled it is gone forever.
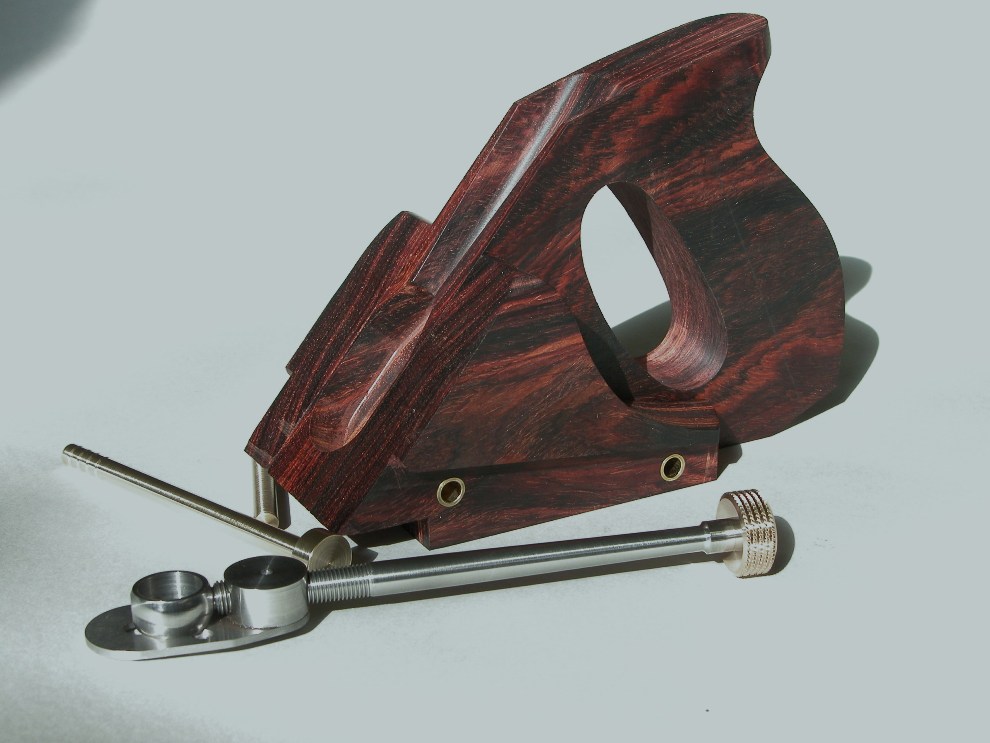
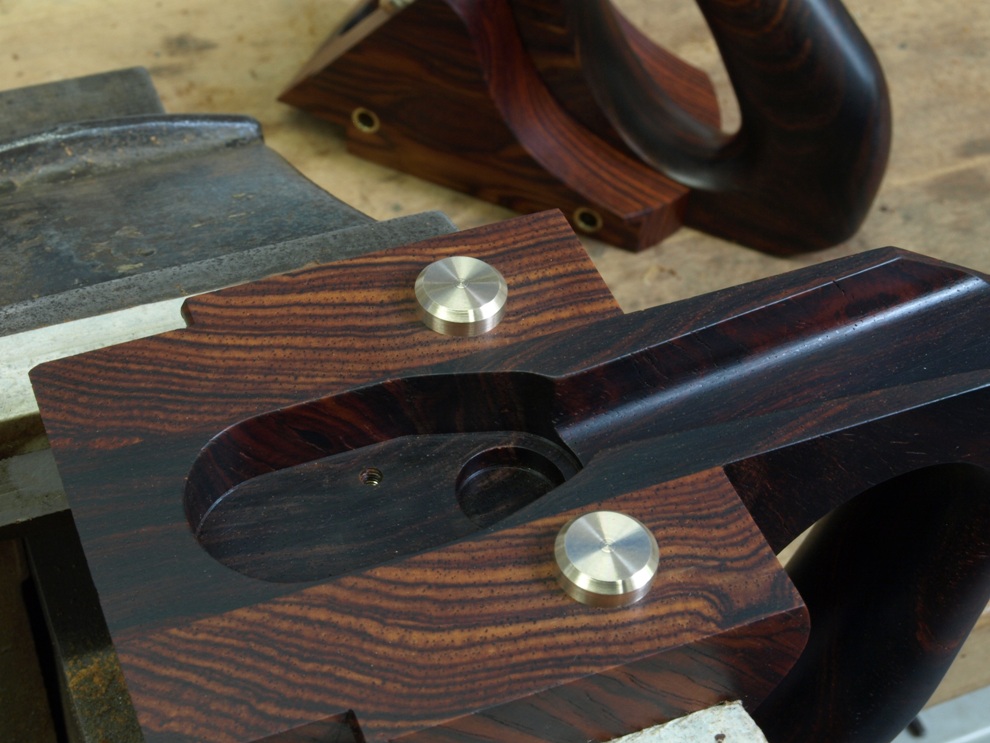
As you can see here that the rear infill is made up in three parts. In the second picture you can see the three parts assembled showing the brass rivet spacers/sleeves and the recessing for the sides and adjuster. Also the adjuster fixing bar and the handle spine.
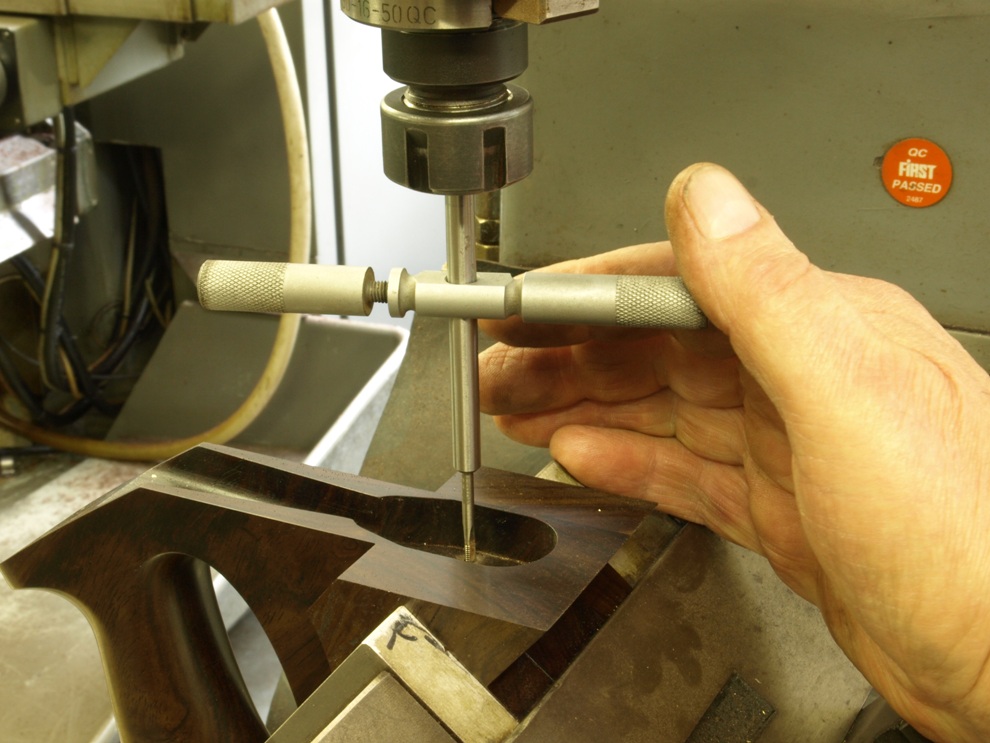
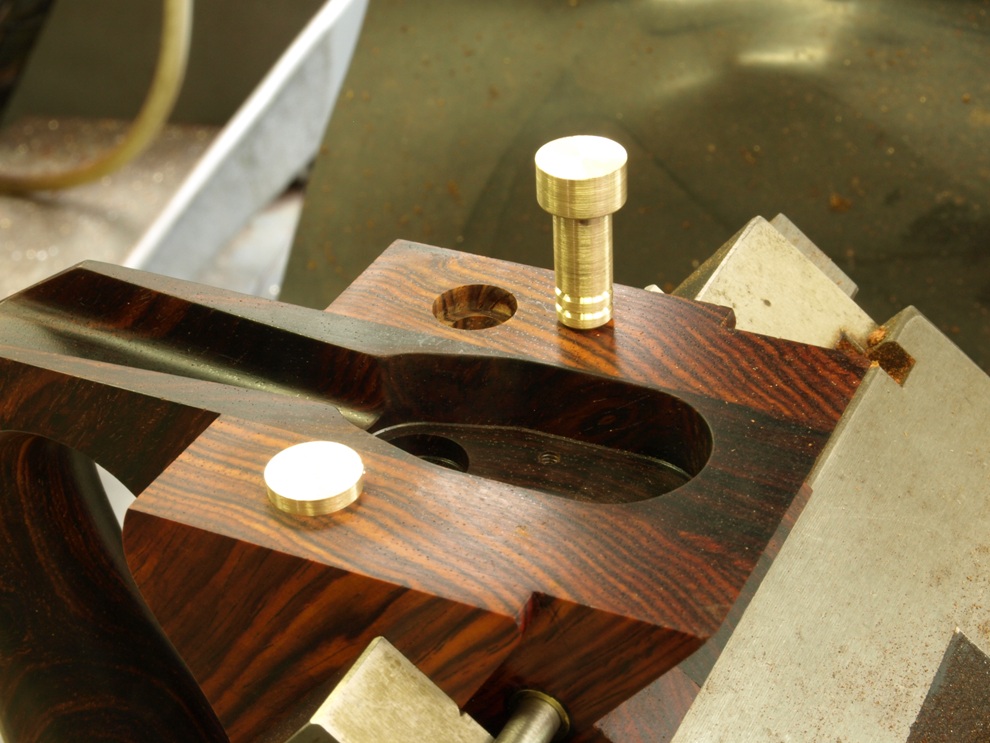
After the rear infill has been hand finished and assembled it is set up in the milling machine for the fitting of the remaining components. This picture shows the tapping following the drilling of the brass bar already inserted into the wood work (as shown in the previous picture). This is for the adjuster retention. Please note that even the tapping is done in true axis whilst still on the milling machine.
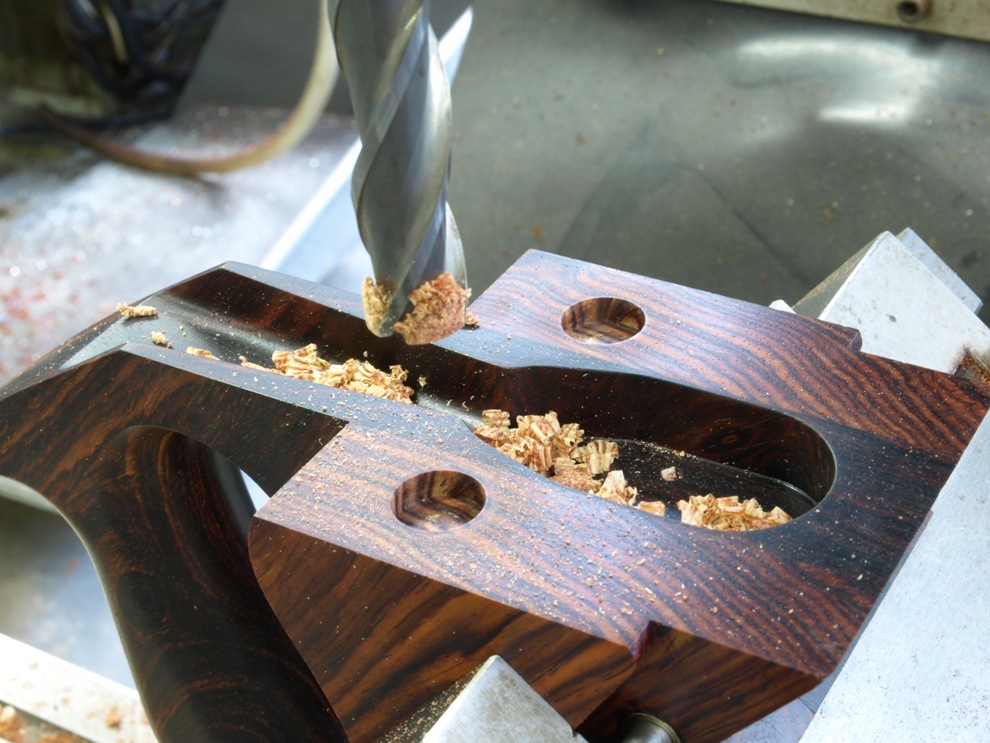
The counterbores for the blade riser.
The gunmetal blade riser/bed. It should be noted that there are two retention rings for the cementing in place. The risers come to rest directly on the riveting sleeves.
Just nice to show a picture of everything in place, but yet to be levelled.
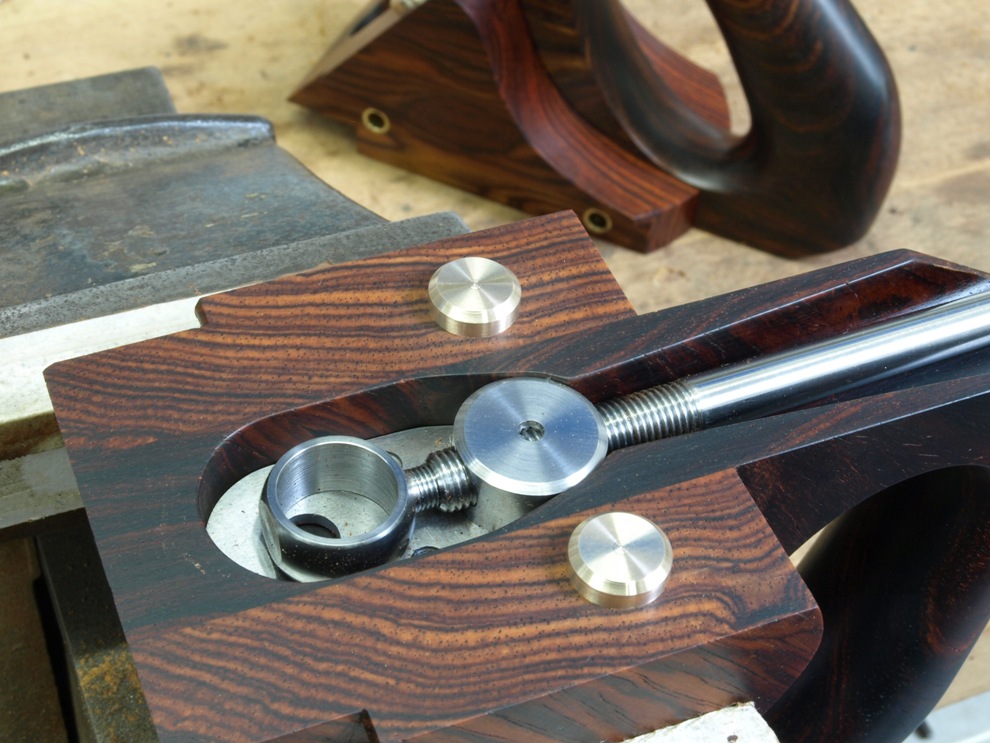
Showing the adjuster resting in its recess.
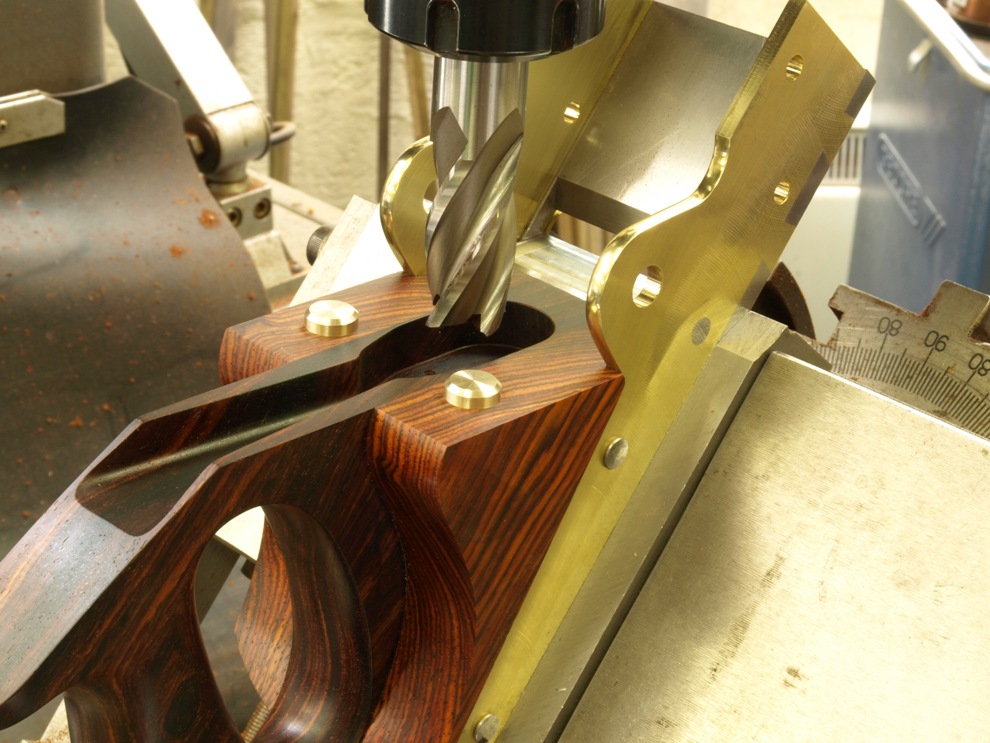
With the risers cemented in position and set up on the milling machine, I only need to touch on the frog for height and transfer this level to cut off the risers – usually + 2 thou higher than this level.
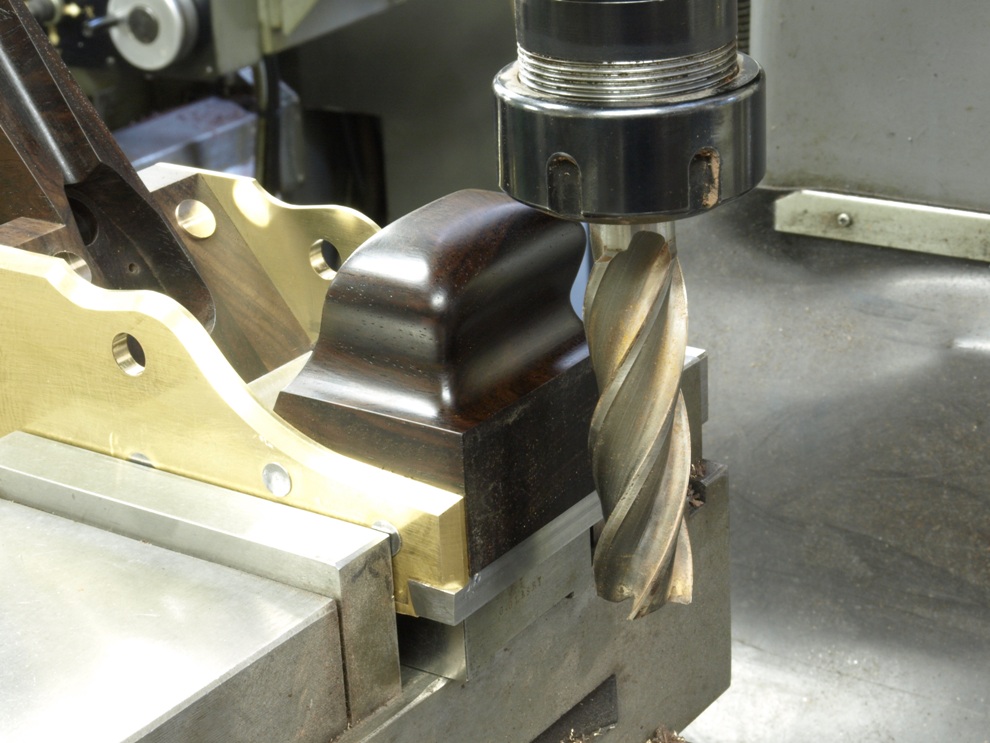
This is actually a picture of an A13. The plane is ready for flushing the end i.e. the wood and metal work. As with all my infill work it is a combination of machining where precision counts and hand shaping for style.
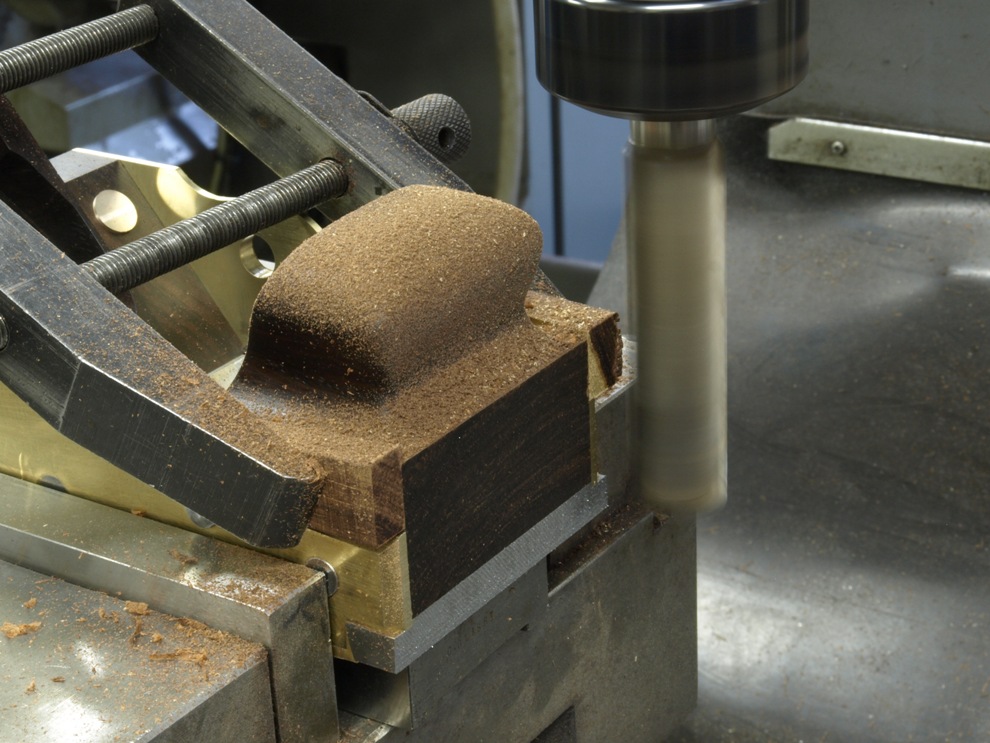
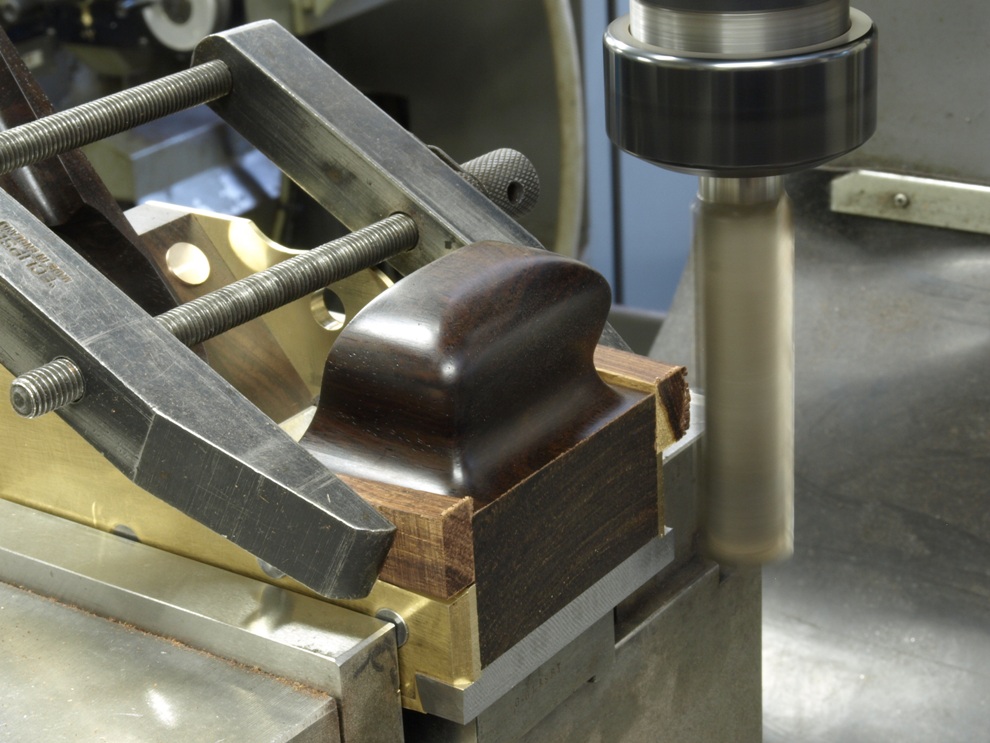
With break out protection in place I can cut across the front end section in a perfect plain. Any linishing or filing is unacceptable here.
After the planning of the front end and the dust blown away.
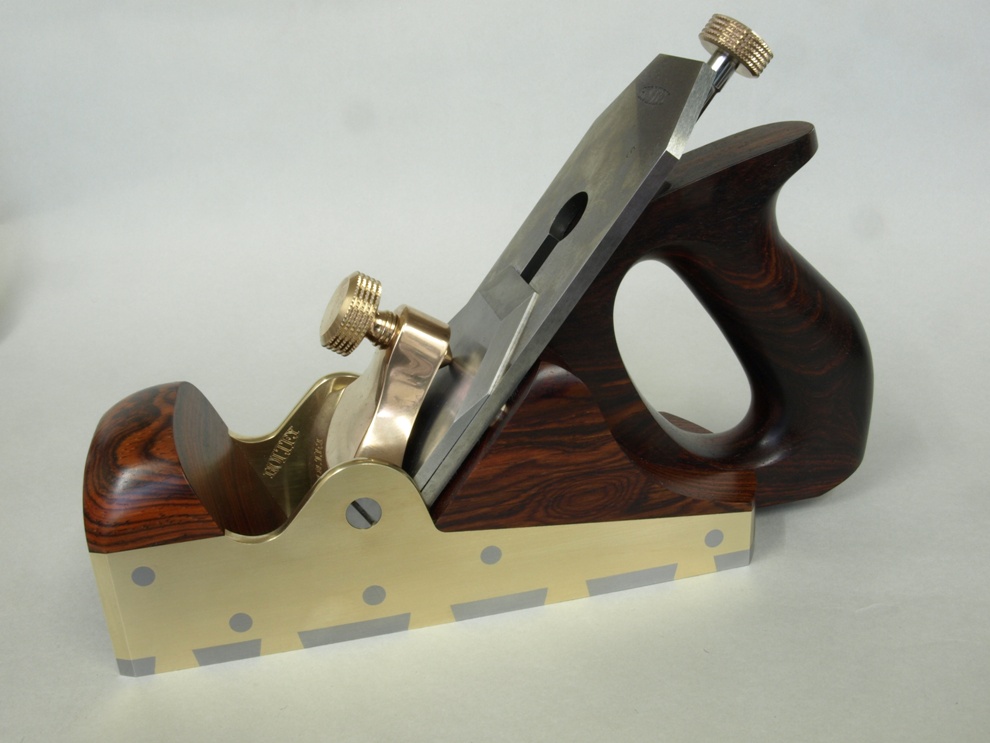
A couple of pictures of the finished plane

Having been fortunate enough to meet you & Claire & see & feel the amount of your lives you put into your work I find it miraculous that you have time to breath let alone do anything else!
Great post,yet more little secrets spilling forth for the world to see.
Cheers,
Black
Comment by Adrian Baird Ba Than — August 22, 2010 @ 4:37 pm
Karl,
I was just about to pack my bags and embark on the long 12 hour journey to your workshop.
Then I read about the mountain !!!!!!!!!!!!!!!!!!!!!
Mountains are evil and one tried to kill me once.
Very best wishes,
Archie.
Comment by Archie — August 22, 2010 @ 8:57 pm
“The risers come to rest directly on the riveting sleeves.” Is this statement true for the A6? The risers look pretty short and the nearest riveting tube looks to be a long way off. Am I missing something?
Thank you so much for the blog. I know it must be a tremendous bit of work, but I have enjoyed and learned from every word and photo. Your blog is a genuine extension of your prodigious craftsmanship.
RD
Comment by Roger Davis — August 27, 2010 @ 3:19 am
Hi Roger
Thanks for pointing this out to me, you are quite correct this doesn’t apply to the A6. I will make an adjustment to the blog.
Thank you for your nice comments.
Regards
k
Comment by admin — August 28, 2010 @ 6:36 pm
Thanks for finding some time to update your blog Karl, I know how hard it is to find the time to do it, and I’m sure everyone agrees that we all love seeing what you’re working on. You know what sucker I am for cocobolo, keep those pics coming! (lol)
Cheers,
Steve
Comment by Steve C — September 12, 2010 @ 7:21 pm
To see you work in stages like this is a feast for the eyes–you are insanely talented. My husband stares at your website for hours on end, and now I know why.
From your fans in La Conner, Washington–
Liz & Harley
Comment by Liz Theaker — December 19, 2010 @ 7:07 pm
Hi Liz and Harley
Thank you for the nice words.
k
Comment by admin — December 27, 2010 @ 11:45 am
Simply stunning work and quality, most impressive.
Thank you for recording and displaying.
Best Regards from Tudor
Comment by Tudor Barker — February 16, 2011 @ 11:11 pm