From the Workshop

September 16, 2015

Window to my Workshop 97

Filed under: No 984,Window to my workshop — Tags: , — admin @ 6:38 pm

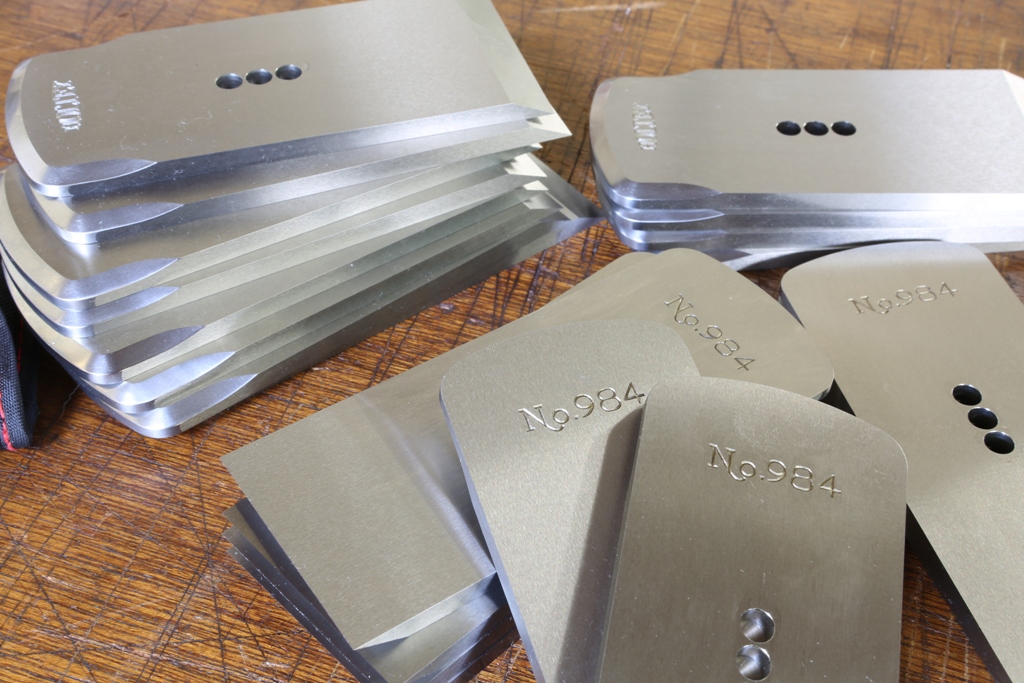
Sorry for the long gap, and probably a few photo opportunities missed. Now on to the bottoms of the No 984.
 
Holtey No 984 pic 1

 
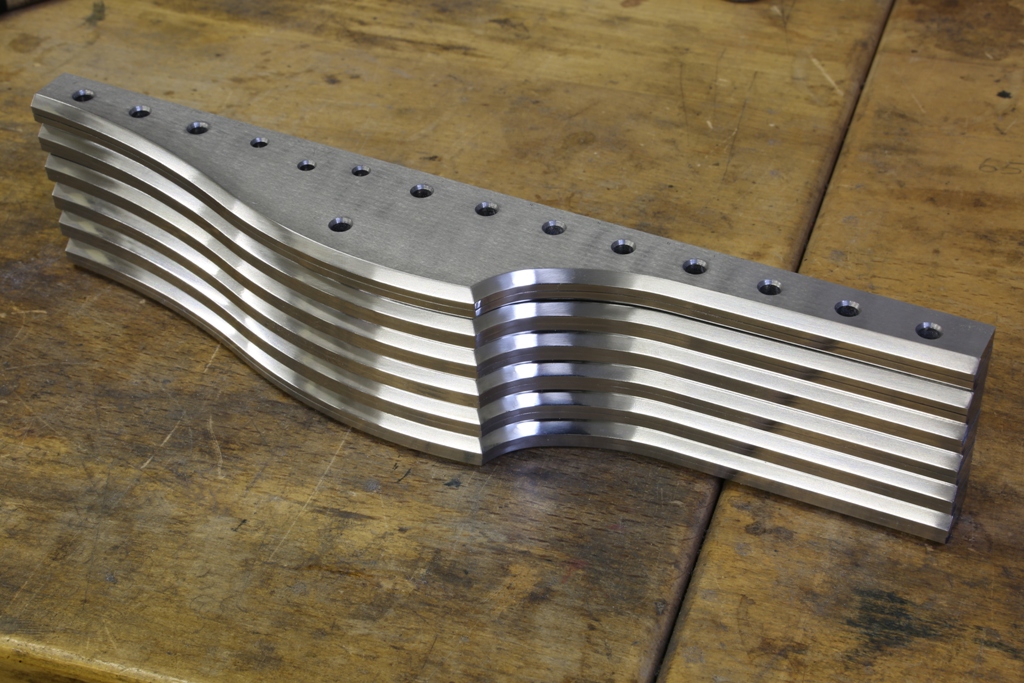
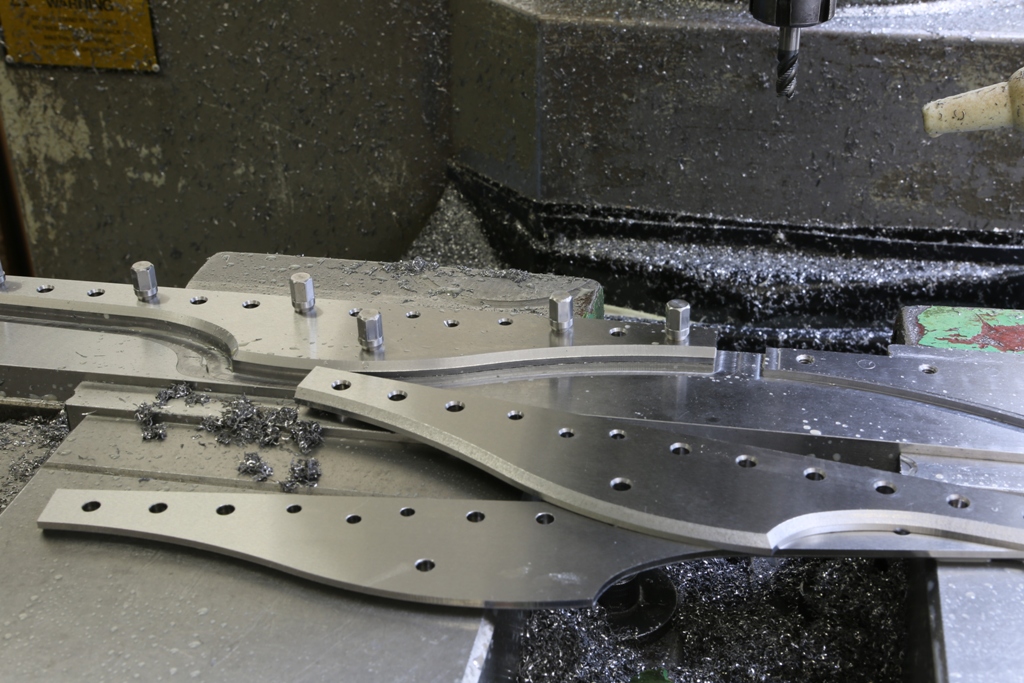
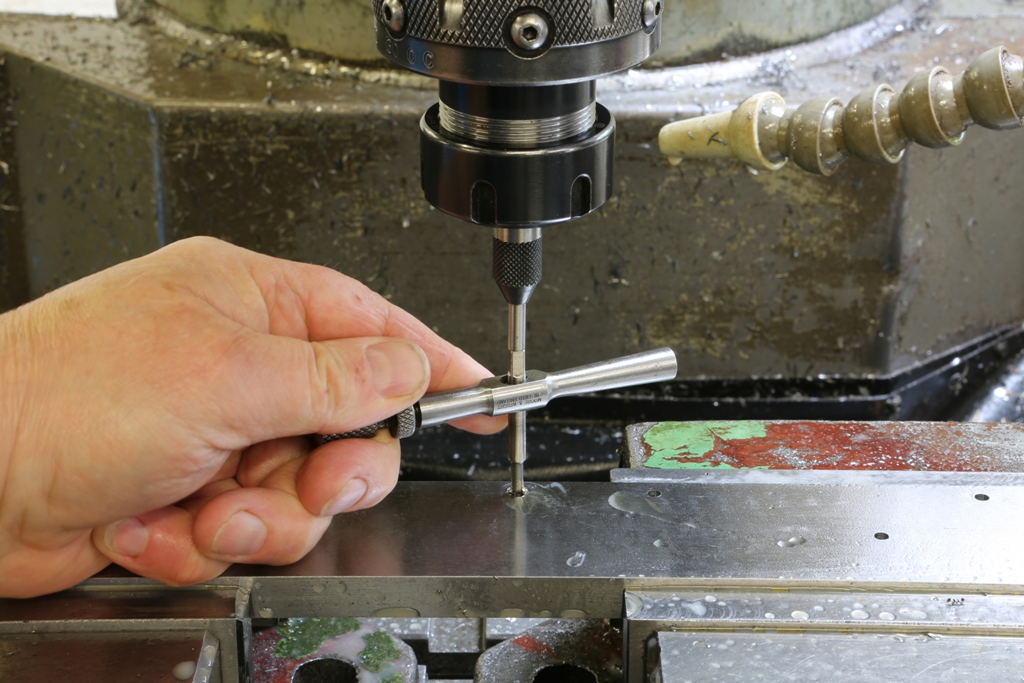
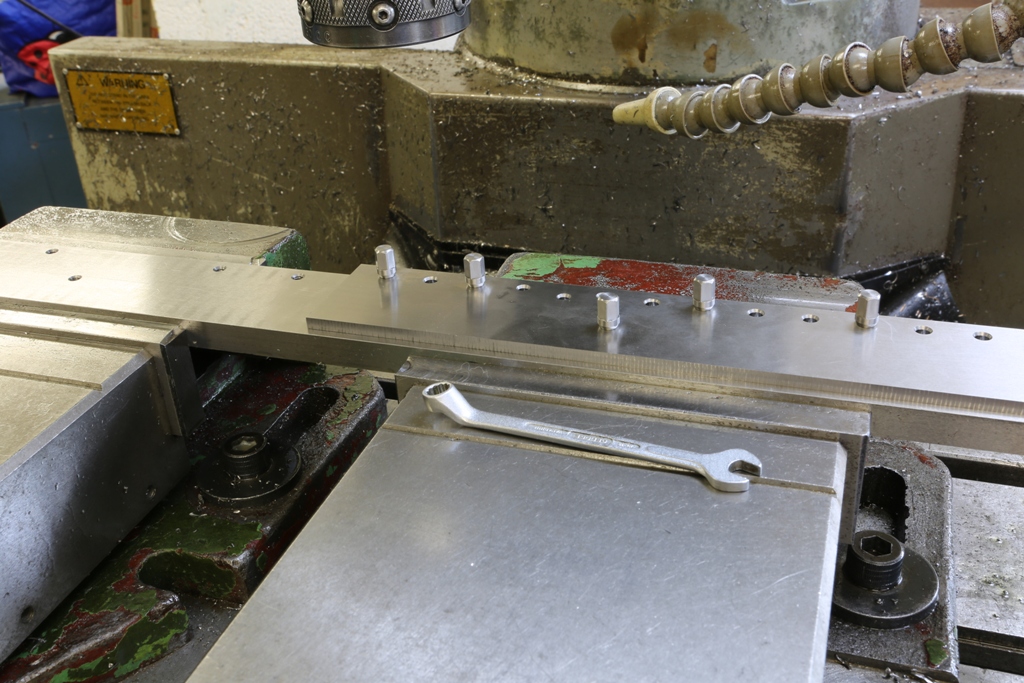
I had to make many visits to the drawing board to finalise the drilling for the handles, as I felt paranoia was setting in and a lot of double checking and tweaking was needed here. As you can see I have five holes to receive the 5 mm integral rivets for the front bun fixture. It may look a little excessive but I have seen what happens if a plane is dropped and lands on the bun. The original No 98 had three rivets. Four wasn’t right but five just seems to be correct. I always work in odd numbers for some reason. Funnily all office chairs have 5 feet.
 
Holtey No 984 pic 2
 
For the rear tote I shall use 2 x 6 mm rivets, which are integral to its chair. This is one area that I have thought long and hard on, making this fixture as tough as possible. It is very limited by its parameter of being an open handle. This arrangement will be as strong as you will ever need. In the event of any impact the handle will be the first thing to break – so best not drop it – but it is wood after all. The handle can be replaced. With these two holes I am now committed, the rest of the handle will be tweaked a bit before I start.
 
Holtey No 984 pic 3
 
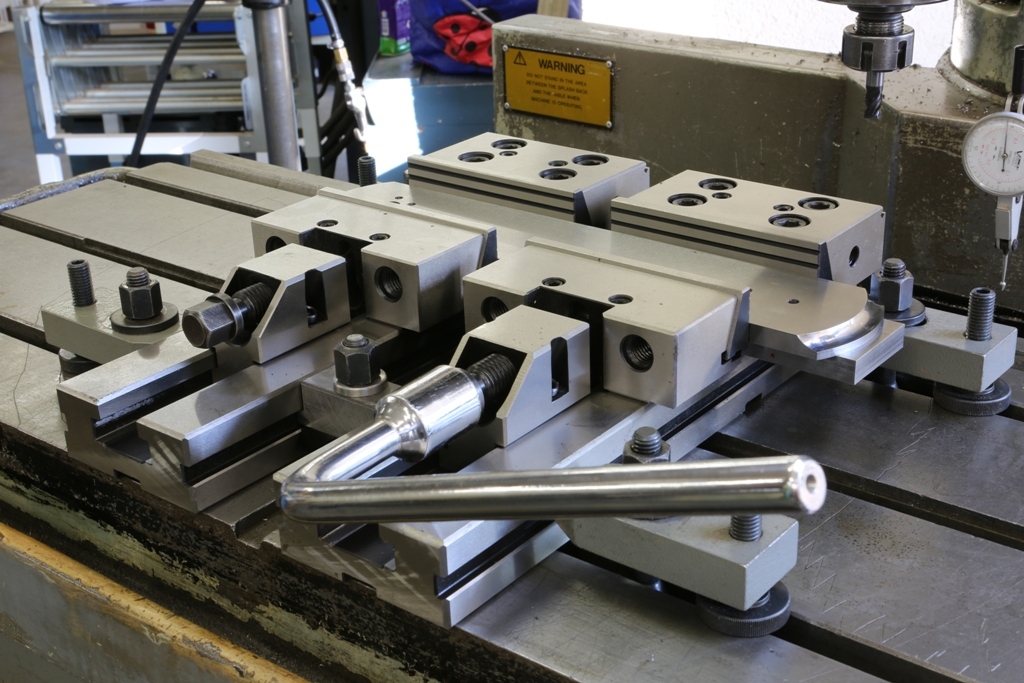
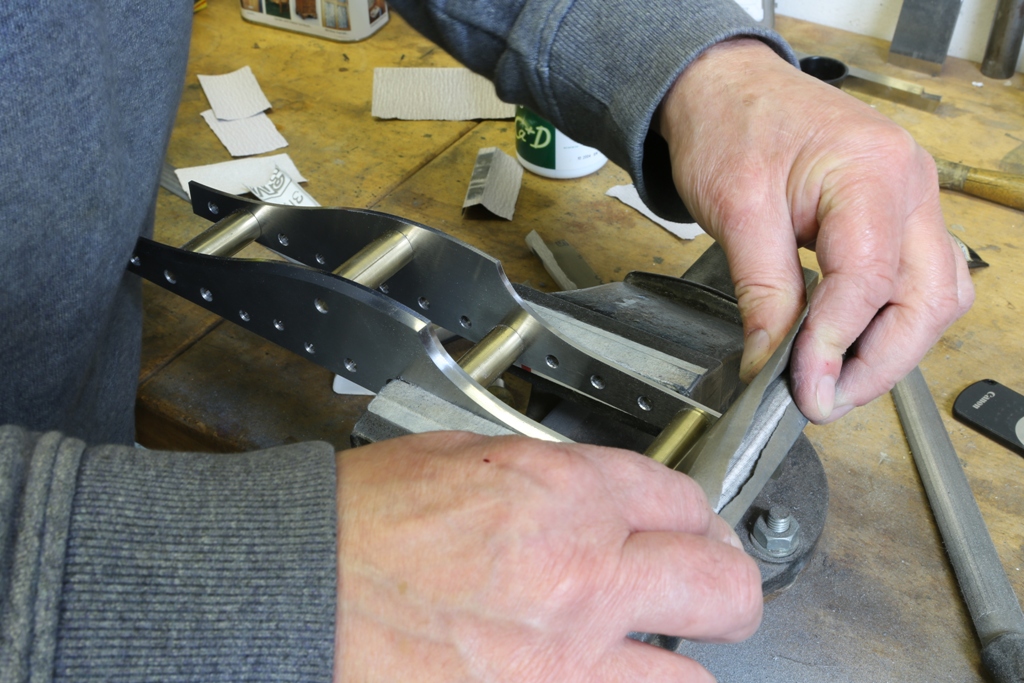
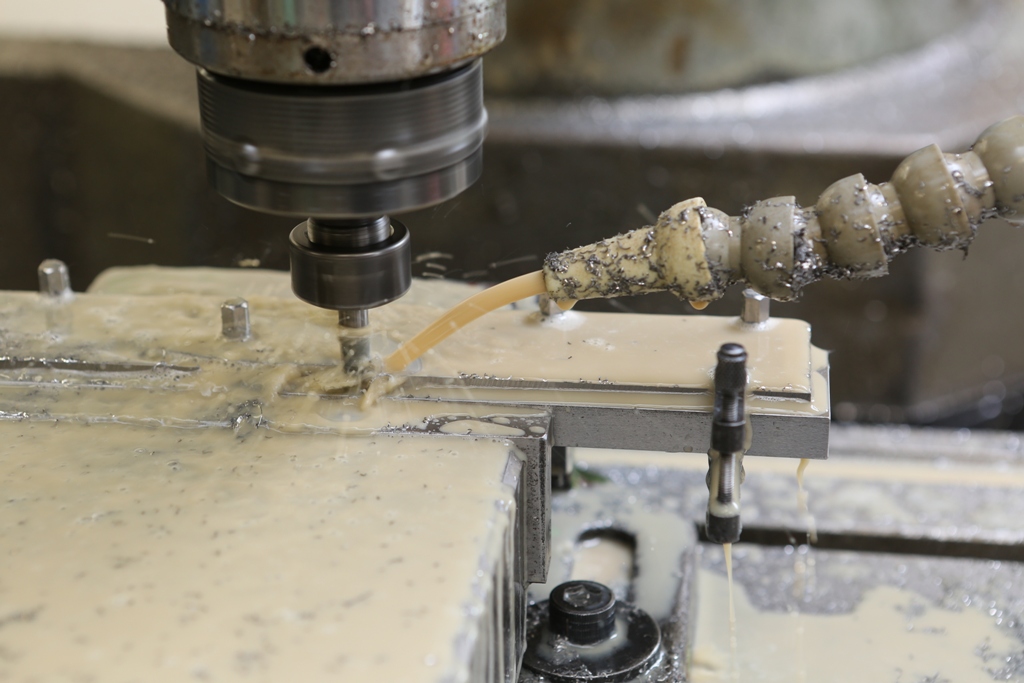
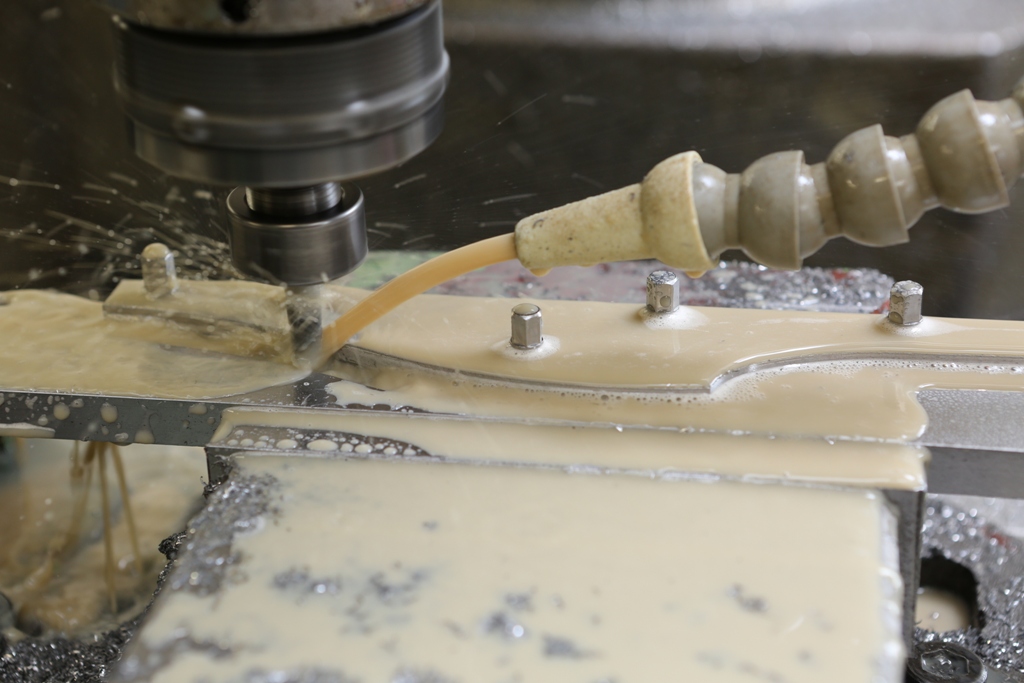
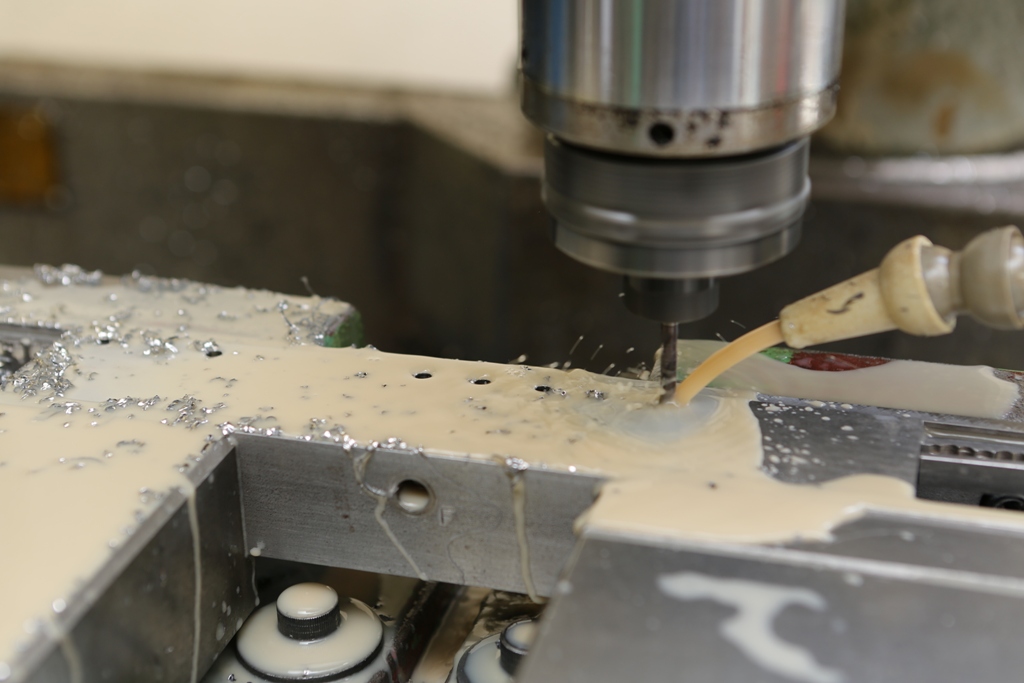
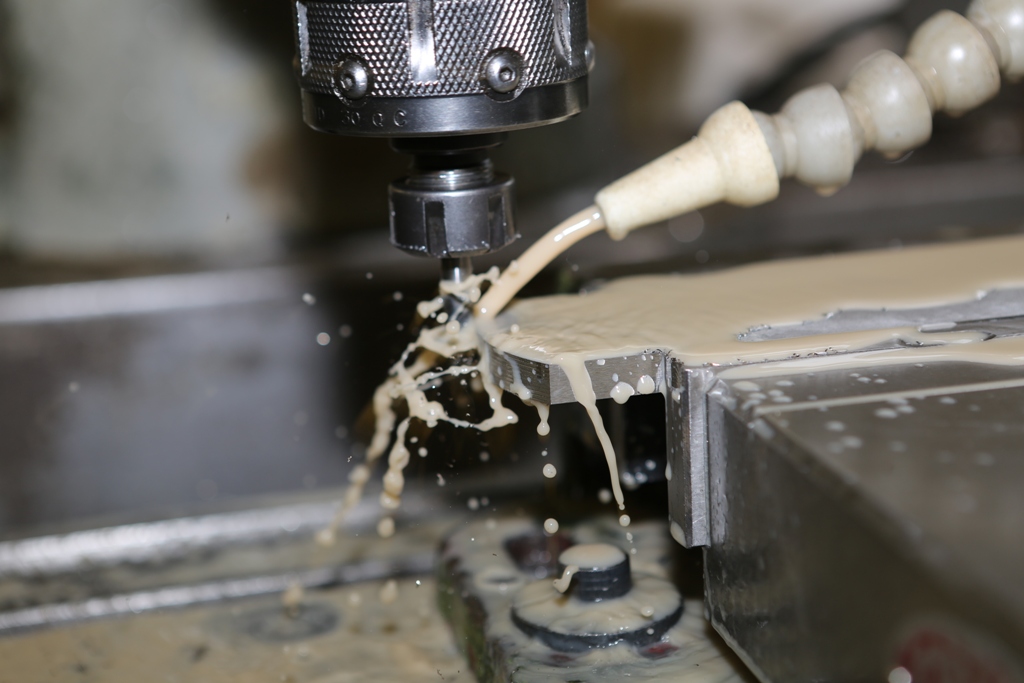
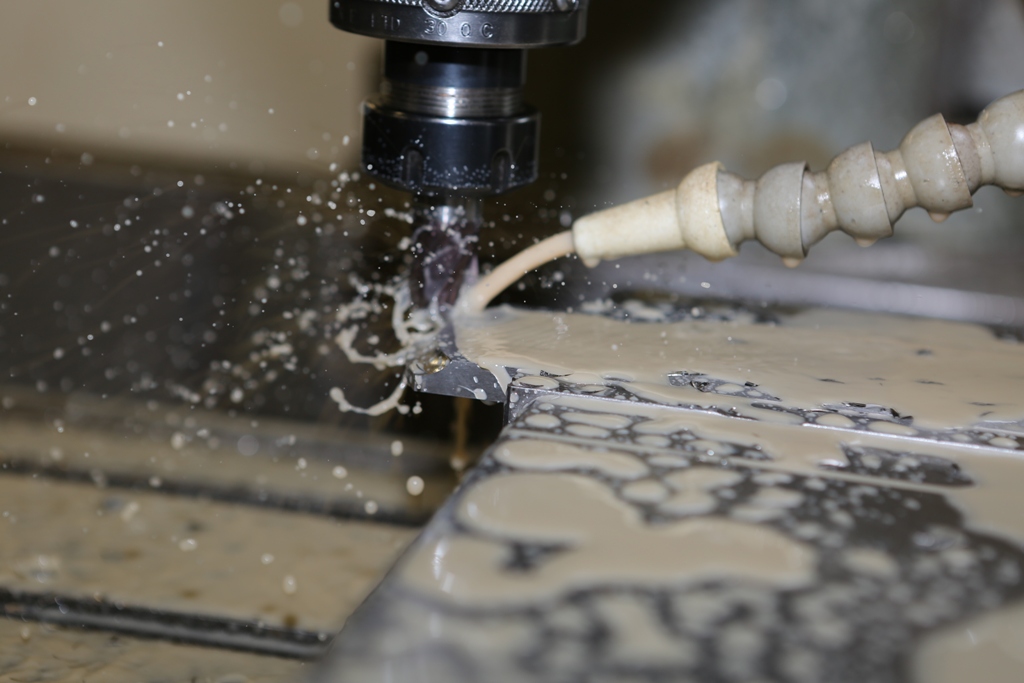
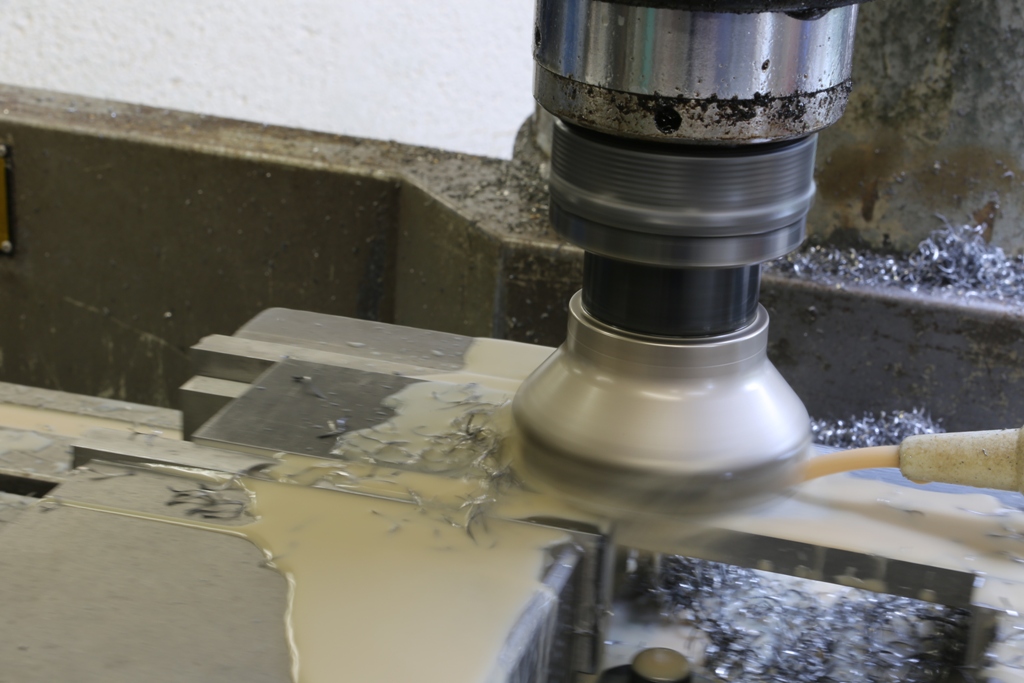
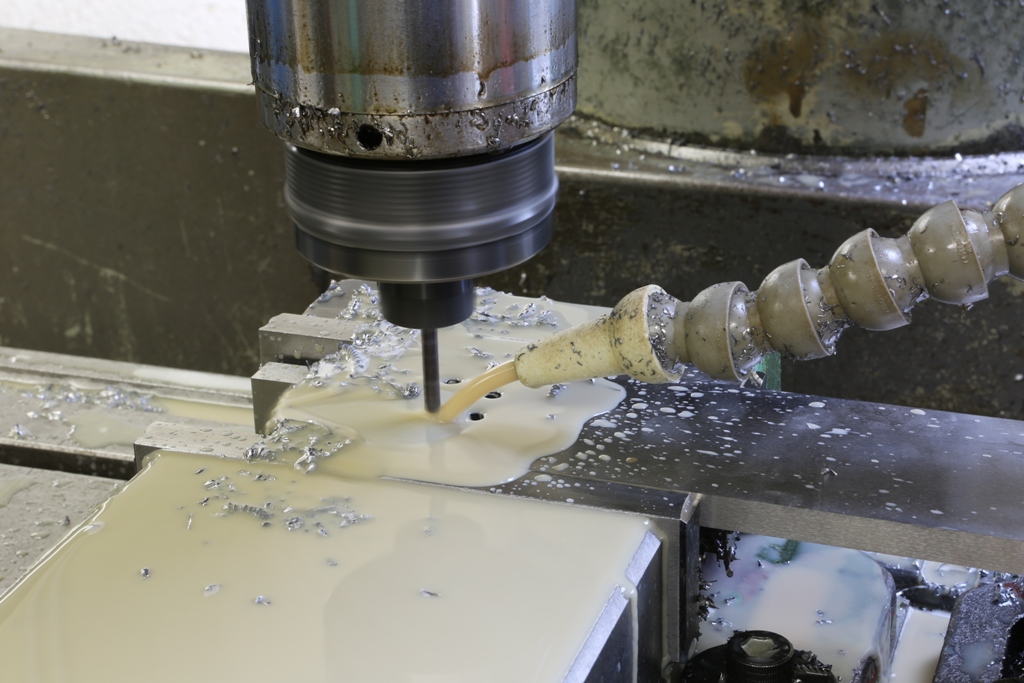
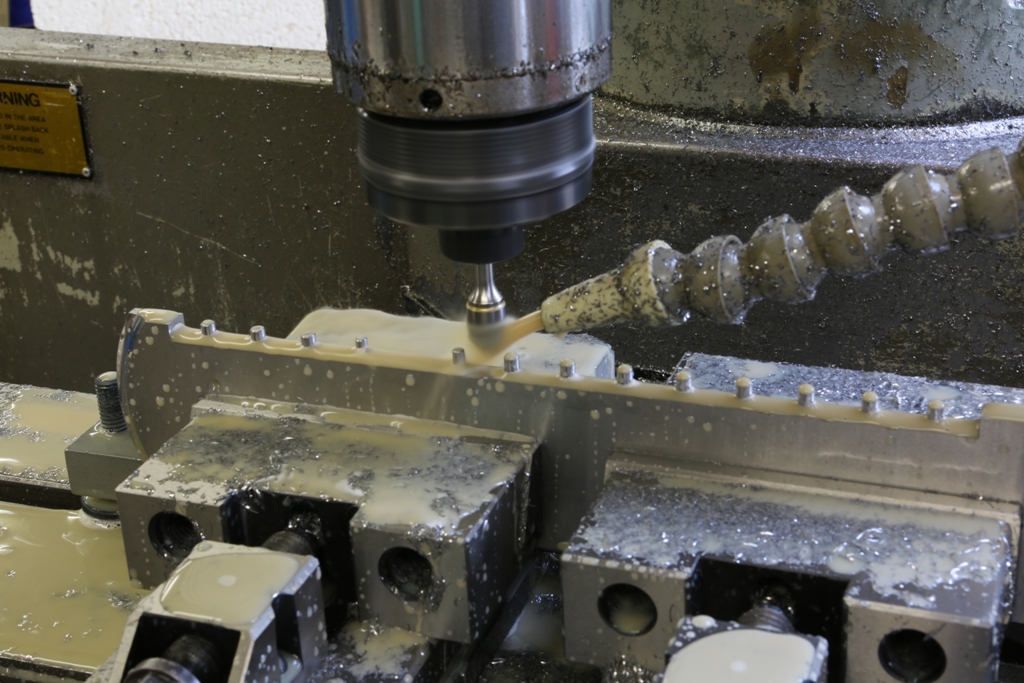
This is my holding arrangement for the integral rivets on the bottom of the plane. This was my second attempt, as I was not confident with the rigidity of the original arrangement. The setting up is where most of the work takes place.
 
Holtey No 984 pic 4
 
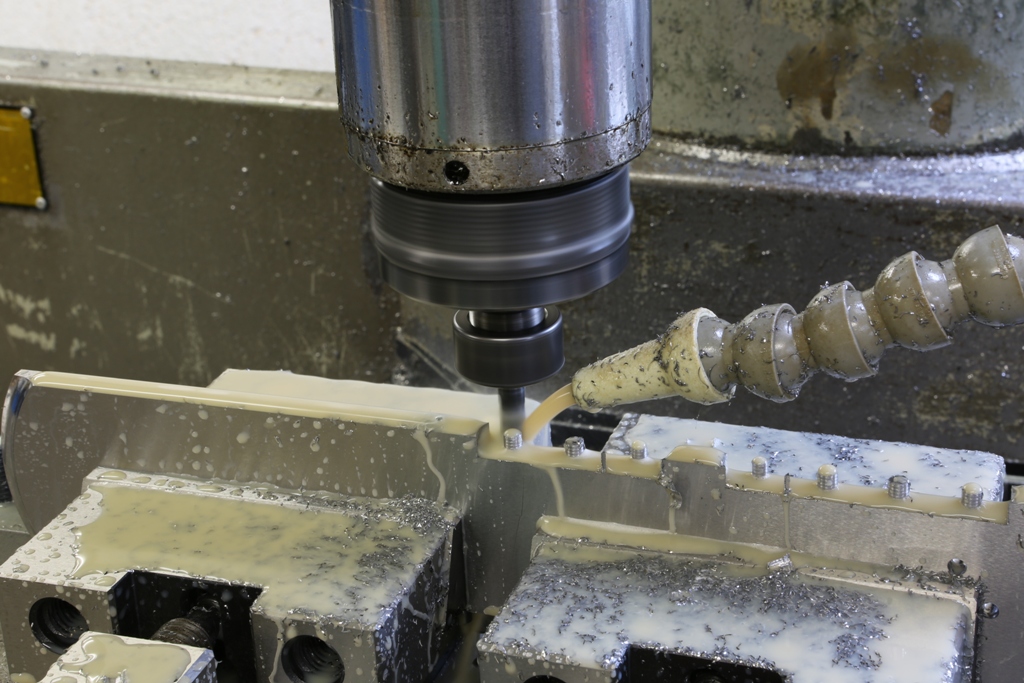
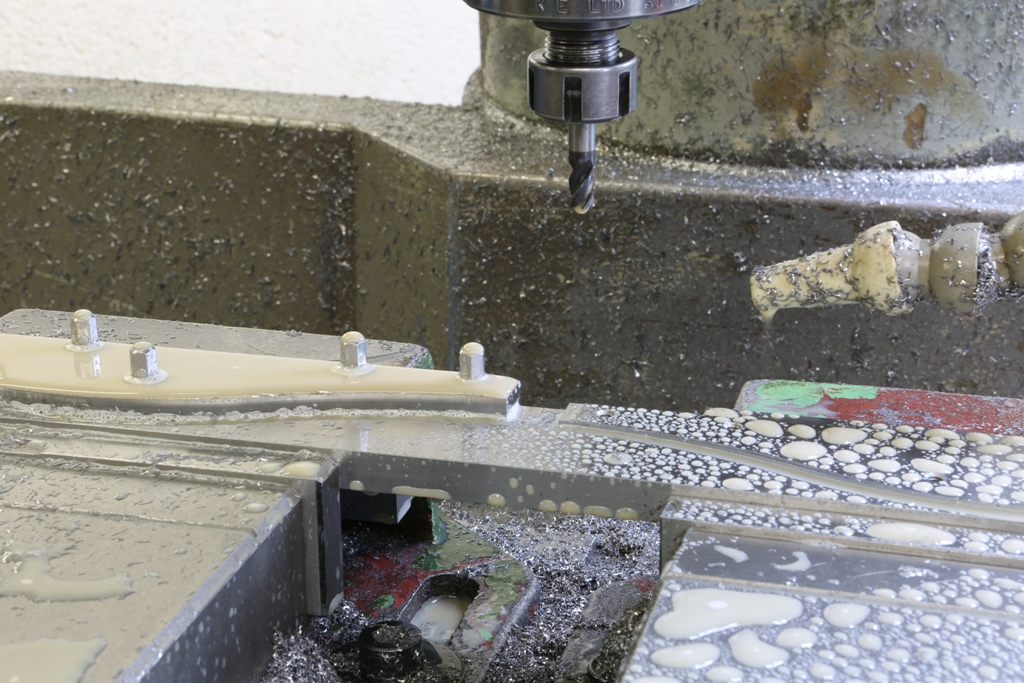
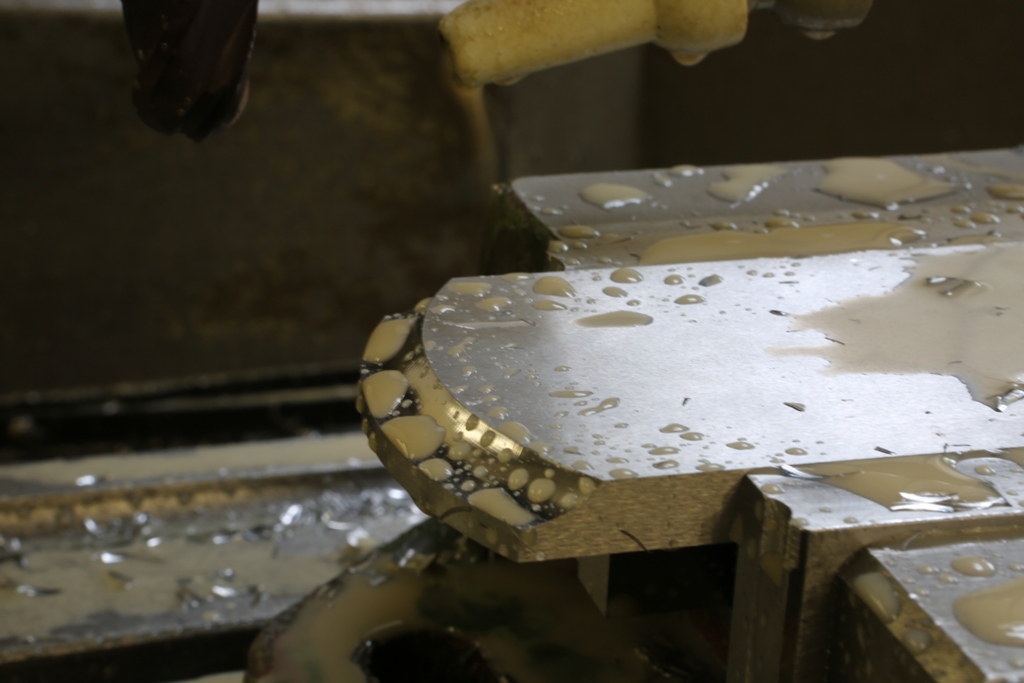
With all my milling and drilling I always use the very best tools available. These rivets are cut full depth in one go to get the most use out of the cutter. This first cut is taken with a ripper which will cut the rivets slightly oversize and then follow up with a finishing tool, which will size and texture the rivets. It takes a lot of trial and error to get the optimum spindle speed and feed rate. The best instruments for this are my eyes and ears. It has taken me a long time to perfect this and these are the last planes just when everything is coming together.
 
Holtey No 984 pic 5
 
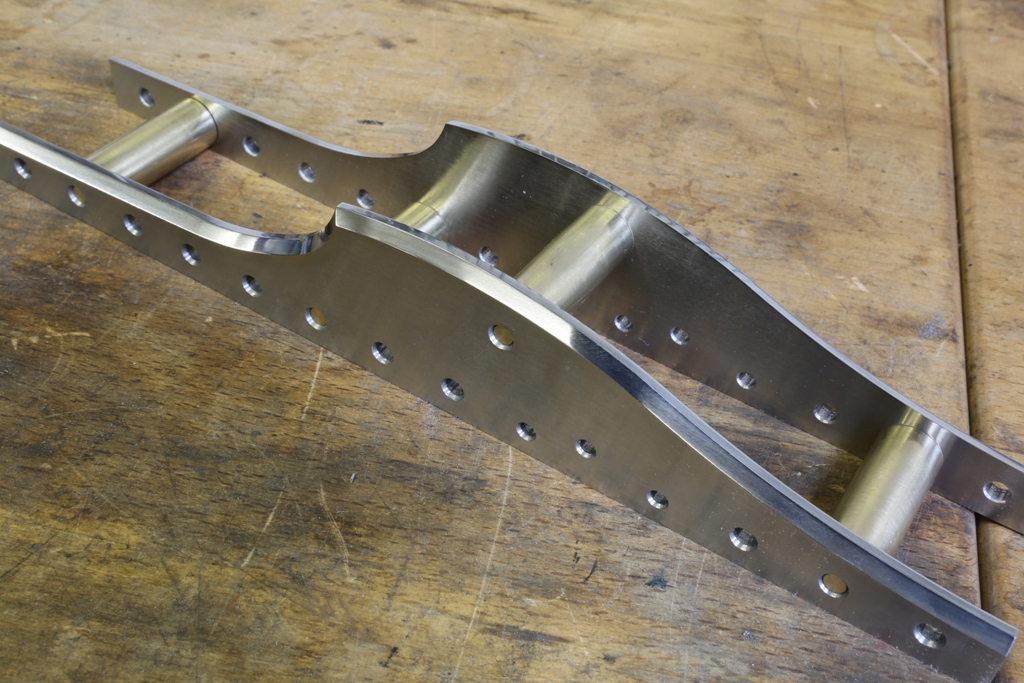
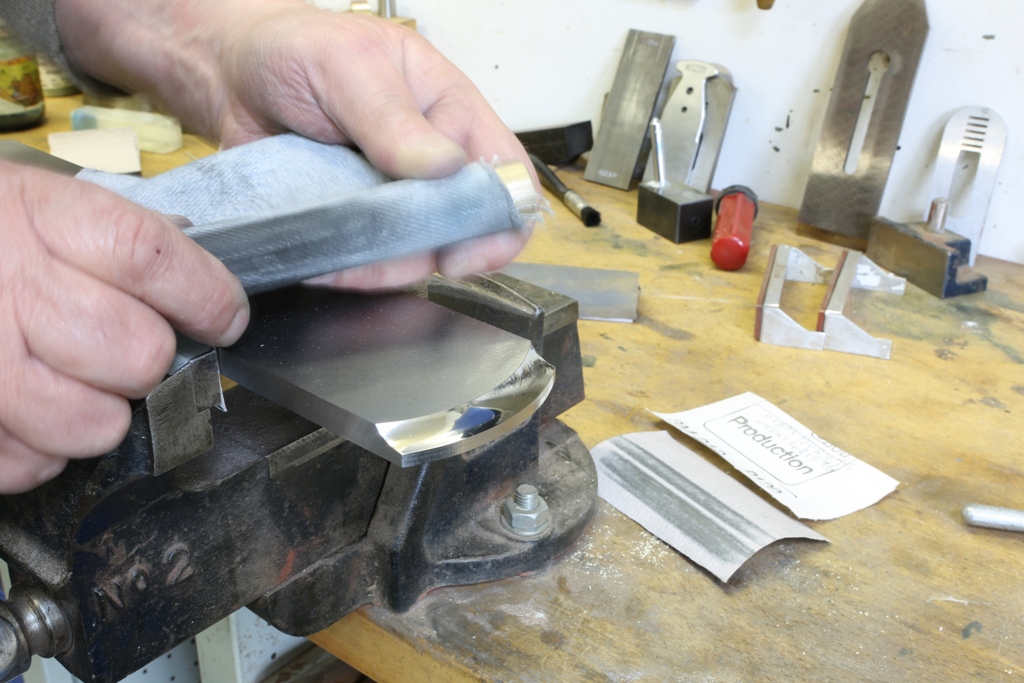
The last operation with the rivets is applying a very small chamfer which helps to prevent any splits forming whilst peining.
 
Holtey No 984 pic 6
 
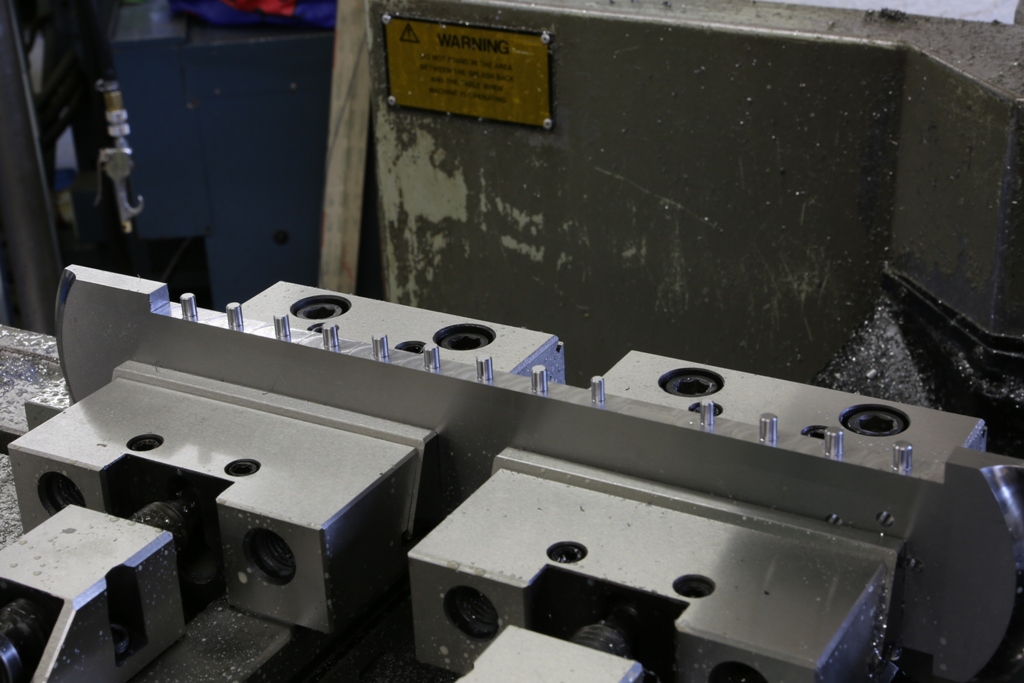
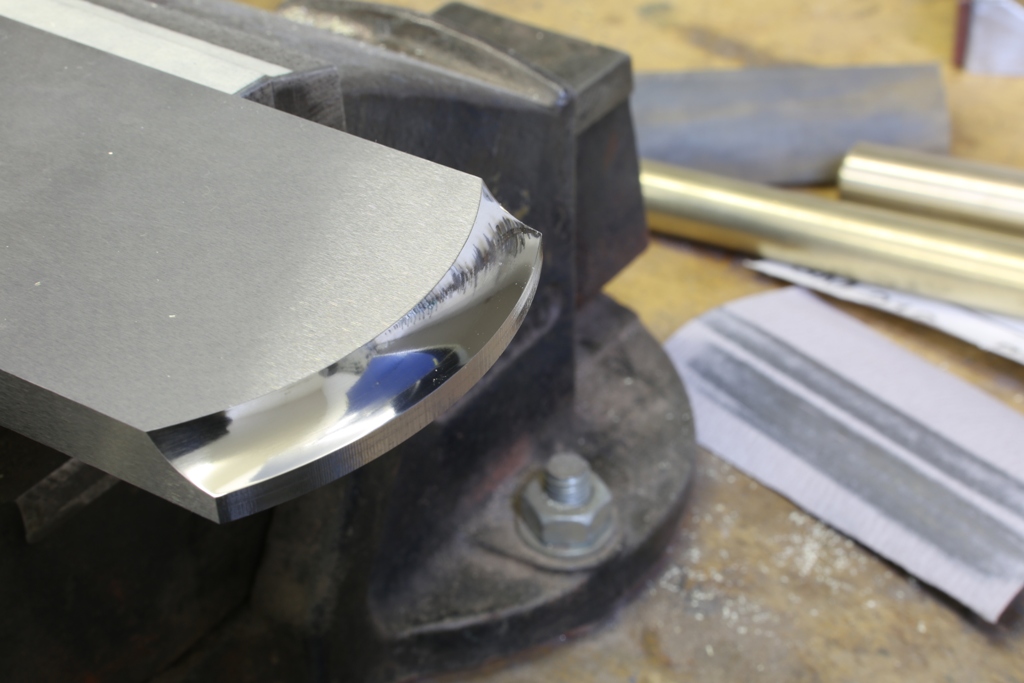
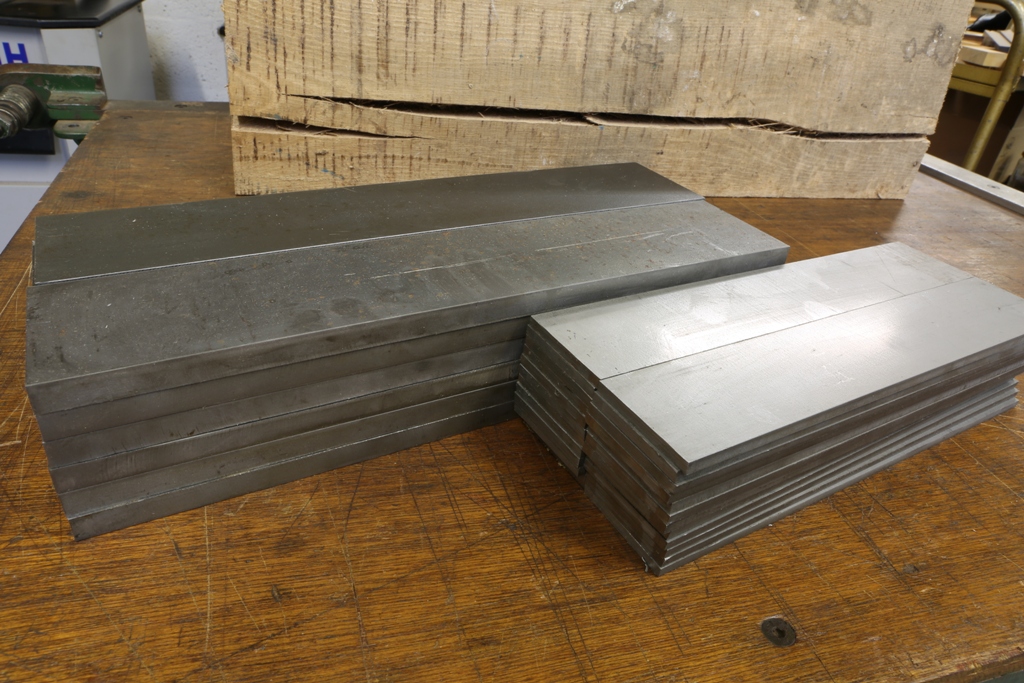
The riveting finished.

August 14, 2015

Window to my Workshop No 96

Filed under: No 984,Window to my workshop — Tags: , , — admin @ 5:08 pm

It is always tempting to rush off to the next stage, like the bottoms. But once the side profiling is complete there are still quite a number of other operations to be completed and these sides just scream to be finished. The polishing of the sides is a major undertaking and it eats up a lot of my time.

Holtey No 984 w

I use four abrading grades and at each stage everything is continually blued which helps me avoid any form corruption.
 
Holtey No 984 x

With a few purpose made spacers I am able to keep the edge polishing true and sharp without any deformation.
 
Holtey No 984 y

It could be embarrassing to mention how much time this operation takes but if perfection is required …..
 
Holtey No 984 z

These sides are now waiting for stamping and another surface grind on the inside faces, for its final texture.
 

August 12, 2015

Window to my Workshop 95

Filed under: No 984,Window to my workshop — Tags: , — admin @ 6:03 pm

Since the last posting it has been a bit hectic with family visiting. Also I revisited the drawing board a few times as I wasn’t happy with the side profile. I have re-contoured and re-programmed several times until now I am happy with the profile.

These are a few pictures of the current progress.

Holtey No 984 s

Holtey No 984 t

Holtey No 984 u

Holtey No 984 v

Next is polishing of the edges, which I love soooo much.

July 24, 2015

Window to my workshop No 94

Filed under: No 984,Window to my workshop — Tags: , , — admin @ 10:47 am

Drilling the holes in the No 984 plane pre-prepared and surface ground sides which will receive the integral riveting from the bottom.

Holtey no 984 o
 
Holtey no 984 p
 
Once the sides have been drilled they are then ready for profiling. This I do by making a holding plate which is drilled and tapped. In the case of this plane I have chosen six of the fifteen holes which were drilled in the plane sides which is sufficient for work holding purposes

The fixings used here have a 3/16 Whitworth thread to work within the existing holes. I hand cut the threads whilst they are in the milling machine so they are a little small to go through 1/2″ steel. A lot of care and patience is needed here. This means I can only take one or two rotations of cut at a time and then remove the taping tool and blow everything clean, then repeat until I am through.
 
Holtey No 984 q

Now and again I push my luck and this is what happens. This is probably about the worse horror because I have a large piece of the tap seized in the tapping hole with a jagged shard of HSS tap sticking up. If this couldn’t be removed then I would have to spend the best part of a day to grind and drill another holding plate. However, whilst it was in situ I was able to write another programme to mill the broken tap away with a very high quality tungsten carbide end mill. This could have only worked in the CNC as it needed a consistent very slow feed rate. It leaves me on a bit of a high when this works. Not only did I remove the broken tap but the original thread and true axis was maintain. This is extremely important or it would have had to be scrapped.

Sometimes I like to mention this sort of trivia as it is a whole part of the whole process, often unseen. As I have said before, it is not just the tools I make but the tools I make to make them with.


Holtey no 984 r
 
This is the end of the building process for the holding tool, showing the jig screws. Also showing the mirrored side on the left. Mirroring or pair handing is necessary where there is chamfering and countersinking involved.

After use this holding tool will go into my cupboard to join all the others, as each tool is dedicated to its type. It is sad that in the case of this one it will not be coming out again. :-(


July 17, 2015

Window to my Workshop 93

Filed under: No 984,Window to my workshop — Tags: , — admin @ 5:27 pm

The blades arrived back from heat treatment and after many hours grinding and polishing they are now finished. Just packing them in oiled paper until the planes are ready.

Holtey No 984 n

The hardening is the only thing I outsource. Everything else is made inhouse.

July 13, 2015

Window to my Workshop no 92

Filed under: No 984,Window to my workshop — Tags: , , — admin @ 5:00 pm

One of the boring sides of this detail. It is no simple polishing job as the valleys formed by the mill are very hard to smooth out.

 
It is a case of starting with a coarse abrasive and working down to 1200 grade and then I wrap a piece of denim cloth infused with metal polish for the final polish.
 
Holtey No 984 l


Holtey No 984 m
 

Holtey No 984 k
 
That is a reflection of my magnetic tool rack which looks like a row of vertical scratches.
 
It seems odd doing polishing at this stage but it is the sequence which I choose to do the work in which gives me the finish. When all the riveting and adjuster recessing are complete I can surface grind the inner parts so everything is sharp and pristine.
 
Somebody on a forum described my work as being clinical and having no soul, maybe he is right and it is dammed hard work to keep it up ;-)

July 7, 2015

Window to my Workshop 91

Filed under: No 984,Window to my workshop — Tags: , — admin @ 5:03 pm

A little bit more of my daily drudge :-( and a little bit more pain.
 
Holtey No 984 h
 

Holtey No 984 i
 
Holtey No 984 j
 
This is not so kind on my mill. I use 4 cutters in the forming of this detail for the front and rear bow. When the milling operation is complete there will be at least two days polishing them. Lots of sore hands and fingers. The last time I did this (on No 983), I had to have my hand stitched up by the local doctor.

July 6, 2015

Window to my Workshop 90

Filed under: No 984 — Tags: , , — admin @ 11:11 am

The surface grinder has been the busiest machine in my workshop for the past few years. All my sections, after size adjustments in the milling machine, are precisely ground all round. The same with all the tooling and work holding I make. This is necessary to get a good reference throughout all my work.

Holtey No 984 c

These are the bottoms being ground on their edges insuring that they are square and parallel. It is not often I use a flash but it is nice how everything has been frozen in time.

Holtey No 984 f

I have also been busy during this time with the blades. The blades are being profiled in ‘Siamese pairs’ for easier work holding. These have already been stamped with the HOLTEY logo in the fly press, I do this first as the edges close to the stamping area can become distorted.

Holtey No 984 g

After the blades are separated they need to have a bevel milled on and the chamfers polished before sending them away for heat treatment. The polishing to the chamfers is important as it would be very hard to do after the blades had been hardened. When the blades come back from the heat treatment I will be surface grinding them all round.

June 23, 2015

Window to my workshop 89

As I have said on my web page the No 984 panel plane is to be my last. This is the beginning of the promised blog. I have been a bit slow starting as I have been busy with stock sales and many enquiries. Thank you very much for all your nice comments – I am not actually retiring as most people I knew retired and died, I will keep up the coffin dodging and I have many other things to do. These No 984 planes will keep me going for about 3 months.

Holtey No 984 a

This is the 420 stainless steel that I am using for the bottoms and sides of the plane. The plan is to start knocking some weight off them. I am trying not to let the weight of the finished plane go over 3 kilos. All surfaces will be milled and ground. The steel that I have here is enough to make a limited batch of 12 planes.

Holtey No 984 b

Here begins the slog, there is a lot of material to come away. This picture shows a bottom starting out 12 mm thick and it will end up just over 10 mm in the finished plane.

« Newer Posts

Powered by WordPress